The Awkward Stage, Handled: Hairstyles for Growing Out Bangs That Look Deliberate, Not Accidental
Growing out bangs is one of the most awkward hair journeys there is, and the best hairstyles for growing out bangs are the ones that make the in-between stage look like a choice instead of an accident. Every woman who has ever grown out a fringe knows the stages: the eye-poking weeks, the nose-tickling weeks, the pieces that will not sit still no matter how many pins you use. The secret is that the grow-out is not a waiting game — it is a styling game, and the right tricks turn each awkward length into a look of its own.
The styles in this guide work because they use the growing length instead of fighting it. A deep side sweep turns too-long bangs into a face-framing curtain. A braid along the hairline turns the front pieces into a feature. A claw clip twist, a pinned-back twist, or a braided crown takes the bangs completely out of your face while looking like you planned it that way. None of these need a salon visit or a new haircut — just a few pins, a clip or two, and two minutes in front of the mirror.
Below, you will find the thinking first — the month-by-month timeline, pinning tricks that actually hold, how to blend bangs into layers, what to do about cowlicks, which products help and which hurt, and what to ask your stylist — and then 32 hairstyles for growing out bangs, for straight, wavy, curly, fine and thick hair. Pick the tricks that match your length and your hair type, and the grow-out stops being something to survive and starts being something to enjoy.
The Grow-Out Timeline, Month by Month
Growing out bangs is a test of patience, and knowing the timeline makes the wait far easier. In the first month, your bangs will sit somewhere between your eyebrows and your eyelashes, poking into your eyes and refusing to stay put. This is the hardest stage, because the length is too short to tuck behind your ears and too long to wear as a fringe — so pinning and sweeping become your daily tools.
By month two or three, the front pieces reach your cheekbones and the style starts to open up. You can sweep them to the side, blend them into a curtain shape, or braid them into the rest of your hair. Around month four, they usually reach your chin, and from there they behave like ordinary face-framing layers — you can tuck them, clip them, or let them fall naturally without thinking about them.
Quick verdict: most bangs take four to six months to reach chin length, growing roughly half an inch a month. Mark the stages on your calendar so you can see progress instead of staring at the mirror every morning. The awkward weeks pass faster when you know exactly which stage you are in and what trick belongs to it.
Pinning and Clipping Tricks That Actually Hold
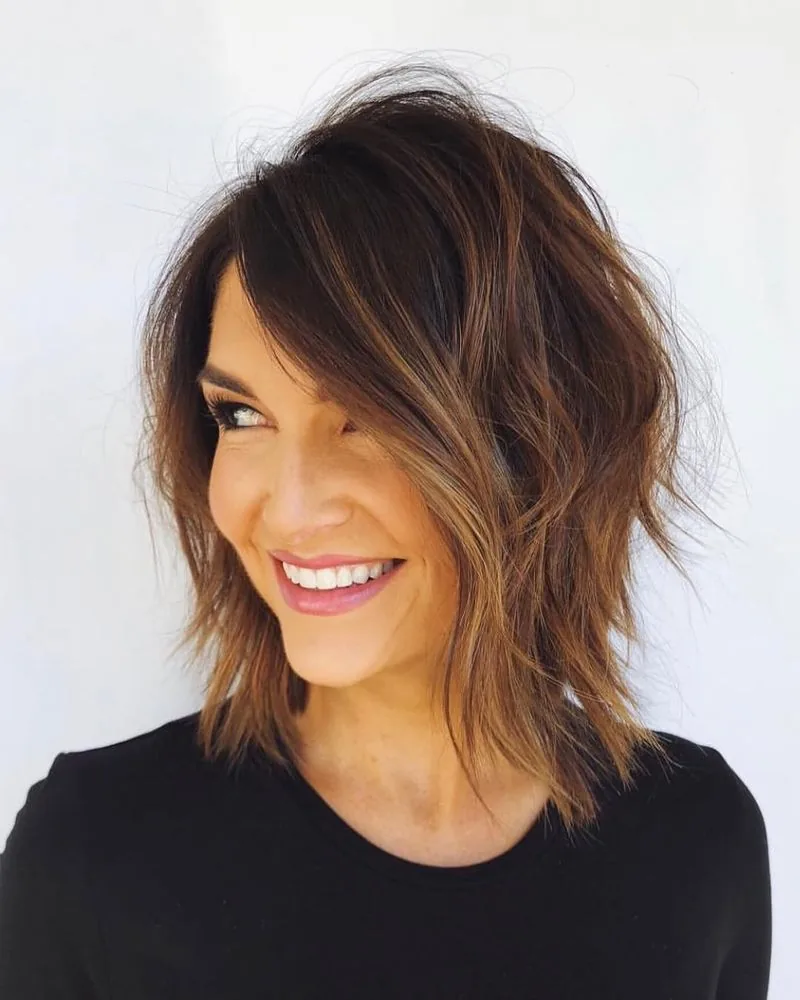
The difference between a grow-out that looks intentional and one that looks accidental is usually two bobby pins. The trick is placement: slide pins in against the direction the hair wants to fall, so they grip instead of sliding out. Cross two pins in an X and they will hold all day, even on fine hair that normally sheds every clip you own.
Flat clips, snap clips and small claw clips all have their moment. A flat clip swept to one side reads polished; a snap clip with a little texture reads casual and fun. The mistake most people make is pinning straight back, which flattens the front and shows the scalp. Sweep the section slightly to one side first, then pin — the diagonal line looks deliberate and hides the grow-out line completely.
Common mistake: using pins that match your hair colour and then wondering why the style falls apart by lunch. Match the pin to your hair for invisibility, but use two of them, crossed, for hold. One pin is a suggestion; two crossed pins are a decision. Keep spares in your bag, because the day you forget them is the day the wind arrives.
Blending Bangs into Layers Without a Chop
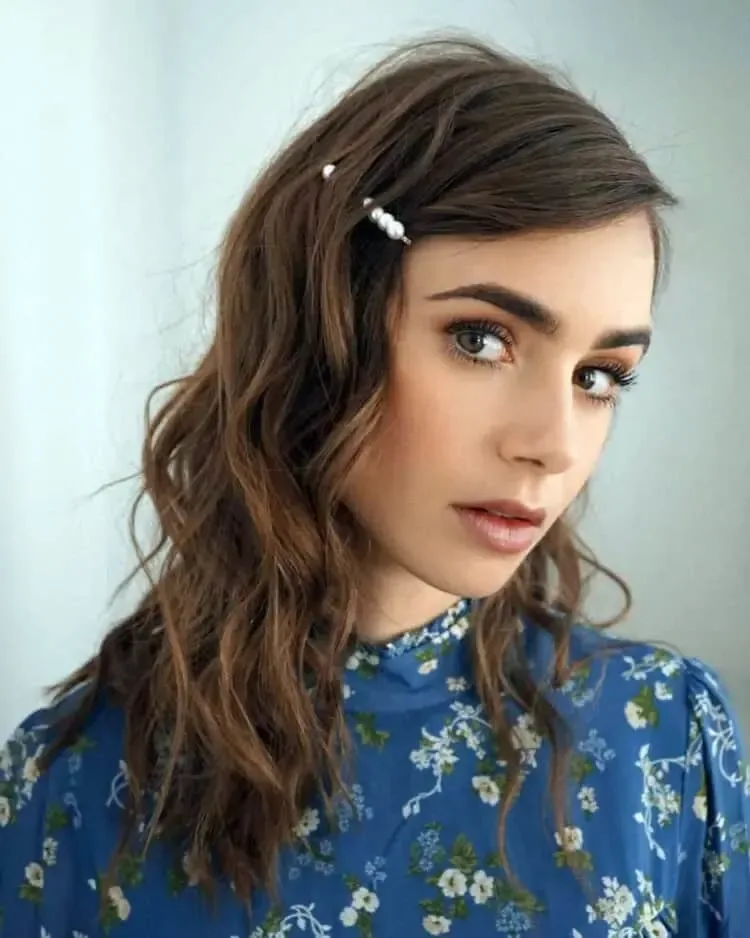
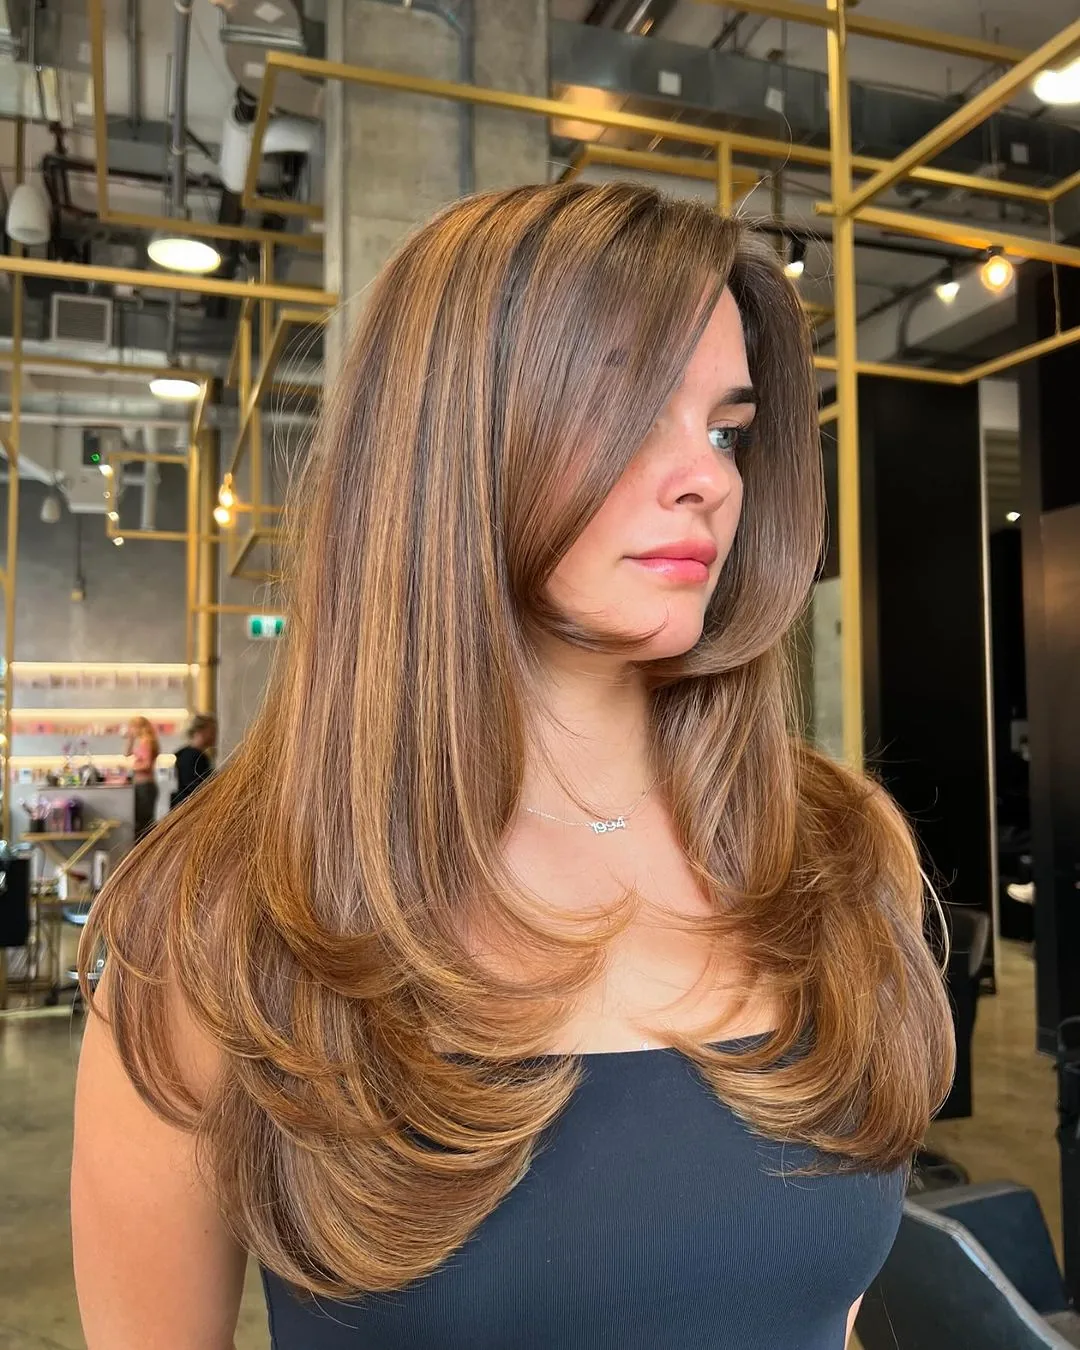
The smartest way to grow out bangs is not to wait for them to catch up with the rest of your hair — it is to bring the rest of your hair down to meet them. Ask your stylist to cut soft, face-framing layers that start at the length your bangs have already reached, so the front pieces melt into the shape instead of hanging as a separate, obvious shelf.
At home, the blend is a styling job. Blow-dry the front sections with a round brush, curving them back and away from your face, and they will fall into the layers instead of poking forward. A little texture spray at the roots stops the front from separating into a limp curtain, and a wide-tooth comb keeps the blend soft where a brush would make it fluffy.
Best for: anyone whose bangs are at cheekbone length or longer. Below that length, layers will only make the front look thinner, so keep the scissors away and rely on pinning instead. Once the bangs pass your cheekbones, blending is the single most flattering thing you can do.
Cowlicks and Awkward Lengths: What to Do
Every grow-out has a villain, and it is usually a cowlick — that stubborn patch at the hairline that insists on growing in the opposite direction. Cowlicks get worse, not better, as bangs lengthen, because the extra weight pulls the hair forward and the cowlick flips it sideways. The fix is heat and direction: dry the cowlick in the direction you want it to go, with a round brush, while the hair is still damp.
Awkward lengths have their own logic too. When bangs hit your eyelashes they poke; at your nose they tickle; at your lips they get chewed. Each stage lasts about two weeks, and each one has a fix — a side sweep for the eye-poking stage, a clip for the nose stage, a tuck behind the ear for the lip stage. Knowing the stage you are in stops you from reaching for the scissors in frustration.
Maintenance: never fight a cowlick on dry hair. Wet it down, blow-dry it flat in the right direction, and let it cool before you touch it. Dry-hair wrestling only makes the cowlick angrier, and the heat from a flat iron on dry cowlick hair rarely lasts past the first hour.
Products That Help the Grow-Out (and Ones That Hurt)
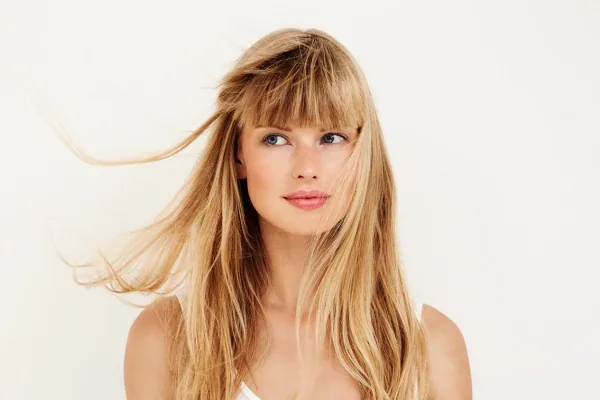
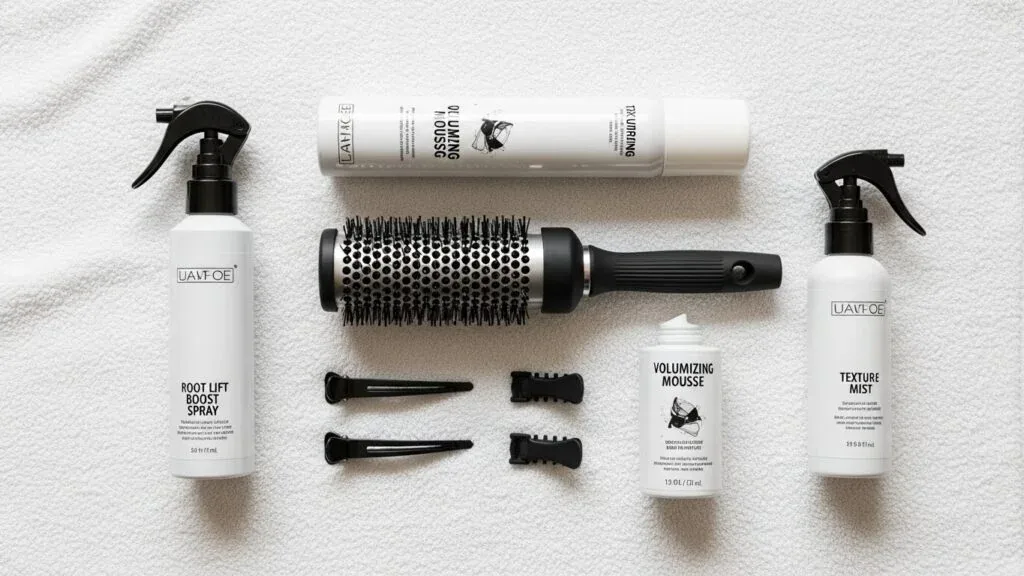
A few well-chosen products turn a grow-out from a daily battle into a two-minute routine. Dry shampoo at the roots gives fine front pieces the grip that pins need, and a light texturising spray stops grown-out bangs from separating into limp strands. A tiny amount of smoothing cream, warmed between your palms, tames the flyaways at the hairline without flattening the shape.
The products that hurt are the heavy ones. Thick pomades and waxes weigh the front down and make the grow-out look greasy by midday; strong-hold gels freeze the pieces into a helmet that cracks the moment you move. Skip the heavy oils on the front sections too — one drop on the ends is fine, but oil at the roots turns a grow-out into a slicked, stringy mess by lunchtime.
Cost and time: you need three things at most — dry shampoo, a light texturising spray and a flexible-hold hairspray — and none of them needs to be expensive. Drugstore versions do this job perfectly, and a single bottle lasts months because you only use them on the front sections.
When to Trim and When to Leave It Alone
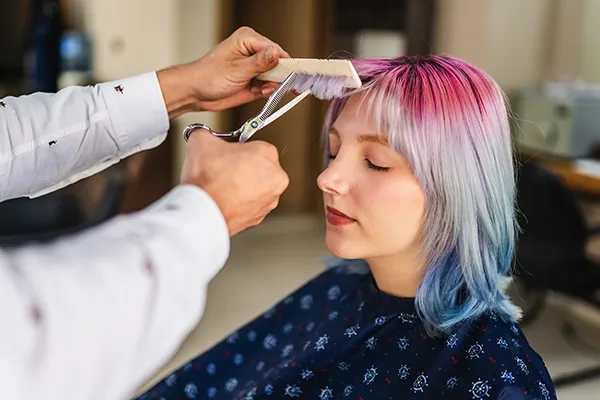
The hardest decision in a grow-out is whether to trim, and the answer depends on what is actually wrong. Trim when the ends are split or damaged, when one side has outgrown the other and the shape is lopsided, or when the very tips are so thin they look straggly. A micro-trim — a quarter of an inch, just the damaged tips — keeps the hair healthy without setting the grow-out back.
Leave it alone when the problem is shape, not damage. A blunt grow-out line, a shelf of bangs sitting on the forehead, or pieces that will not behave are styling problems, and scissors will not solve them — they will only restart the clock. If you catch yourself reaching for the scissors because you are bored or frustrated, put them down and try a new pin or parting instead.
Pros and cons: regular micro-trims every eight to ten weeks keep the grow-out healthy and even, at the cost of a little length. No trims at all grows the bangs faster, but risks thin, split ends that look worse than a slightly shorter fringe. Most people do best with a tiny trim every two months.
Grow-Out Styles by Hair Type
Straight hair shows every stage of a grow-out, because there is no texture to hide behind. The good news is that straight bangs are the easiest to sweep, pin and blend — a flat iron pass and a side part solve most problems in two minutes. The bad news is that a bad day shows, so keep a clip in your bag for the mornings when the front pieces refuse to cooperate.
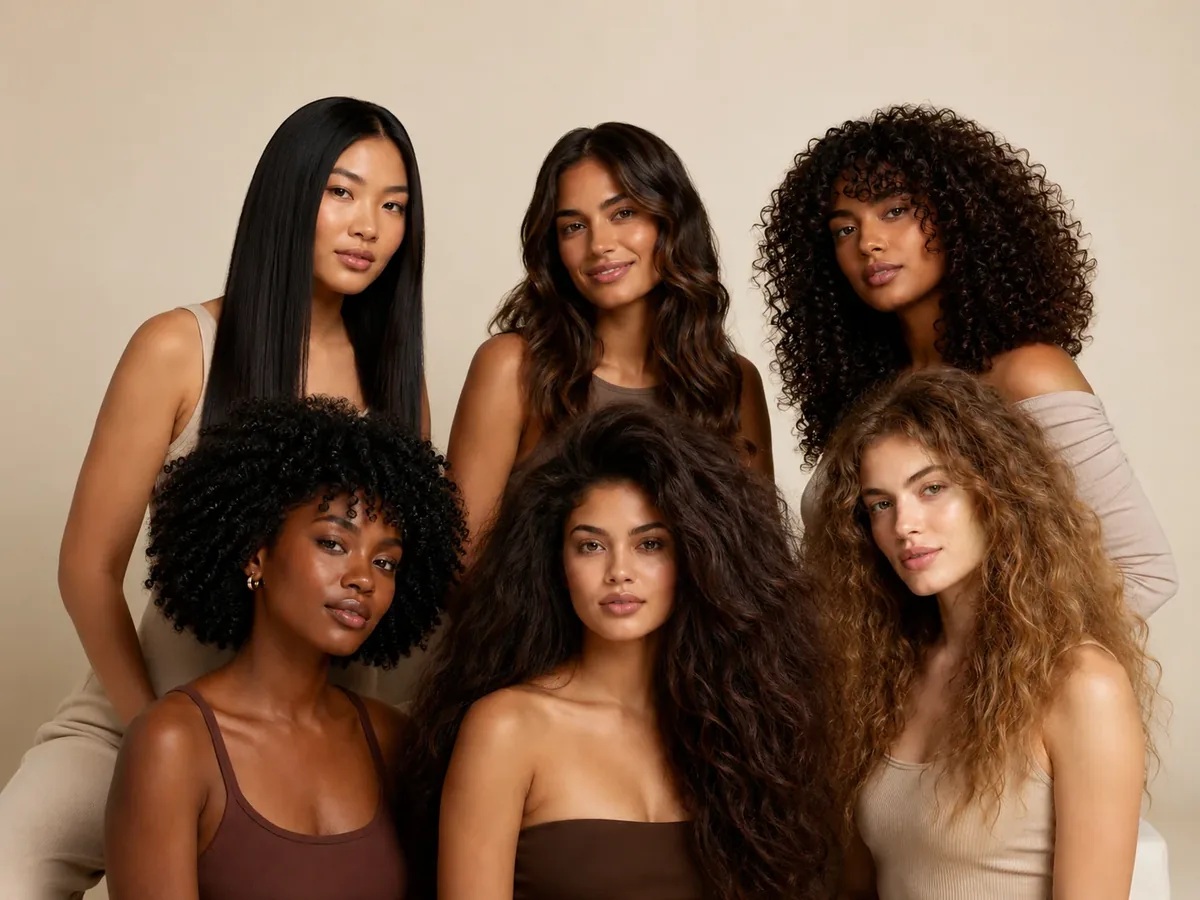
Wavy and curly hair hides the grow-out far better, because the natural texture disguises the length difference — but it also has more opinions. Curly bangs shrink as they dry, so judge the length wet, and never cut curly bangs dry without expecting them to spring up. Fine hair needs volume tricks and crossed pins; thick hair needs thinning at the ends, or the front will look like a heavy curtain by month three.
Best for: every hair type, with a different toolkit. Straight hair leans on pins and heat; wavy hair leans on texture spray and braids; curly hair leans on curl cream and a good diffuser; fine hair leans on dry shampoo and root lift; thick hair leans on layers and thinning shears used sparingly.
What to Ask Your Stylist During the Grow-Out
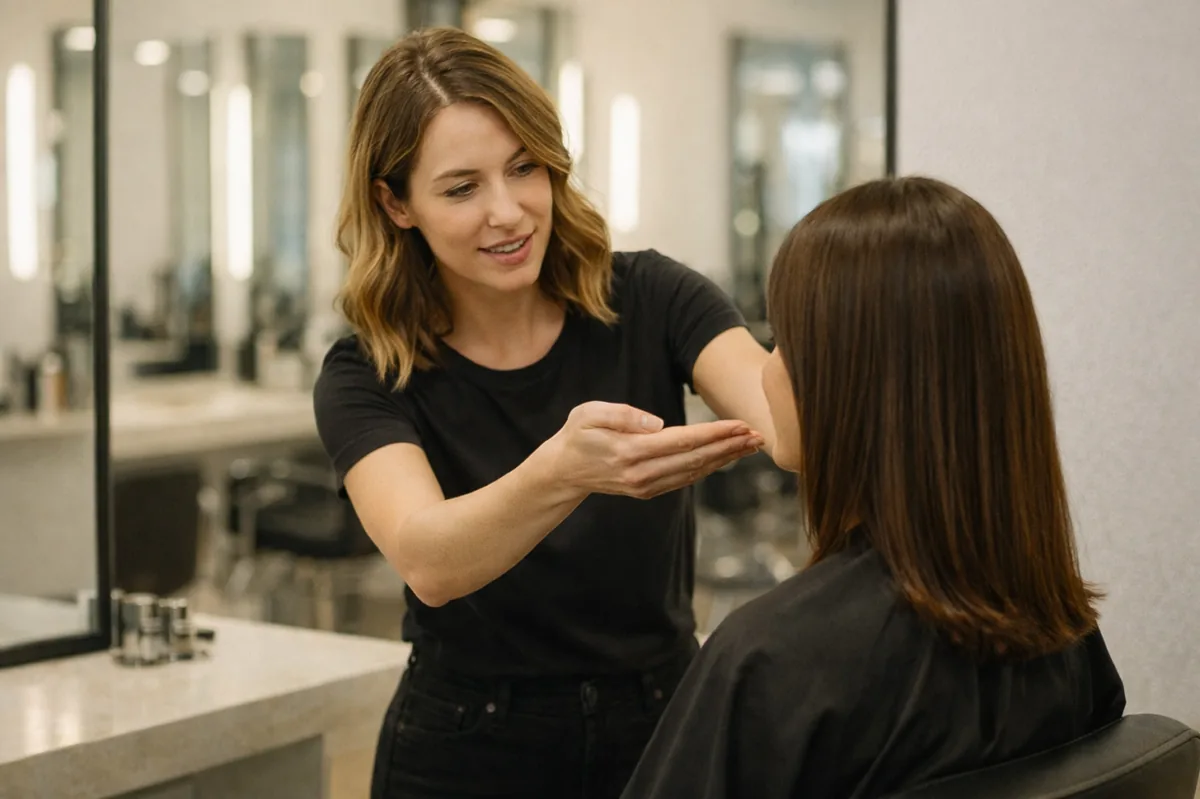
A grow-out goes twice as well with a stylist on your side, but only if you ask the right questions. Tell them you are growing your bangs out and ask what they would do at each stage — which layers to cut, which to leave, and how to keep the shape flattering while the length changes. Bring photos of the look you are growing toward, not just photos of the bangs you have now.
Ask the practical questions too: how often should I come in for a micro-trim, what should I do when the bangs hit my eyes, and which products suit my hair type? A good stylist will show you the pinning and blow-drying technique in the chair, so you can repeat it at home instead of guessing. If they suggest cutting the bangs back in, they are not the right stylist for a grow-out.
What to ask a stylist: for face-framing layers that start where your bangs already are, for a dusting of the ends rather than a reshape, and for an honest timeline — how many months until the bangs reach your chin, and what the in-between stages will look like. Write the answers down; you will forget them by the next appointment.
The Deep Side Sweep
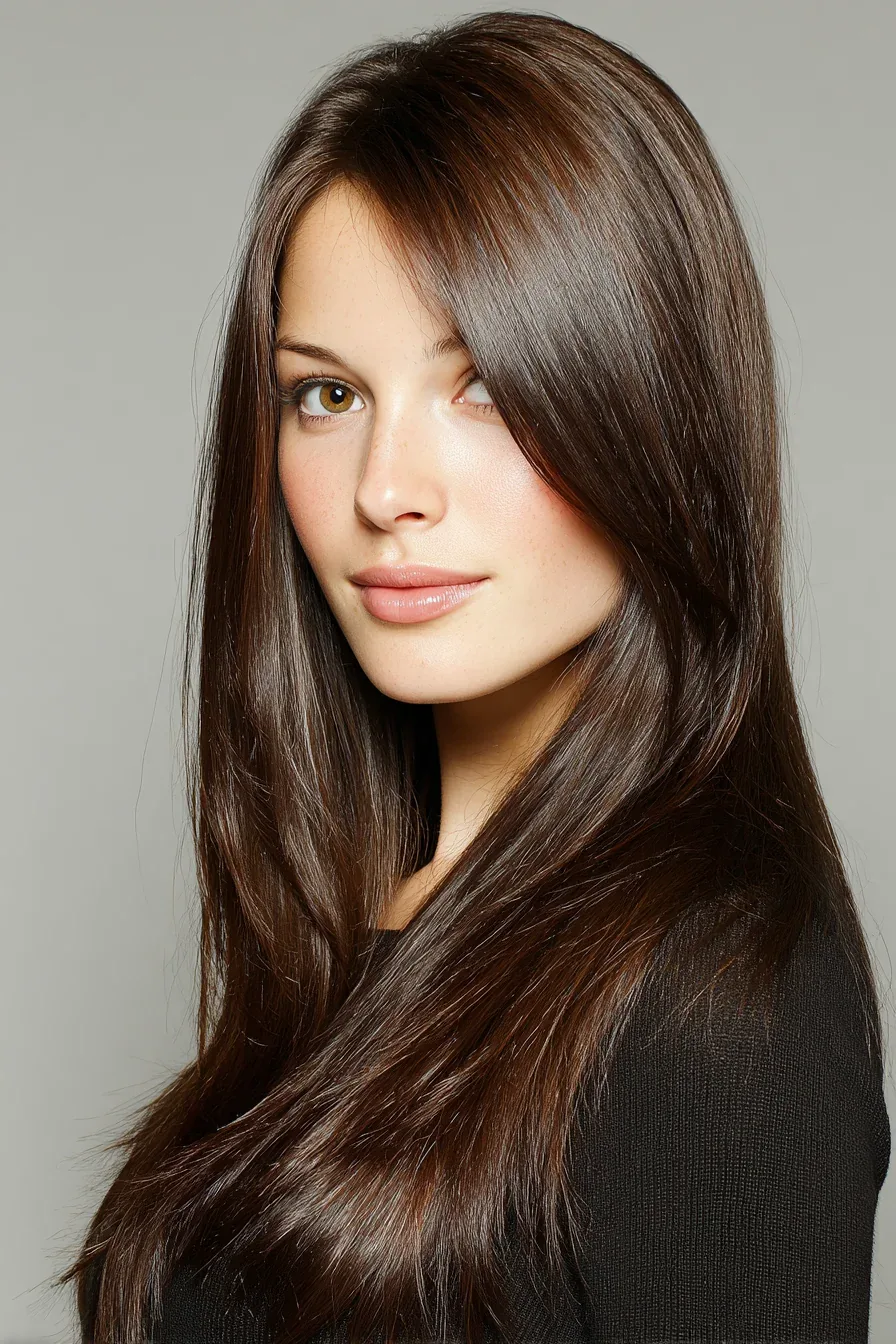
The deep side sweep is the first style every grow-out should learn, because it works at every length from eyebrow to chin. Part your hair deeply to one side, sweep the front pieces across your forehead, and let them fall past your cheekbone. Suddenly the bangs are not bangs at all — they are a face-framing curtain, and the grow-out looks like a deliberate choice.
Blow-dry the front section with a round brush, curving it away from your face, and let it cool before you touch it — that is what locks in the sweep. On second-day hair, a quick pass with a flat iron and a little texturising spray at the roots does the same job in two minutes. If the sweep keeps falling back into your eyes, one flat clip hidden behind the heavier side holds it all day.
Cost and time: nothing but a brush and a clip you already own, and about three minutes. Best for: straight and wavy hair, and anyone whose bangs have just reached eye level. It suits almost every face shape, and it photographs beautifully because the diagonal line adds instant polish.
Curtain Bangs as a Grow-Out Bridge
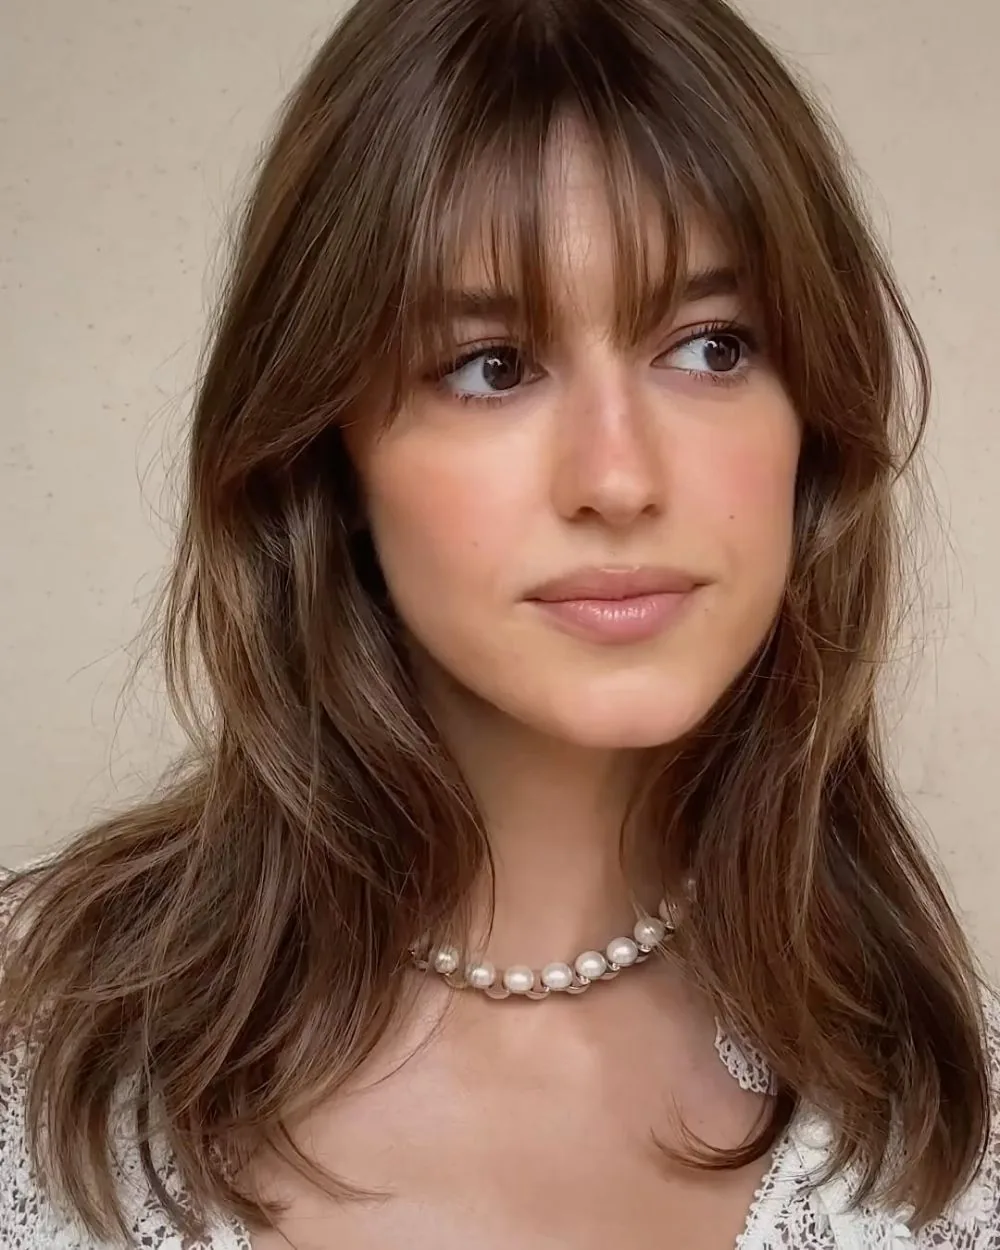
Turning your bangs into curtain bangs is the cleverest move in the whole grow-out, because it stops the waiting and starts the styling. Part the front in the middle, let the pieces fall on either side of your face, and the bangs become a soft curtain that frames your features instead of covering your forehead. It is the one grow-out style that looks finished at almost any length.
The trick is in the drying. Blow-dry each side with a round brush, curving the hair back and away from your face, and pin the pieces up for five minutes while they cool so the curve sets. A light texturising spray keeps the curtain from collapsing into a flat sheet, and a quick finger-comb through the lengths keeps it soft and piecey rather than stiff.
Common mistake: parting the curtain too far back, which leaves a bald-looking strip at the front and shows the scalp. Keep the part short — just the front two inches — and let the rest of your hair fall naturally behind it. The curtain should frame your face, not divide your head in half.
The Pinned-Back Front Twist
The pinned-back front twist is the grow-out emergency button: it takes the bangs completely out of your face in thirty seconds and looks like you meant it. Take the front section, twist it away from your face, and pin it flat against your head — the twist hides the length difference entirely, and the style reads polished rather than improvised.
Twist loosely rather than tightly, and pin with two crossed bobby pins so the twist cannot unravel. Leave a tiny bit of softness at the hairline — one small wisp pulled free on each side — and the style looks relaxed instead of scraped back. It works on damp hair, dry hair, second-day hair and third-day hair, which is more than most styles can say.
Pros: instant, free, and it works at every grow-out stage from eyebrow to chin. Cons: very fine hair may need a puff of dry shampoo first, or the twist will slide out by lunchtime. Keep two spare pins in your bag and the style is bulletproof.
The Mini French Braid Along the Hairline
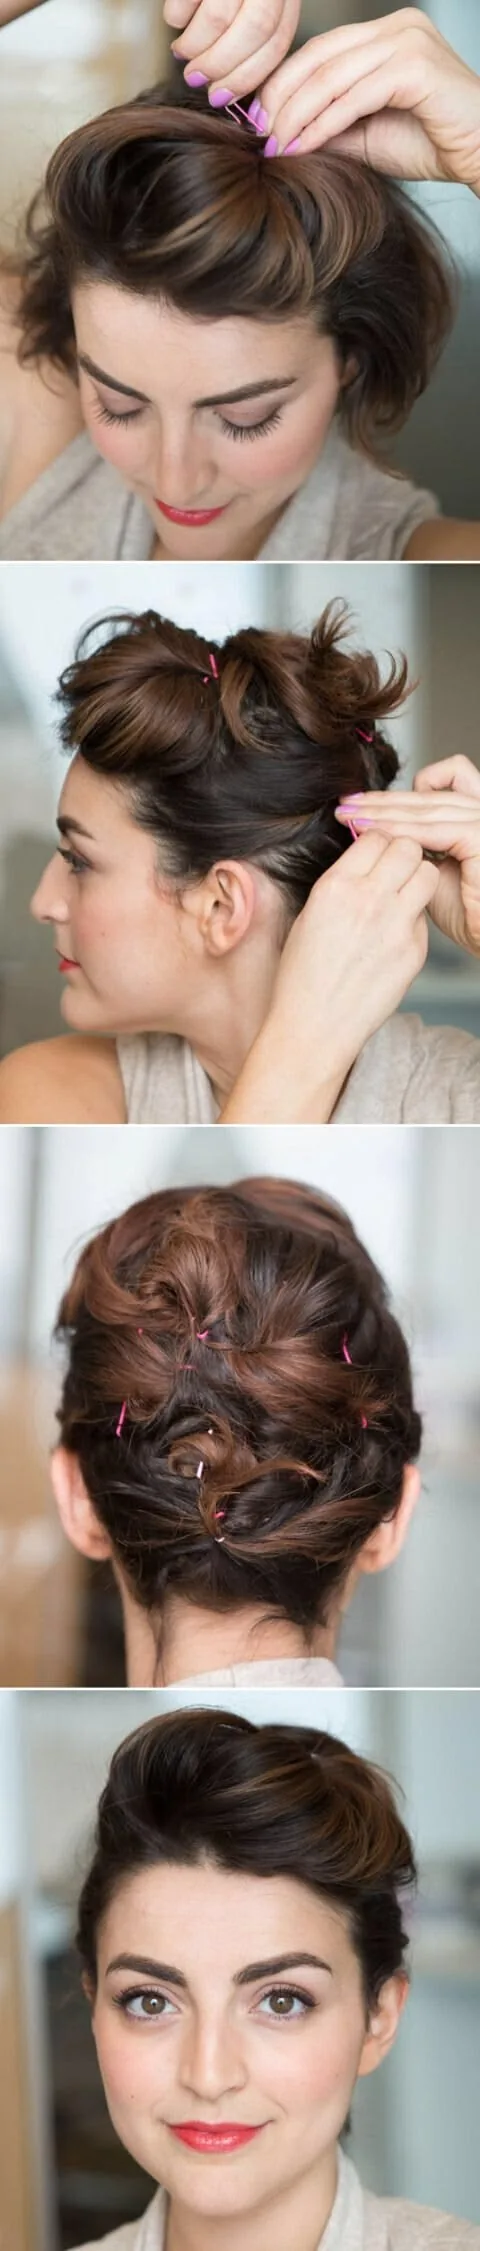
A mini French braid along the hairline is the prettiest way to hide growing bangs, and it turns the front of your hair into the feature of the whole style. Start at the parting, braid a thin section along the hairline, adding hair as you go, and pin the end behind your ear. The bangs disappear into the braid, and nobody can tell you are growing anything out.
Keep the braid small and close to the hairline — a thick braid eats the whole front section and looks heavy, while a thin one reads delicate and intentional. Braid loosely and pull gently at the loops to soften the shape, and finish with a tiny elastic hidden under a strand of hair. It holds through wind, workouts and long days better than any pin.
Maintenance: almost none once it is in. The braid anchors itself, so it survives the whole day without a touch-up, and it looks even better by the afternoon once the edges have softened a little. Practice it twice and you will be able to do it in under three minutes.
The Side-Swept Grow-Out Bob
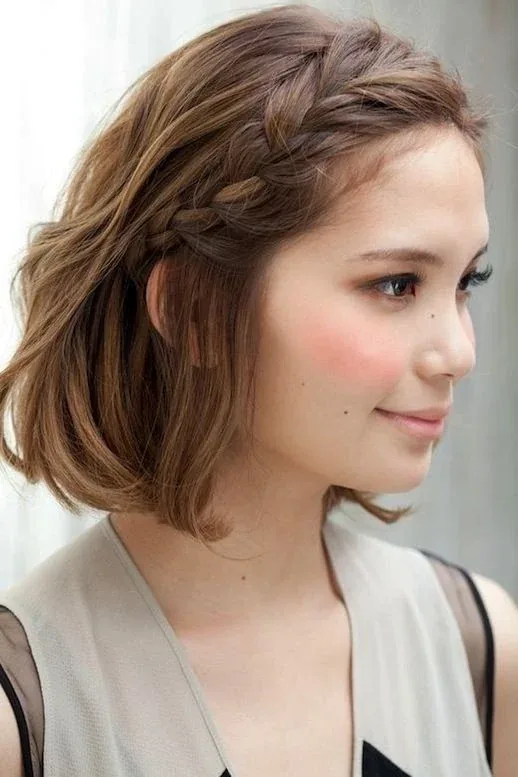
If your bangs are growing out on a bob, the side-swept grow-out bob is your best friend. The whole cut is short enough that the front pieces blend in quickly, and sweeping them to one side gives the bob an asymmetric, modern shape that looks like a fresh haircut rather than a grow-out in progress.
Blow-dry the bob with a round brush, lifting at the roots on the heavier side, and curl the ends under for a neat finish. Sweep the front section across the forehead and tuck the very ends behind your ear on the lighter side, so the shape stays balanced. A shine serum on the ends adds polish without weighing the bob down.
Who should avoid it: anyone with a strong cowlick at the front, which will fight the sweep all day. For cowlick hair, a middle-parted curtain shape on a bob works better than a deep side sweep. Everyone else can wear this style from the first month of the grow-out onwards.
The Half-Up Top Knot That Hides the Length
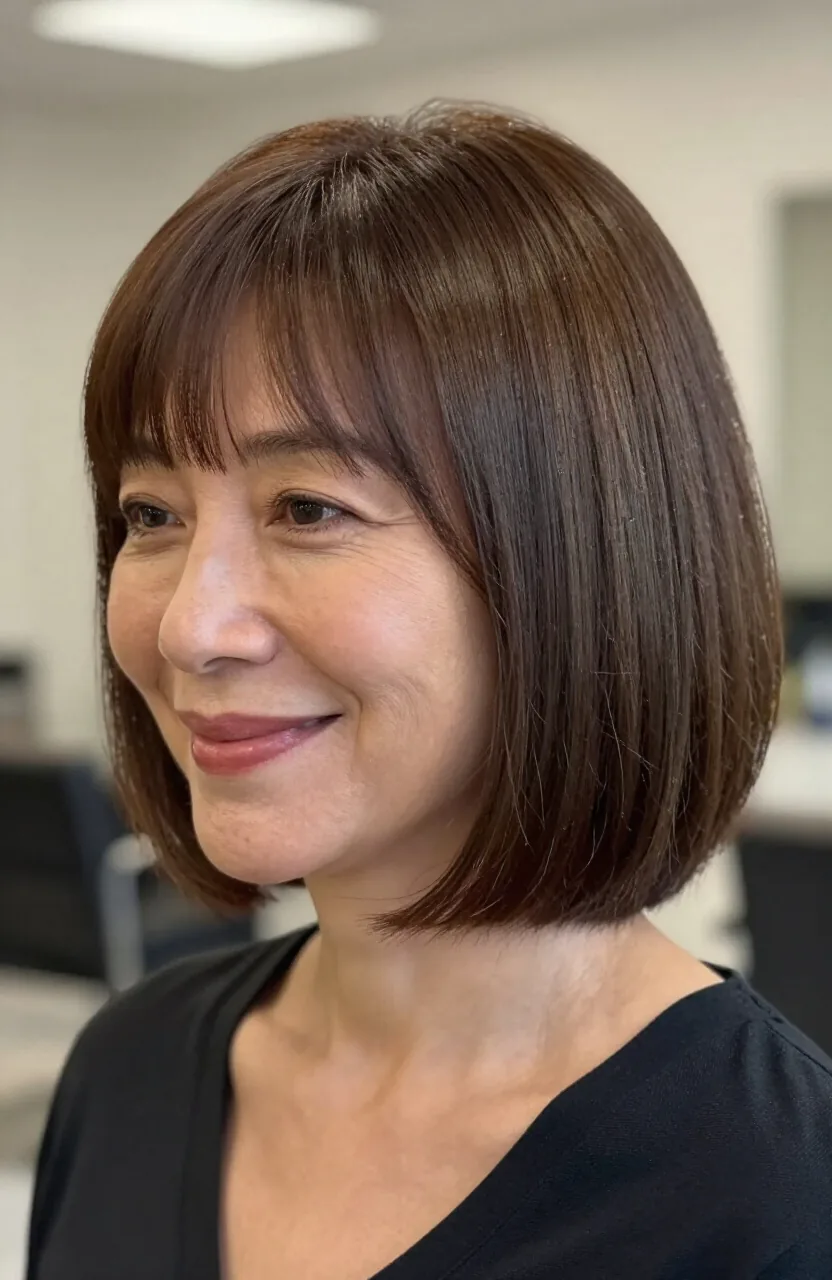
The half-up top knot is the grow-out style that hides the bangs completely while showing off the rest of your hair. Gather the top half — bangs included — into a small knot at the crown, and let the bottom half fall loose. The front pieces vanish into the knot, and the style looks playful and modern instead of improvised.
Keep the knot small and slightly messy rather than tight and perfect — a soft, textured knot reads intentional, while a scraped-tight one shows every stray piece. Pull out two tiny wisps at the front to soften the hairline, and secure the knot with a small elastic and one pin. It takes two minutes and survives the whole day.
Best for: medium and long hair, and anyone whose bangs are at nose length or longer — below that, the knot will not hold the short pieces. It also works beautifully on second-day hair, when the natural texture gives the knot grip it would not have on freshly washed hair.
The Crossed Bobby Pin Fix
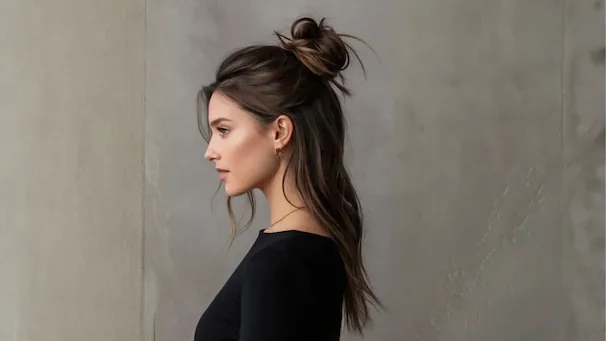
Sometimes the grow-out does not need a style at all — it needs two bobby pins, crossed. The crossed bobby pin fix is the simplest trick in this whole guide: sweep the bangs to one side, cross two pins over the section, and the front stays put all day. It is not glamorous, and it is the trick every hairstylist uses when nobody is watching.
The secret is the cross. A single pin slides out because the hair moves underneath it; two pins crossed in an X lock each other in place and grip the hair from both directions. Slide them in against the direction the hair wants to fall, push them flat against the scalp, and hide them under a strand of hair if you want them invisible.
Quick verdict: the cheapest, fastest grow-out fix there is, and it works on every hair type. Use pins that match your hair colour for an invisible finish, or use decorative pins — tortoiseshell, gold or pearl — and turn the fix into the feature. Either way, keep spares in every bag you own.
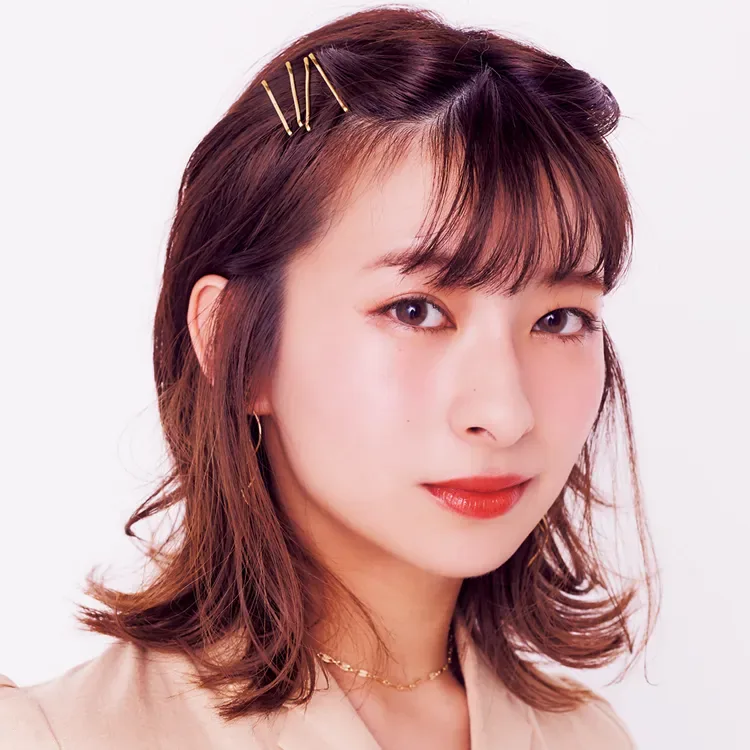
The Braided Headband Grow-Out
The braided headband takes the growing front section and turns it into an accessory. Braid a section from just above one ear, across the front of your head, and pin it behind the other ear — the braid sits like a headband, the bangs are completely hidden, and the style looks like you spent twenty minutes on it when it took five.
Braid loosely and pull gently at the loops to widen the braid, so it looks soft and full rather than thin and tight. Leave the rest of your hair down and loose, or gather it into a low ponytail, and let a few soft pieces fall around your face to balance the braid. A little texturising spray before you braid gives fine hair the grip it needs.
Common mistake: braiding too far back from the hairline, which leaves a gap of loose bangs poking out in front of the braid. Start the braid right at the hairline, and check in the mirror that no short pieces are escaping in front of it. One stray piece ruins the illusion.

The Swooped Blowout
The swooped blowout is the grow-out style for the days when you want to look like you just left the salon. Blow-dry the front sections with a large round brush, sweeping them up and over to one side, and the bangs become a soft, voluminous swoop that frames your face like a vintage wave. It is the most polished thing you can do with growing bangs.
Work in sections and let each one cool before you move on — cool hair holds its shape, warm hair falls flat. A volumising mousse at the roots before you dry gives the swoop lift, and a light-hold spray at the end keeps it in place without stiffness. The whole blowout takes about fifteen minutes, and the swoop itself takes two.
Cost and time: fifteen minutes at home, or the price of a salon blowout if you book one. It holds best on freshly washed hair, and it looks even better the next morning if you sleep with the swoop loosely pinned. Book it for the days that matter — the swoop is worth the effort.
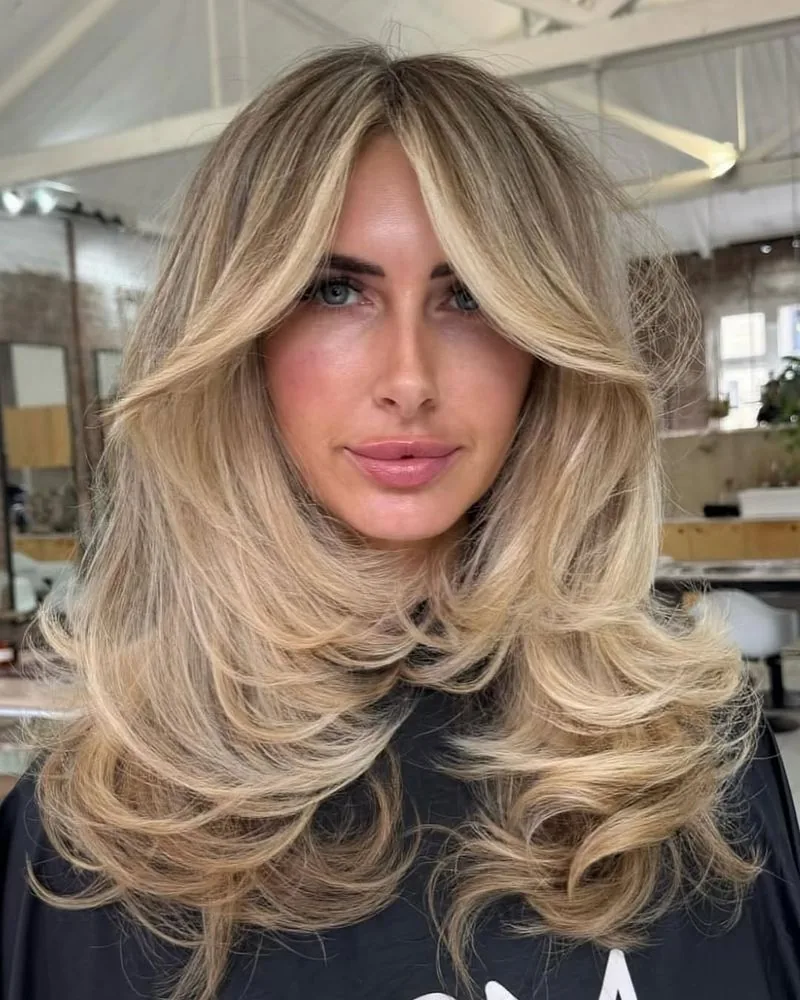
The Low Ponytail with Face-Framing Grow-Out Pieces
A low ponytail with face-framing grow-out pieces turns the awkward front length into the prettiest part of the style. Gather the hair low at the nape, secure it, and let the growing bangs fall free on either side of your face. The ponytail looks neat and deliberate, and the front pieces look like face-framing layers you paid for.
The trick is leaving the right amount out. Pull the front sections free after you tie the ponytail, not before, so you can judge how much to leave — about two inches on each side is the sweet spot. Curl the pieces very lightly with a flat iron, curving them away from your face, and they will fall like layers instead of poking forward.
Best for: bangs at cheekbone length or longer, and anyone who wants a grow-out style that takes one minute. It suits the gym, the office and a dinner out equally well, and it keeps the hair completely out of the way while still looking soft and finished.

The Messy Bun with Grow-Out Tendrils
The messy bun with grow-out tendrils is the style that makes a grow-out look effortless, because it uses the mess. Gather the hair into a loose, high bun, let the growing bangs fall free around your face, and the whole look reads relaxed and romantic — the tendrils are not a mistake, they are the point of the style.
Keep the bun soft and textured rather than tight: twist the hair loosely, pin it with two or three pins, and pull gently at the edges to create volume. The tendrils should be uneven — one a little longer than the other — because perfect symmetry makes a messy bun look studied instead of carefree. A little dry shampoo at the roots gives the bun the grip it needs.
Pros: two minutes, no tools, and it looks better on second-day hair than on fresh hair. Cons: very short bangs will not reach tendril length, so this style belongs to month three onwards. Before that, pin the front back and let the bun do the talking.

The Dutch Braid Crown
The Dutch braid crown is the grow-out style that looks like a special occasion, and it hides the bangs completely. Dutch-braid from one side of your head, working around the crown and adding hair as you go, and pin the end underneath where the braid began. The front pieces vanish into the braid, and the style holds for hours without a single pin slipping.
Bring the braid outwards so it sits on top of your hair rather than sinking into it — that is what makes a Dutch braid look like a crown instead of a flat plait. Pull gently at the loops to soften the braid and add volume, and let a few tendrils escape at the front for a relaxed finish. It survives wind, dancing and long days better than any other style here.
What to ask a stylist: for the braid to start just behind the hairline, so it catches the shortest front pieces without pulling at your scalp. The braid should feel secure but never tight — a headache by the second hour means it was braided too firmly, and a looser braid will hold just as well.
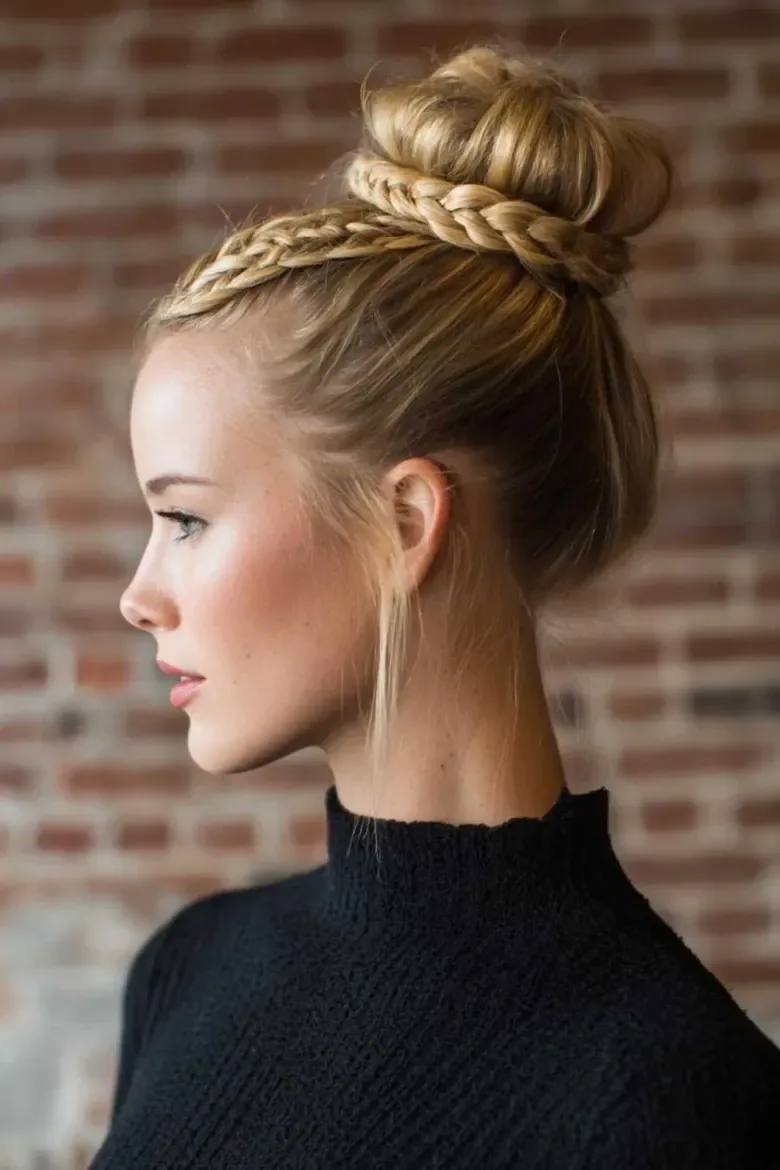
The Deep Side Part with Blended Layers
The deep side part with blended layers is the grow-out style that makes the bangs disappear by turning them into layers. Part the hair deeply to one side, and let the front pieces fall into the longest layers at the sides — the grow-out line vanishes, and the whole cut looks like it was designed that way from the start.
Ask your stylist for long, face-framing layers that start at the length your bangs have reached, so the blend is real and not just styling. At home, blow-dry the front with a round brush, curving it back and away from the face, and the layers will fall into place. A shine serum on the mid-lengths adds polish without weight.
Maintenance: a trim every eight to ten weeks keeps the layers fresh and the blend seamless. Skip the trims and the layers grow out unevenly, which brings the grow-out line back. This style rewards a little upkeep — and it is the fastest route to bangs that no longer look like bangs.
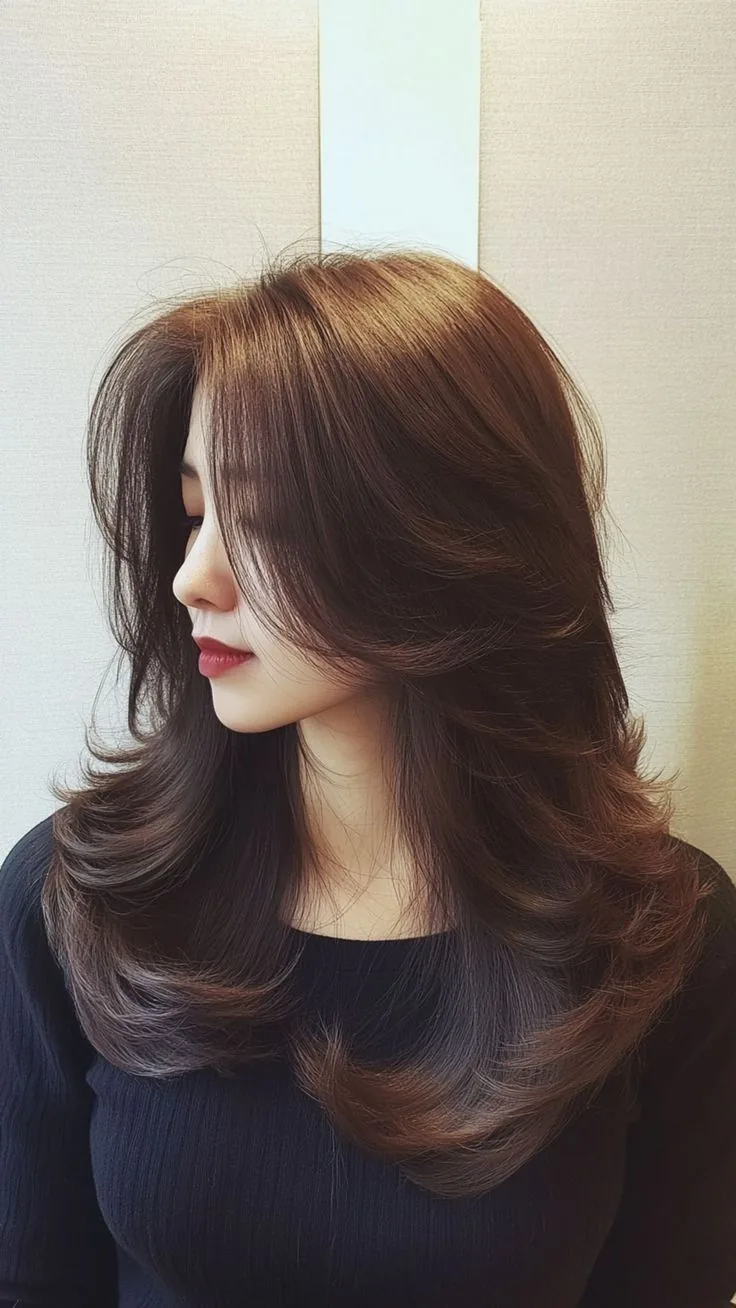
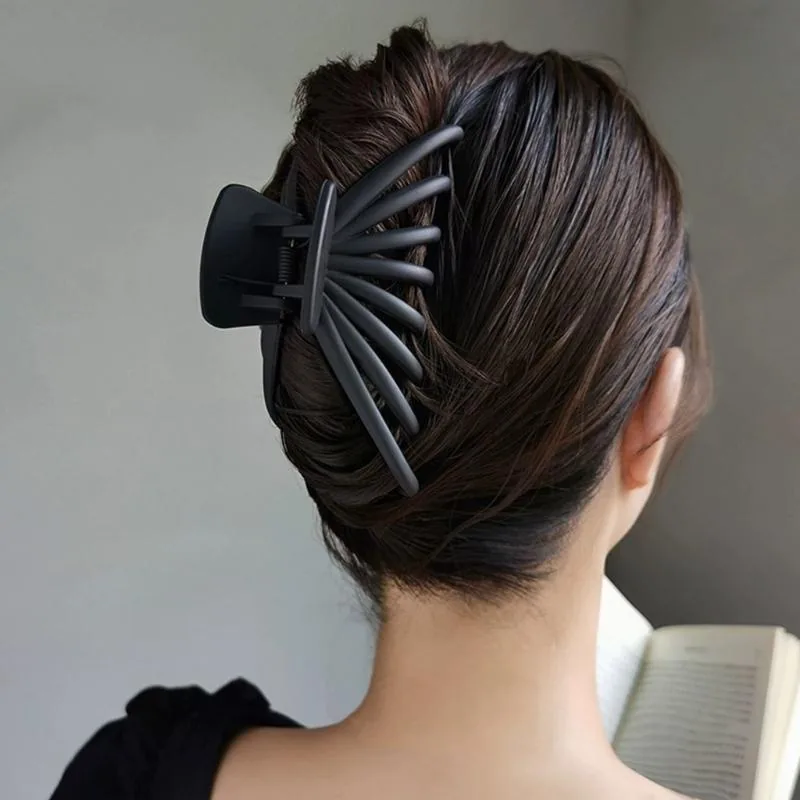
The Claw Clip Twist
The claw clip twist is the grow-out hero of the last two years, and for good reason: it takes the whole front section — bangs included — twists it up and clips it in place in ten seconds, and the result looks chic instead of improvised. Twist the hair up from the nape, fold it over, and clip it with a medium claw clip. Done.
Choose a clip that matches your hair volume: a small clip will pop open on thick hair, and a huge clip will swallow fine hair. The twist should be loose and a little messy, with the ends tucked under the clip or left poking out for a relaxed look. Pull two small pieces free at the front and the style looks deliberate rather than rushed.
Cost and time: one clip, ten seconds, and it works on damp hair, dry hair and third-day hair. Best for: bangs at chin length or longer, when the front pieces are long enough to reach the twist. Shorter bangs can be pinned first and clipped second — the clip holds the pin in place.
The Padded Headband Tuck
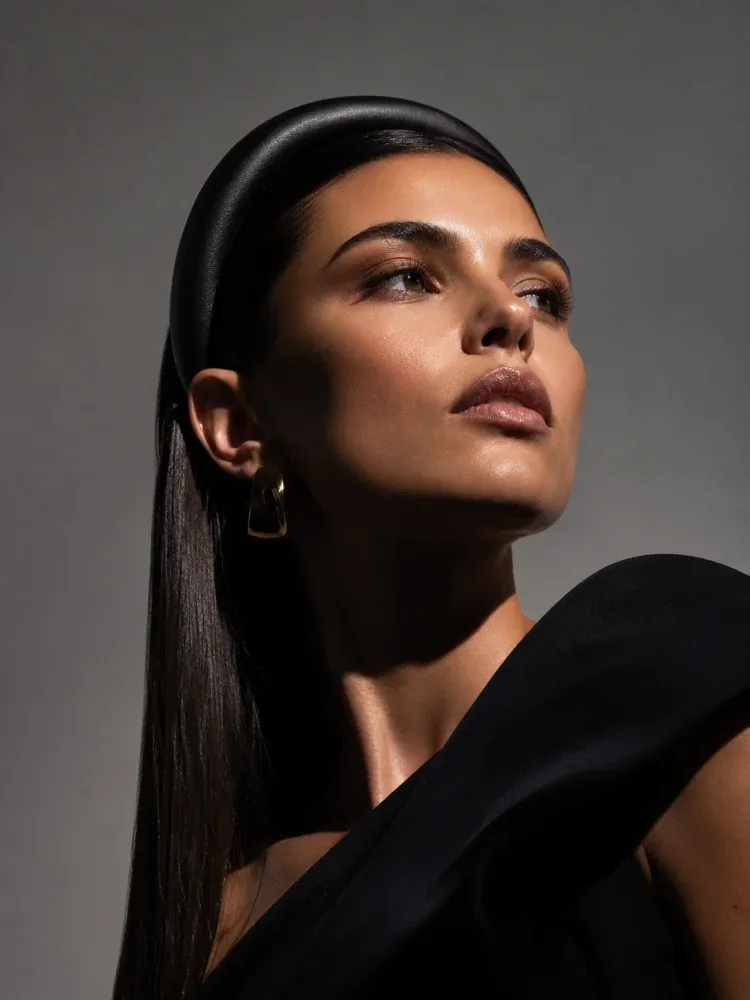
The padded headband tuck is the grow-out style for the days when you want the bangs gone entirely. Slide a padded headband on about an inch back from the hairline, tuck the front pieces up and under it, and the bangs disappear — the headband holds them flat and the style looks polished, preppy and completely intentional.
Place the headband a little further back than feels natural, so it catches the bangs at their roots rather than their tips — that is what stops them sliding forward. A velvet or fabric-covered headband grips better than a smooth plastic one, and a headband in a colour close to your hair looks elegant where a bright one reads playful. Both are fine; pick the mood you want.
Common mistake: pushing the headband too far forward, which leaves a puff of bangs in front of it and a headache by lunchtime. An inch back from the hairline is the sweet spot. If the headband slides, anchor it with one bobby pin behind each ear and it will stay all day.
The Two-Strand Twist at the Front
The two-strand twist at the front is the simplest braid-adjacent grow-out trick there is, and it works on hair that refuses to braid. Take two small sections at the front, twist them around each other away from your face, and pin the twist behind your ear. The bangs are hidden, the twist looks delicate, and the whole thing takes ninety seconds.
Twist loosely and let the pieces be a little uneven — a perfect twist looks stiff, while a slightly relaxed one looks soft and natural. Do one twist on each side for symmetry, or a single twist on the heavier side for an asymmetric look. A tiny elastic hidden under a strand of hair holds the end, and one pin behind the ear finishes it.
Best for: wavy and curly hair, where the twist holds its shape naturally, and anyone whose bangs are too short to braid but too long to leave alone. It also works beautifully as a half-up detail: twist both sides, meet them at the back, and pin them together like a tiny crown.
The Wavy Lob Grow-Out
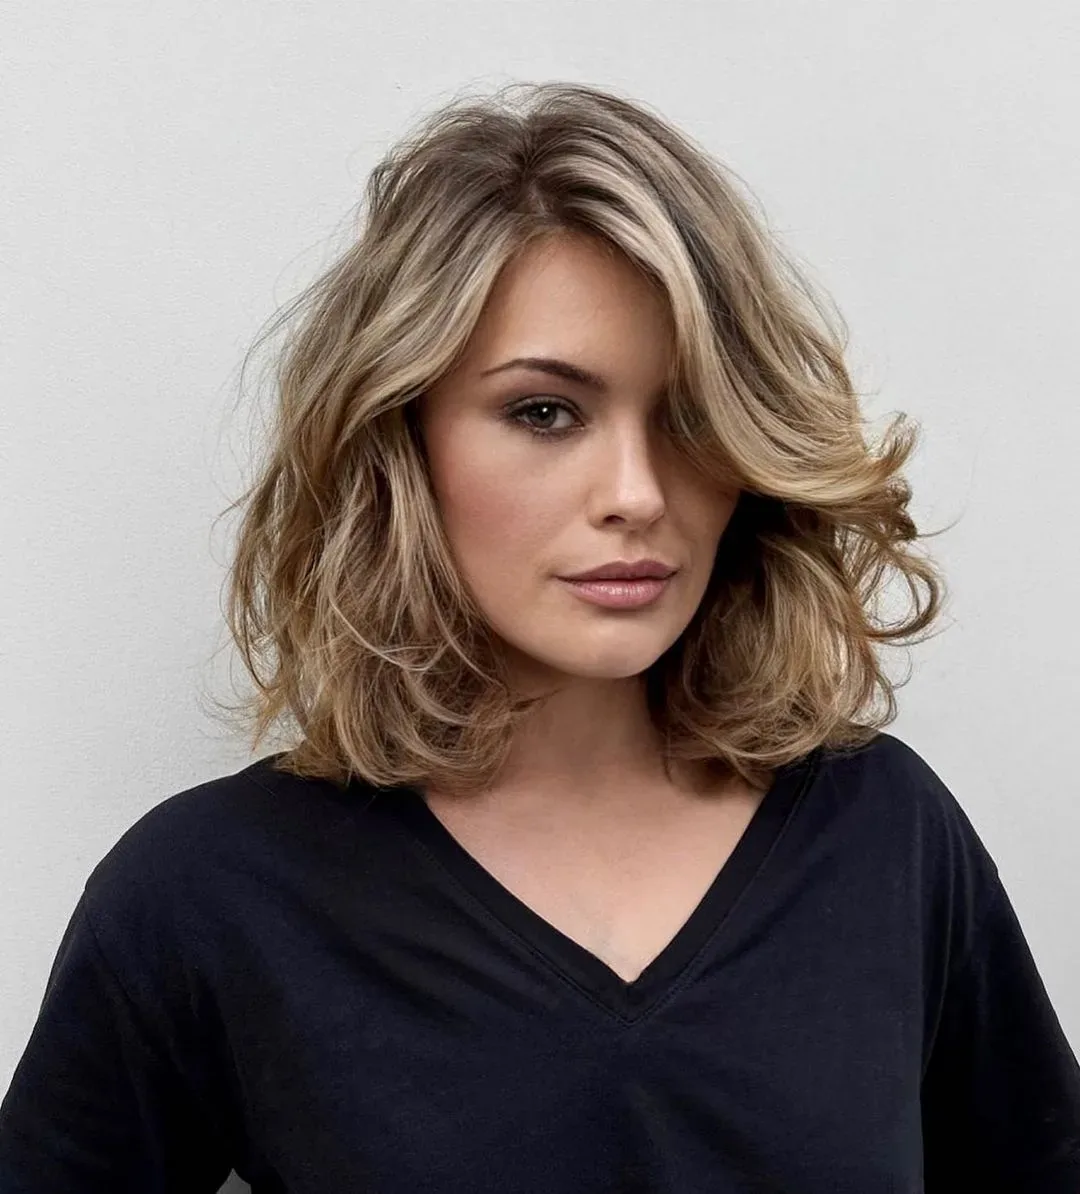
The wavy lob grow-out works because waves forgive everything. When the bangs are growing out on a lob, the natural wave disguises the length difference, and the whole cut reads as a textured, beachy shape instead of a grow-out in progress. Scrunch in a little texture spray, let the waves do their work, and the bangs simply become part of the texture.
Enhance the wave with a large-barrel iron, curling sections away from your face, then break the curls up with your fingers so they fall into soft, uneven waves. Sweep the front pieces to the side or part them in the middle — both work on a wavy lob — and let one piece fall a little longer than the other for a natural, lived-in shape.
Pros: it hides the grow-out better than any straight style, and it needs almost no maintenance. Cons: very straight hair will need heat to create the wave, and humidity can flatten it by the afternoon. A little texturising spray at the start buys you several extra hours.
The Slicked-Back Grow-Out
The slicked-back grow-out is the boldest style on this list, and the one that makes growing bangs look like a fashion choice. Brush the front sections straight back with a little smoothing cream or gel, secure the rest into a low bun or ponytail, and the bangs become a sleek, glossy sweep with no awkward length in sight.
Work on damp hair for the best result: smooth a pea-sized amount of styling cream through the front, brush it back with a fine-tooth comb, and let it dry in place. The finish should look glossy and intentional, not wet and greasy — use less product than you think you need, and add more only if the flyaways refuse to lie down.
Who should avoid it: anyone who dislikes a tight, pulled-back feeling, or whose hairline is very high — a slicked-back style shows the whole forehead, and not everyone wants that. For everyone else, it is the fastest way to look polished with bangs at any length, and it pairs beautifully with statement earrings.
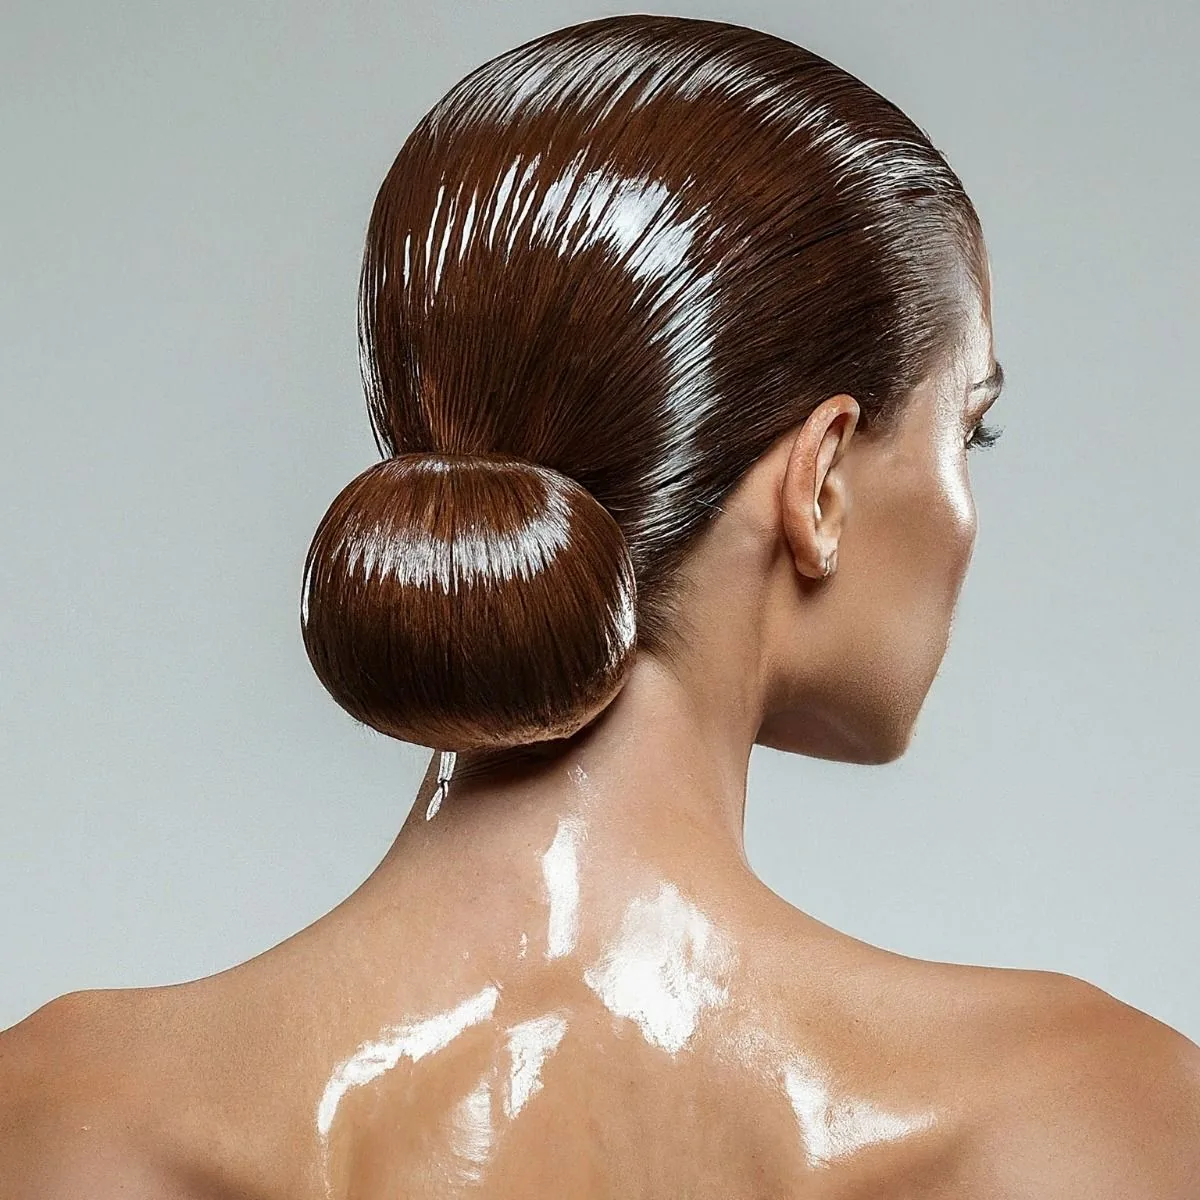
The Braided Side Ponytail
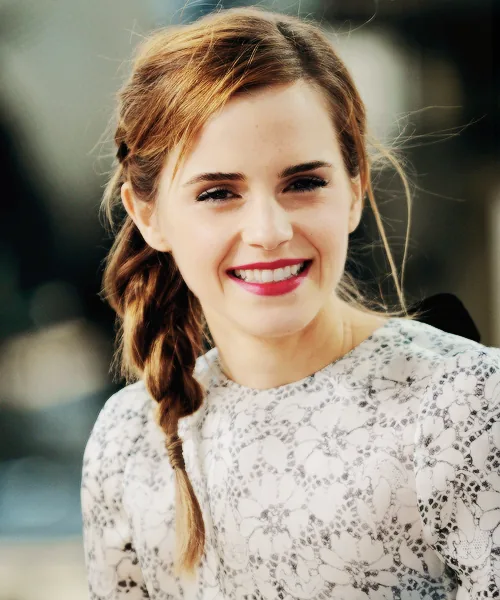
The braided side ponytail solves the grow-out and the bad-hair day in one move. Sweep everything — bangs included — to one side, braid it loosely, and tie it low over your shoulder. The front pieces disappear into the braid, the style keeps your hair completely out of the way, and it looks romantic rather than improvised.
Braid loosely and pull gently at the loops to widen the braid, so it looks soft and full rather than thin and severe. Start the braid a little lower than the ear, so the front pieces have room to join it naturally, and finish with a small elastic wrapped in a strand of hair. A few soft pieces pulled free at the front balance the shape.
Best for: long hair, and anyone who wants a grow-out style that survives a workout, a windy day or a long afternoon without a touch-up. It also looks lovely in photos, since the braid falls over one shoulder and frames the face from the side.
The Textured Pixie Grow-Out
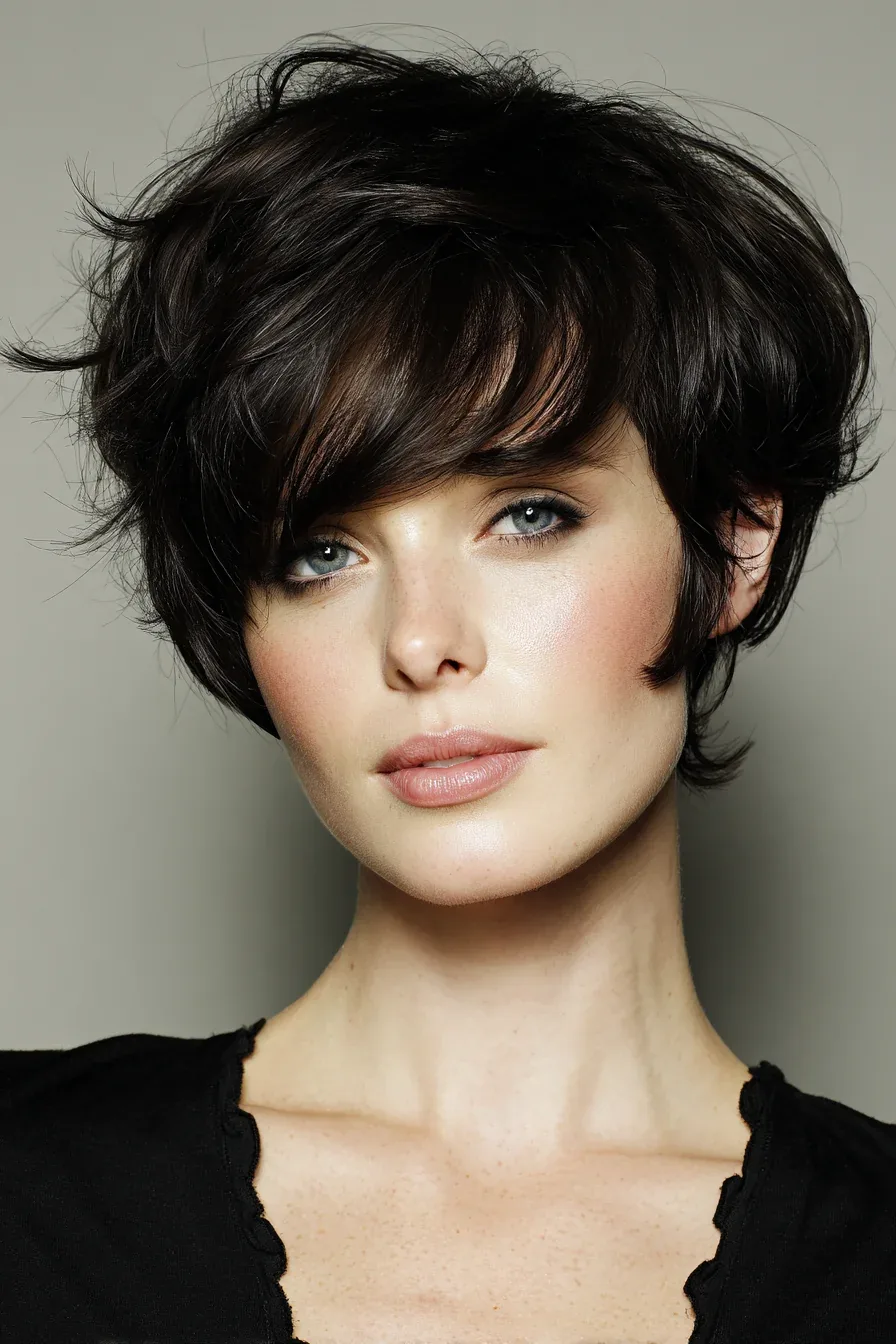
Growing bangs out on a pixie is its own adventure, because the whole cut is short and every millimetre shows. The textured pixie grow-out leans into that: work a little texturising paste through the front pieces, push them to one side or up and back, and the growing length becomes a piecey, modern fringe instead of an awkward in-between stage.
The key is texture, not length. A matte paste or clay, warmed between your palms and worked through the front sections, gives the pieces separation and hold without shine or weight. Push the front up and back for a soft quiff, or sweep it to the side for a longer, sleeker shape — both read as a style, not a grow-out.
Maintenance: a pixie grow-out needs the most frequent trims of any style here, because the back and sides grow faster than the front and the shape goes lopsided quickly. A tidy-up every four to five weeks keeps the shape while the bangs catch up, and the grow-out is over faster than you think.
The Middle Part Curtain Blend
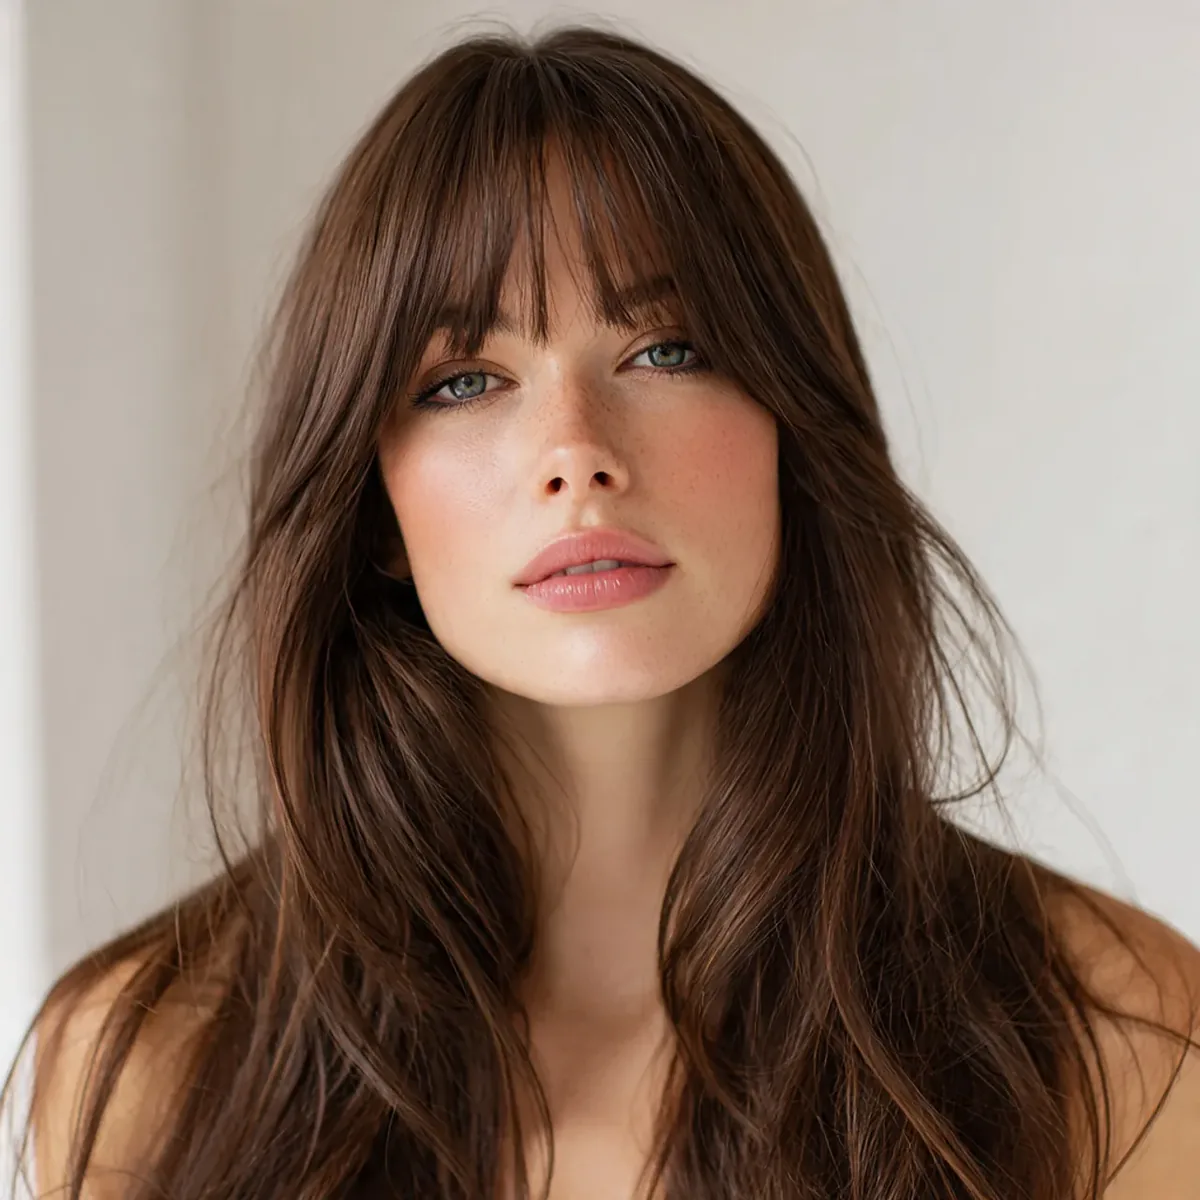
The middle part curtain blend is the grow-out style for the days when you want to look like you have curtain bangs on purpose — because, at this point, you do. Part the front down the middle, let the pieces fall on either side of your face, and blend them into the longer layers behind them. The grow-out line disappears, and the face-framing shape looks like a salon cut.
Blow-dry each side with a round brush, curving the hair back and away from the face, and let it cool before you touch it. The curve is what sells the curtain — without it, the pieces fall straight down and look like two limp flaps. A little dry shampoo at the part stops the front from separating and showing the scalp.
Common mistake: making the middle part too long, which splits the whole head in half and shows the grow-out line at the crown. Keep the part short — two or three inches — and let the rest of the hair fall naturally over it. The curtain should frame the face, not divide the head.
The Scarf Headband Style
The scarf headband style is the grow-out trick that doubles as an accessory. Fold a silk scarf into a band, tie it around your head like a headband, and tuck the growing bangs up and under it. The scarf holds the front flat, hides the length completely, and adds colour and personality to an otherwise plain day.
Choose a scarf in a colour that matches your outfit — a silk scarf reads elegant, a cotton bandana reads casual, and both work. Tie the knot at the top for a retro look or at the nape for a quieter finish, and tuck the ends in or let them fall softly. Anchor the scarf with one bobby pin behind each ear and it will not budge.
Cost and time: one scarf you already own, and about one minute. Best for: bangs at any length, and anyone who wants a grow-out style that looks like a deliberate fashion choice. It also hides second-day roots beautifully, which is a bonus nobody mentions but everyone appreciates.
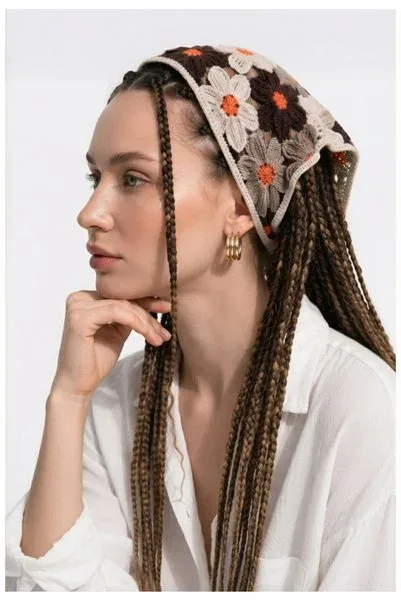
The Half-Up Braided Crown
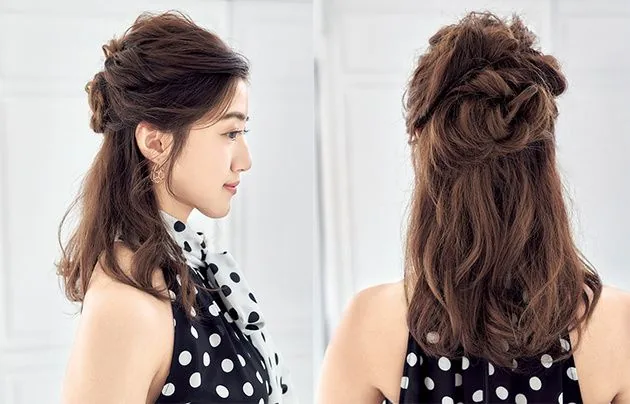
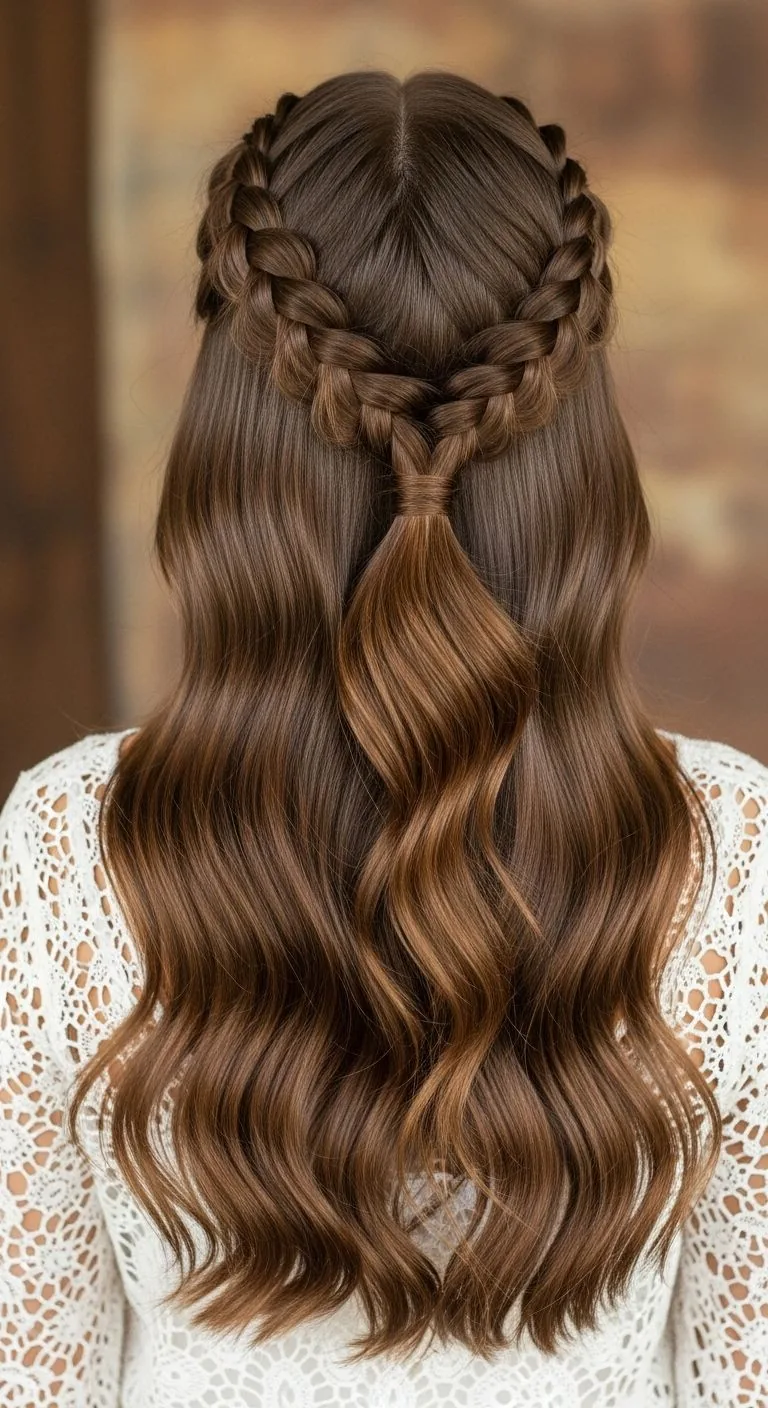
The half-up braided crown is the grow-out style that looks like a special occasion and takes five minutes. Braid a small section from each side of your head, bring them together at the back and secure them, and the growing bangs are braided away from your face while the rest of your hair falls loose and soft.
Keep the braids small and start them just behind the ears, so they catch the front pieces without pulling at your hairline. Pull gently at the loops to soften the braids, and secure them with a small elastic hidden under a strand of hair or a decorative pin. Let the remaining hair fall in soft waves for a romantic finish.
Pros: it looks far more complicated than it is, and it photographs beautifully from behind. Cons: it needs a little practice — try it once before an important day, and keep a few spare pins handy in case a short piece escapes. By the third try it will take under five minutes.
The Low Chignon with Swept Bangs
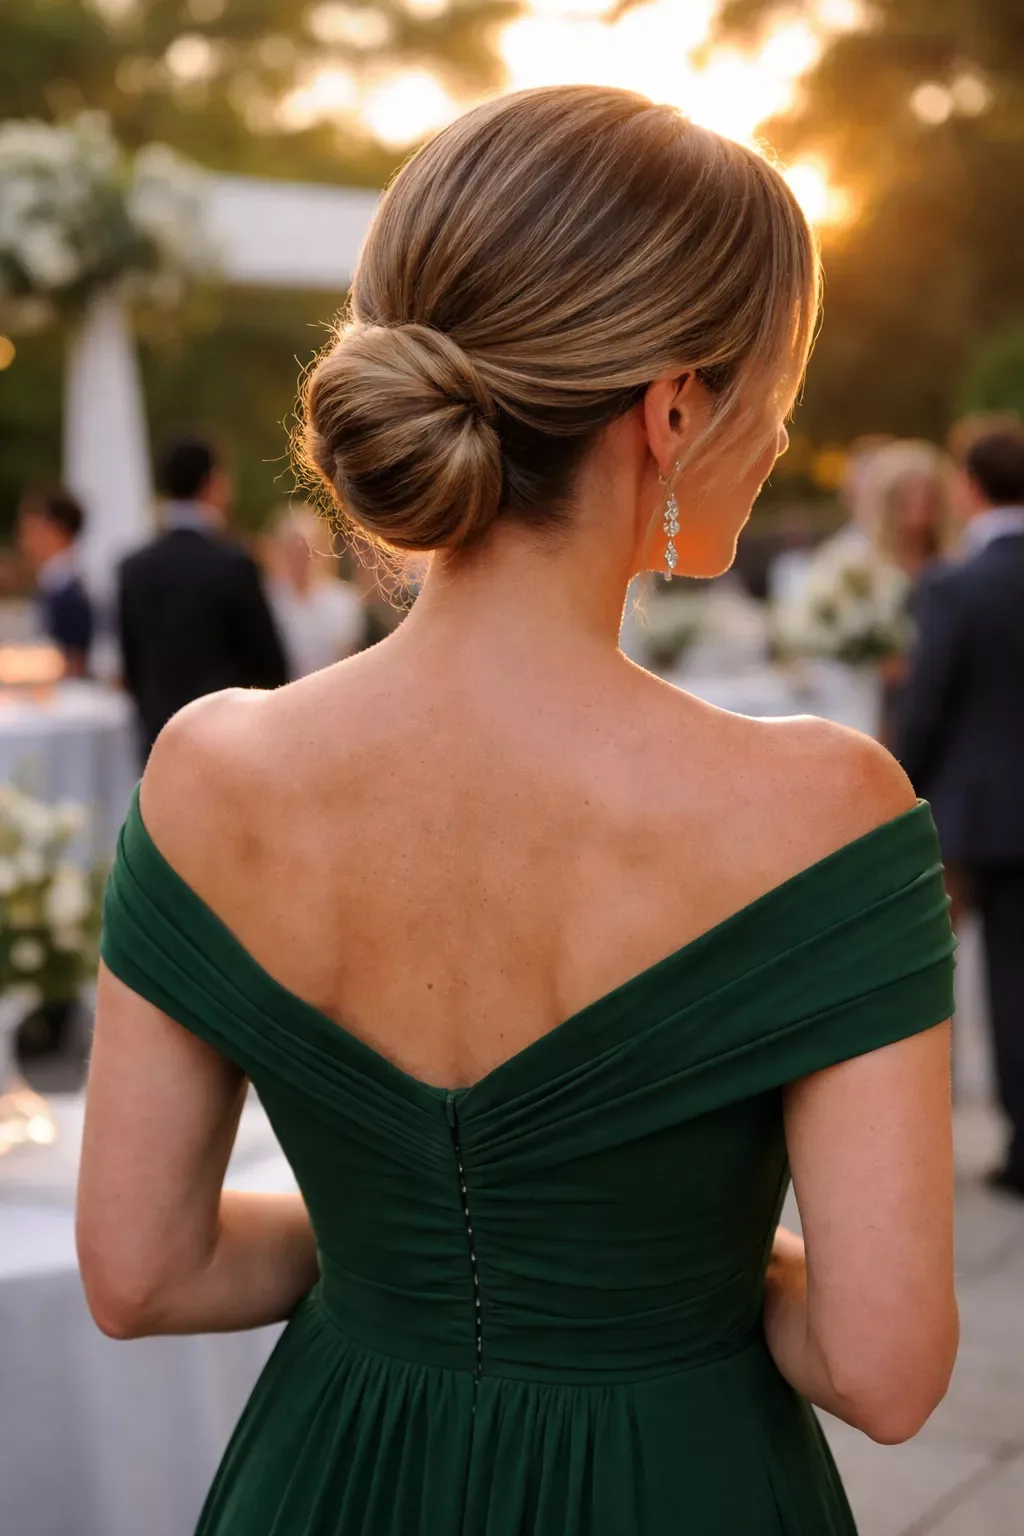
The low chignon with swept bangs is the grow-out style for the occasions that matter. Sweep the front pieces to one side, gather the rest low at the nape, and roll it into a soft chignon. The bangs become a face-framing sweep, the chignon looks elegant and timeless, and nobody at the table will guess you are growing anything out.
Smooth the hair back gently rather than scraping it tight, and leave the front soft with the deep side sweep. Twist the length into a roll, fold it under and pin it firmly, and finish with a light mist of flexible-hold spray. A single pearl pin or a slim gold clip at the side turns the chignon from a weekday updo into an evening look.
Best for: bangs at cheekbone length or longer, and anyone who wants a grow-out style that works for a wedding, a dinner or a job interview. It suits almost every face shape, and it will still look perfect when the evening runs long — which is exactly what a grow-out style should do.
Beach Waves That Hide the Length
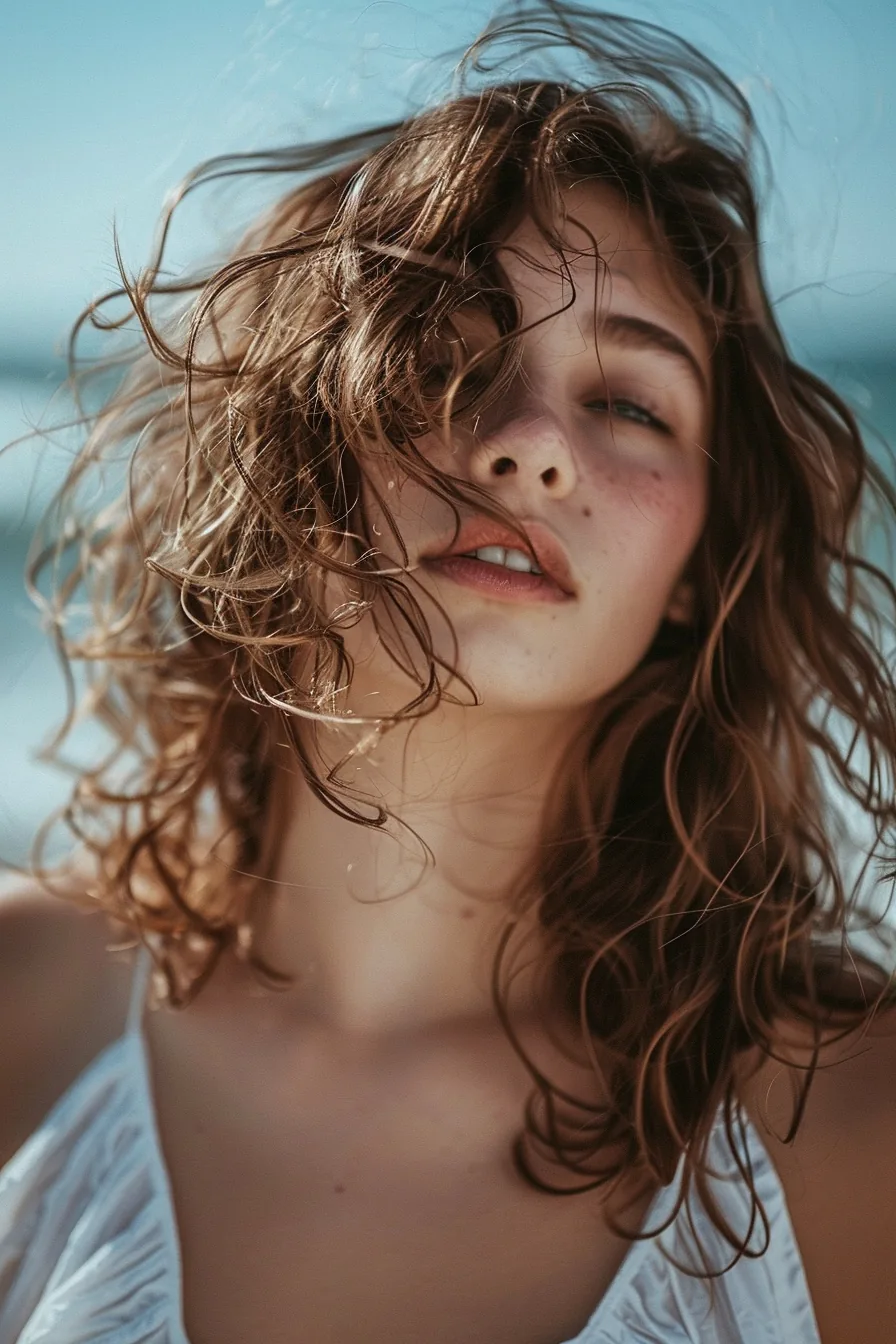
Beach waves hide a grow-out better than almost any other texture, because the uneven wave pattern swallows the length difference completely. Spray in a little sea salt spray, scrunch the hair, and let it dry naturally — the growing bangs become just another wave in the texture, and the whole style looks like a holiday rather than a grow-out.
For a more polished version, curl sections with a large-barrel iron, alternating directions, then brush through gently with your fingers to break the curls into soft, uneven waves. Sweep the front pieces to one side or part them in the middle — both work with beach waves — and let one piece fall slightly longer than the other.
Quick verdict: the lowest-effort grow-out style here, and the best one for wavy and naturally textured hair. It needs almost no tools, it looks better the messier it gets, and it is the style to reach for on the days when the bangs refuse to cooperate with anything else.
The High Top Knot with Swept Bangs
The high top knot with swept bangs is the grow-out style for the days when you want your hair completely out of the way and still want to look polished. Sweep the front pieces to one side, gather everything high at the crown, and twist it into a knot. The bangs become part of the sweep, and the knot does the rest.
Keep the knot slightly loose and textured rather than scraped tight — a soft knot is comfortable for hours, while a tight one pulls at the hairline and gives you a headache by the afternoon. Pull out two soft pieces at the front to frame the face, and secure the knot with a small elastic and one or two pins.
Maintenance: almost none. This is one of the few grow-out styles that looks the same at the end of the day as it did at the start, which is exactly what you want on a busy day. It also works on second-day and third-day hair, when the natural texture gives the knot extra grip.
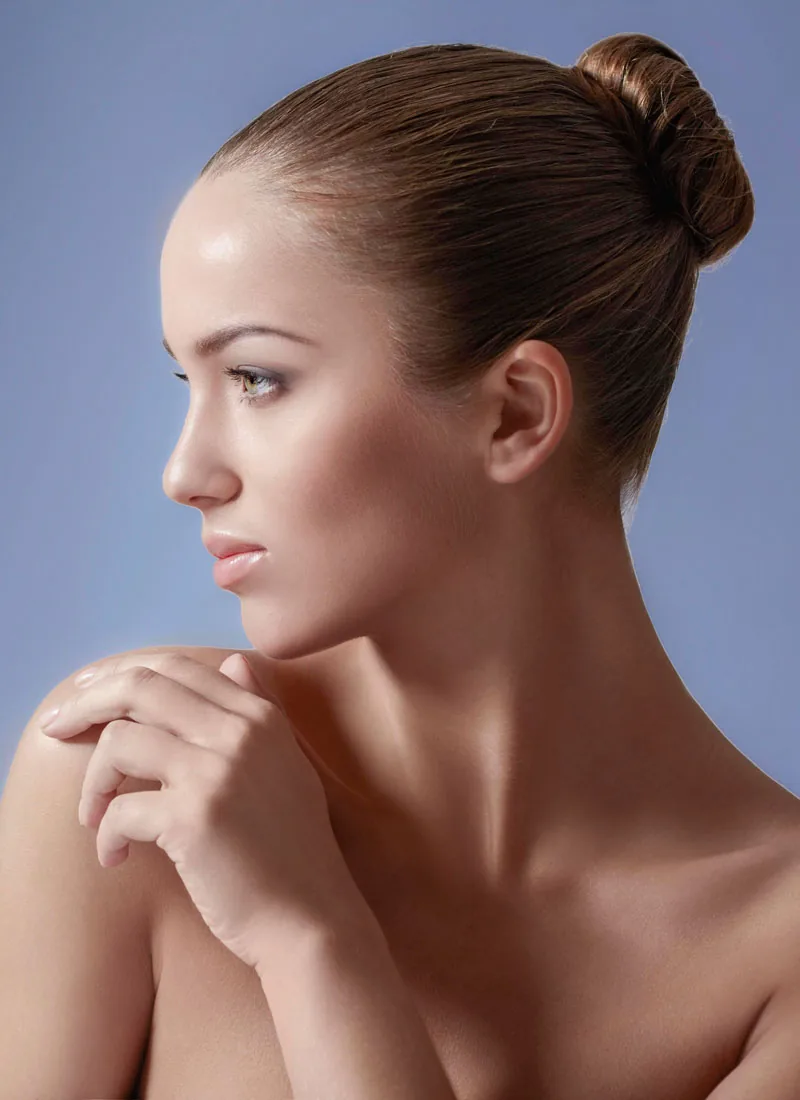
The Faux Bangs Pin-Back
The faux bangs pin-back is the grow-out trick for the days when you miss having bangs — it gives you the look of a fringe without cutting anything. Take the front section, roll it under at the hairline to create a soft, rounded edge, and pin it flat. From the front it reads as a short, soft fringe; from the side it is clearly pinned, and nobody minds.
Roll the section loosely rather than tightly, and pin with two crossed bobby pins so the roll cannot unravel. The roll should sit just above the eyebrows and look soft and rounded, not flat and hard. A little texturising spray before you roll gives fine hair the grip it needs, and a light-hold spray at the end keeps the shape.
Common mistake: making the roll too big, which looks like a headband rather than a fringe. Keep it small — about an inch deep — and let the rest of the hair fall naturally behind it. The illusion works best when the roll is subtle, and it is the most fun trick in this whole guide.
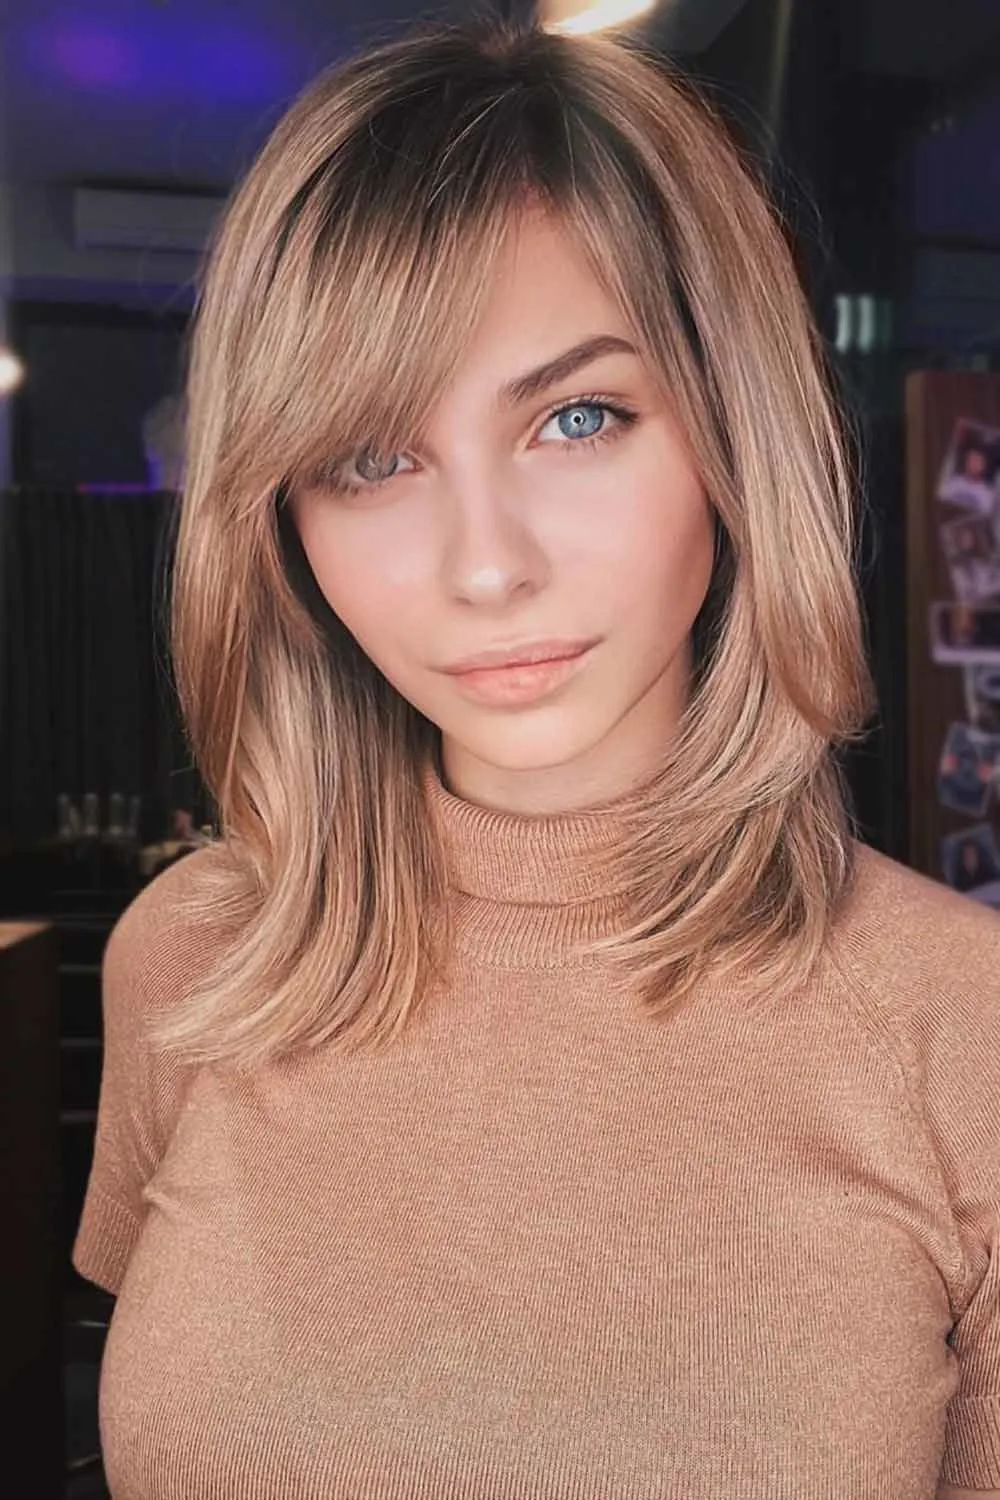
Braided Pigtails for the In-Between Stage
Braided pigtails are the grow-out style nobody expects, and that is exactly why they work. Part the hair down the middle, braid each side loosely, and tie them low. The growing bangs disappear into the braids on each side, the style looks playful and youthful, and it keeps every strand out of your face all day.
Braid loosely and pull gently at the loops to widen the braids, so they look soft and full rather than thin and schoolgirl-tight. Start the braids just behind the ears so they catch the front pieces, and leave a few soft strands free at the front to keep the look grown-up rather than childish. A small elastic wrapped in a strand of hair finishes each braid.
Best for: casual days, workouts and weekends, and anyone whose bangs are long enough to reach the braids — usually month three onwards. It is not the style for a formal dinner, but it is the most practical grow-out style here, and it survives wind, rain and long days without a touch-up.
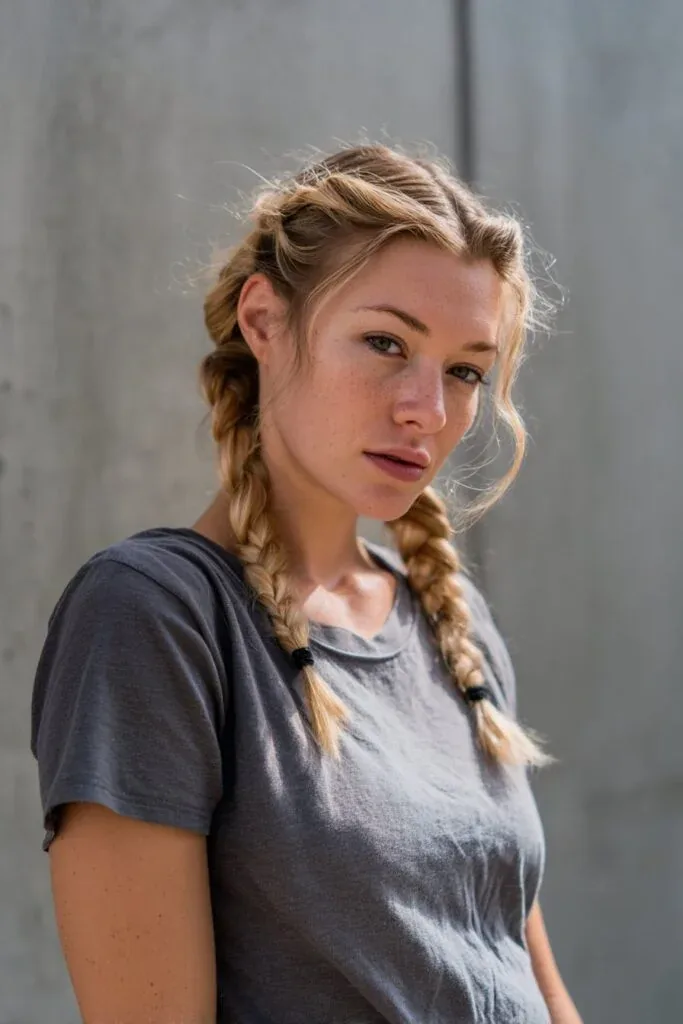
Side-Swept Curls with Grown-Out Bangs
Side-swept curls with grown-out bangs are the grow-out style for the evenings that matter. Curl the hair in sections with a medium-barrel iron, sweep everything to one side, and let the growing bangs fall into the curls on the heavier side. The bangs become part of the curl pattern, and the whole style looks glamorous rather than grown-out.
Curl away from the face on the heavier side, and let the curls cool before you touch them — that is what locks in the shape. Brush through very gently with your fingers so the curls fall into soft, flowing waves rather than separate ringlets, and pin the lighter side flat behind your ear. A shine spray on the ends adds gloss.
Cost and time: about twenty minutes with a curling iron, or the price of a salon blowout. It holds best on freshly washed hair with a little volumising mousse at the roots, and it looks even better by the second hour once the curls have relaxed into soft waves.
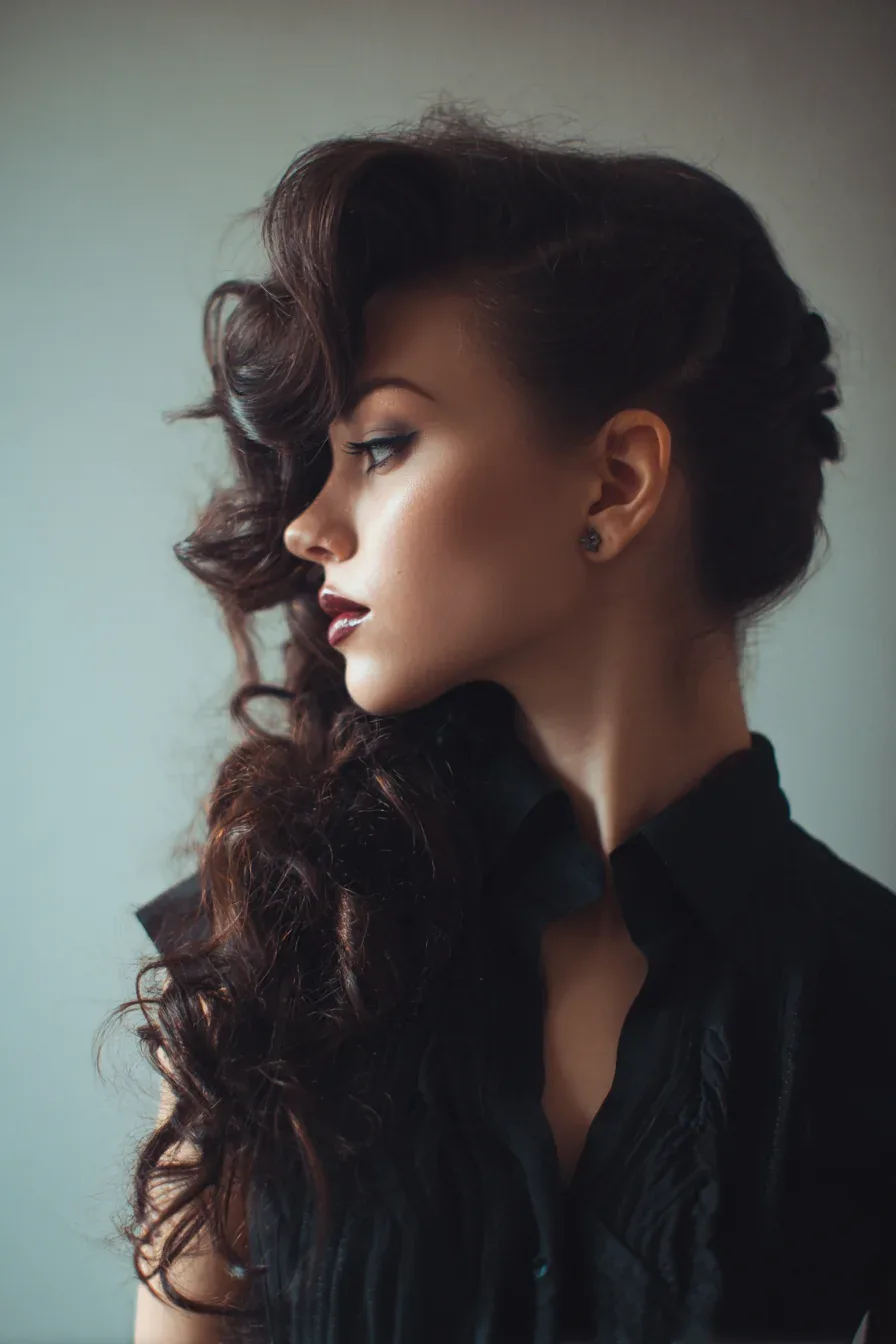
The Layered Shag Grow-Out
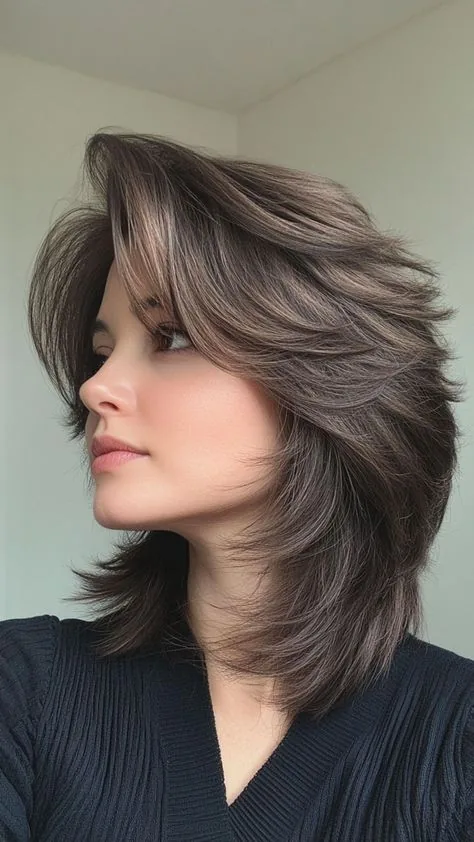
The layered shag grow-out is the style that turns a grow-out into a haircut. A shag is all layers and texture, and growing bangs melt into it perfectly — the front pieces become the shortest layer, the sides become the next, and the whole cut looks deliberately choppy and modern instead of accidentally uneven.
Ask your stylist for a shag with layers that start at the length your bangs have reached, and lots of texture through the ends. At home, work a little texturising spray through the hair and scrunch it dry — the shag should look piecey and lived-in, never smooth and polished. A flat iron through the very ends, flicking them out, adds to the shaggy shape.
Who should avoid it: anyone who loves a smooth, polished finish, because a shag is the opposite of that. For everyone else, it is the fastest way to make a grow-out look like a choice, and it grows out beautifully — which is, after all, the whole point of a grow-out style.
The Silk Scarf Wrap
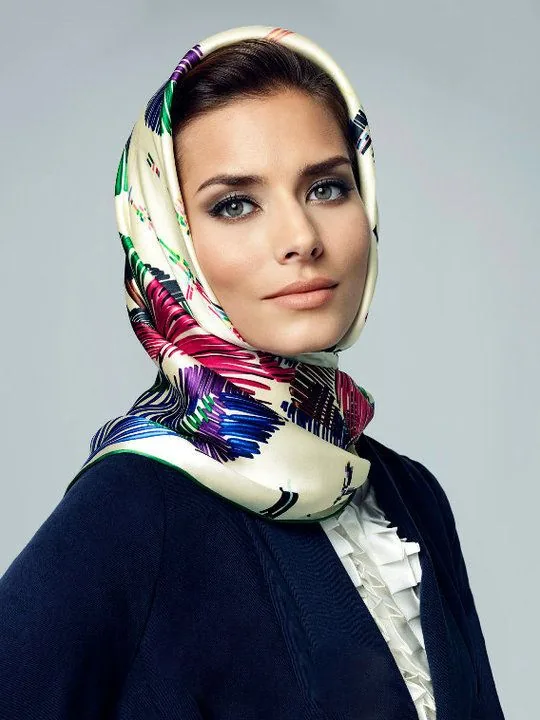
The silk scarf wrap is the grow-out style for the days when you want the bangs gone and the look elevated. Wrap a silk scarf around your head, covering the front section completely, and tie it at the nape or on top. The bangs disappear under the scarf, the style looks elegant and intentional, and it works on every hair type and at every grow-out stage.
Fold the scarf into a wide band for a headband look, or leave it wide for a full wrap that covers the crown. A silk scarf grips better than a cotton one and slides less, but either works if you anchor it with one bobby pin behind each ear. Choose a colour or print that matches your outfit, and the scarf becomes the feature of the whole look.
Pros: instant, free if you already own a scarf, and it hides second-day roots as well as growing bangs. Cons: it is a bold look, and not everyone wants a scarf on a workday. Save it for weekends, holidays and the days when the bangs are truly uncooperative.
Long Layers That Swallow the Bangs
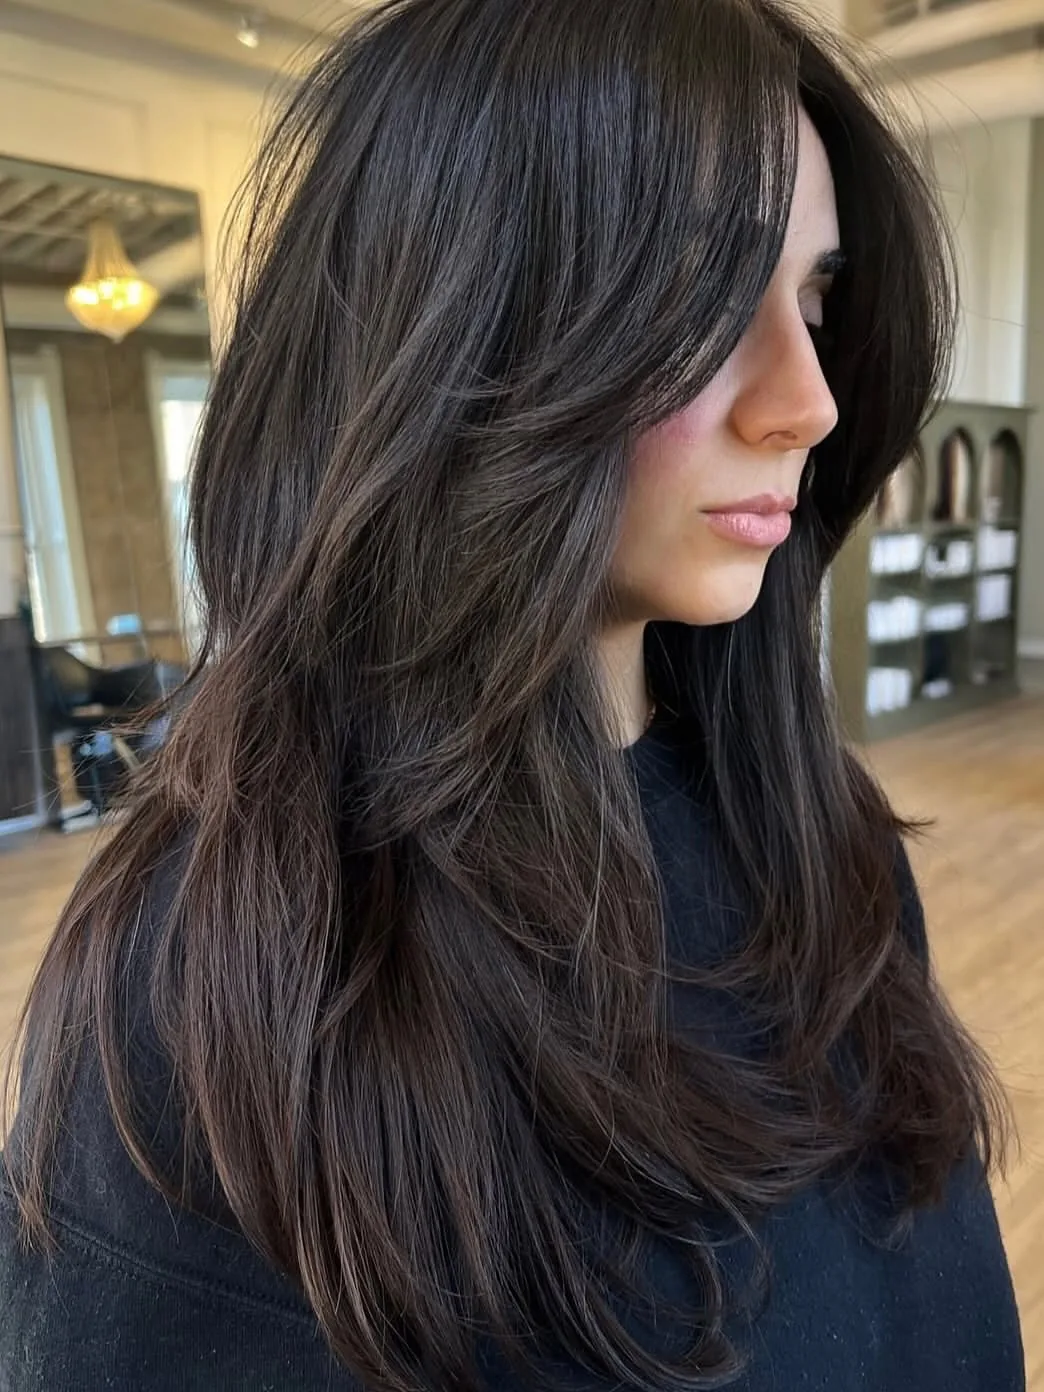
Long layers that swallow the bangs are the endgame of the whole grow-out — the style where the bangs stop being bangs and become layers. Once the front pieces reach your chin, ask your stylist to cut long, blended layers through the whole head, and the bangs melt into the shape so completely that nobody will ever know they were once a fringe.
The blend works because long layers have no single length to compare against: the front pieces fall into a cascade of different lengths, and the eye reads the whole thing as a layered cut. Blow-dry with a round brush, curving the front sections back and away from the face, and the layers will fall into place. A shine serum on the ends adds polish.
Quick verdict: if your bangs have reached your chin, this is the style to ask for — it ends the grow-out in the best possible way, by making it invisible. Book the appointment, bring a photo of the layers you want, and walk out with a haircut that looks like it was always the plan.
How long does it take to grow out bangs?
Most bangs take four to six months to reach chin length, growing roughly half an inch a month. The hardest stage is the first month, when the bangs sit between your eyebrows and your eyelashes and are too short to tuck behind your ears. By month three they usually reach your cheekbones and can be swept, pinned or braided, and by month four or five they behave like ordinary face-framing layers.
What is the best hairstyle for growing out bangs?
The best hairstyle depends on your length, but the deep side sweep, the curtain bang blend and the pinned-back front twist work at almost every stage. For bangs at cheekbone length or longer, a low ponytail with face-framing pieces or a braided crown hides the grow-out completely. The style that works best is the one you can do in two minutes and forget about for the rest of the day.
How do I keep growing out bangs out of my face?
Sweep them to one side and pin them with two crossed bobby pins, braid them along the hairline, twist them back and pin them, or tuck them under a headband or a claw clip. The crossed-pin trick is the most reliable: two pins in an X hold all day, even on fine hair. Keep spare pins in your bag, because the day you forget them is the day the wind arrives.
Should I trim my bangs while growing them out?
Trim only the damaged tips — a quarter of an inch every eight to ten weeks — and leave the length alone otherwise. A micro-trim keeps the ends healthy and even without setting the grow-out back. Never trim because you are frustrated with the shape; that is a styling problem, and scissors will only restart the clock. If the ends are split or straggly, a tiny trim is worth it.
How do I style bangs that are at my eyes?
When bangs hit your eyes, sweep them to one side with a deep part and pin the sweep with a flat clip, or blow-dry them with a round brush, curving them away from your face. A curtain parting also works at this length: part the front in the middle and let the pieces fall on either side of your face. Avoid leaving them straight down, which is what makes them poke your eyes.
Can I grow out bangs with curly hair?
Yes, and curly hair hides the grow-out better than straight hair, because the natural texture disguises the length difference. Judge the length wet, because curly bangs shrink as they dry, and never cut curly bangs dry without expecting them to spring up. Use curl cream and a diffuser, and lean on twists and braids rather than pins, which can slip out of curly hair.
What products help when growing out bangs?
Dry shampoo at the roots gives fine front pieces the grip pins need, a light texturising spray stops grown-out bangs separating into limp strands, and a flexible-hold hairspray keeps a sweep or twist in place without stiffness. Avoid heavy pomades, waxes and oils on the front sections — they weigh the hair down and make the grow-out look greasy by midday.
How do I blend bangs into layers?
Ask your stylist to cut soft, face-framing layers that start at the length your bangs have already reached, so the front pieces melt into the shape instead of hanging as a separate shelf. At home, blow-dry the front sections with a round brush, curving them back and away from your face. The blend works best once the bangs have reached cheekbone length or longer.
What should I ask my stylist when growing out bangs?
Tell them you are growing your bangs out, and ask what they would do at each stage — which layers to cut, which to leave, and how often to come in for a micro-trim. Bring photos of the look you are growing toward, ask them to show you the pinning and blow-drying technique in the chair, and ask for an honest timeline for when the bangs will reach your chin.
When will my bangs stop looking awkward?
The awkward stage usually ends around month three or four, when the bangs reach your cheekbones and then your chin and start behaving like face-framing layers. Before that, the eye-poking and nose-tickling stages each last about two weeks, and each one has a fix — a side sweep, a clip, a braid or a tuck. Knowing which stage you are in makes the wait far easier.
Conclusion: Hairstyles for Growing Out Bangs That Make the Wait Worth It
Growing out bangs does not have to mean months of bad hair days. The best hairstyles for growing out bangs work with the length you have, not against it — a deep side sweep turns too-long bangs into a face-framing curtain, a braid along the hairline turns the front pieces into a feature, and a claw clip twist or a pinned-back twist takes the bangs out of your face in seconds while looking completely deliberate.
Pick two or three tricks from this guide that match your length and your hair type, keep a few pins and a clip in your bag, and let the grow-out take care of itself. In four to six months the bangs will be layers, the awkward stage will be a memory, and your hair will look like it was always the plan.