Hairstyles For Fine Hair That Look Fuller In Photos And Videos
I have fine hair. The kind that looks full and bouncy in the bathroom mirror, then completely vanishes the second someone pulls out a camera. If you know that feeling, you’re in the right place.
Here’s the good news: fine hair actually photographs beautifully when you style it with the lens in mind. You don’t need thicker hair. You need the right cut, a little root lift, and a few camera-friendly tricks.
So I rounded up the styles my team and I keep coming back to — from the quiet luxury bob to the vampire haircut — plus the practical stuff that makes hair look fuller in photos and on video.
Most of these take five minutes or less. Let’s get into it.
Why Fine Hair Looks Thinner on Camera
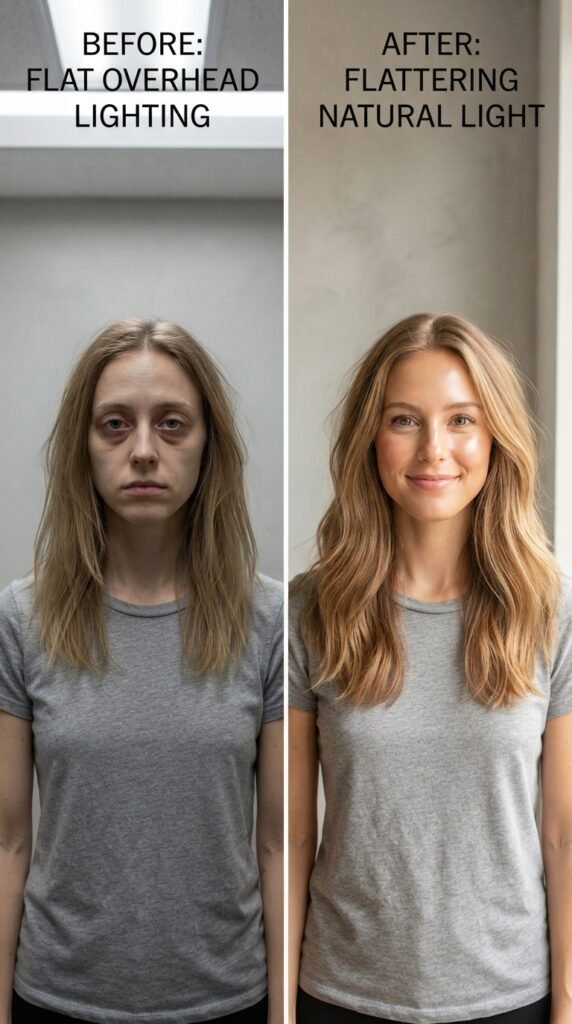
Cameras flatten everything. They compress depth, soften shadows, and steal the little gaps of light that make hair look full in real life.
Add overhead lighting or a flash, and every thin spot becomes the star of the photo. It’s not your hair’s fault. It’s the lighting.
So the goal isn’t “more hair.” The goal is creating contrast, lift, and shape that the camera can actually see.
- Flat roots read as thin
- Sharp ends read as fuller
- Shadow and light create the illusion of density
Start With Root Volume, Not End Volume
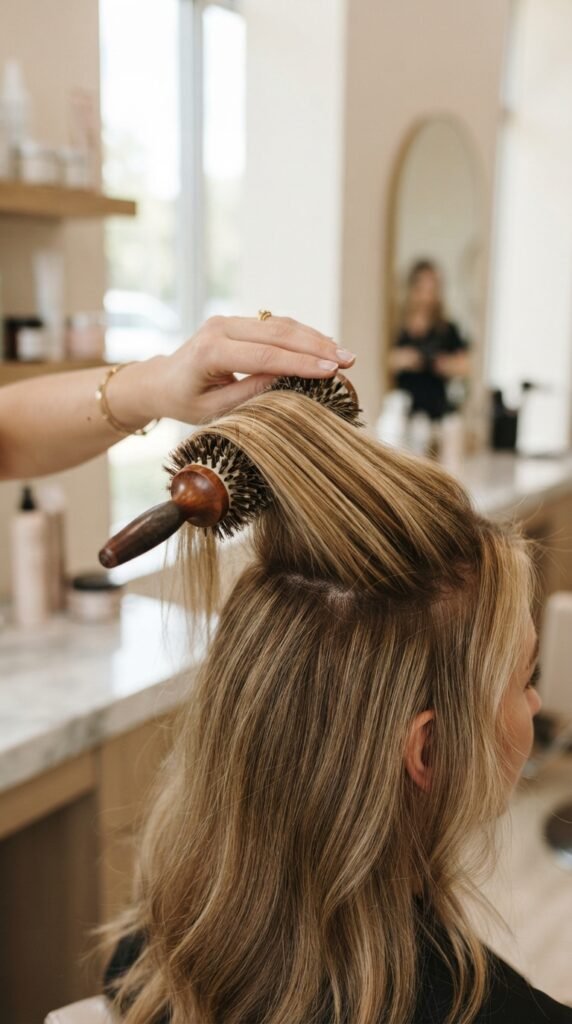
If you only fix one thing, fix your roots. Voluminous ends on flat roots look stringy. Lifted roots with simple ends look expensive.
Blow dry upside down for 30 seconds, then flip and set the roots with a round brush. That’s it. No hot tool marathon required.
On video, this matters even more because movement starts at the root. When your roots have lift, every head turn looks full.
- Use a root-lifting spray on damp hair only
- Blow dry upward, not downward
- Finish cool air to lock the lift in
The Quiet Luxury Bob for Instant Fullness

The quiet luxury bob is one of my favorite 2026 hairstyles for fine hair because it does all the work for you. Blunt-ish ends create a thick, solid line that reads as density on camera.
Keep it collarbone or shorter. Long, thin hair has nothing to grab onto visually, but a bob has structure.
Ask your stylist for a soft, slightly rounded shape with minimal internal layers. Too many layers and you lose the weight that makes the ends look full.
The Asymmetrical Lob: Angle Does the Work
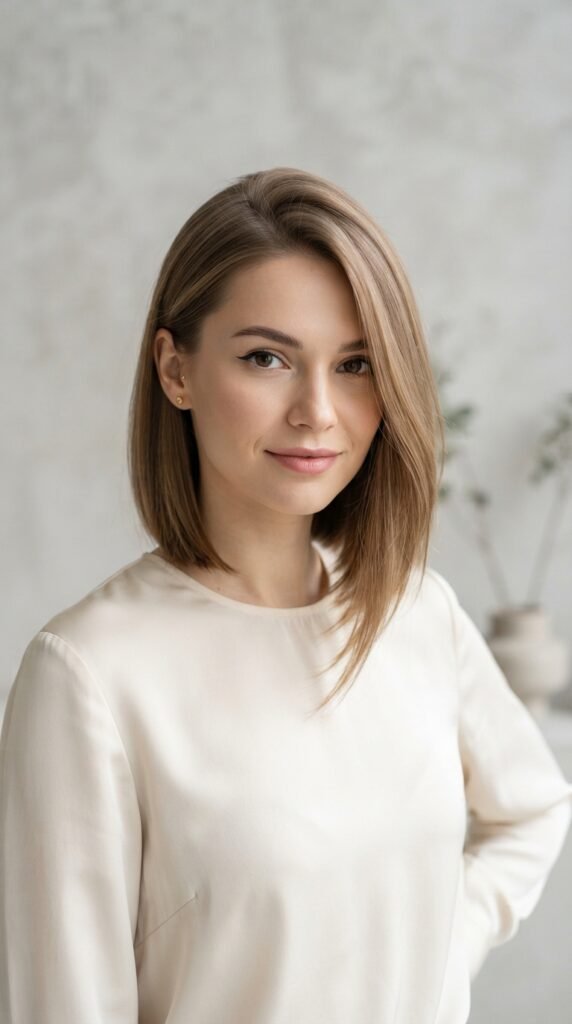
An asymmetrical lob is sneaky good for fine hair. The uneven line breaks up the eye, so you stop noticing where hair gets thinner.
It also gives you a natural place to tuck one side, which instantly creates volume on the opposite side. Great for photos.
Ask for a soft angle, not a dramatic chop. Something that falls an inch or two longer in front than in back.
- Deep side part = instant lift
- Style the longer side forward over your shoulder
- Works on straight, wavy, and curly fine hair
Old Money Hair: Soft, Bouncy, Never Overdone
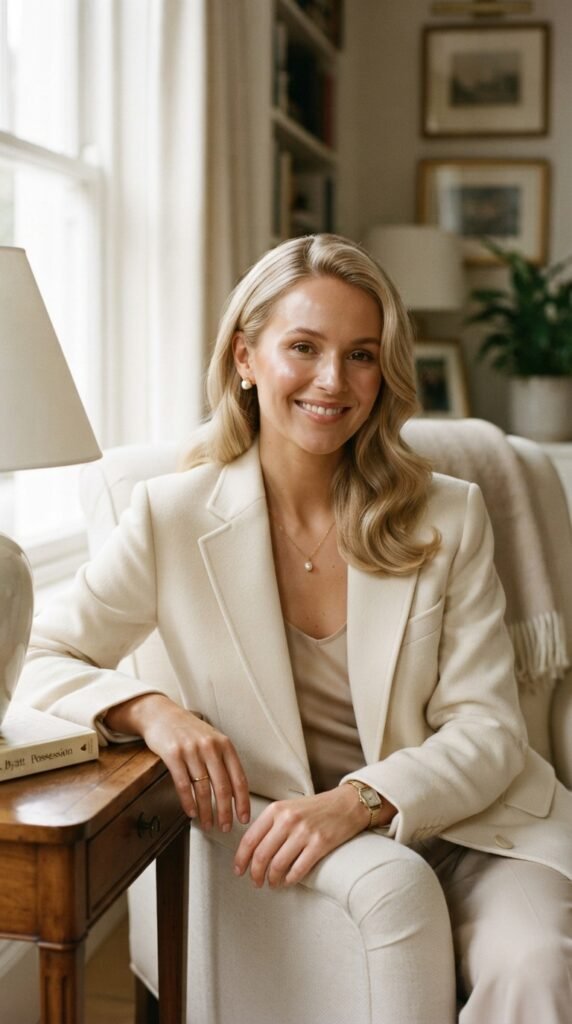
Old money hair is basically the opposite of try-hard. It’s glossy, soft, and moves like it costs money. For fine hair, that’s a gift.
The trick is shine plus bounce. A little volume at the crown, gentle bend through the mid-lengths, and nothing crispy or crunchy.
Skip heavy gels. Use a lightweight oil on the ends and a bit of flexible hold spray. That combo catches light on camera without weighing your hair down.
Hime Cut: Sharp Lines That Read as Thick
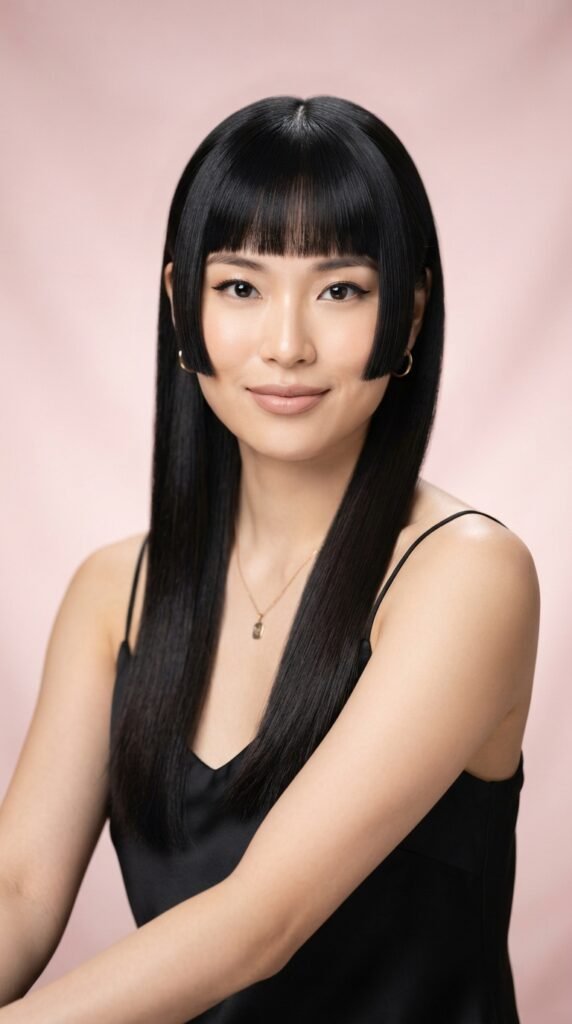
The hime cut is having a real moment in 2026, and it’s surprisingly fine-hair friendly. Blunt side pieces framing the face create strong, dark lines the camera loves.
Because the sides are cut blunt, they look thick even if they’re not. And the straight-across back keeps everything looking deliberate.
Just keep the side pieces at cheekbone or jaw length. Too long and they start to look stringy instead of sharp.
Vampire Haircut: Layers With Bite
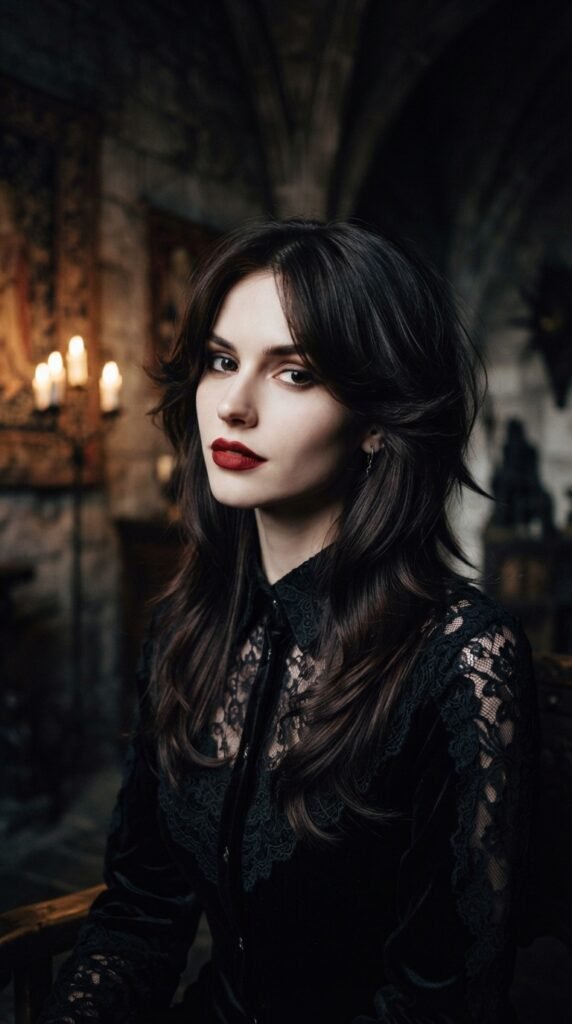
The vampire haircut is all about sharp, face-framing layers that taper down into length. On fine hair, those layers add movement and contrast without removing bulk.
It looks incredible in low, moody lighting, which is basically free volume. Shadows between layers make hair look twice as dense.
Ask for long layers starting below the chin. Short internal layers on fine hair are the fastest way to lose fullness.
- Keep the shortest layer below your jawline
- Style with a center or slightly off-center part
- Add a little texture spray at the mid-lengths
Romantic Goth Hairstyles With Airy Texture
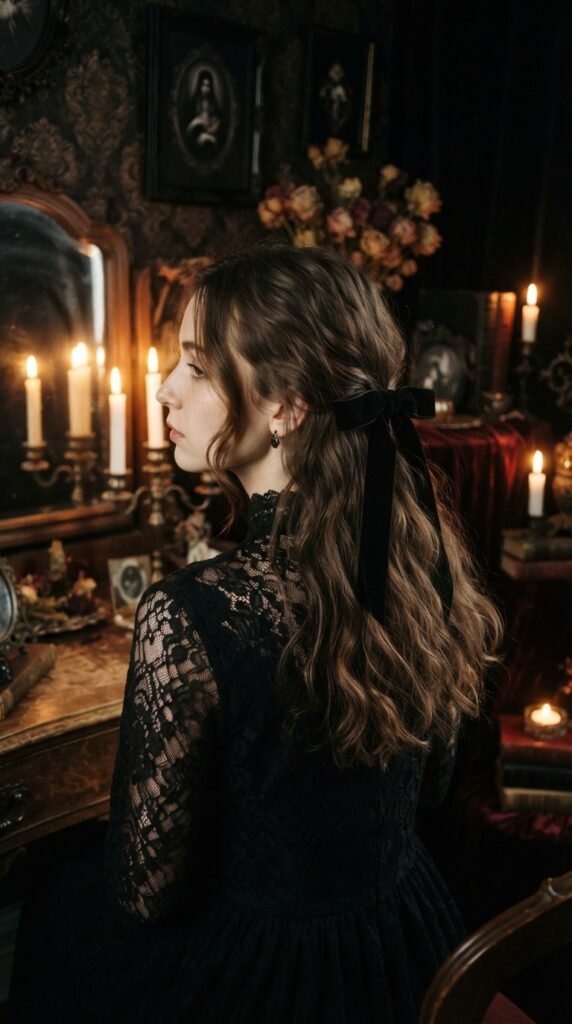
Romantic goth hairstyles work beautifully on fine hair because they’re soft and undone, not stiff and sprayed into place.
Think loose waves, a little frizz on purpose, and velvet ribbons or a vintage clip. The goal is ethereal, not helmet.
Backcomb just the crown area for lift. Stop after a few passes. Over-teasing fine hair makes it look thinner, not fuller.
Glitchy Glam Hair for Video
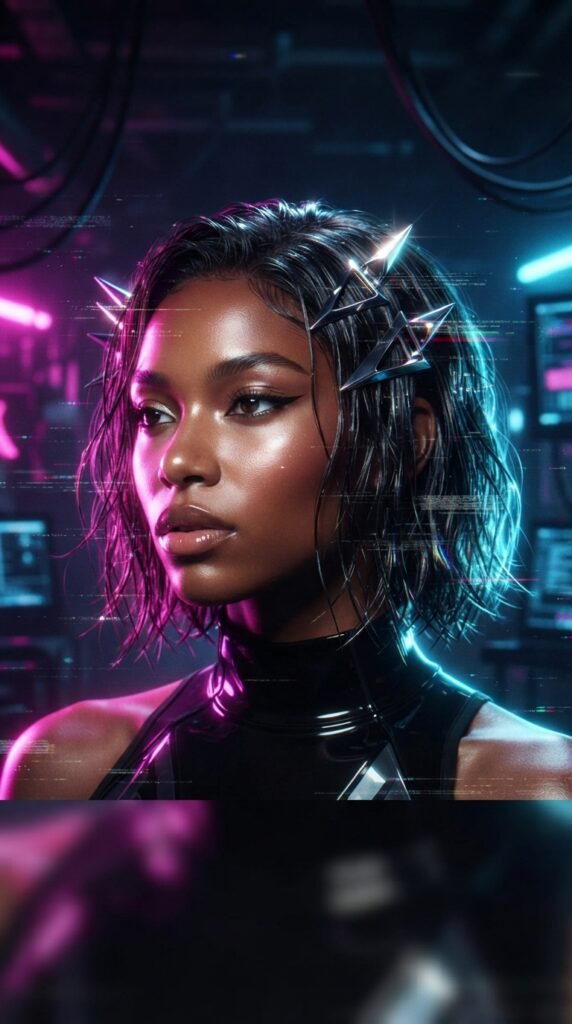
Glitchy glam hair is the 2026 trend made for video. It’s high shine, sharp accessories, and a slightly futuristic finish that catches light in a really cool way.
The shine does the heavy lifting. Glossy hair reflects light, and reflections make hair look thicker on camera than matte hair ever will.
Add a metallic clip or two at the crown. Anything reflective draws the eye upward, which reads as volume.
- Use a glossing serum, not a heavy cream
- Position clips slightly above your natural part
- Film near a window with a light behind you
Curtain Bangs That Add Width

Curtain bangs are quietly one of the best moves for fine hair. They add visual width across the forehead and hide thinning at the temples.
Keep them long enough to tuck. Short, choppy bangs on fine hair tend to separate and show scalp in photos.
Style them with a round brush away from your face. That sweeping motion creates a soft frame that cameras love.
Blunt Cuts vs. Layers: What Fine Hair Needs
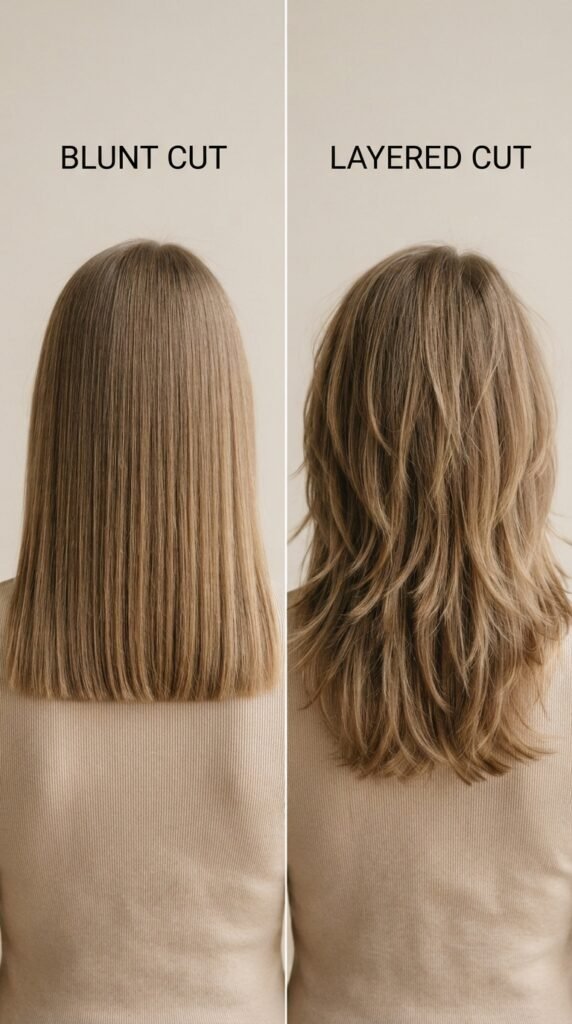
This one trips people up. Fine hair usually looks fuller with fewer layers, not more.
Layers remove weight, and weight is what makes ends look thick and solid on camera. A blunt or softly rounded line keeps that weight where you need it.
That said, you’re not stuck with one length. Just keep layers long and face-framing instead of short and all over.
- Blunt ends: fuller edge, thicker look
- Short layers: thinner, stringier ends
- Long layers: movement without losing density
Clip-In Extensions Nobody Notices on Camera
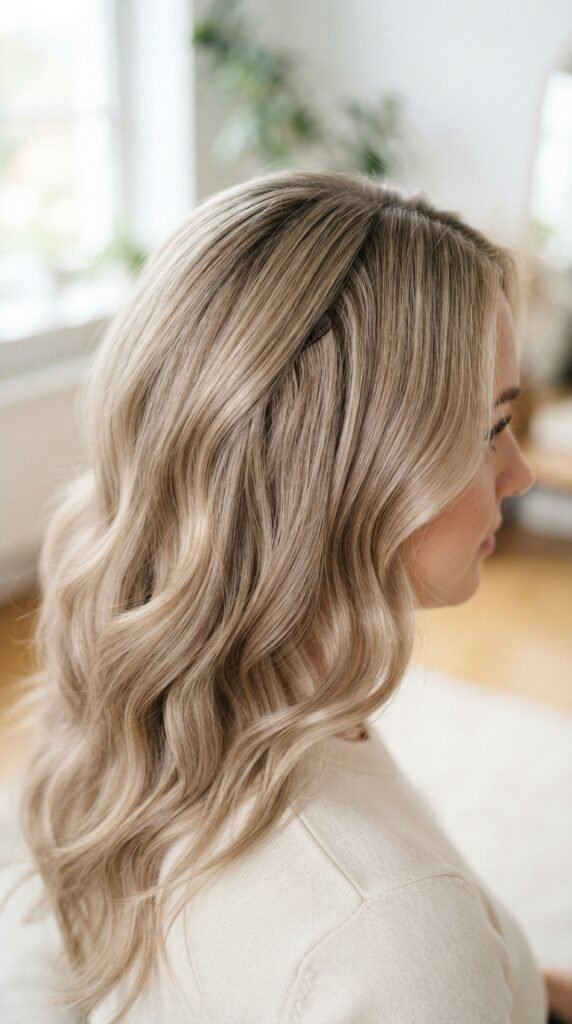
If you want real fullness in photos, clip-ins are the fastest shortcut. One three-clip weft at the back of your crown can double how full your hair reads on camera.
Match the shade to your mid-lengths, not your roots. Match the texture too. Fine hair shows a mismatch instantly.
Place the clips slightly below the crown and blend with your fingers. On video, a small piece at the front hairline helps too.
The Half-Up Twist That Fakes Thickness
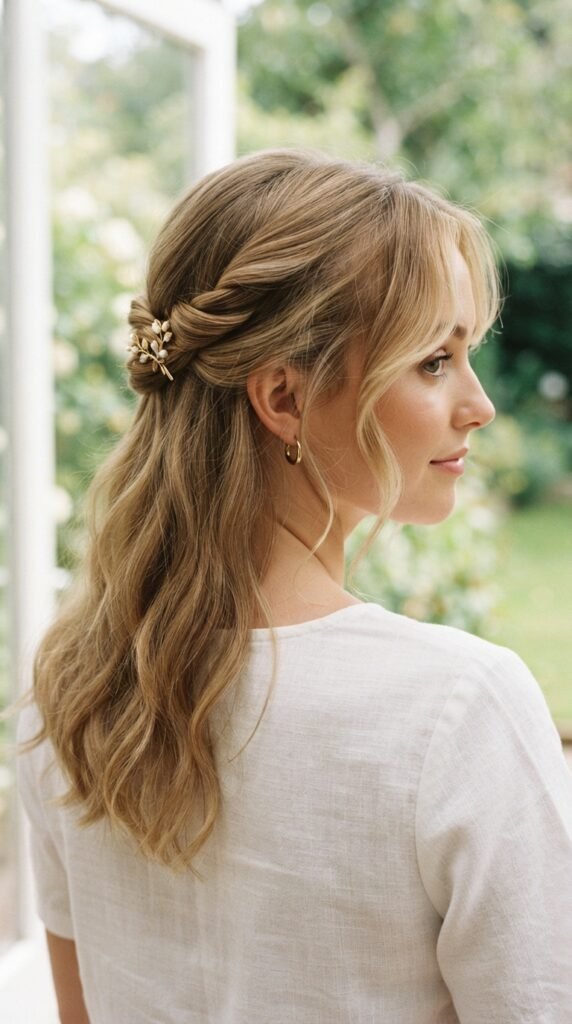
Half-up styles are a fine-hair cheat code. Pulling the top section back creates lift at the crown, and the down portion stays full and soft.
Do a loose twist or small braid instead of a tight pull-back. Tight styles flatten the scalp and show every gap.
Leave two soft pieces out at the front. They frame your face and add width in photos.
Texturizing Spray: Your Video Secret Weapon
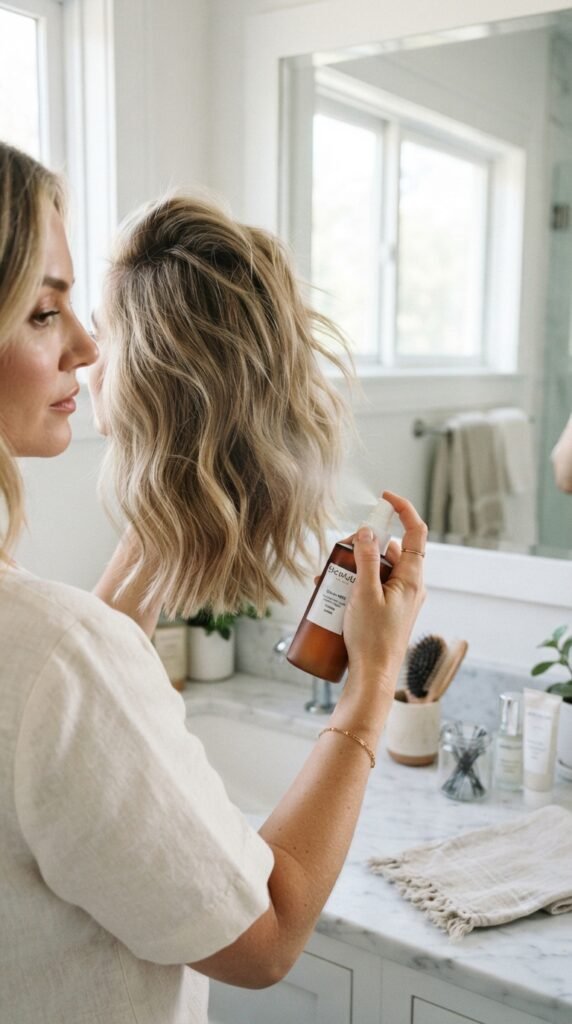
Texturizing spray gives fine hair grip without weight. That grip is what keeps volume from collapsing between your mirror check and your first photo.
Spray it at the roots and mid-lengths, then scrunch gently with your hands. Don’t brush it through or you’ll kill the texture.
On video, this is the difference between hair that moves and hair that just hangs there. It’s a small step with a big payoff.
Dry Shampoo for Root Lift in Photos
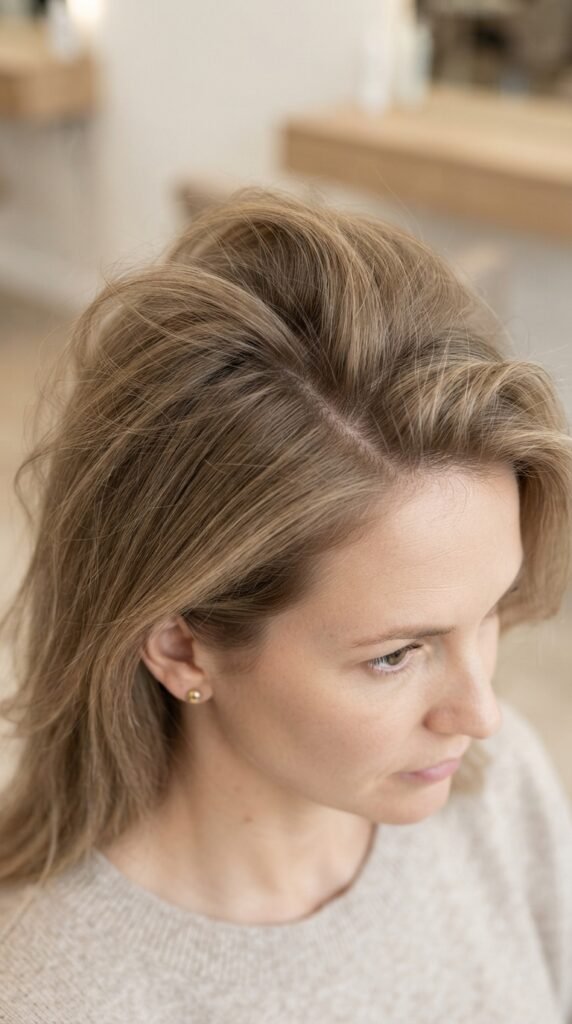
Dry shampoo isn’t just for day-two hair. It’s a styling tool. A little at the roots adds grit, and grit equals lift.
Spray it at the roots, wait a minute, then massage with your fingertips. Flip your head over and shake it out.
Your roots will stand up instead of lying flat, and your part will look denser on camera. This alone can change a photo.
Diffusing Fine Curly Hair for Maximum Fullness
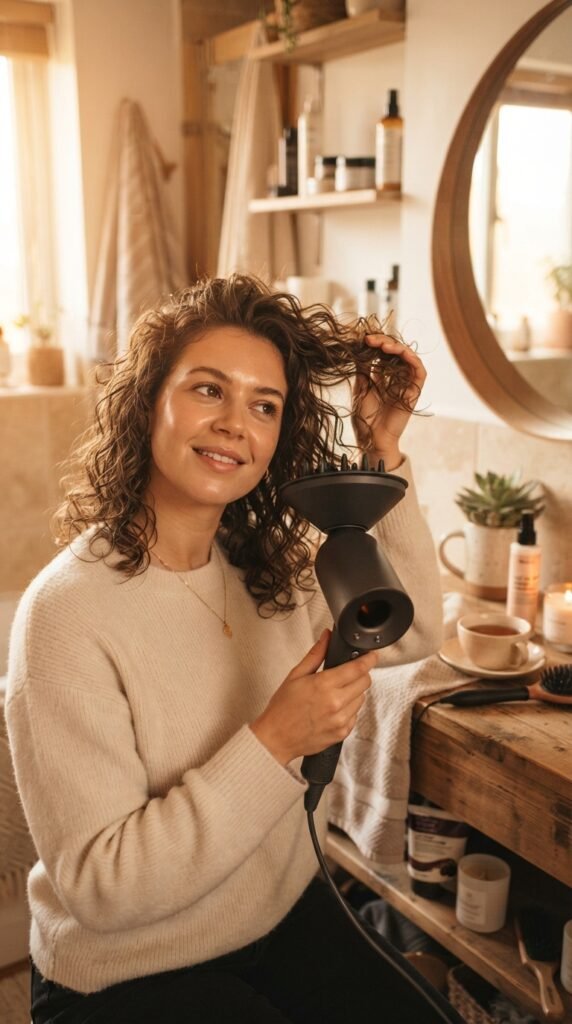
If you have fine curls, diffusing is your best friend. Air drying tends to leave curls flat and undefined, especially at the roots.
Flip your head upside down and hover-diffuse first, then cup the ends. Don’t touch your curls while they’re drying.
Finish with a cool shot to set the shape. Cool air tightens the curl pattern, which makes everything look fuller and bouncier on camera.
The Wet Look Without Looking Flat
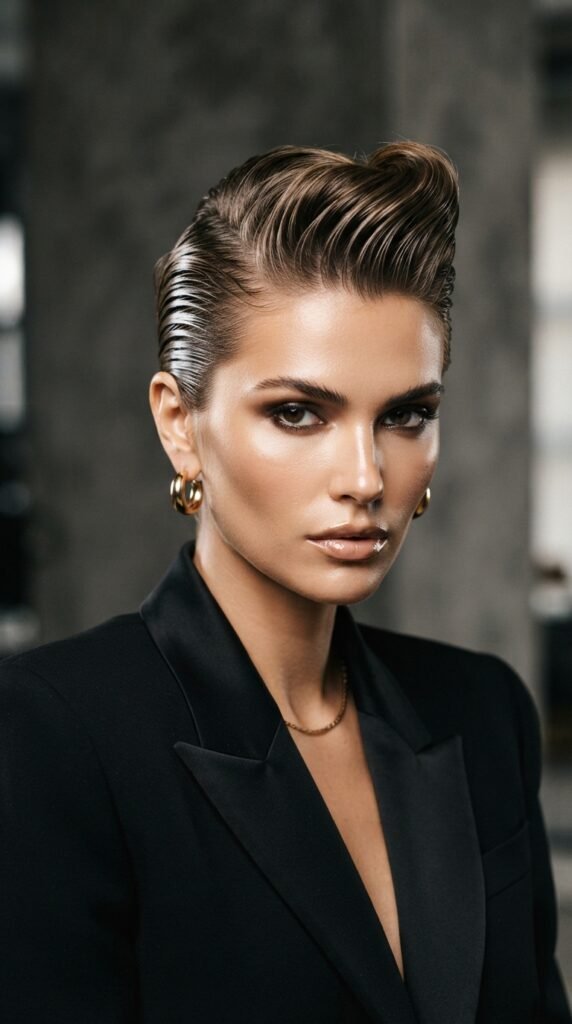
The wet look is risky on fine hair, but it works if you keep the roots lifted. Slicked flat against the scalp is the version that reads as thin.
Use a gel or gloss on the lengths, but keep the crown slightly raised. Comb it back with your fingers instead of a fine-tooth comb.
Add a strong highlight or backlight when you shoot. Shine on dark, sleek hair looks incredibly expensive on camera.
Braids and Twists That Build Volume
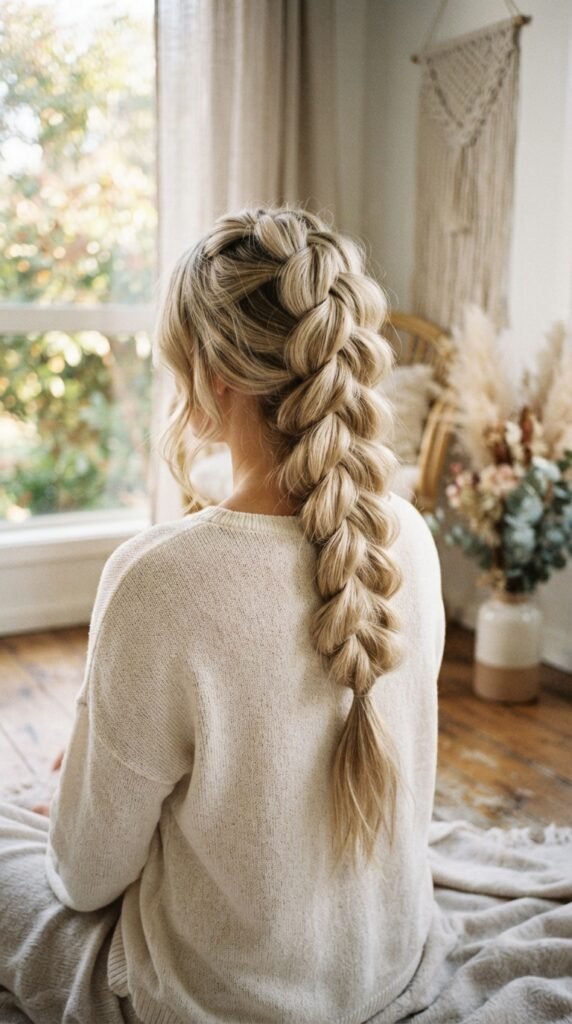
Braids are underrated for fine hair. A loose braid with pulled-out sections looks thick because the sections create shadows and depth.
Braid while your hair is slightly damp, then gently pull each section wider. Stop before it looks messy.
Two small braids at the crown, pinned back, is my favorite quick trick for a fuller-looking top in photos.
Accessories That Add Instant Fullness
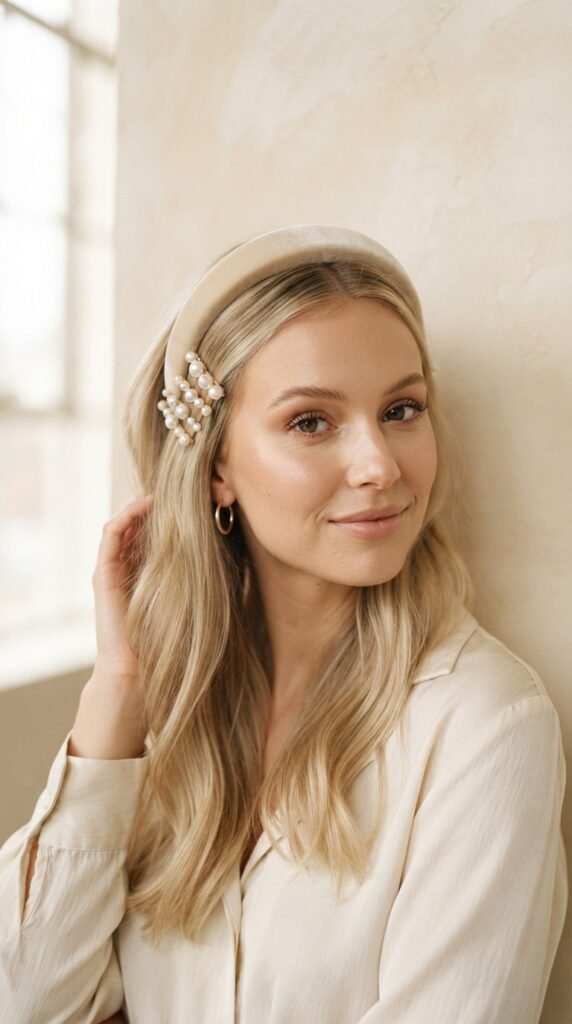
Padded headbands are basically instant volume. They lift the hair away from your scalp and make the whole top of your head look fuller.
Claw clips placed high on the crown do the same thing. So do small pearl clips spaced across a part to hide thinning.
Pick one statement piece and keep the rest simple. Too many accessories compete and distract on camera.
Lighting Tricks That Make Hair Look Thicker

Lighting is the single biggest factor in how full your hair looks on camera. Bigger than products, bigger than styling.
Backlighting is the winner. Put a window or soft light behind you and your hair gets a glowing halo that hides thin areas.
Avoid overhead lights and direct flash. Both flatten your hair and highlight every sparse spot.
- Backlight or side light: fuller look
- Overhead light: flatter, thinner look
- Golden hour: basically free magic
Camera Angles and Poses for Fuller Hair

Angle matters more than you think. Straight-on, chin-level shots flatten hair. Slightly above eye level adds lift and dimension.
Tilt your head a little and turn your face three-quarters toward the lens. This creates depth and makes your hair look denser.
On video, keep subtle movement going. Small head turns and hand-through-hair moments show volume that a still photo can’t.
How to Shoot Your Own Hair Photos at Home
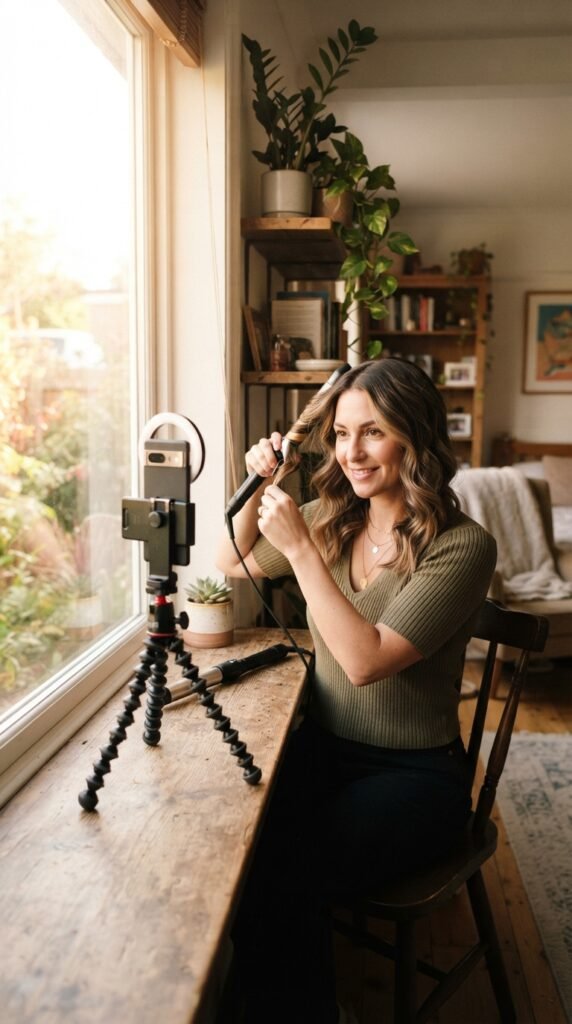
You don’t need a photographer. You need a window and a tripod. That’s genuinely it.
Set your phone slightly above eye level, face a window, and turn on the self-timer. Take ten shots in a row and pick the best one.
For video, film in short clips and use the rear camera instead of the selfie camera. Better lens, sharper detail, fuller-looking hair.
Products to Avoid If You Have Fine Hair
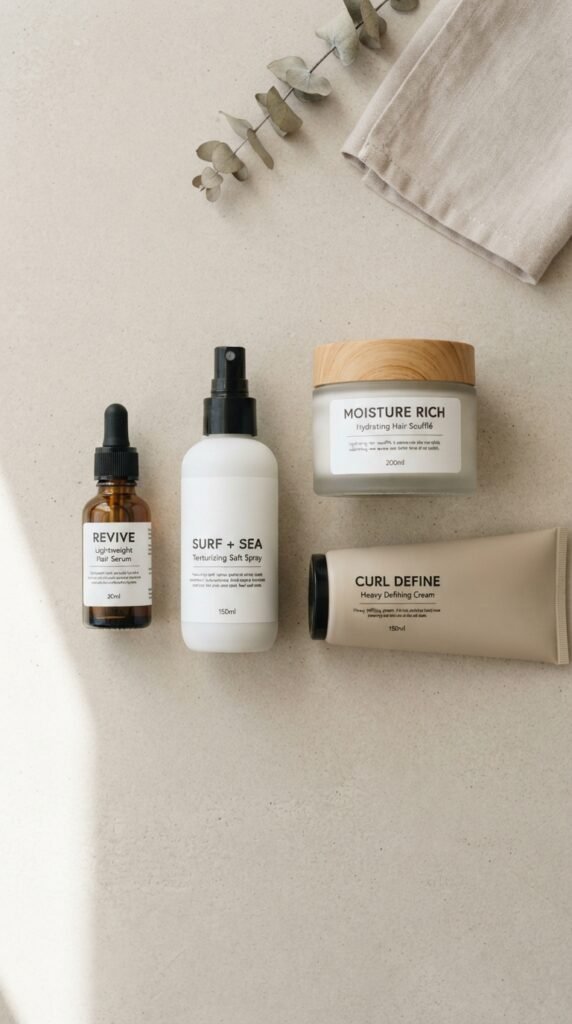
Some products sabotage fine hair, no matter how well you style it. The biggest offenders are heavy oils, thick creams, and anything with a waxy finish.
Those weigh hair down, pull out volume, and make ends look greasy and separated on camera.
Stick to lightweight formulas: mists, serums, flexible sprays, and dry shampoo. If it feels heavy on your fingers, it’ll feel heavy in your hair.
- Skip: heavy butters and thick pomades
- Skip: high-hold gels on dry hair
- Choose: mists, serums, and root lifters
Habits That Keep Your Hair Full All Week

Volume starts before you even style. A few small habits keep your hair fuller from wash day to wash day.
Sleep on a silk pillowcase to reduce friction and flatness. Don’t tie your hair back tightly at night. Loosely clip it up instead.
Wash with a volumizing shampoo at the roots only, and keep conditioner from your ears down. Your scalp shouldn’t be moisturized the way your ends should.
Quick Five-Minute Photo-Ready Styles
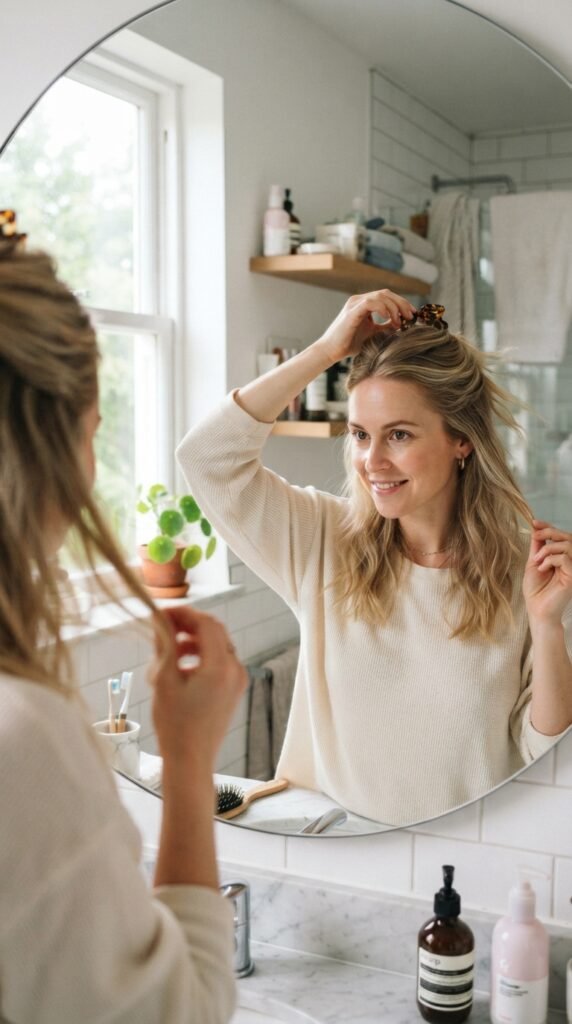
Short on time? Here are my go-to five-minute looks when I need to be on camera fast.
- Dry shampoo at the roots, massage, flip upside down, shake out.
- Half-up twist with a clip, plus two face-framing pieces.
- Deep side part, tuck one side behind the ear.
- Texturizing spray at the mid-lengths, scrunch with fingers.
That’s it. Full-looking hair, no hot tools, done before your coffee finishes brewing.
Finding Your Best Fine Hair Look in 2026

You don’t need to try all of these. Pick two or three that fit your hair texture and your routine, then master them.
The quiet luxury bob, the asymmetrical lob, and the hime cut are the three cuts I’d recommend first for fine hair in 2026. They all create the illusion of density without any extra work.
And remember, lighting and angles matter as much as your cut. A good window beats a good product every time.
A Few Last Thoughts From Me to You
Fine hair isn’t a problem to fix. It’s just a different set of rules, and once you learn them, you can make it look incredible on camera.
Volume comes from the roots. Fullness comes from a cut with some weight. And that “expensive” look comes from shine, softness, and light.
Start with one trick this week. Add another next week. You’ll be shocked how different your photos look in a month.
If this helped, save this post to Pinterest so you can find it the next time you’re styling before a shoot or a big event. And tell me in the comments: which of these fine hair looks are you trying first? I read every single one.