How to Get soft bob Hair That Looks Effortless (But Isn’t)
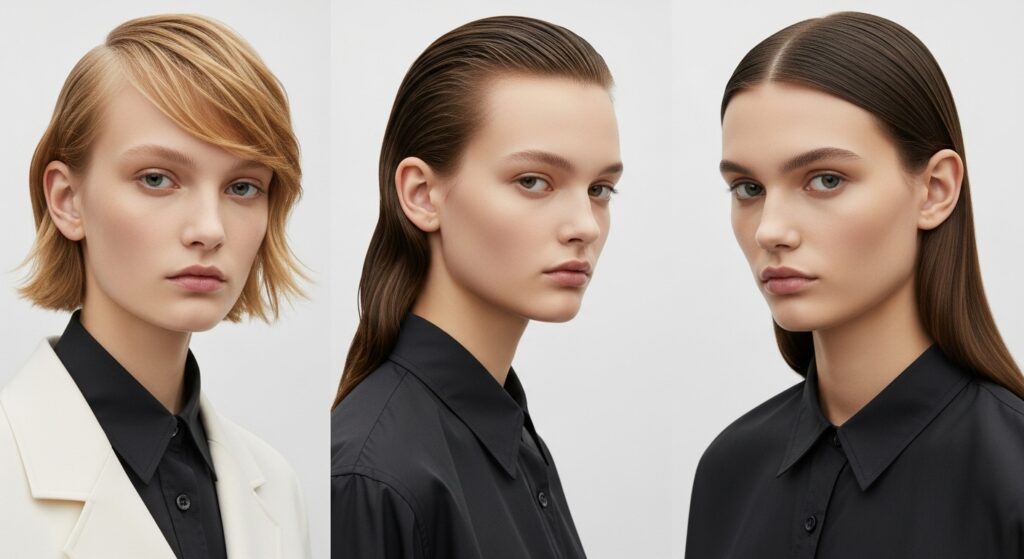
You’ve seen it everywhere: on your favorite actress, the coolest influencer, and that impossibly stylish woman at the coffee shop. It’s the soft bob—a haircut that appears as if it just fell into place, perfectly imperfect, with a touch of lived-in texture and a lot of quiet confidence. It whispers “I woke up like this,” while secretly knowing the power of a good texturizing spray.
Let’s be real: the most effortless-looking hair is often the product of some very specific effort. But don’t let that deter you! Achieving this coveted style is less about complex techniques and more about smart strategies. This isn’t a helmet of perfection; it’s a shape that moves, with layers that create dimension and ends that flip just so. It’s the antithesis of the sharp, geometric bob, trading harsh lines for soft, touchable waves.
Ready to unlock the secrets? We’re breaking down everything from the all-important consultation with your stylist to the at-home products and five-minute tricks that will make your soft bob the envy of everyone. This is your ultimate guide to getting hair that looks beautifully undone, but is actually meticulously crafted.
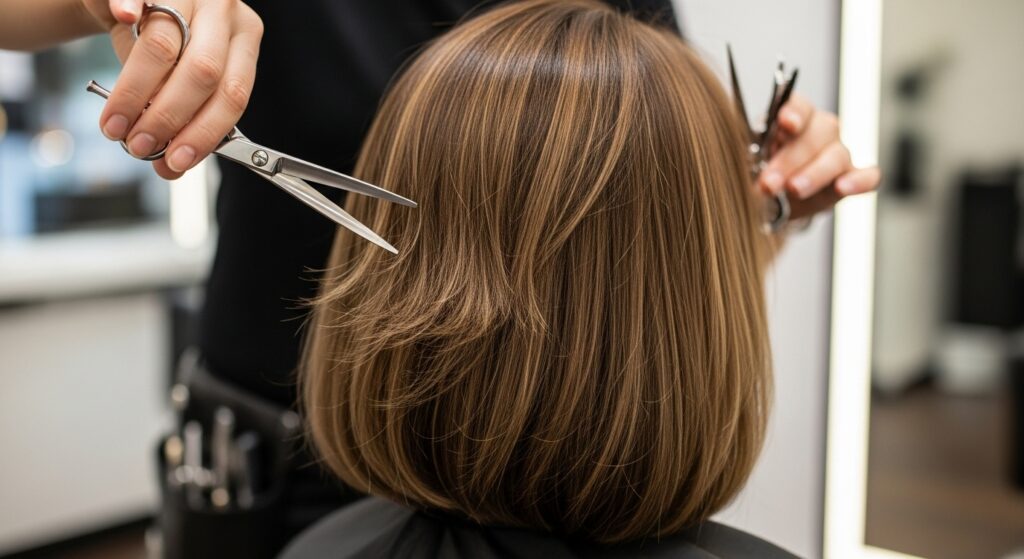
It All Starts With The Cut: The Architectural Blueprint
You cannot style your way into a truly great soft bob; it must be cut for the effect from the very beginning. Walking into the salon and asking for “a bob” is not enough. The magic lies in the details you discuss with your stylist.
The Power of Layers: This is the non-negotiable foundation. Face-framing layers are crucial for breaking up the weight around your face, creating movement and a softening effect. Internal layers, cut into the body of the hair, are what build that all-important volume and texture from within. They prevent the hair from falling flat and creating that dreaded “soccer mom” bell shape.
Graduation for Lift: A slight graduation at the back—where the hair is cut at a slight angle from longer to shorter towards the nape of the neck—creates innate lift and shape. This is what gives the bob its body and stops it from looking like a blunt, one-length block.
The Importance of Texture: A skilled stylist will often use point-cutting or notching techniques on the ends of your hair. This means cutting into the ends vertically instead of straight across, which creates a feathered, irregular finish that looks natural and resists that just-left-the-salon sharpness. This textured finish is what makes styling so much easier.
Mastering the Texture: The “Lived-In” Secret Weapon
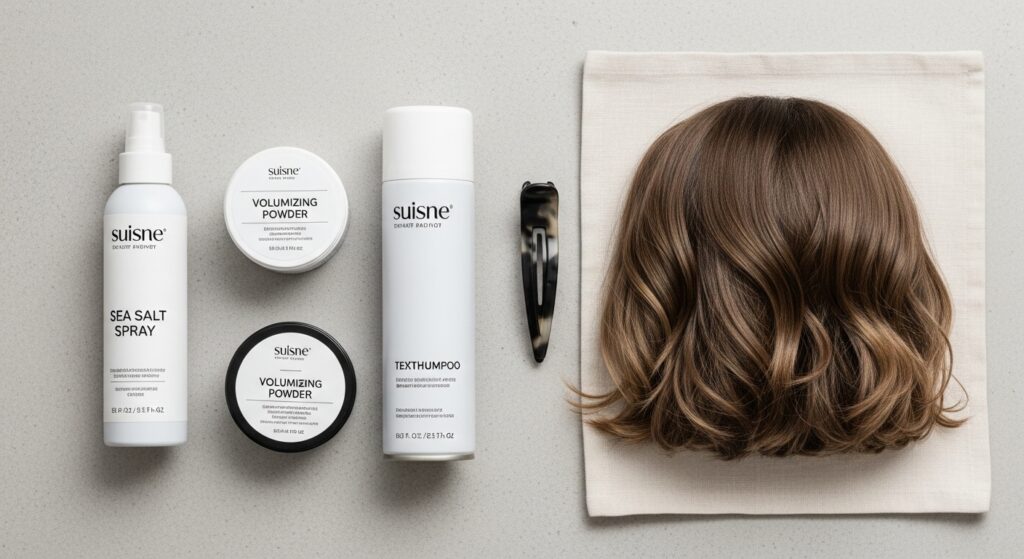
Texture is the heart and soul of the effortless bob. It’s the difference between hair that looks styled and hair that looks lived-in and cool. The goal is to create separation between strands, adding grit and body without crunch or stickiness.
Sea Salt Spray is Your Best Friend: This product is a miracle worker for creating that just-back-from-the-beach wave. Spritz it onto damp or dry hair, focusing on the mid-lengths and ends. Scrunch your hair upwards with your hands to encourage natural wave patterns. It delivers a matte finish and a relaxed, piece-y texture.
Volumizing Powder for Invisible Lift: For fine hair that tends to go flat, a volumizing powder is a game-changer. Sprinkle a small amount directly at the roots and massage it in. The tiny particles create instant grip and volume, lifting the hair at the crown and giving your bob that coveted “oomph” from the root, all while being completely undetectable.
Dry Shampoo (Even on Clean Hair): Don’t save your dry shampoo for day-three hair. A light spray at the roots on clean, dry hair adds instant texture and volume, providing a perfect base for styling. It absorbs any excess oils that might weigh hair down and gives your roots something to “grip” onto.
The Styling Ritual: Effortless Doesn’t Mean Heat-Free
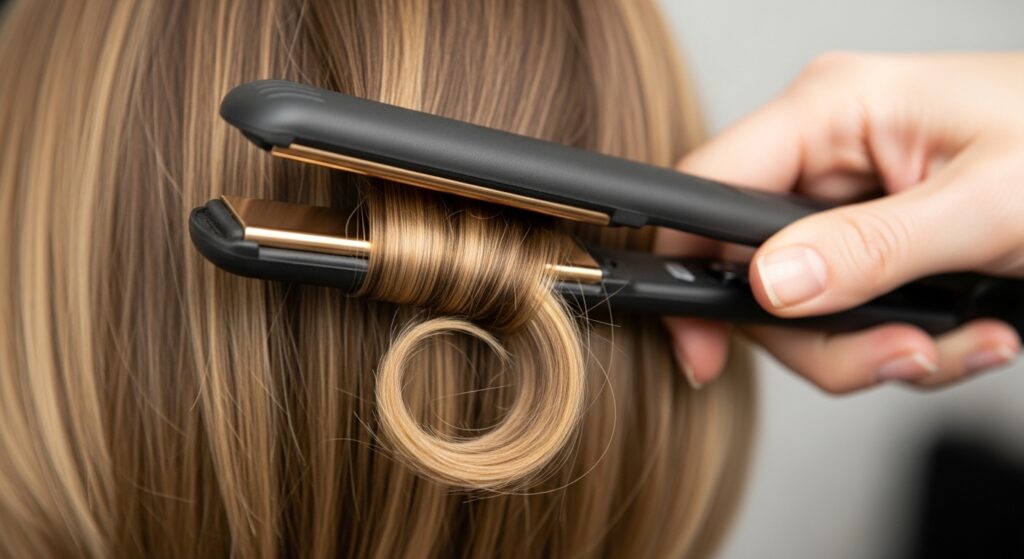
Here’s where the “but isn’t” part of our title truly comes into play. Achieving that soft, wavy finish almost always involves a hot tool—but the technique is what makes it look natural.
Ditch the Round Brush, Embrace the Flat Iron Wave: For the most modern, undone wave, a 1-inch flat iron is your best tool. The technique is simple: take a one-to-two-inch section of hair, clamp the flat iron near the roots, and instead of pulling straight down, twist the iron in a slight C-shape as you glide it down the length. Alternate the direction of the C-curl (some facing forward, some back) for a truly natural, non-uniform look. The key is to leave the very ends out of the clamp for a softer finish.
The Curling Wand for Lived-In Body: A curling wand with a barrel diameter of about 1.25 inches is another fantastic option. Wrap random sections of hair around the wand, but don’t hold it for too long—just 5-7 seconds. Again, alternate the direction of the curls. Once all your hair is curled, run your fingers through it to break up the curls completely. Do not use a brush at this stage, as it will make the waves too uniform.
The Final Touch: The “Ploof”: Once you’ve waved your hair, flip your head upside down and gently tousle the roots with your fingertips. This “ploofs” up the hair at the crown, creating that perfectly imperfect volume. Spritz with a light-hold texturizing spray to lock in the chaos.
The Right Products for Your Hair Type
Not all bobs are created equal, and your specific hair type will dictate your product arsenal.
For Fine Hair: Your mission is to avoid weighing hair down. Use a volumizing mousse at the roots on damp hair before blow-drying. Stick to lightweight texturizing sprays and avoid heavy creams or oils until the very end, and then only use a tiny amount on the ends.
For Thick Hair: You need to control bulk and enhance your natural texture. A texturizing cream worked through damp hair from mid-lengths to ends will define your waves and fight frizz without making hair crunchy. A smoothing serum can be used sparingly on dry hair to tame any flyaways.
For Curly/Wavy Hair: Embrace your natural pattern! The soft bob is a dream for you. Use a curl-defining cream or gel on sopping wet hair, scrunching it in. Diffuse your hair upside down to maximize volume. Once dry, you can “scrunch the crunch” out of the cast and use a pick to fluff the roots for that effortless, bouncy bob.
Maintenance: Keeping the “Effortless” Vibe Between Cuts
A soft bob grows out beautifully, but a little maintenance goes a long way in preserving its shape and spirit.
Trims are Non-Negotiable: To keep your bob from losing its shape and becoming a mullet, schedule a trim every 6-8 weeks. This doesn’t mean taking off a lot of length—just a quick cleanup of the ends and layers to maintain the architecture.
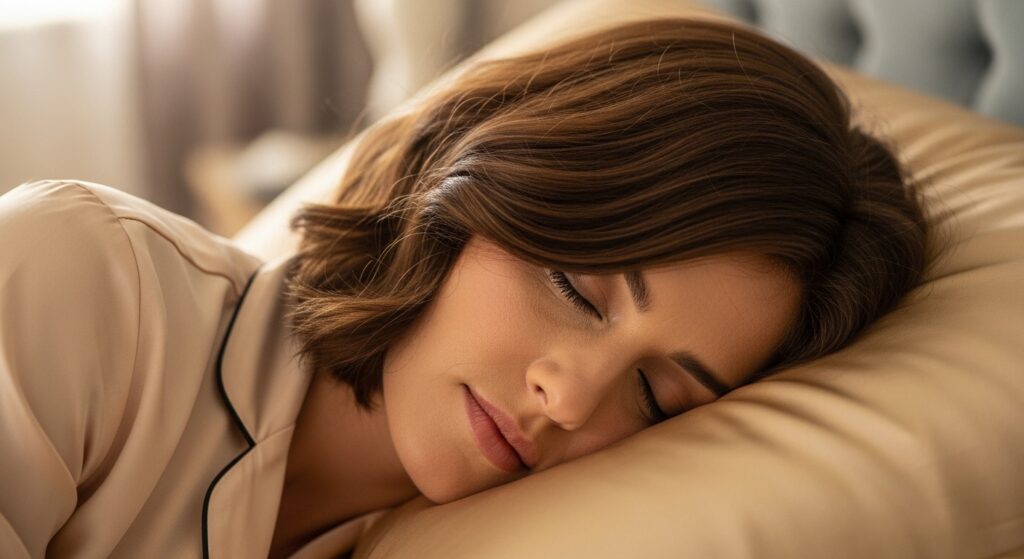
Overnight Care: Preserve your style by sleeping on a satin or silk pillowcase. This reduces friction, preventing frizz and helping your waves hold their shape. You can also try a loose, high ponytail (a “pineapple”) on the very top of your head to maintain root volume.
The Refresh: On day two or three, don’t re-wet your hair. Instead, focus on reviving the texture. Hit the roots with dry shampoo for volume, and lightly mist a texturizing spray on the mid-lengths and ends. Redefine a few random waves with your flat iron or wand, but only on the top layers where it’s needed.
Embrace the Imperfection
The most important ingredient in the “effortless” soft bob is your attitude. This style is designed to be a little messy, a little uneven, and a lot lived-in. Don’t strive for every hair to be in place. A few flyaways are welcome; a slightly flatter side is character. The beauty of this cut is in its movement and its ability to look different—and amazing—from every angle.
It’s a haircut that gives you a break from perfection, allowing you to look polished and playful at the same time. So, take a deep breath, grab your texturizing spray, and remember: the goal is soft, touchable, and wonderfully undone. Now go forth and rock that bob with the effortless confidence it deserves.