How to Master the Sleek Low Bun – A Complete Tutorial
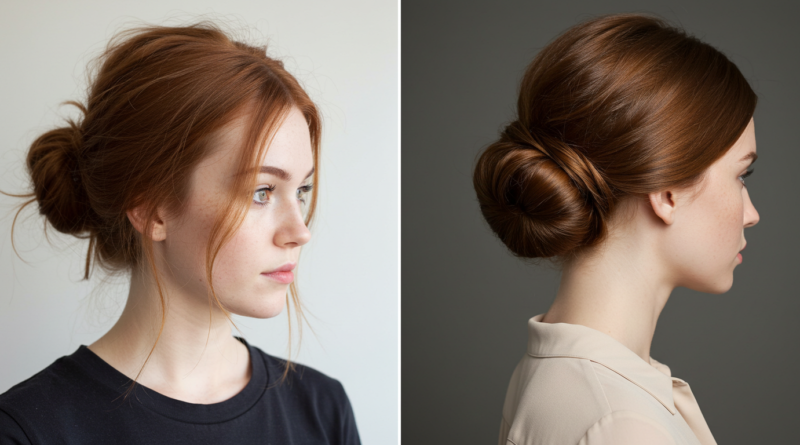
The sleek low bun is a timeless hairstyle that exudes elegance and sophistication. Whether you’re heading to a formal event, a business meeting, or just want a polished everyday look, mastering this hairstyle is a game-changer. The best part? It’s surprisingly simple once you know the right techniques.
In this tutorial, we’ll break down every step—from prepping your hair to securing the perfect bun—so you can achieve a flawless look every time. Let’s dive in!

Why the Sleek Low Bun is a Must-Have Hairstyle
The sleek low bun is more than just a hairstyle—it’s a statement. Here’s why it deserves a spot in your beauty repertoire:
- Versatility: Works for both casual and formal occasions.
- Timelessness: Never goes out of style.
- Low Maintenance: Stays in place all day with minimal touch-ups.
- Professional Appeal: Perfect for workplaces and formal settings.
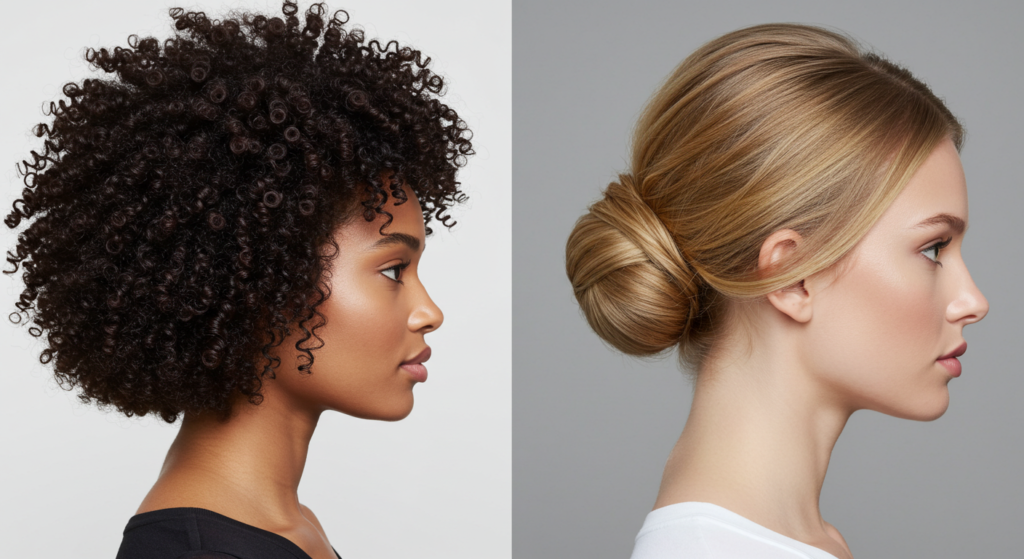
Whether you have straight, wavy, or curly hair, this style can be adapted to suit your texture while maintaining a sleek finish.
Essential Tools & Products You’ll Need
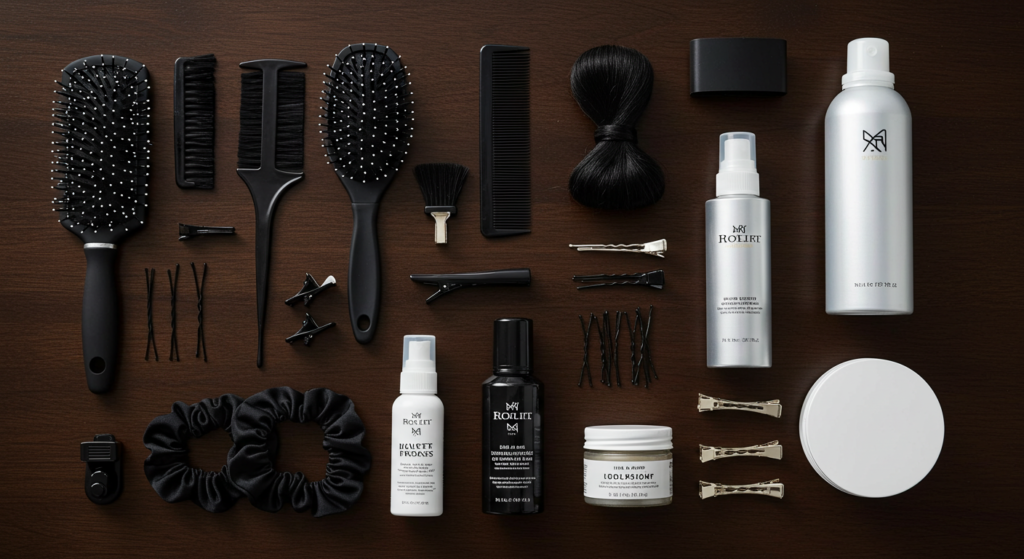
Before you start, gather these key tools and products to ensure a smooth styling process:
- Fine-tooth comb – For precise smoothing.
- Boar bristle brush – Helps eliminate flyaways.
- Hair ties (clear or matching your hair color) – For a seamless hold.
- Bobby pins (matte or matching your hair color) – To secure the bun.
- Hair gel or edge control – For a sleek finish.
- Light-hold hairspray – To lock everything in place.
- Heat protectant (optional) – If using a flat iron.
Having these tools on hand will make the process much smoother and help you achieve a salon-worthy look at home.
Step-by-Step Guide to the Perfect Sleek Low Bun
Now, let’s get into the step-by-step breakdown of creating the perfect sleek low bun.
Step 1: Prep Your Hair
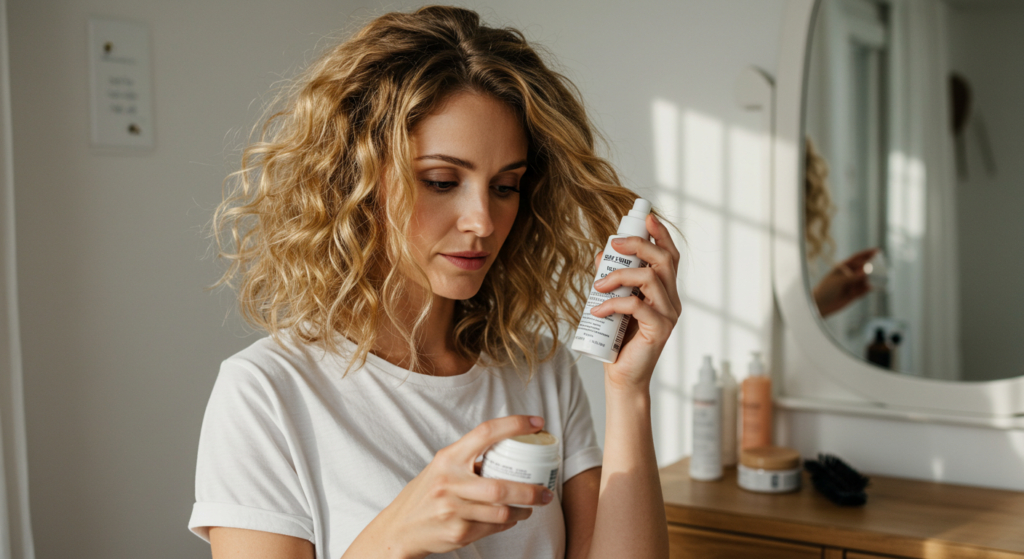
Start with clean, detangled hair. If your hair is freshly washed, apply a small amount of smoothing serum or leave-in conditioner to minimize frizz. For extra sleekness, blow-dry your hair straight or use a flat iron.
Step 2: Brush for Maximum Smoothness
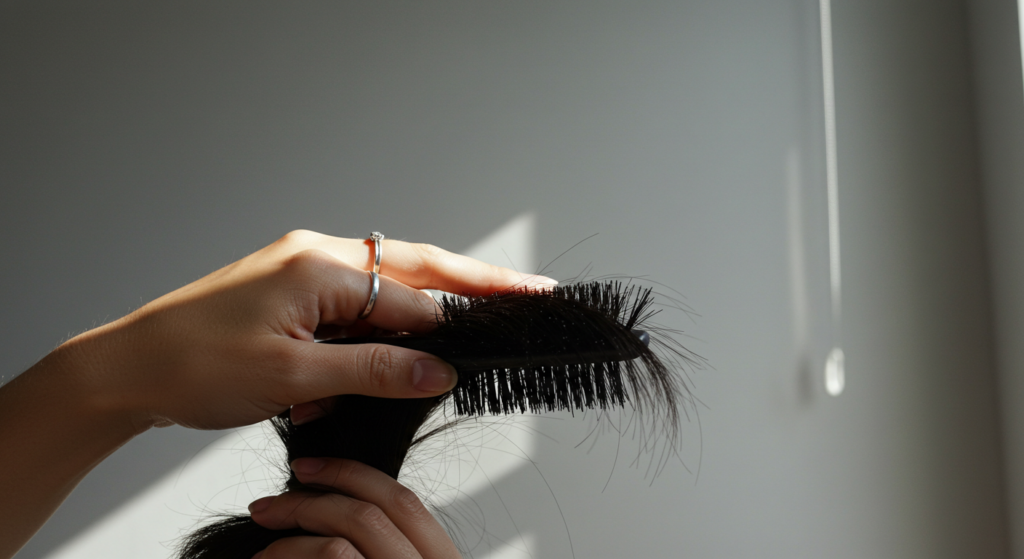
Using a boar bristle brush, brush your hair back into a low ponytail at the nape of your neck. Smooth any bumps by brushing downward in sections.
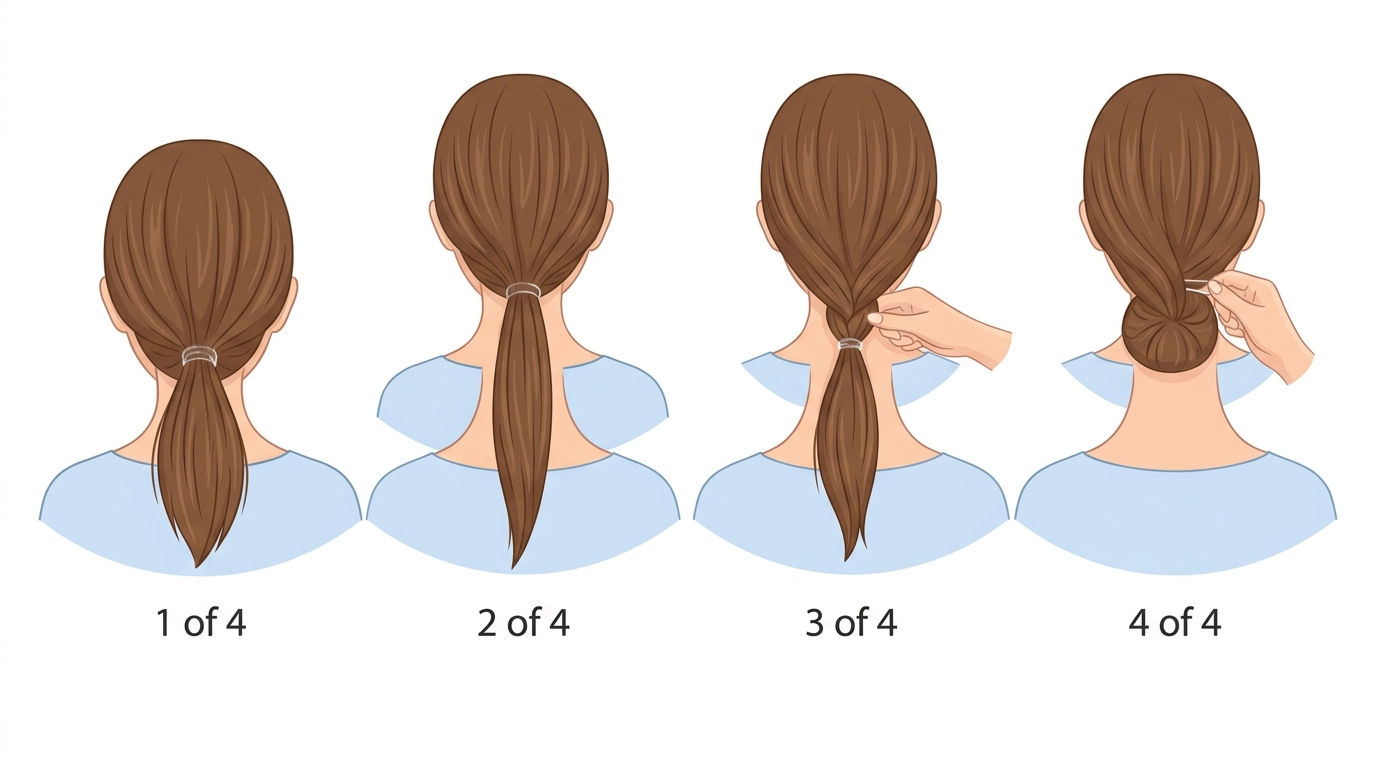
Step 3: Secure the Ponytail
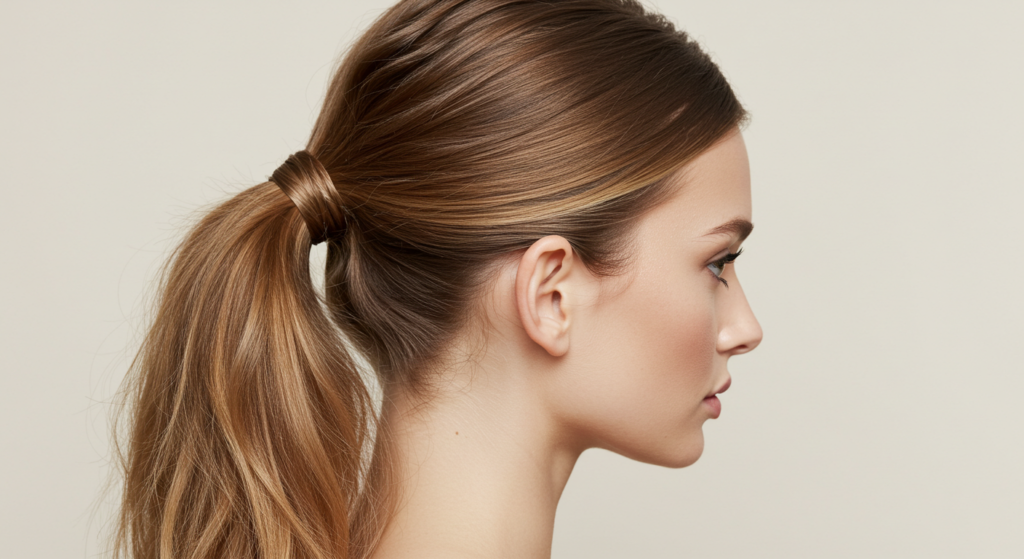
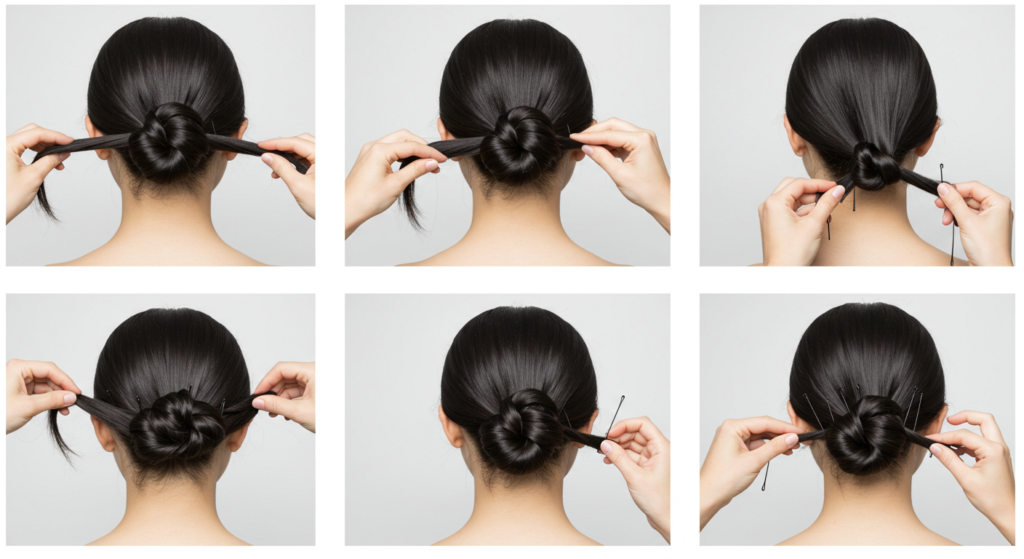
Gather your hair into a tight, low ponytail and secure it with a hair tie. For an ultra-sleek look, wrap a small section of hair around the base of the ponytail to conceal the hair tie.
Step 4: Create the Bun
Twist the ponytail tightly and wrap it around the base to form a bun. Secure with bobby pins, tucking the ends underneath for a clean finish. For a fuller bun, gently loosen the twists after pinning.
Step 5: Smooth Flyaways
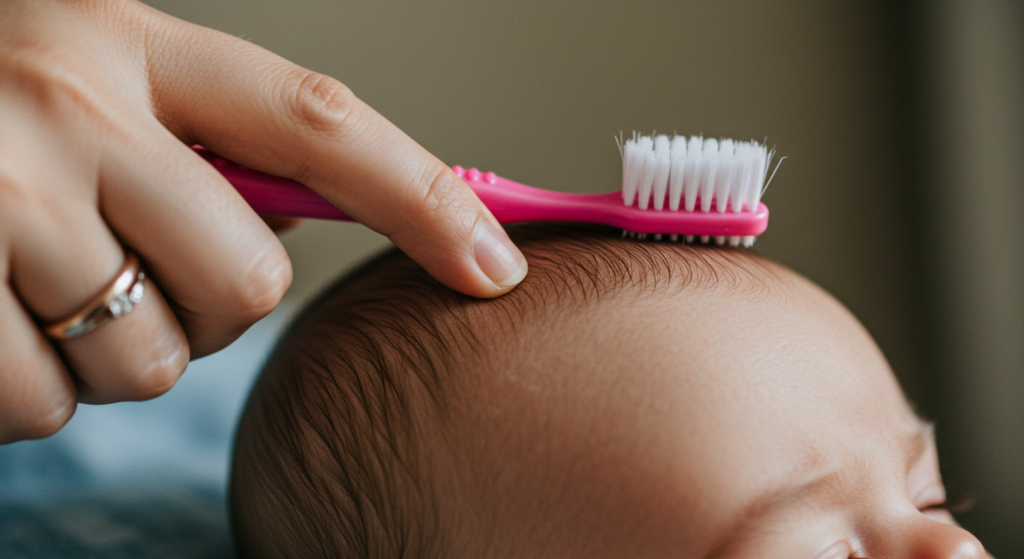
Apply a small amount of hair gel or edge control to a toothbrush or spoolie brush and smooth down any flyaways along your hairline and crown.
Step 6: Lock It in Place
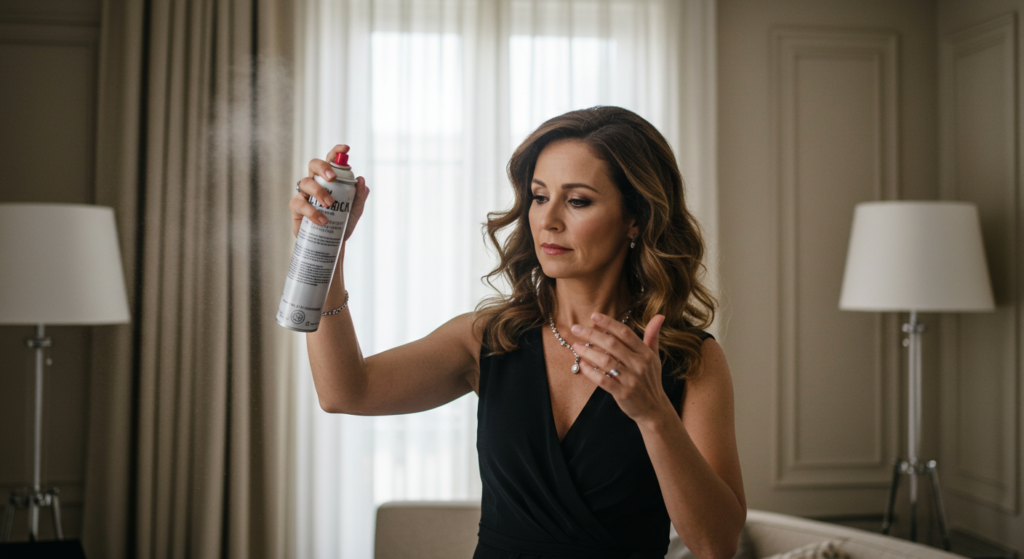
Finish with a light-hold hairspray to ensure your sleek low bun stays put all day without stiffness.
Pro Tips for a Flawless Finish
Want to take your sleek low bun to the next level? Try these expert tips:
- Use a silk scarf: After styling, wrap a silk scarf around your edges for 5-10 minutes to set them.
- Opt for a donut bun: For extra volume, wrap your ponytail around a hair donut before pinning.
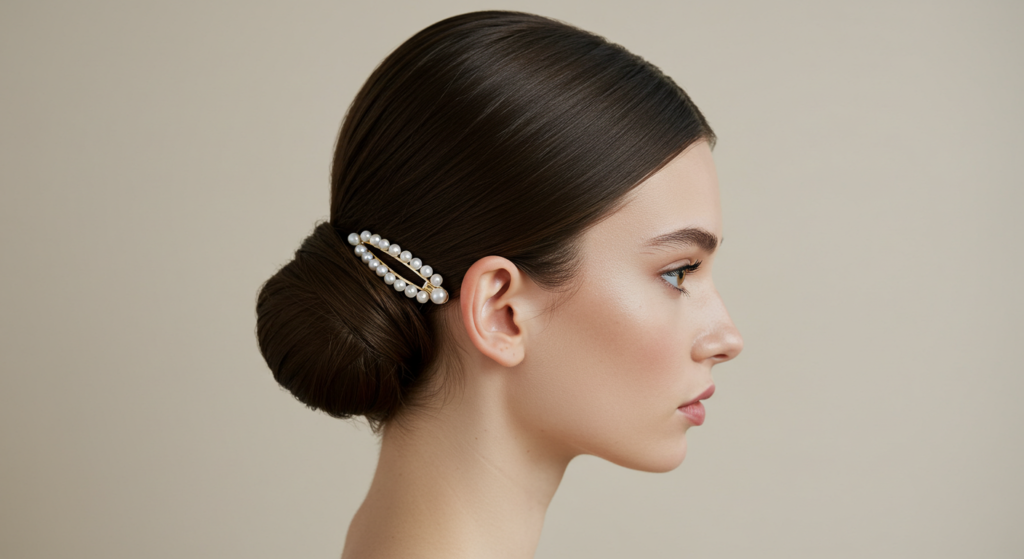
- Add accessories: Elevate the look with decorative pins or a chic headband.
Common Mistakes to Avoid
Even the simplest hairstyles can go wrong. Here’s what to watch out for:
- Pulling too tight: Avoid excessive tension to prevent breakage and discomfort.
- Skipping prep products: Smoothing products are key to eliminating frizz.
- Using too many pins: Strategically place bobby pins for a secure but natural hold.
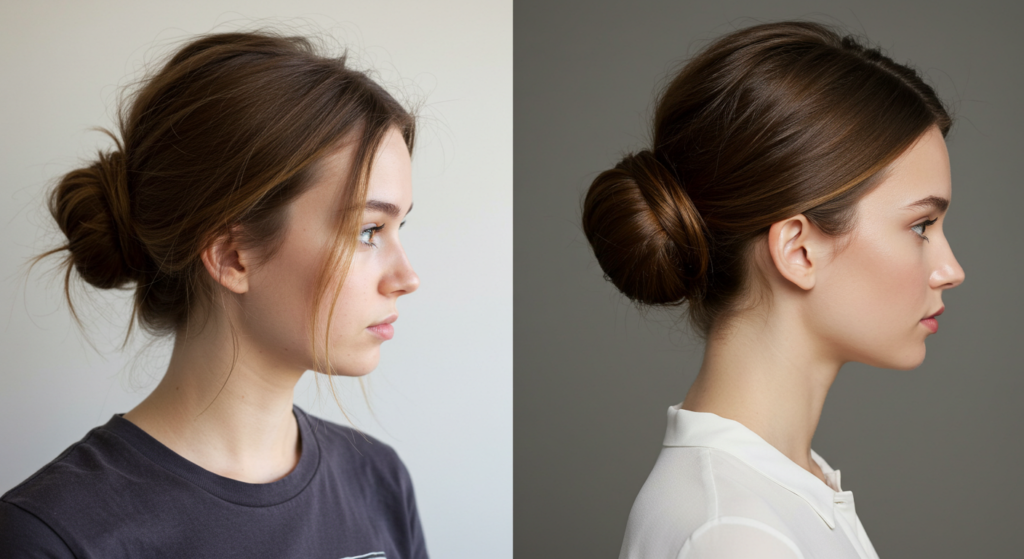
The Sleek Low Bun on Natural Hair (Type 4 Textures)
Natural, coily, and Type 4 hair can absolutely achieve a sleek low bun—it just requires slightly different preparation. The key is starting with stretched hair and using the right products for moisture and hold.
Begin with freshly washed, deep-conditioned hair. Blow-dry on low heat using a comb attachment to stretch your curls, or braid your hair the night before and take it down in the morning. Apply a smooth-edge gel or flaxseed gel along your hairline and length. Use a boar bristle brush to smooth everything back into your low ponytail. The bun itself can be twisted or wrapped; you may need longer bobby pins (1.5 inches) to secure thicker sections. Finish with a satin scarf tied around your edges for ten minutes to set the sleekness without flaking.
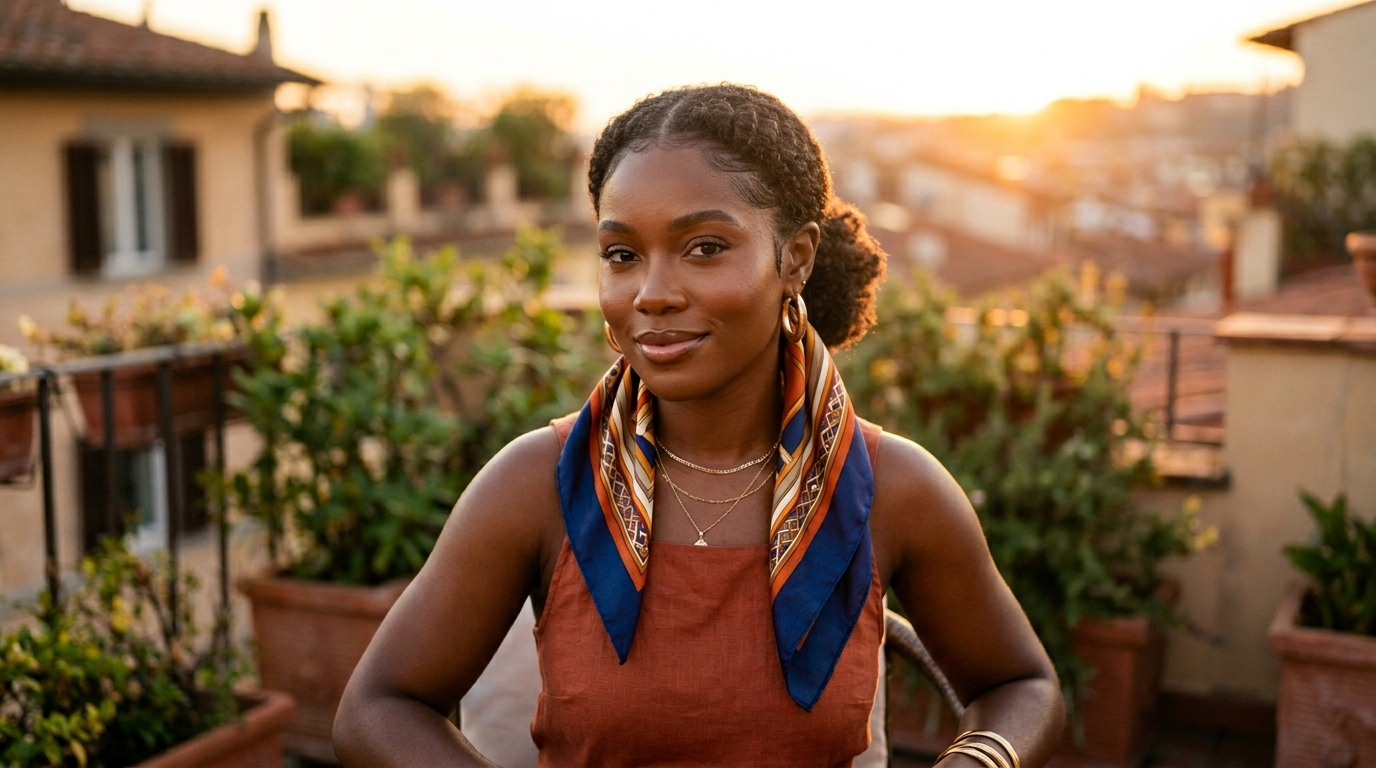
The Wrapped Low Bun for Extra Polish
The classic twisted bun is beautiful, but the wrapped low bun takes sleekness to another level. Instead of twisting the ponytail, you divide it into two or three flat sections and wrap them around the base like ribbons.
Create your low ponytail as usual. Split the ponytail into two equal sections. Take the first section and wrap it flat around the base of the ponytail, pinning every half-inch with bobby pins. Repeat with the second section in the opposite direction. Tuck all ends underneath. This technique creates a bun that lies completely flat against your head with no visible twists or gaps. It is the preferred method for red carpet events and bridal styling because it photographs perfectly from every angle.
The Low Bun on Fine Hair (Volume Tricks Without Bulk)
Fine hair can feel frustrating when creating a low bun—it often looks tiny or slips out of pins. But with a few adjustments, fine-haired women can achieve a sleek low bun that stays all day.
First, never use heavy gels or creams, which will make fine hair greasy and slippery. Instead, use a volumizing mousse at the roots and a lightweight smoothing spray on the length. After creating your ponytail, backcomb the ponytail itself very gently before twisting it into the bun. This creates internal volume that makes the bun appear twice as large. Use bobby pins with rubberized grips. Finally, mist with a flexible-hold hairspray before pinning—this gives the pins something to grip. Your fine hair will hold a sleek low bun beautifully with these tweaks.
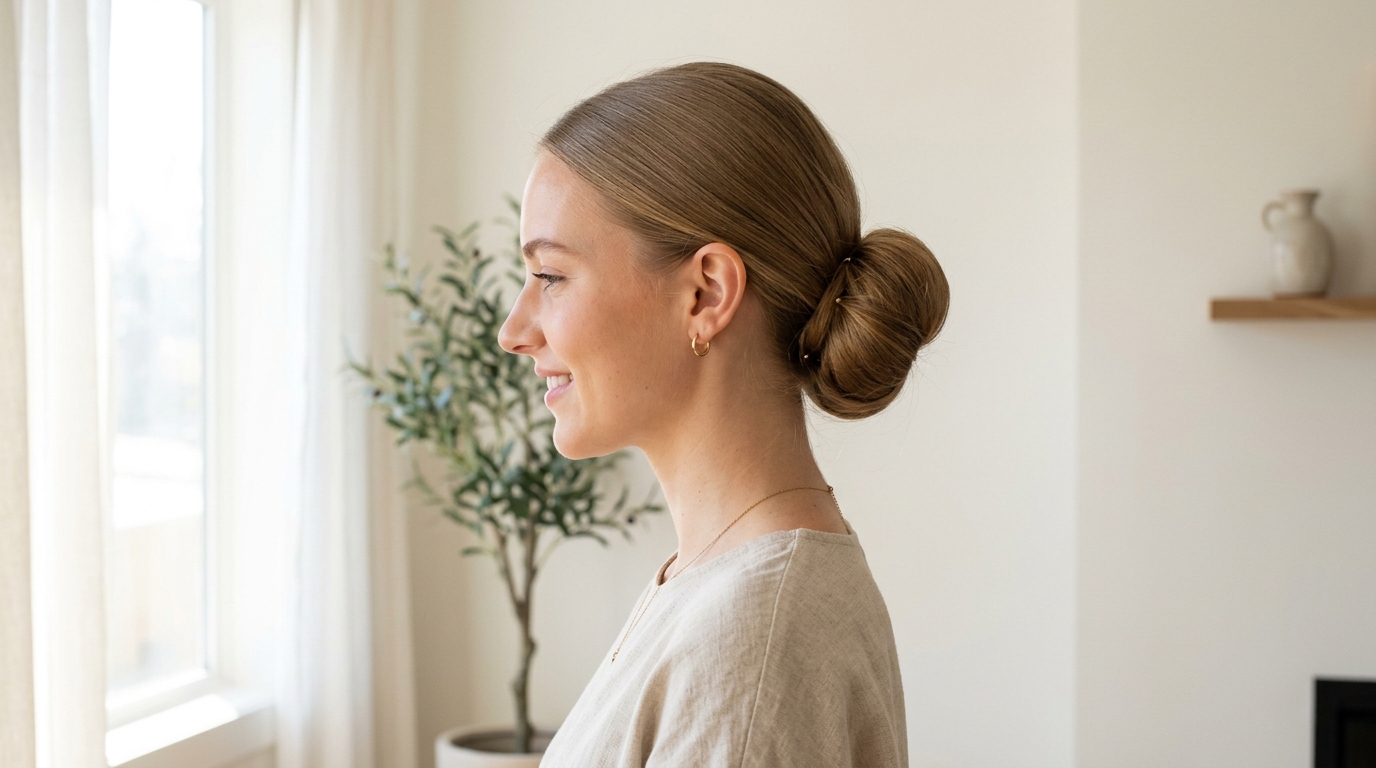
The Sleek Low Bun with a Center Part
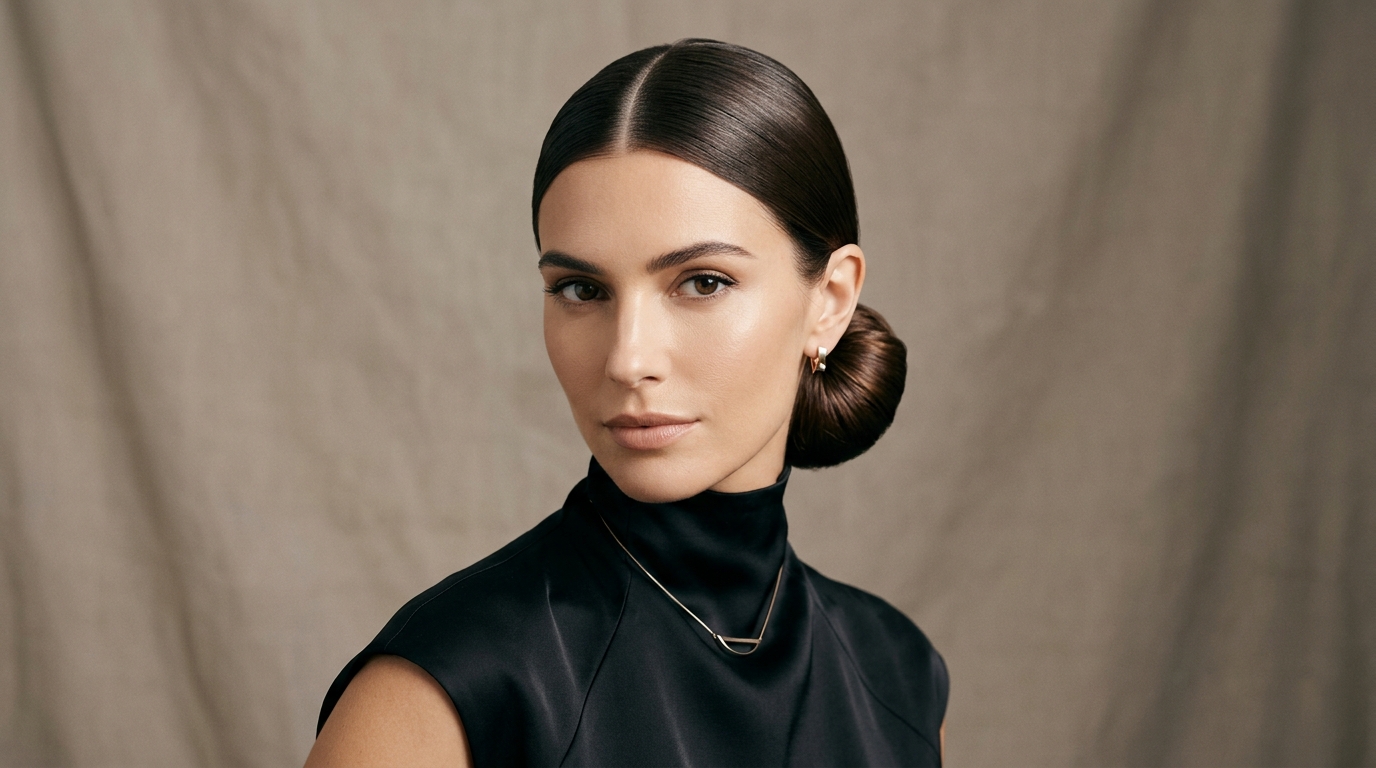
A center part transforms the sleek low bun from classic to editorial. It adds symmetry and a modern, fashion-forward edge while still keeping the polished finish.
Create a precise center part from your hairline to your crown using a rat-tail comb. Smooth each side of your hair down toward your nape separately, using gel or edge control on a toothbrush to keep the part crisp. Gather both sides into a low ponytail, ensuring the part remains perfectly straight. Then twist or wrap the bun as usual. The center part draws the eye upward and creates a lengthening effect on round or heart-shaped faces. It also allows you to tuck small face-framing pieces on either side for a softer finish.
The Side-Parted Sleek Low Bun for Asymmetry
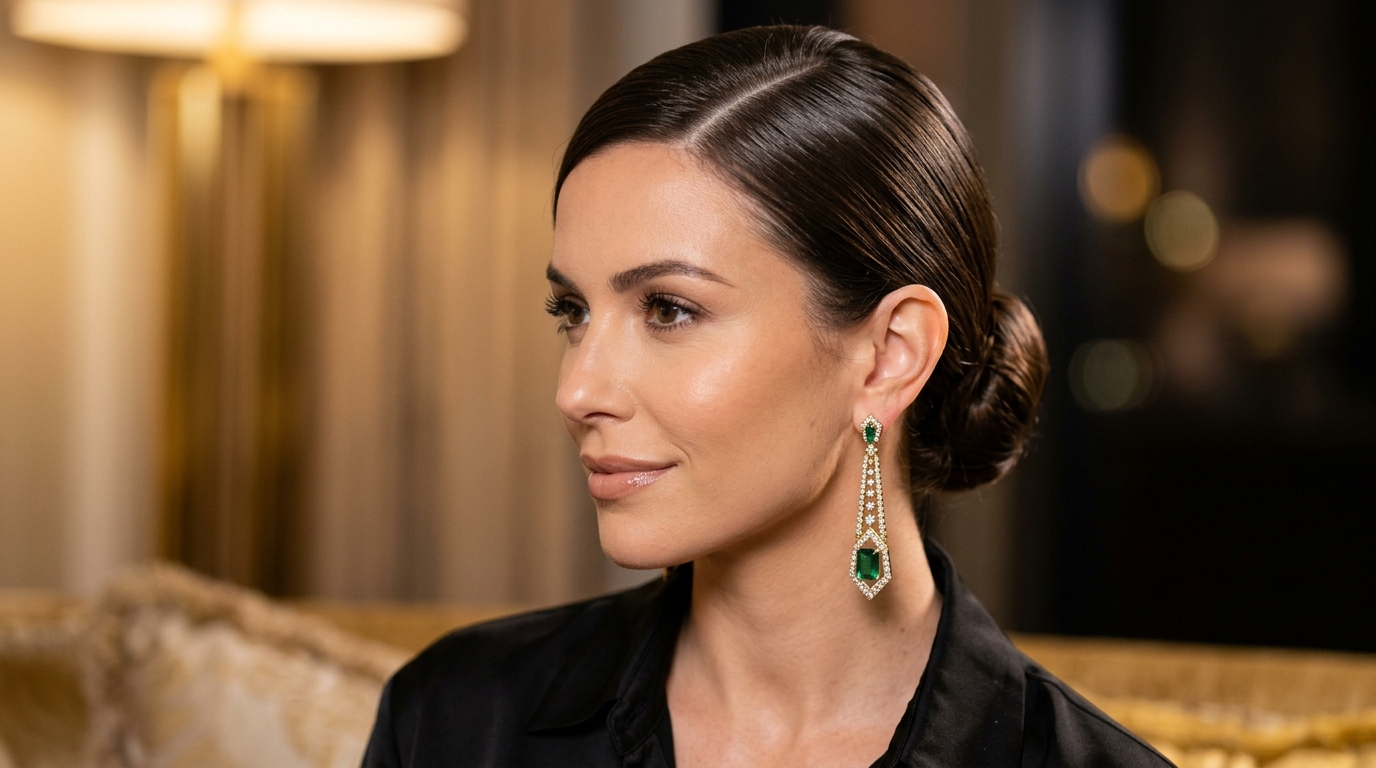
If a center part feels too severe, the side part offers a softer, more romantic take on the sleek low bun while maintaining all the polish.
Create a deep side part at your preferred side—typically just above your eyebrow. Smooth the larger section of hair across your head toward the opposite ear, using a boar bristle brush to eliminate bumps. Gather everything into a low ponytail positioned slightly to the side of the center, not directly at the nape. The side part adds volume at the crown and creates an asymmetrical silhouette that flatters square and diamond face shapes. This version works beautifully with statement earrings on the side with less hair.
The Braided Accent Sleek Low Bun
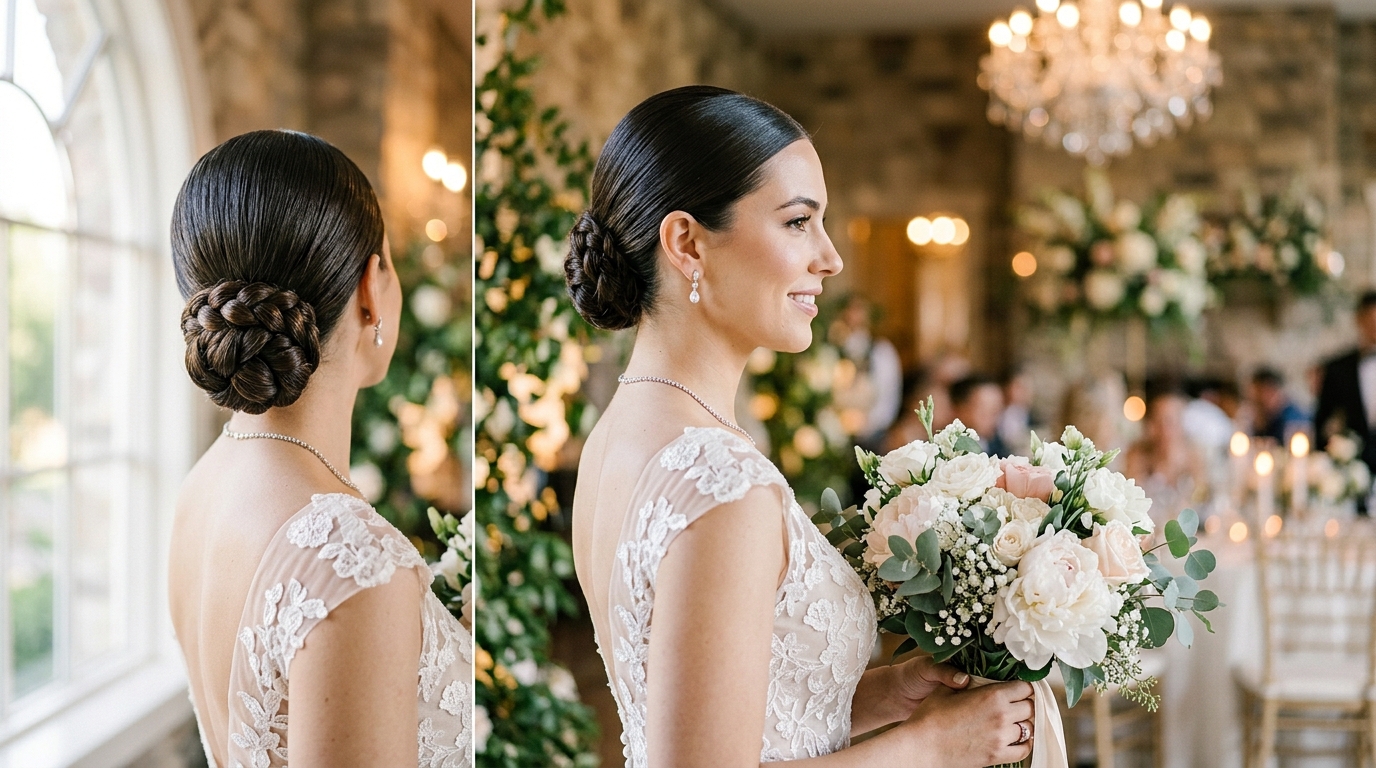
For those who want the sleekness of the low bun but crave a little texture or detail, a hidden or visible braid adds the perfect touch without sacrificing polish.
Create your low ponytail as usual. Before twisting the bun, braid the ponytail in a tight three-strand braid all the way to the ends. Then wrap the braided ponytail around the base to form the bun. The braid will create visible texture and ridges in the finished bun, contrasting beautifully with the smooth, sleek crown. For a more subtle accent, take a small section from one temple before gathering the ponytail, braid it separately, and wrap that braid around the base of the finished bun like a ribbon.
The Sleek Low Bun on Second-Day Hair (Grip-Friendly)
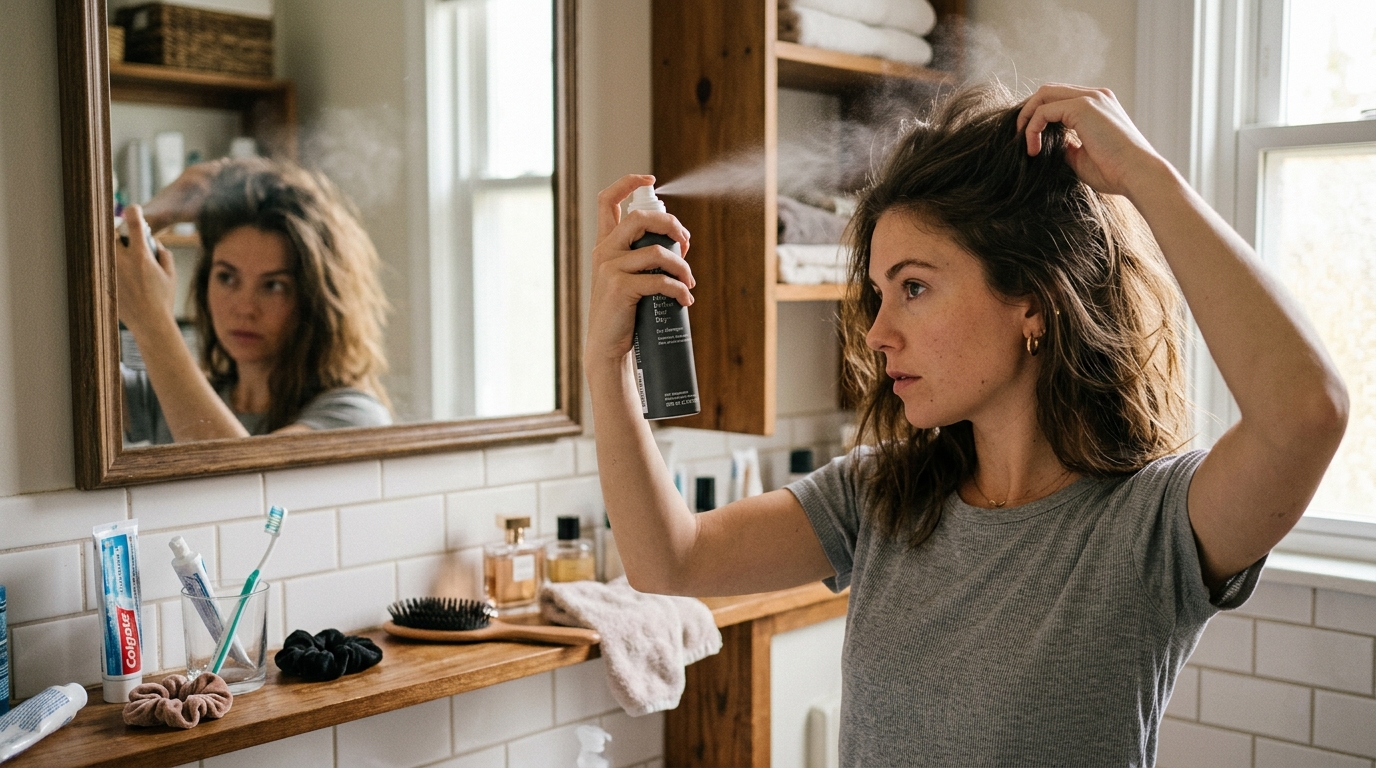
Freshly washed hair can be too slippery for a sleek low bun. Second-day hair, with its natural oils and slight texture, actually holds the style better.
If your hair is clean and slippery, apply dry shampoo to your roots and lengths fifteen minutes before styling. This adds grip without visible powder. Then follow the standard sleek low bun steps. You will notice that bobby pins stay in place more easily, and the bun requires fewer touch-ups throughout the day. The only caveat: if your second-day hair has visible oil at the scalp, use a bit of translucent powder or dry shampoo at the crown before smoothing with gel. Your bun will look freshly styled but hold like it has been set for hours.
The Sleek Low Bun for Long, Heavy Hair (Weight Distribution)
Long, thick hair has weight, and that weight will pull a low bun downward if you do not distribute it correctly. The solution is strategic pinning and sectioning.
Instead of gathering all your hair into one ponytail, create two low ponytails side by side at your nape. Twist each one separately into a small bun, then pin both buns together so they read as one larger bun. This splits the weight across two anchor points. For very long hair (past the shoulder blades), fold the ponytail in half before twisting, then wrap the folded length. Use U-pins rather than standard bobby pins—they hold significantly more weight. Your sleek low bun will stay secure through hours of wear.
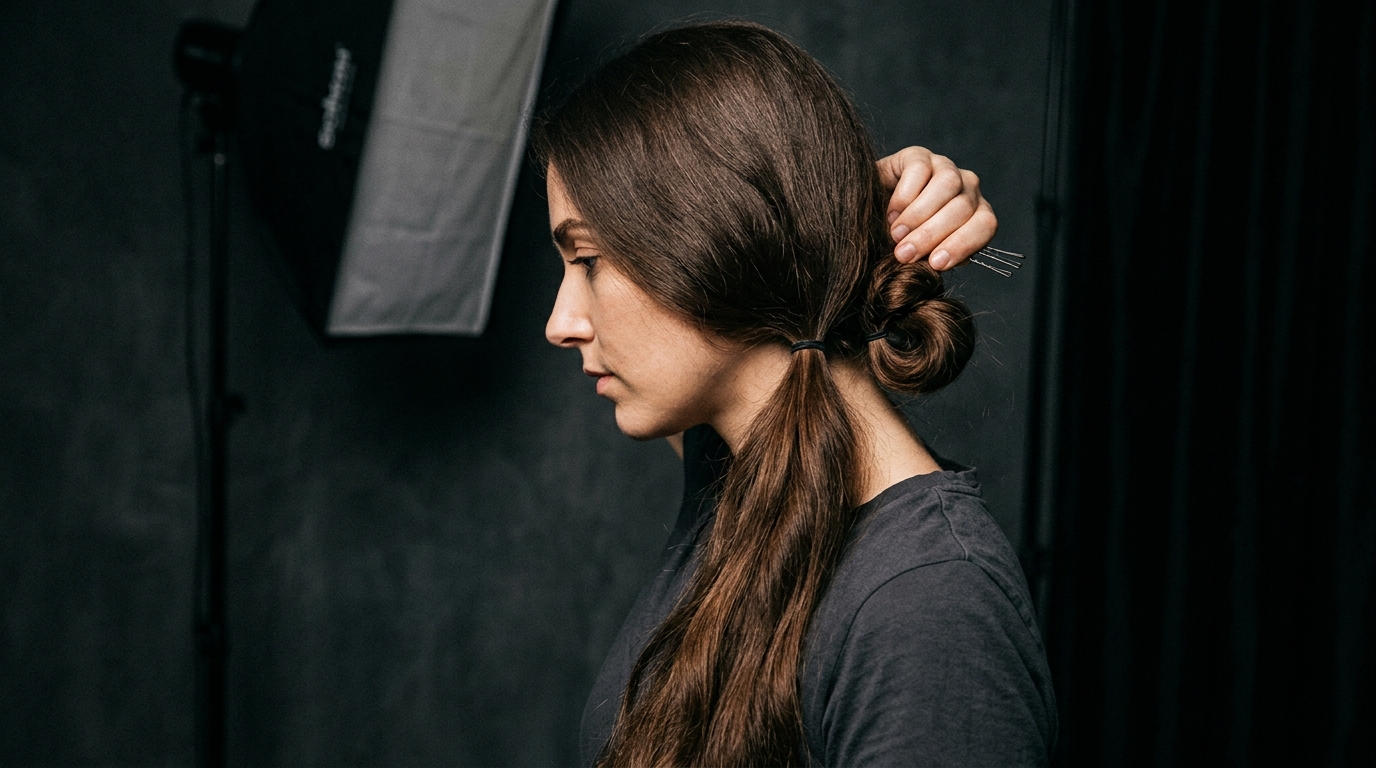
The Wet-Look Sleek Low Bun for High Fashion Impact
The wet-look hairstyle has cycled through runways for years, and it pairs perfectly with the sleek low bun. This version is bold, editorial, and surprisingly easy to achieve.
Apply a generous amount of high-shine gel or hair gloss to soaking-wet hair. Brush everything back into a low ponytail before your hair begins to dry. Create your bun immediately—do not wait for the hair to set. The wet hair will mold into shape and dry into a high-shine, glass-like finish. Use a fine-tooth comb to smooth every stray hair into place before the gel dries. This look is not subtle; it is intended for fashion events, editorial shoots, or nights when you want to make a statement. To remove, shampoo twice to break down the gel.
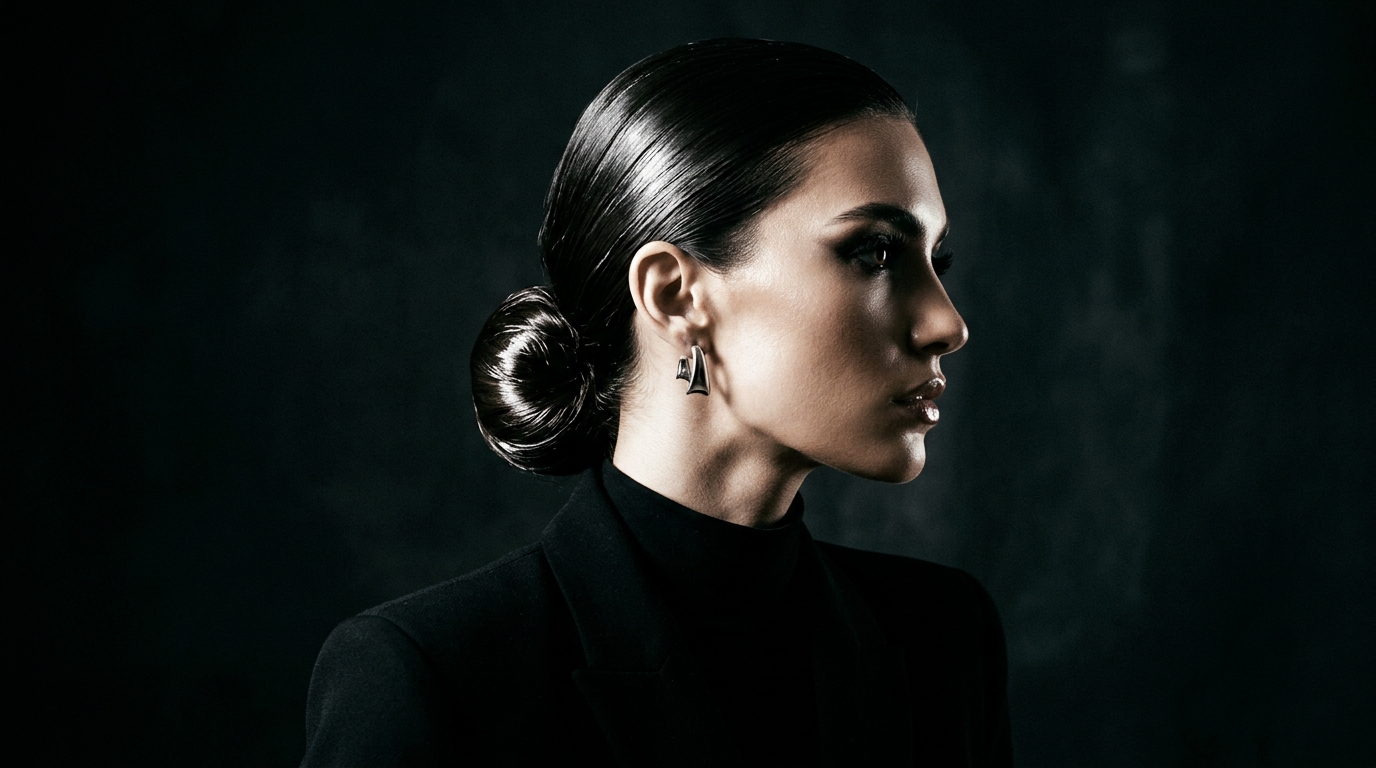
The Sleek Low Bun with a Hair Donut (For Thin or Short Hair)
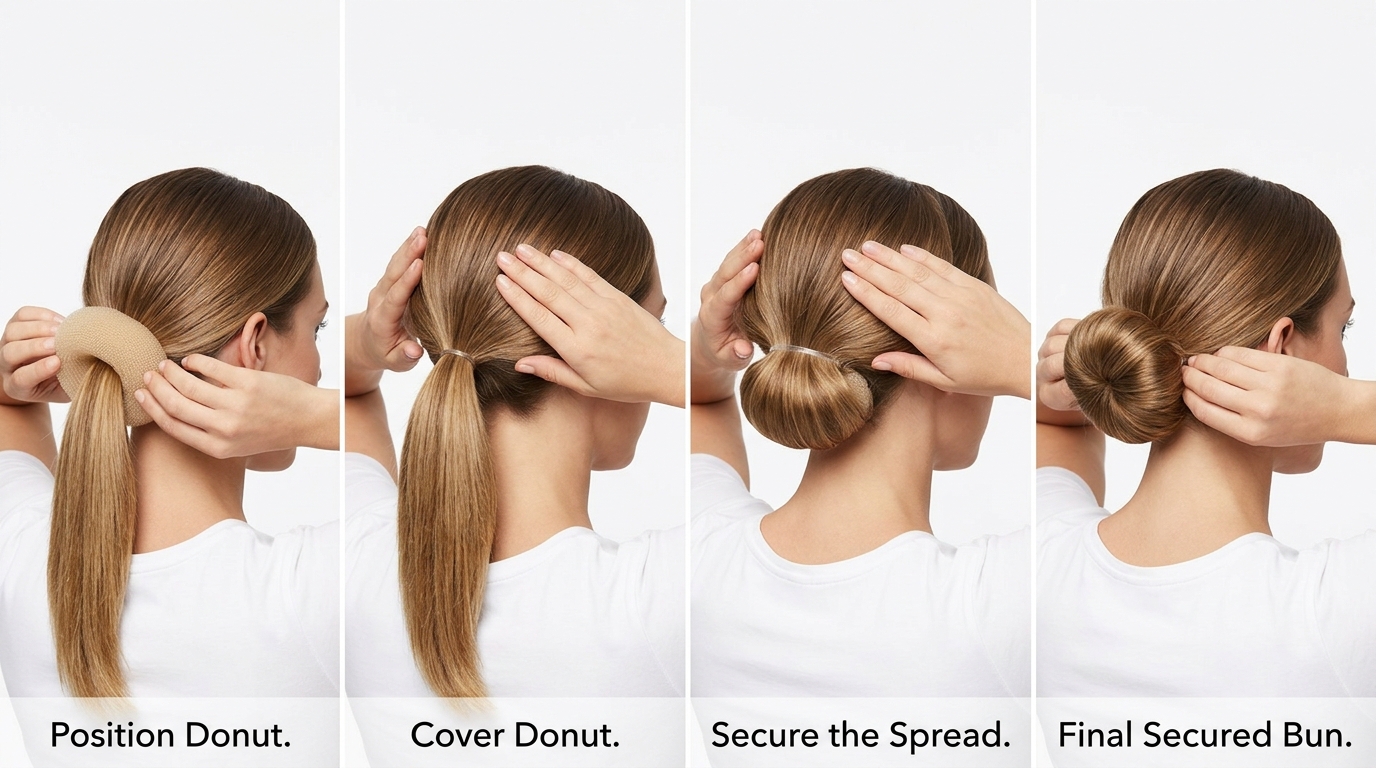
If your hair is too thin or too short to wrap into a full bun, a hair donut (also called a bun maker) is your secret weapon. It creates instant volume and structure.
Create your low ponytail and secure it tightly. Slide the hair donut up to the base of the ponytail. Spread your ponytail evenly over the donut, covering it completely. Take a second hair tie and wrap it over the donut to secure the hair in place. Tuck the ends of your ponytail underneath the donut and pin them flat. The result is a perfectly round, full bun that looks like you have twice as much hair. This technique is especially popular for brides, dancers, and anyone with fine or shoulder-length hair.
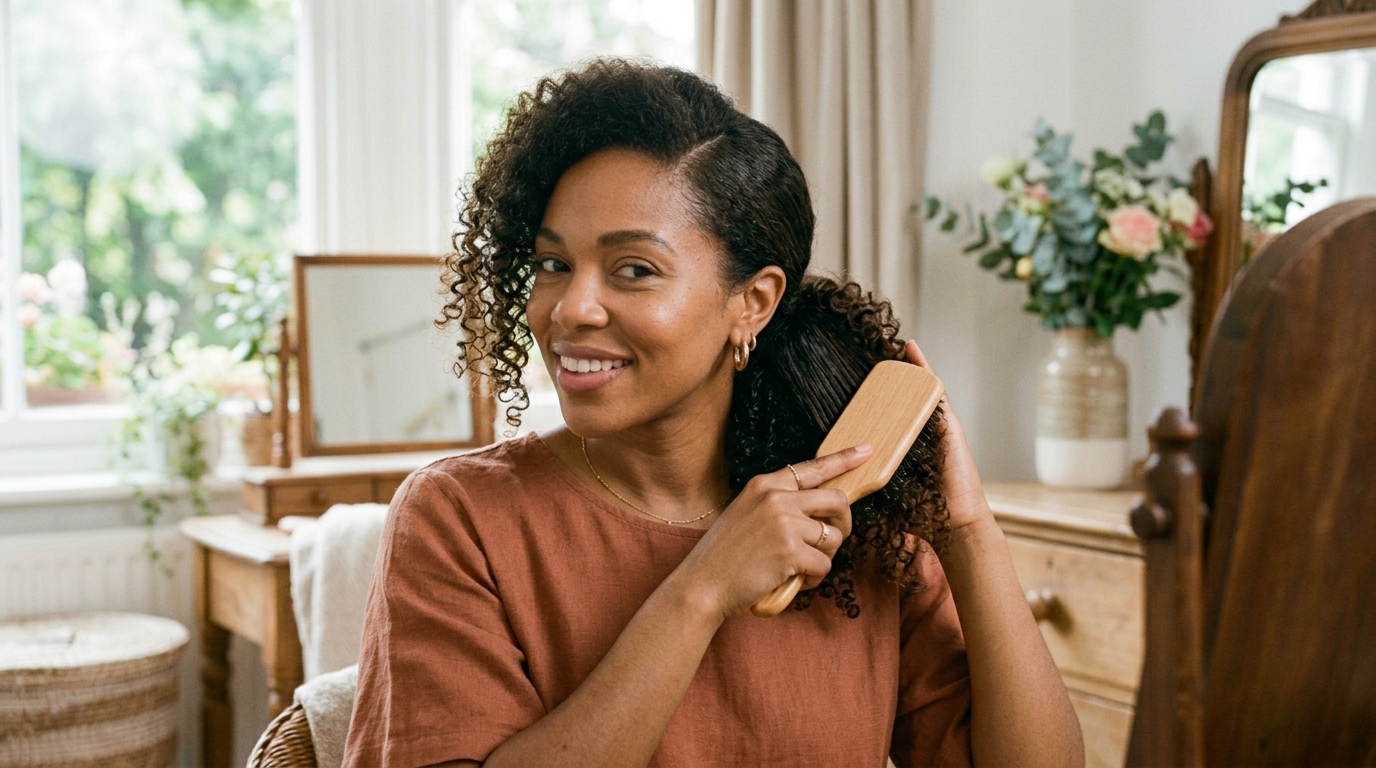
The Sleek Low Bun for Curly Hair (Stretching and Smoothing)
Curly-haired readers often assume a sleek low bun is impossible without straightening. Not true. You can achieve a sleek look while keeping your curl pattern intact inside the bun.
Start with damp, stretched curls (from braiding or banding, not heat). Apply a strong-hold gel with a smooth, wet consistency. Using a boar bristle brush, brush your curls back into your low ponytail in small sections, smoothing each section before moving to the next. Secure the ponytail. For the bun, you have two choices: twist the curls as they are for a textured, curly bun that is sleek only at the crown, or wrap the ponytail around a donut to hide the curls entirely. Both are beautiful—choose based on your event.
The Sleek Low Bun with a Scarf or Ribbon Accent
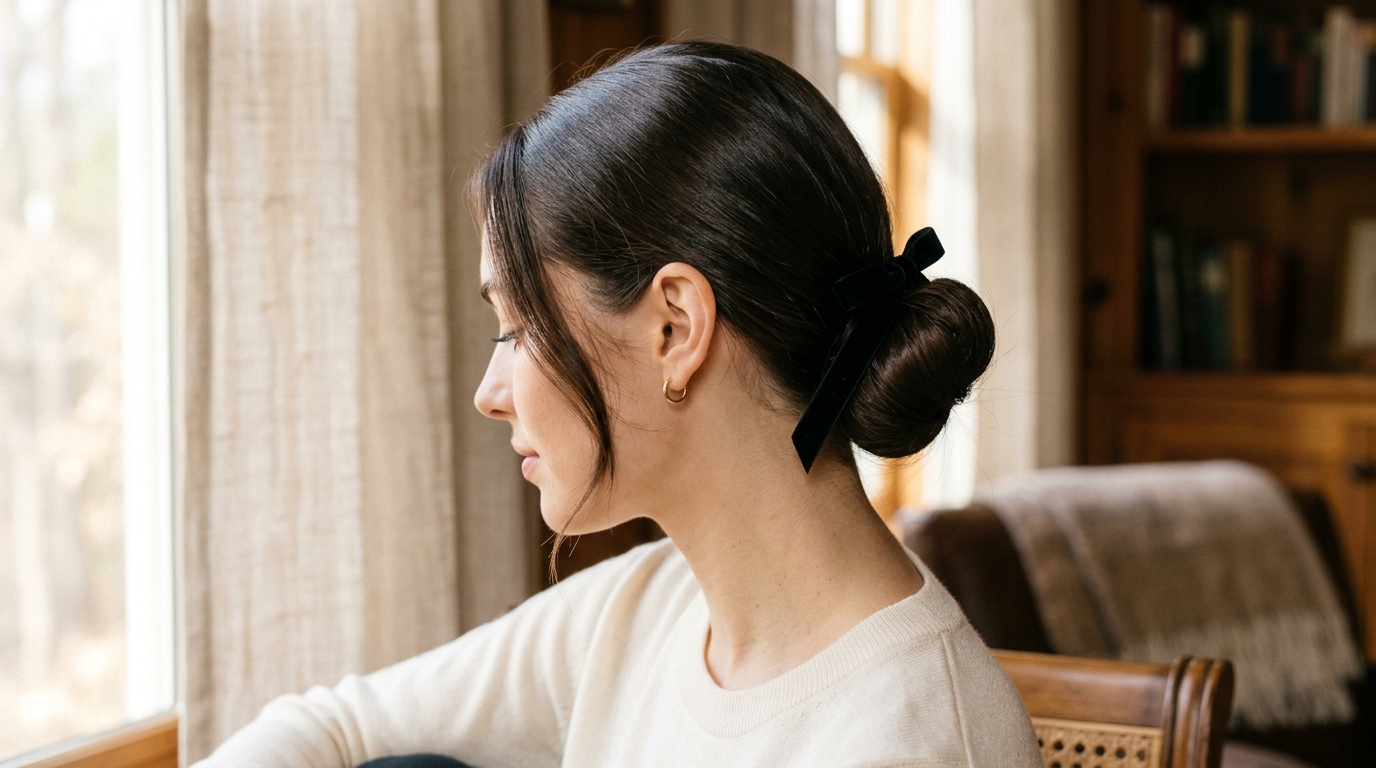
Accessories transform a basic sleek low bun into a personalized style statement. A silk scarf or velvet ribbon tied around the bun adds color, texture, and vintage charm.
After completing your sleek low bun, take a long, narrow scarf or ribbon. Wrap it once around the base of the bun where it meets your head. Tie a small bow at the back or side. For a more dramatic look, wrap the scarf around your entire head like a headband before gathering the ponytail, then use the tails to tie around the bun. This works beautifully for garden parties, brunches, or any event where you want your hair to feel special without extra styling time.
The Five-Minute Sleek Low Bun for Busy Mornings
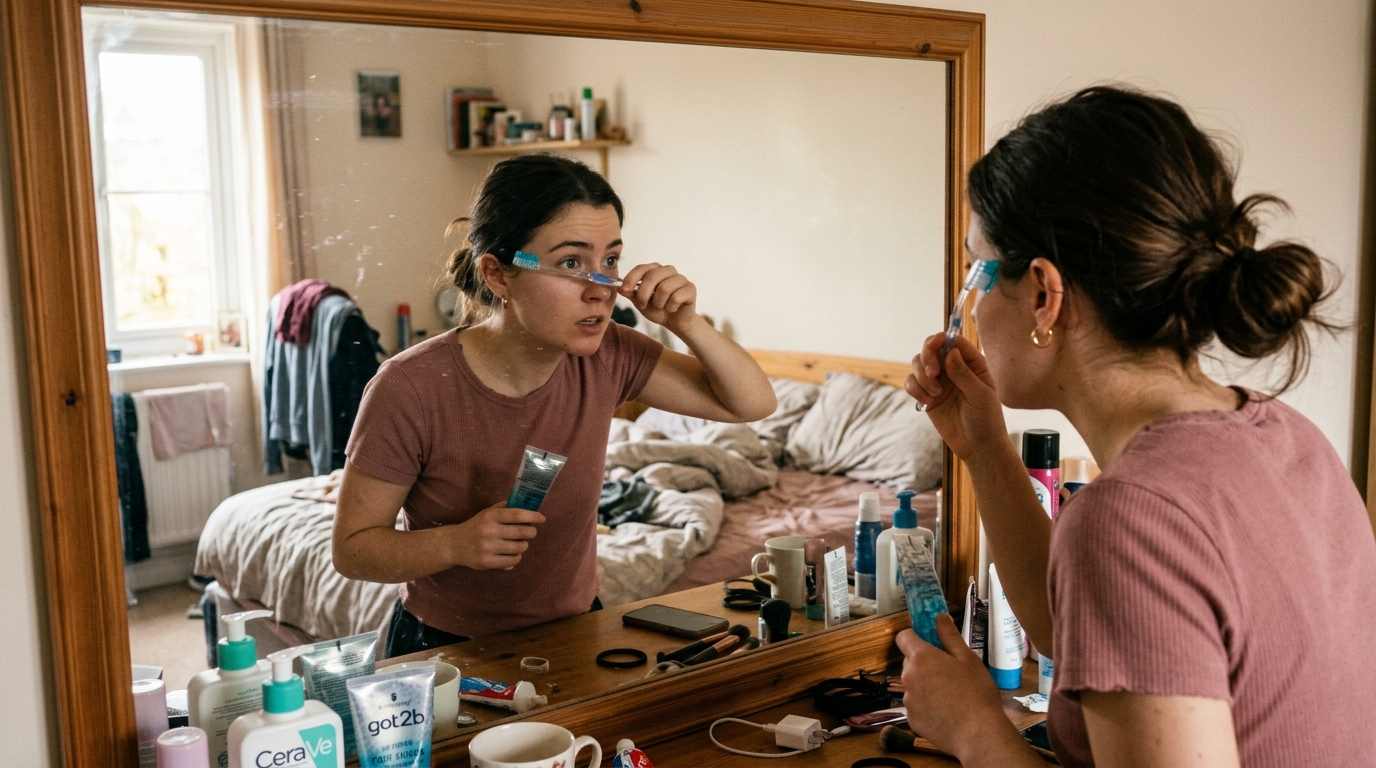
Not every sleek low bun needs a full routine. For rushed mornings, you need a stripped-down version that still delivers polish in under five minutes.
Brush your hair back into a low ponytail. Do not worry about perfect smoothness. Secure it. Twist the ponytail loosely and wrap it into a bun. Pin it with three bobby pins—no more. Then, wet a toothbrush, add a pea-sized amount of gel, and smooth only your hairline and the top of your crown. Ignore the rest of the bun. The illusion of sleekness comes from the edges and crown, not the bun itself. This takes ninety seconds and gets you out the door looking polished, not perfect.
Final Thoughts
The sleek low bun is a classic hairstyle that never fails to impress. With the right tools, techniques, and a little practice, you can master this look in minutes. Whether you’re dressing up for a special occasion or just want a refined everyday style, this tutorial has you covered.