How to Upgrade Your playful shag Hair in Just Minutes
So, you took the plunge and got the haircut of the decade—the playful, textured, and effortlessly cool shag. For a while, it was perfect. Every morning, you woke up with rockstar volume and layers that framed your face just right. But lately, something feels… off. Maybe the layers are looking a little limp, the texture has lost its spring, or you’re just craving a fresh twist without another trip to the salon.
Fear not! The beauty of the shag haircut lies in its incredible versatility and its innate ability to be revived in mere moments. You don’t need a professional stylist or hours of free time. With a few key techniques and the right products, you can transform your shag from “meh” to “magnificent” in the time it takes to brew your morning coffee. This guide is your secret weapon to unlocking a whole new level of shaggy brilliance, one minute at a time.
1. The Five-Minute Texture Refresh
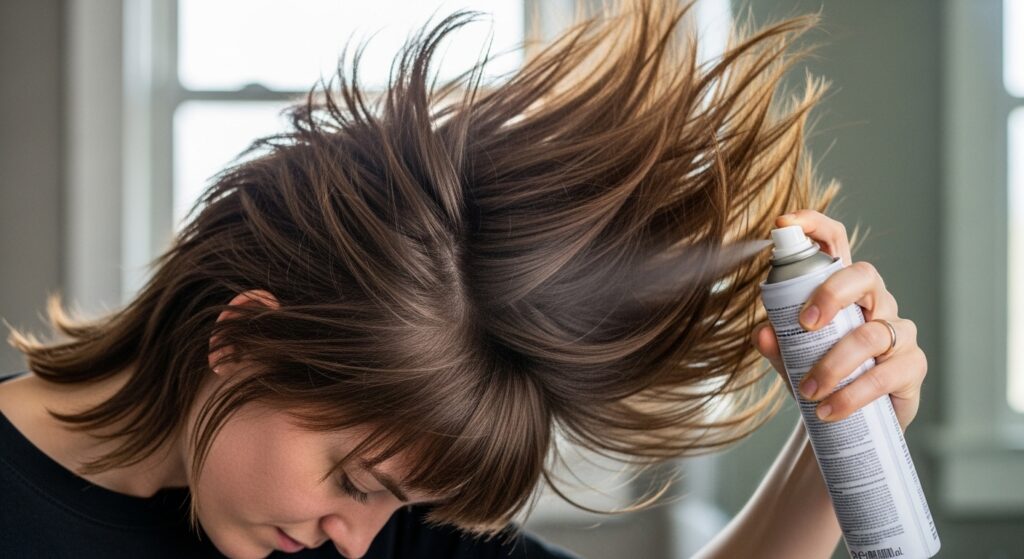
Let’s start with the most common shag slump: a loss of texture. The shag is built on movement and separation, and when hair gets too clean or smooth, it can fall flat. The fastest way to bring it back to life is with a trusty texturizing spray. This product is the holy grail for shag haircuts, designed to add grit, volume, and that coveted “lived-in” feel.
Here’s your lightning-fast routine: Flip your head upside down and mist the texturizing spray generously at your roots and through the mid-lengths of your hair. Don’t be shy! Scrunch your hair upwards with your hands as you go. Once you flip back, use your fingers to gently tousle the layers and break up any clumps. For extra definition, you can twist small face-framing sections around your finger and hit them with a quick blast from the nozzle. This instantly recreates those perfect, piecey ends.
2. Master the Art of the “Messy” Part
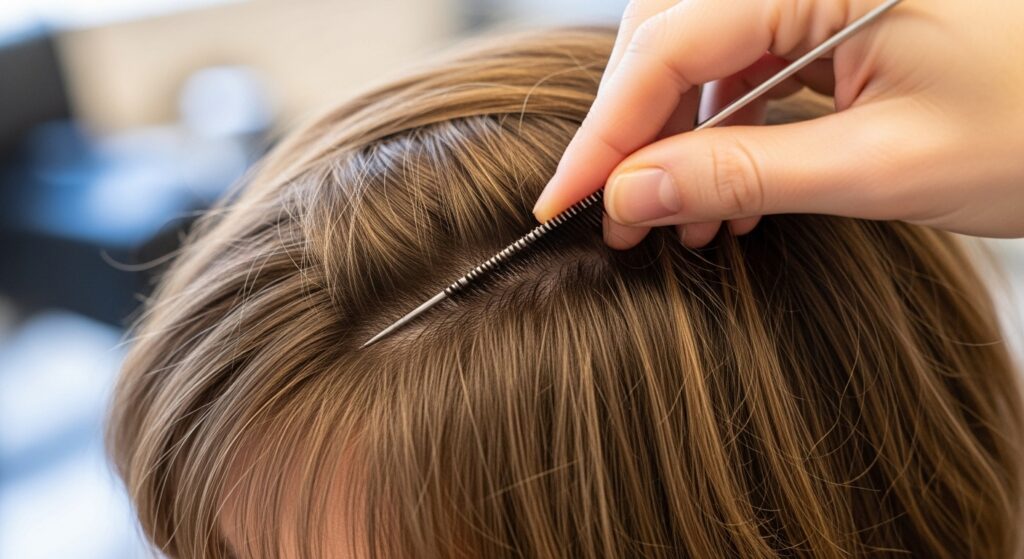
Never underestimate the power of a part. A simple, severe center or side part can sometimes work against the organic flow of a shag. The goal is a lived-in, effortless part that looks like you just ran your hands through your hair after a day at the beach. The trick is to avoid perfection.
Using the end of a comb or your fingernail, create a slightly off-center part. Then, gently zig-zag the part line back and forth to soften it. Use your fingers to pull a few wispy pieces loose over your forehead and temples. This small change immediately adds volume at the crown and makes the entire style look more intentional yet relaxed. It’s a 30-second upgrade with a massive impact.
3. The One-Minute Root Lift Secret
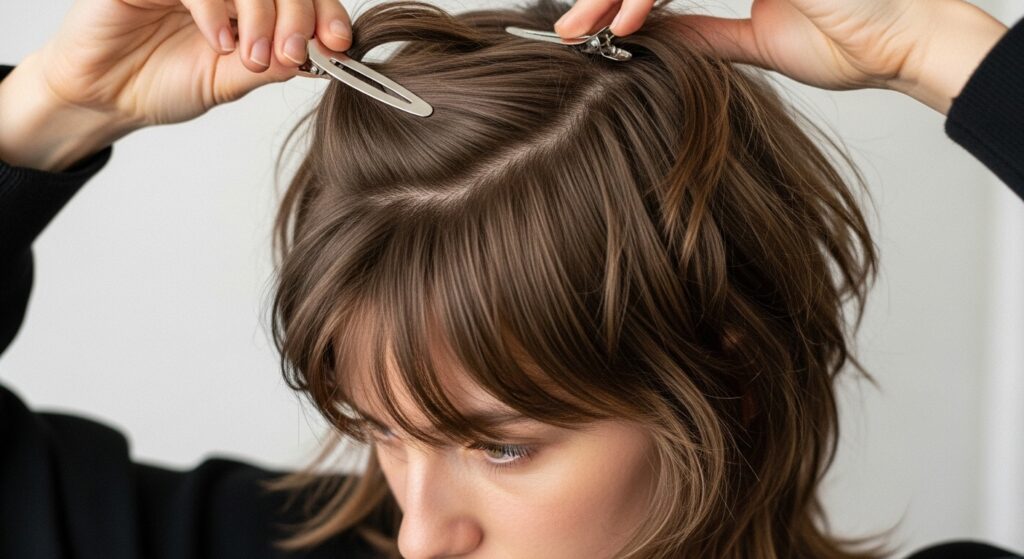
Volume is the backbone of a great shag. When the roots go flat, the layers lose their drama. For an instant lift that lasts all day, you need a two-pronged attack: a volumizing spray and a clip. After applying your texturizing product, take a section of hair at the crown of your head. Gently backcomb the roots ever so slightly with a comb—just one or two strokes for grip, not for a 1980s tease.
Then, lift that section straight up and secure it at the base with a duckbill clip or a classic jaw clip. Now, go about your business. Finish your makeup, drink your coffee, get dressed. After five to ten minutes, remove the clip, shake your head gently, and voilà! You have incredible, lasting volume that looks completely natural, not crispy or overdone.
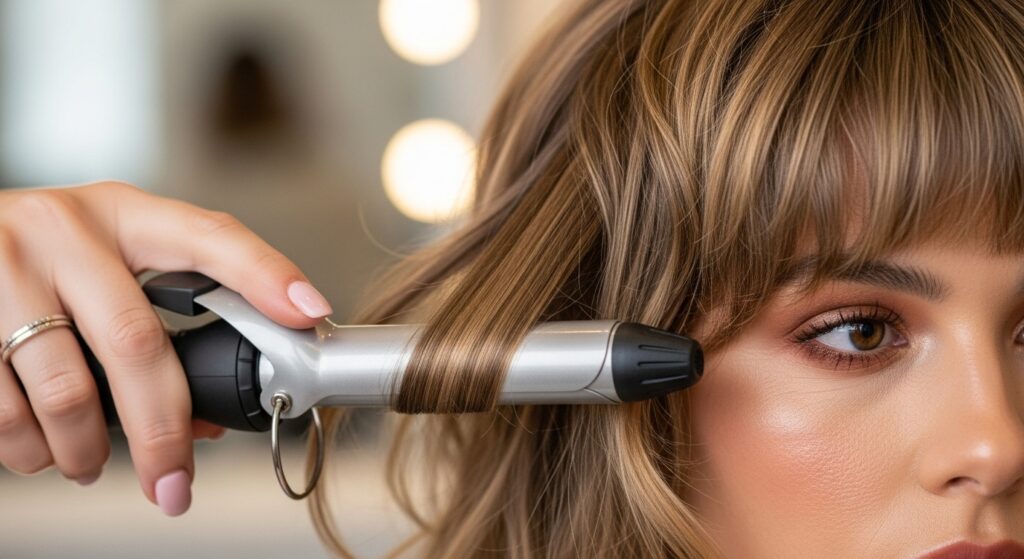
4. Revive Your Bangs and Face-Framing Layers
The bangs and face-framing layers are the star of the shag show. When they get greasy, flat, or lose their shape, the whole haircut suffers. Dry shampoo is your best friend here, but for a more targeted approach, a little strategic curling can work wonders.
If your curtain bangs are misbehaving, take a small, one-inch barrel curling iron. Wrap each side section away from your face, hold for a few seconds, and then release. Do not curl them into tight ringlets. The goal is to reintroduce the soft, outward curve. Once curled, run your fingers through them to break up the shape and blend them seamlessly with the rest of your layers. This takes less than two minutes and completely reframes your face.
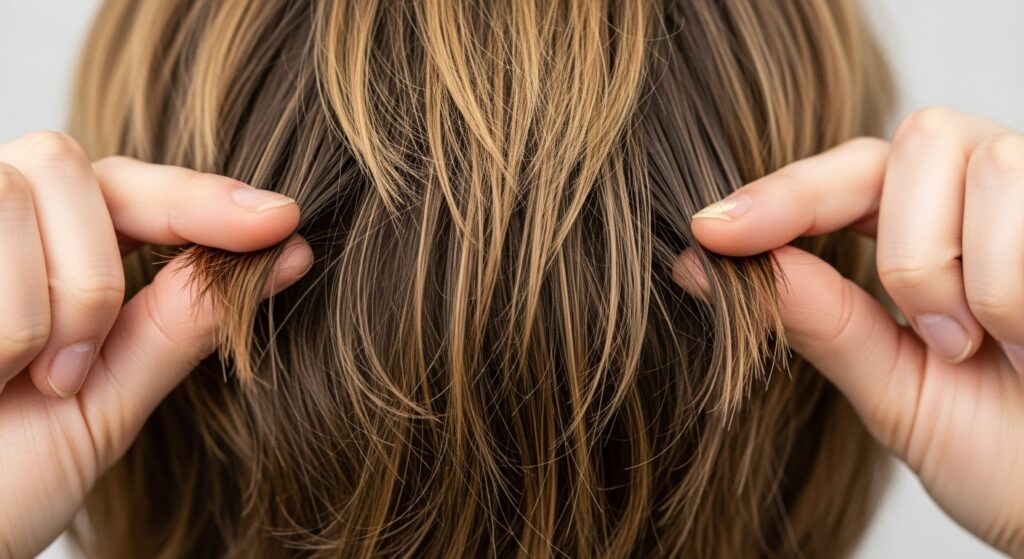
5. Create Instant Piece-Y Ends
The signature of a modern shag is the wispy, piece-y ends that look artfully chopped. When these ends start to blend together, the haircut loses its edge. To get this look back in under a minute, you need a tiny bit of product and a precise application.
Take a pea-sized amount of a strong-hold pomade, wax, or paste. Rub it vigorously between your thumb and forefinger until it’s warm and almost transparent. Then, focusing only on the very ends of your shortest layers and bangs, gently pinch and pull them between your fingers. This action will separate the hairs and create those defined, artistic ends that make a shag so special. A little goes a long way, so start small!
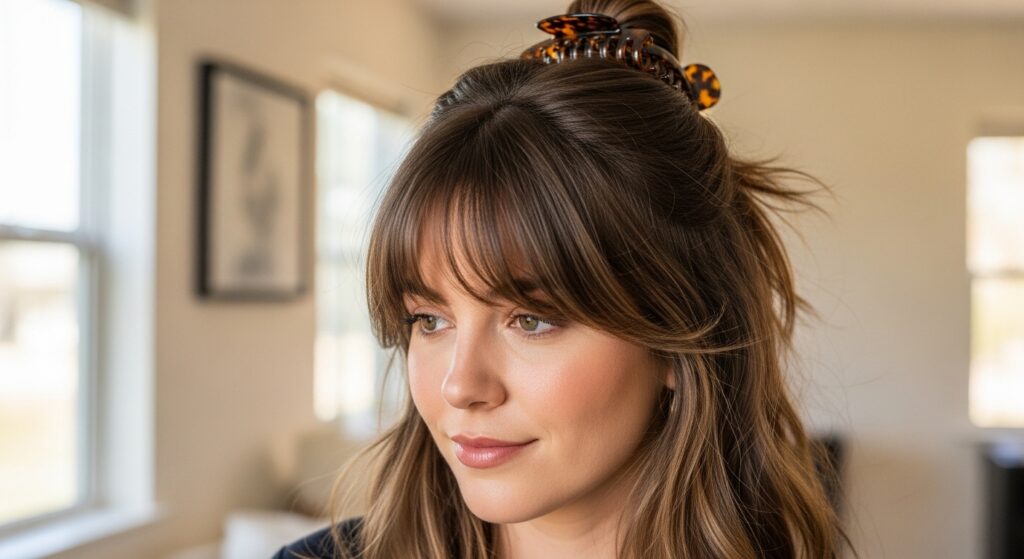
6. The Power of Strategic Accessories
When you’re truly in a rush, the fastest upgrade of all is a well-chosen accessory. A few strategically placed bobby pins or a chic claw clip can transform your shag into a styled masterpiece in seconds. This is also a perfect trick for second or third-day hair when you need a quick fix.
Try sweeping the front sections of your hair back and securing them with two or three criss-crossed bobby pins at the crown. This creates an instant, face-brightening effect and adds volume. Alternatively, a half-up style secured with a claw clip at the back of your head gives off a cool, retro vibe while keeping hair out of your face and showcasing your beautiful layers.
7. The Overnight Trick for Next-Day Waves
What if you could style your hair while you sleep? With the shag, you practically can. For incredible, heat-free texture and wave that will make your morning routine a breeze, try a loose braid or twist before bed. This method works best on hair that is slightly damp or has a bit of product in it from the previous day.
Simply divide your hair into two sections and create two loose, messy braids. Or, for a looser wave, twist each section and pin it into a loose bun. When you wake up, unravel your hair, flip it over, and scrunch. You’ll be left with soft, romantic waves that add incredible body and movement to your shag layers, all with zero effort in the morning.

Your Essential 3-Minute Daily Shag Routine
Let’s put it all together. Here is a foolproof, three-minute routine for a perfect shag every single day.
Minute 1: Flip head upside down. Spritz roots with volumizing spray and scrunch. Apply texturizing spray through mid-lengths and ends. Flip back up.
Minute 2: Create a soft, messy part. Use your fingers to tousle the crown and lift the roots. Gently pinch and define the ends of your bangs and shortest layers with a tiny bit of wax.
Minute 3: Use a curling iron (only if needed) to quickly reshape any stubborn face-framing layers away from your face. Do a final shake, check for any flat spots, and you’re out the door!