Jellyfish Haircut Tutorial: How to Get This Two-Toned Trend
Imagine a hairstyle that stops traffic, turns heads, and boldly declares your creative spirit to the world. Enter the jellyfish haircut, the audacious, sculptural trend that’s pulsating from avant-garde runways to daring street style. Part sleek bob, part floating underlayer, this two-toned masterpiece is more than just a cut—it’s a wearable art form. If you’ve been captivated by its unique silhouette and are ready to dive into the deep end of hair fashion, you’re in the right place. This comprehensive tutorial will guide you through everything you need to know to achieve the stunning jellyfish haircut, from the precise snips to the most electrifying color combinations.
What Exactly is a Jellyfish Haircut?
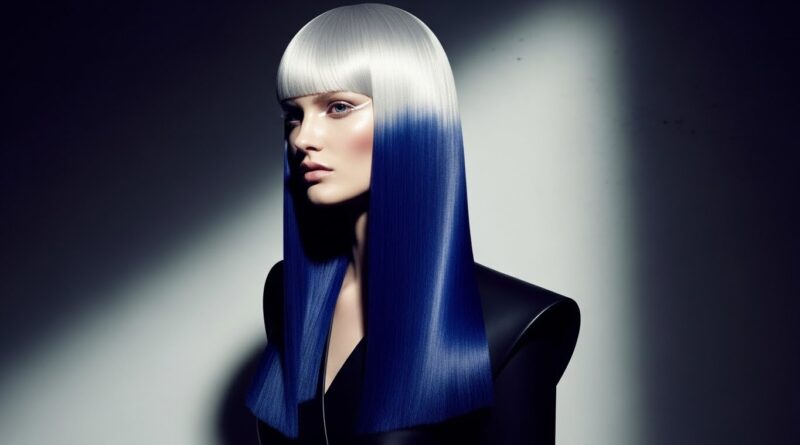
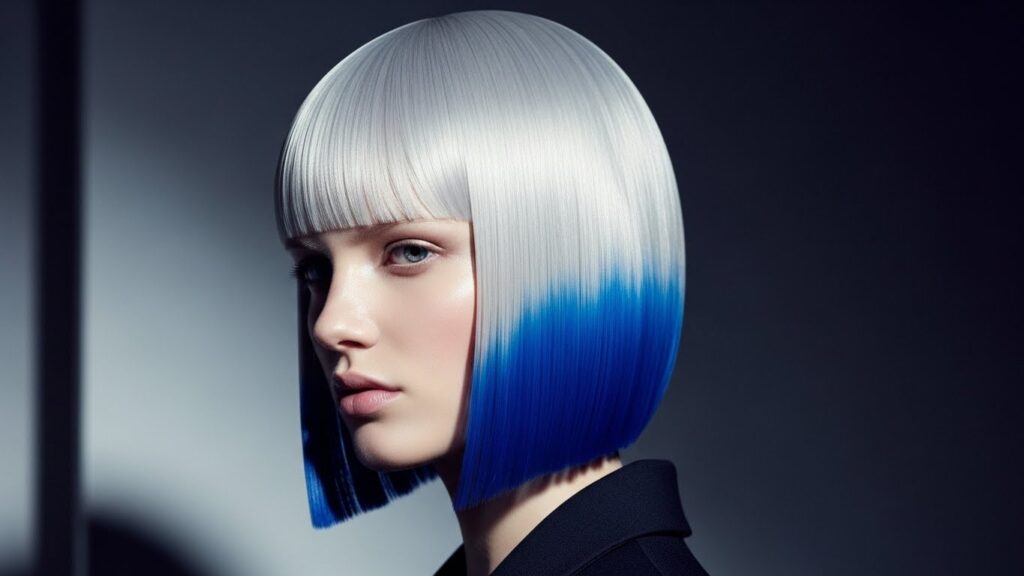
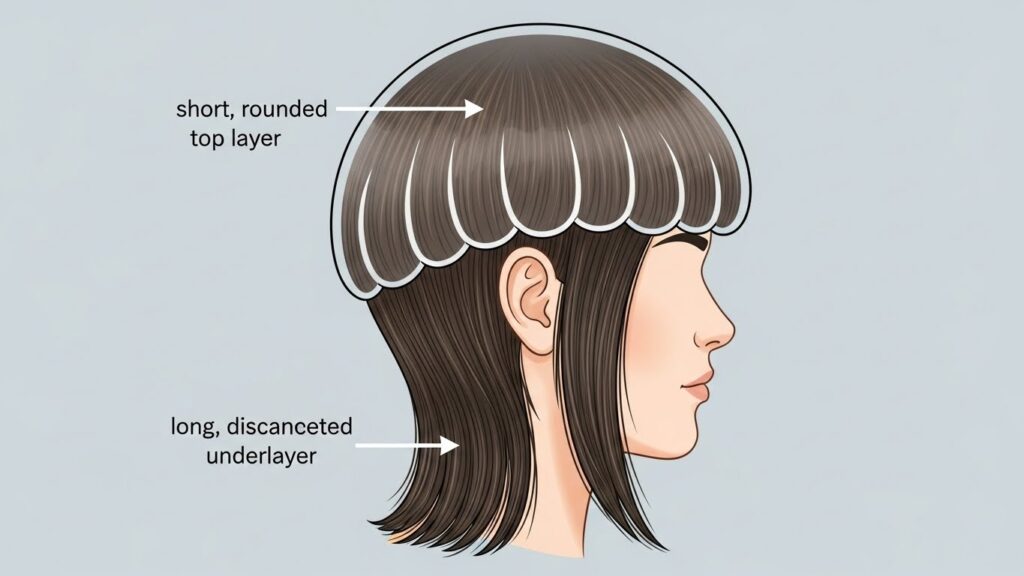
Before we pick up the shears, let’s define our canvas. The jellyfish haircut, sometimes called the “jellyfish cut” or “octopus cut,” is a highly structured, disconnected hairstyle. The key characteristic is the clear, visible separation between the top and bottom sections. Unlike a traditional layered cut where layers blend, the jellyfish maintains a distinct gap. The top section is typically cut into a solid, uniform shape—a blunt bob, a rounded bowl, or a sharp geometric bob—that rests on the head. The bottom section is left long, often reaching the chest or longer, and is completely detached from the top. When the wearer moves, the bottom layer sways independently, much like the tentacles of its namesake.
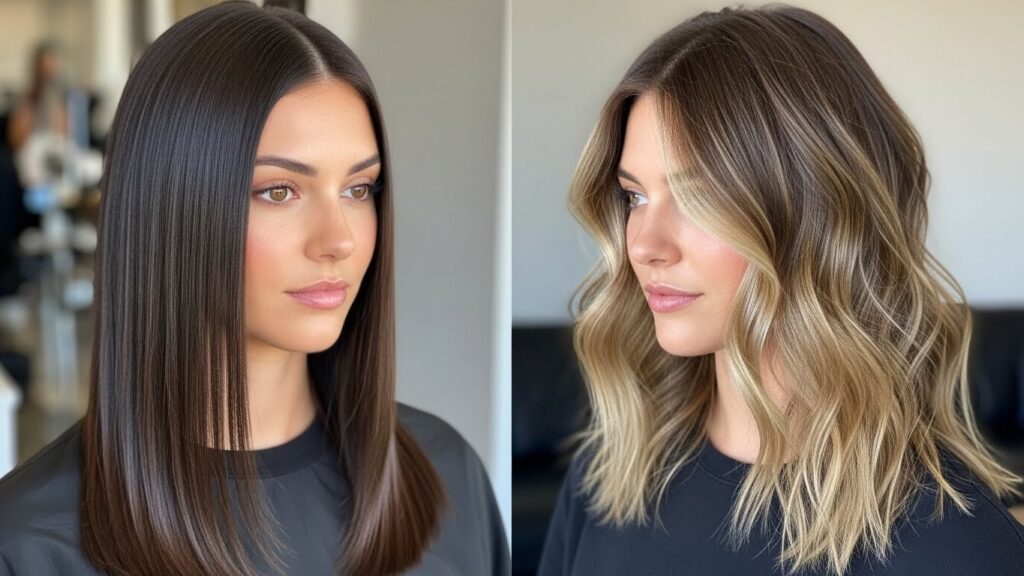
The magic is exponentially enhanced with color. The two-toned trend isn’t just a suggestion for this style; it’s its beating heart. By applying a light, bold, or contrasting color to the top section and a dramatically different hue to the bottom, you create a floating, otherworldly effect. Think jet black top with fiery red underneath, pastel pink cap over deep violet tendrils, or neon green bobbing above natural brown. This color play emphasizes the cut’s architecture and makes it truly pop.
Tools and Preparation You’ll Need
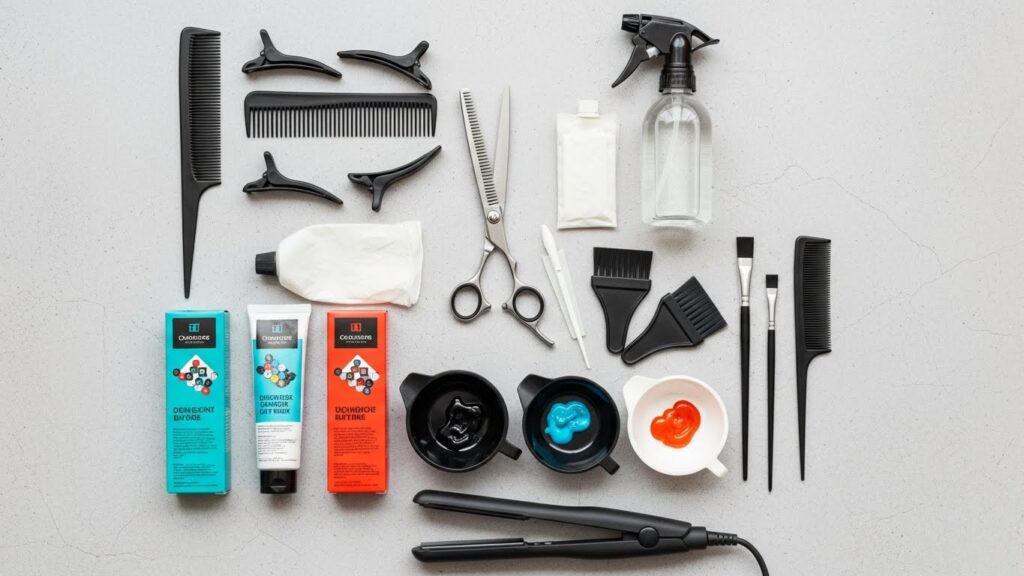
Preparation is crucial for a precise cut like this. Gather your tools first. You will need: sharp hairdressing shears (never use dull craft scissors), fine-tooth comb, hair clips for sectioning, a spray bottle with water, and a hand mirror to check the back. If you are including the color transformation, you will also need your chosen hair dyes, developer, mixing bowls, brushes, applicator bottles, gloves, and foil or plastic wrap. For styling, have a flat iron and a strong hold hairspray or texture spray on hand.
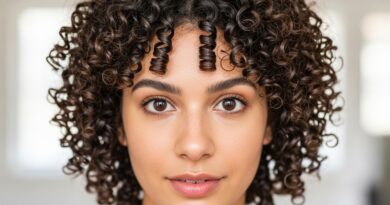
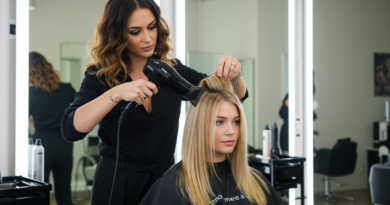
Most importantly, start with freshly washed and towel-dried hair. Slightly damp hair is easier to cut evenly. Analyze your hair type: this cut works on straight, wavy, and even curly hair, though the final silhouette will differ. Fine hair may need texturizing to add volume to the top, while thick hair might require thinning to prevent the top from becoming too bulky. Be honest about your skill level. If you are a complete beginner, consider consulting with a professional stylist, as the initial shape is critical.
Step-by-Step Cutting Tutorial
Now, let’s create the foundation. Follow these steps carefully to establish the iconic jellyfish shape.
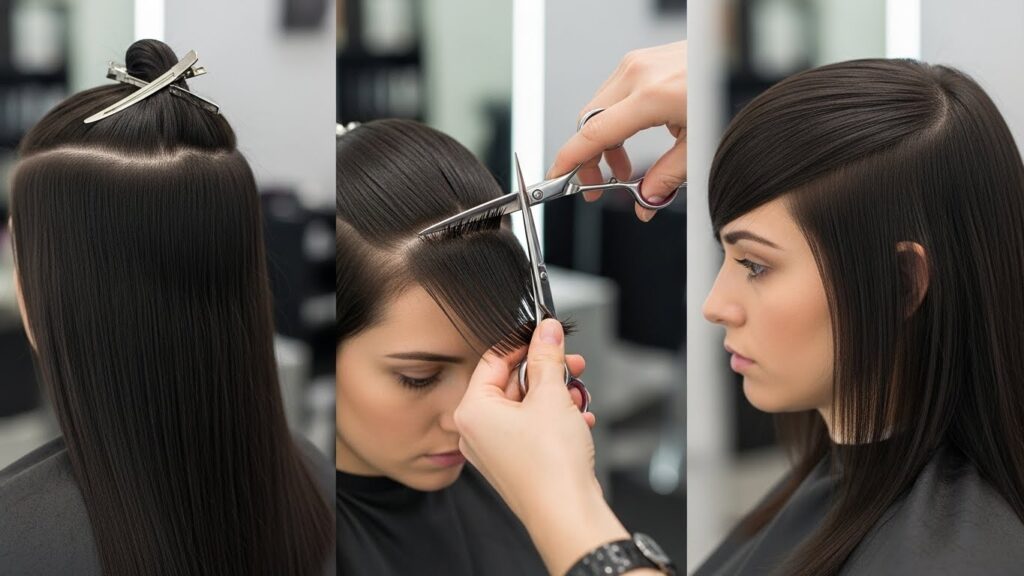
Step 1: Create the Core Sections. Comb all hair straight down. Part your hair down the middle from forehead to nape. Now, create a horizontal part from ear to ear, over the top of your head. Clip the top section (the crown and everything above your ears) up and out of the way. This lower, back section will become your long “tentacles.” For a more pronounced look, you can make this horizontal part higher, above the occipital bone.
Step 2: Secure and Protect the Bottom Layer. Gather the entire bottom section and clip it securely at the center of the nape of your neck. Be sure it’s smooth and untangled. We will not cut this section until the very end, and only to even it out if desired. Its length is the star of the show.
Step 3: Cut the Top Layer. Unclip the top section. This is where you define the shape. For a classic rounded jellyfish bob, comb the hair forward over the face. Point-cut (cutting vertically into the ends) to create a soft, rounded line that is shorter at the back and gradually longer toward the front, framing the face. Use your chin or jawline as a guide. Always cut less than you think you need. You can always go shorter, but you can’t add hair back. Check for balance by unclipping the bottom layer briefly to see how the two interact.
Step 4: Refine and Disconnect. The goal is a clean disconnect. After cutting the top to your desired length, let the bottom layer down. The stark difference should be immediately visible. Trim the bottom layer only if you need to clean up the ends or create a more dramatic, uneven “tentacle” effect by point-cutting into a few select strands.
Mastering the Two-Toned Color Application
Color transforms this cut from interesting to iconic. The rule is simple: treat the top and bottom layers as two separate canvases.
Color Strategy: You can either go for high-contrast (e.g., black/white, bright pink/black) or tonal contrast (e.g., ash blonde/rooty dark shadow, caramel/cinnamon). Lighter or brighter colors on top will make the cap “float” more visually. Darker colors on top create a heavy, dramatic anchor with a surprise pop of color underneath.
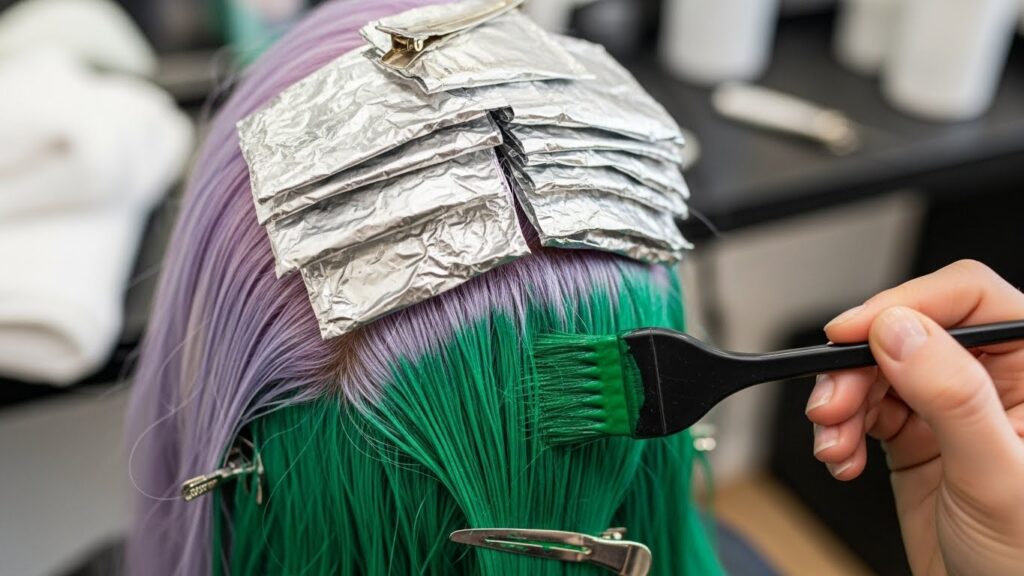
Application Process: Section the hair exactly as you did for cutting. Clip the bottom layer up and out of the way. Apply your chosen color to the top layer only, following the product’s instructions. Process, rinse, and dry completely. Once the top is done, protect it by wrapping it in plastic or a cap. Then, let down the bottom layer and apply your second color. This separation is key to preventing bleed and maintaining crisp color lines. For a more blended, lived-in effect, you can softly feather the color at the very point where the two layers meet, but keep it minimal.
Styling Your Jellyfish Hair for Maximum Impact
The right styling elevates the architectural quality of the cut. For a sleek, modern look, blow-dry the top layer smooth using a round brush to enhance the rounded shape. Then, use a flat iron on both layers to create a pin-straight, graphic finish. Apply a shine serum to the top layer and a light hold spray to the bottom to keep it swinging.
For a textured, edgy vibe, work a sea salt spray or texturizing paste into damp hair. Scrunch the bottom layer to encourage piecey, separated “tentacles.” For the top, you can even try a slightly messy, piecey finish or add a subtle wave with a small curling iron to break up the solid shape. The contrast between a textured top and sleek bottom can also be incredibly striking.
Remember: This haircut is a statement. Play with it. Part it deeply to one side, slick it back for a severe look, or add tiny accessories to the top section. Its versatility lies in its bold shape.
Maintenance and Care for Your Jellyfish Cut
This is not a low-maintenance hairstyle, but the upkeep is worth the spectacle. Regular trims every 6-8 weeks are essential to maintain the sharp shape of the top layer and prevent the disconnect from growing out and blending. Use color-safe, sulfate-free shampoos and conditioners to preserve your two-toned masterpiece. Consider a color-depositing conditioner in your bottom layer’s hue to refresh the vibrancy between dyes.
When drying, you can diffuse the bottom layer while clipping the top out of the way to define its natural texture. Invest in good quality heat protectant, as you will likely use hot tools to emphasize the style’s lines. Embrace the grow-out phase—as it grows, the jellyfish cut can evolve into other interesting shapes, like a mullet or a wolf cut, giving you longevity for your daring choice.
Dive Into the Trend
The jellyfish haircut is a fearless celebration of individuality and artistic expression. It defies conventional blending, opting instead for a bold, graphic statement that challenges the norms of hair design. By following this tutorial, you’re not just learning a haircut; you’re learning how to craft a head-turning look that perfectly balances structure and movement, color and form.
Whether you choose to execute it yourself in your bathroom or bring this guide to a trusted stylist, you are now equipped with the knowledge to achieve the two-toned jellyfish trend. So gather your courage, your shears, and your most daring color palette. The world of avant-garde beauty awaits—don’t be afraid to make a splash.