Loop 17 Continuous Braid Chains Connecting Sections Seamlessly Endless
Okay, let’s be real. We’ve all seen those intricate, beautiful braids online and thought, “I could never.” It looks like you need eight hands and a degree in advanced geometry. I felt the same way until I learned the secret: it’s all about connecting the pieces.
Today, I’m breaking down the Loop 17 Continuous Braid Chains technique. It sounds fancy, but it’s just a simple method of linking small braided sections to create one seamless, endless look. It’s the foundation for so many of the big 2026 hairstyles we’re starting to see.
Whether you’re into romantic goth hairstyles or that clean old money hair vibe, this technique is your new best friend. It adds detail without the fuss. I promise it’s easier than it looks, and I’ll walk you through every single step.
Grab your comb, some clear elastics, and let’s get into it. You’re about to learn your most versatile hair skill yet.
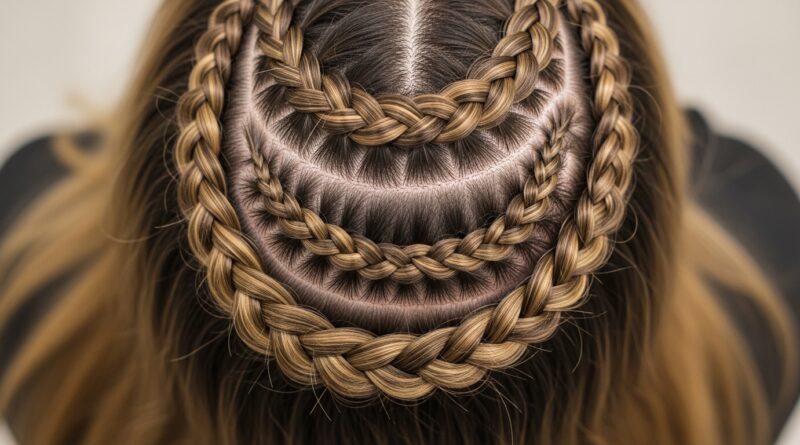
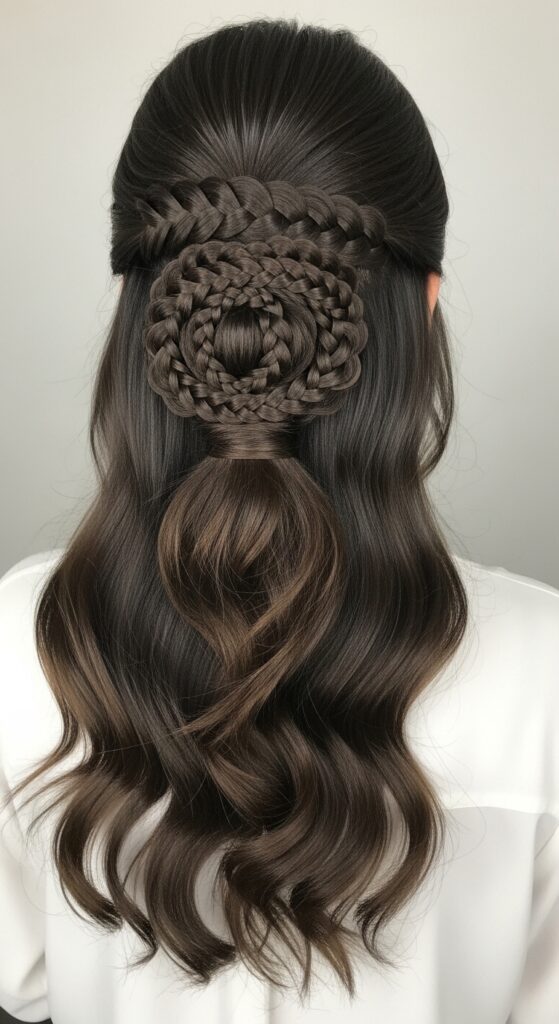
What Is a Continuous Braid Chain?
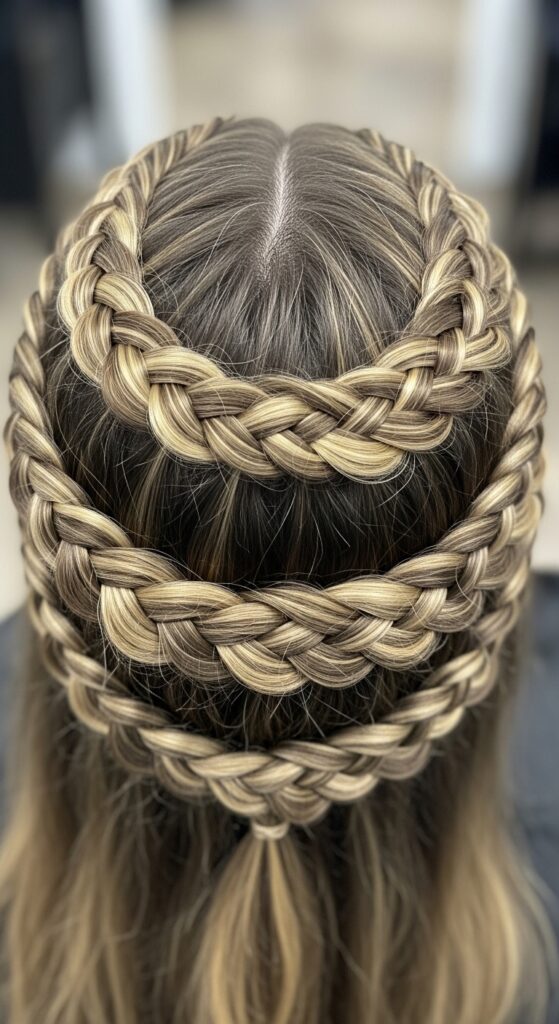
Think of it as building a bracelet directly onto your head. Instead of one long, heavy braid, you create a chain of small, interlinked braids. Each small section is braided and then attached to the next, forming a seamless line.
This method is genius because it lays flat, follows any curve (like around your crown), and looks incredibly intricate. It’s the perfect base for adding ribbons, chains, or little charms for a glitchy glam hair moment.
Why This Technique is a Game-Changer
First, it’s surprisingly secure. By anchoring each link to the next, the whole style holds up way better than a single braid. Second, it’s incredibly forgiving. If one section gets a little messy, it doesn’t ruin the whole look.
Most importantly, it’s the ultimate customization tool. You can make it dainty and subtle for a quiet luxury bob or go bold and dramatic for romantic goth hairstyles. It adapts to your personal vibe instantly.
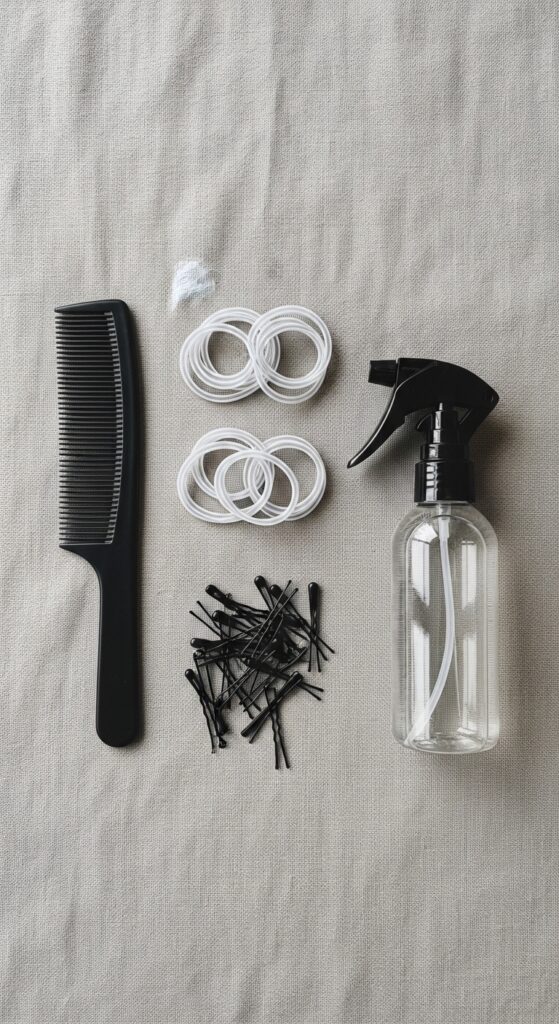
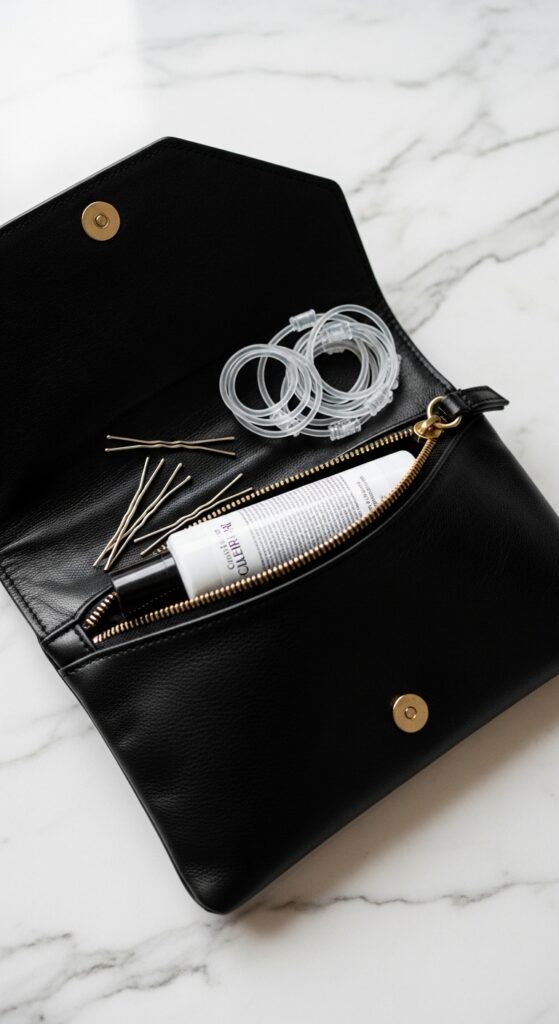
Tools You’ll Need to Get Started
You don’t need much! Here’s your simple checklist:
- A fine-tooth comb for clean sections
- Small, clear hair elastics (the tiny ones!)
- A few bobby pins that match your hair color
- Light-hold hairspray or texture spray
- Optional: A tail comb for super precise parting
That’s really it. The magic is in the technique, not the products. I recommend starting on day-old hair for a better grip.
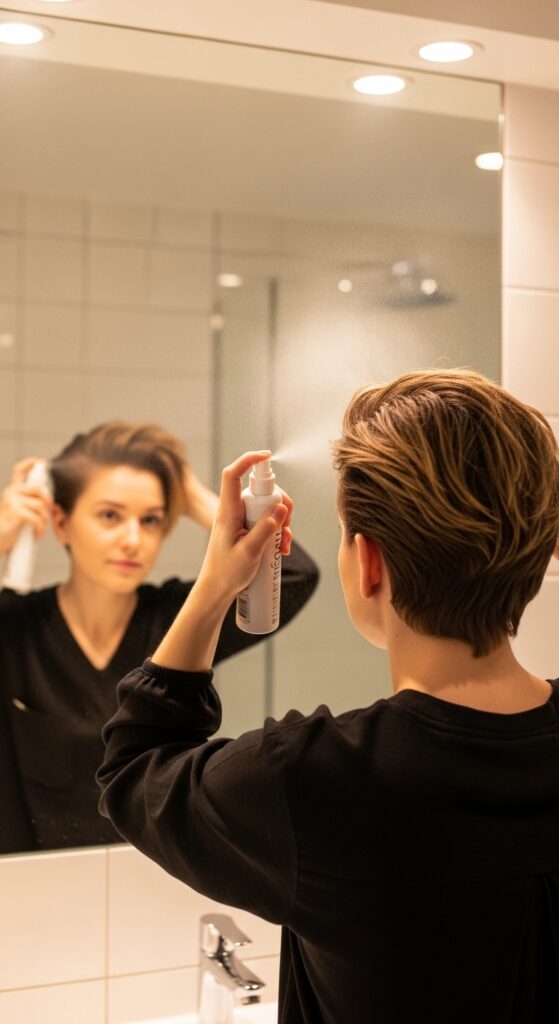
Prepping Your Hair for Success
Start with dry hair. If your hair is very silky, a light mist of texturizing spray will give the braids something to hold onto. Don’t use heavy creams or oils, as they can make the hair too slippery.
Brush through thoroughly to remove any tangles. The smoother your hair is to start, the cleaner your braid chains will look. Decide where you want the chain to go—around the hairline, from temple to temple, or as a headband effect.
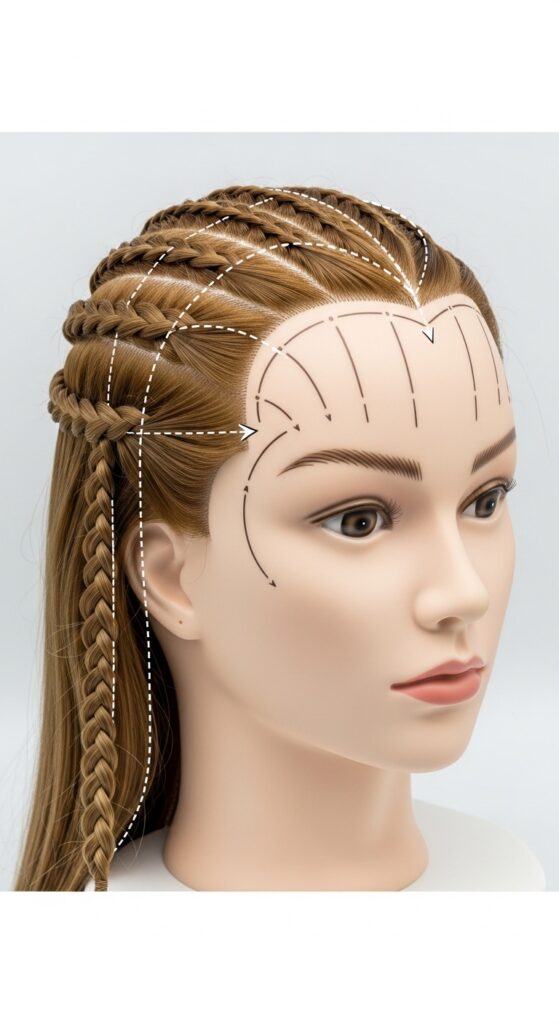
Step 1: Mapping Your First Section
Start with a small, manageable section. For a classic look, start above one ear. Use the tail of your comb to draw a clean, horizontal part about an inch back from your hairline.
Isolate a section about one inch wide. Clip or hold the rest of your hair out of the way. This first section is your anchor, so take your time to get it neat.

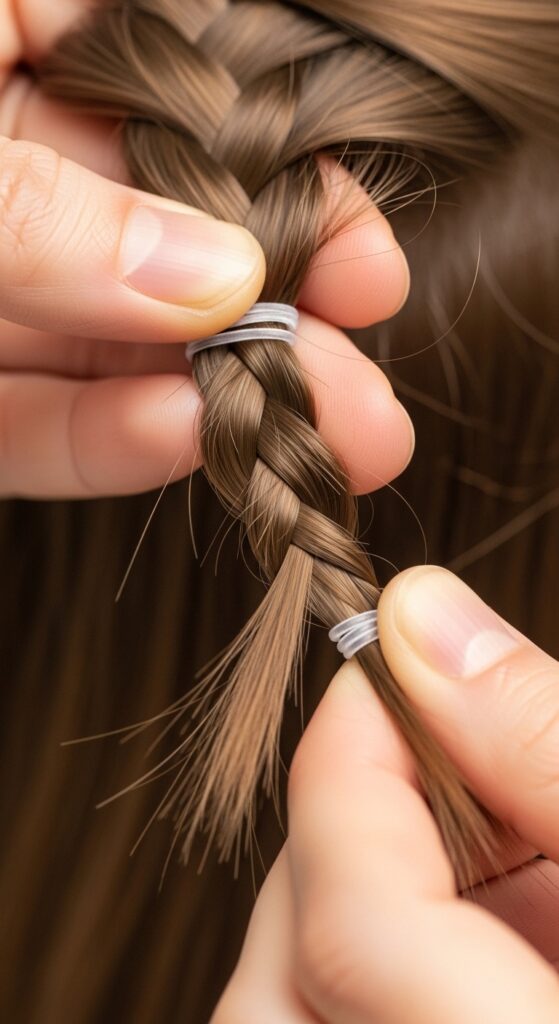
Step 2: Braiding Your First Link
Take your isolated section and divide it into three equal strands. Braid a simple, tight three-strand braid down its entire length, all the way to the ends.
Secure the end tightly with a clear elastic. This little braid is the first link in your chain. Keep it neat and don’t worry about it being perfect—it will blend into the design.
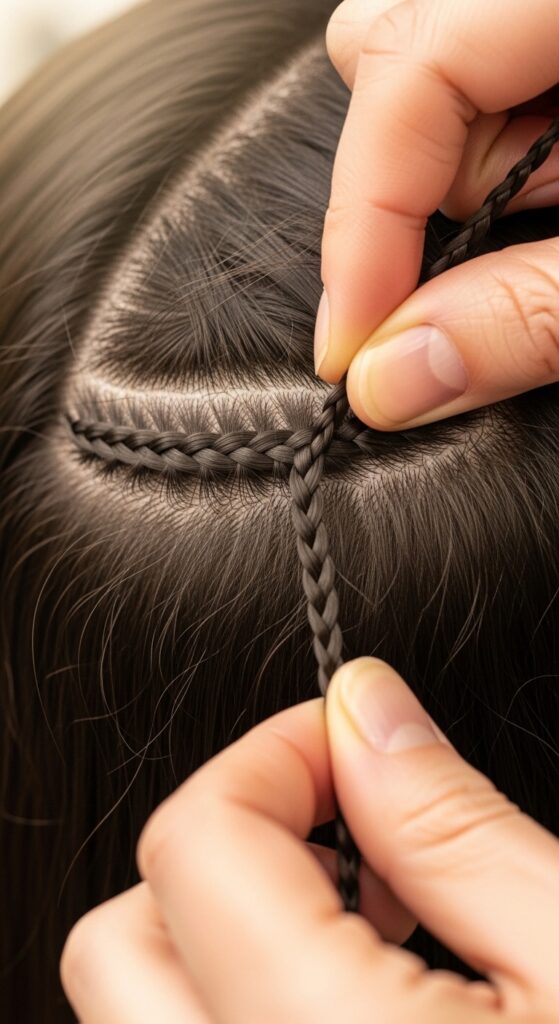
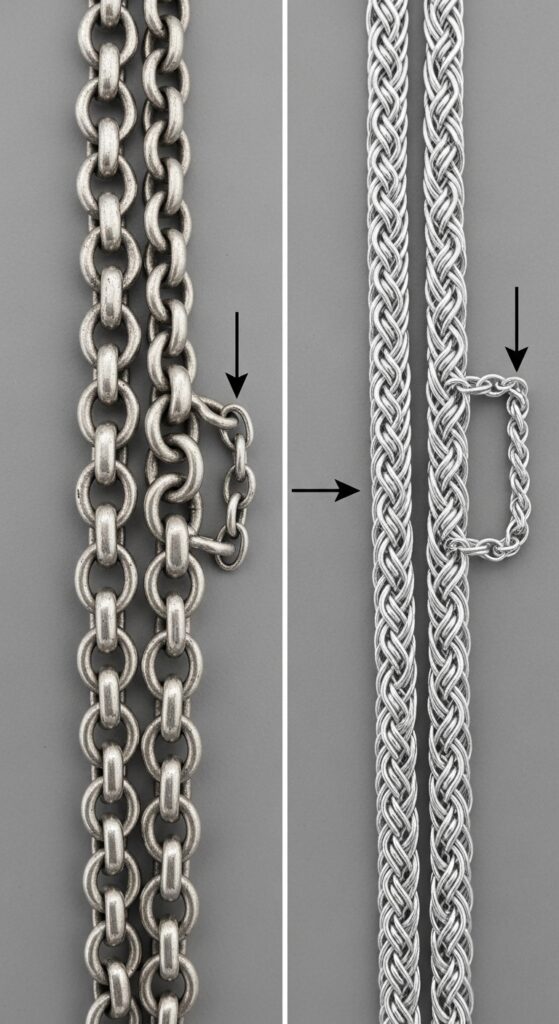
Step 3: The “Loop 17” Connection Point
This is the key step! Right next to where your first braid starts, part out another identical one-inch section of hair directly behind it. Before you braid it, you’re going to join it.
Take your first braid and loop it into this new, unbraided section. Simply lay the braid over the top, so it becomes part of the new “middle” strand when you divide the hair into three for the next braid.
Step 4: Creating the Second Link
Now, combine that new section of hair with the looped braid. Divide everything into three strands again, with the looped braid acting as one of them. Braid this new, combined section all the way down.
Secure the end with another clear elastic. You should now have two braids connected at the root, flowing seamlessly into one another. This is your chain starting to form!
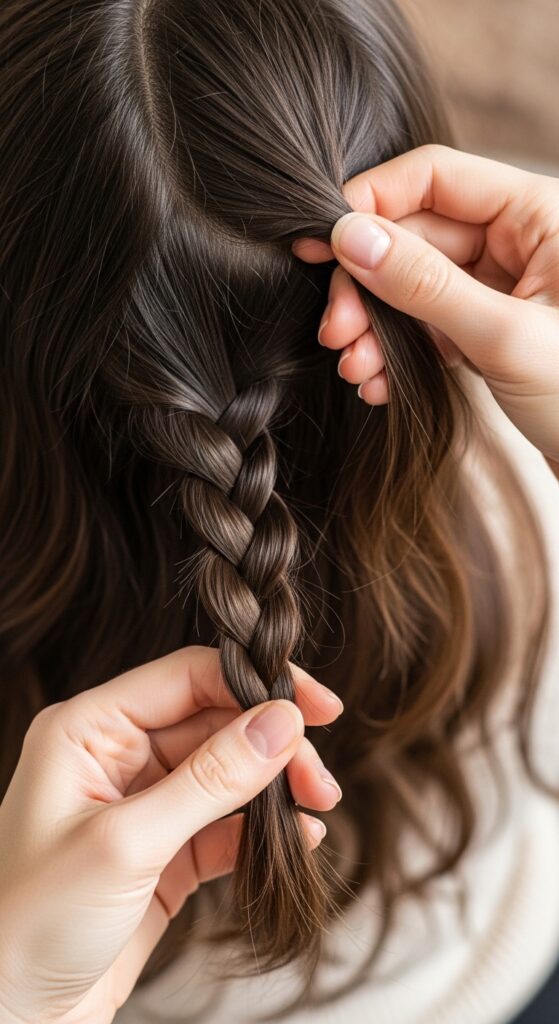
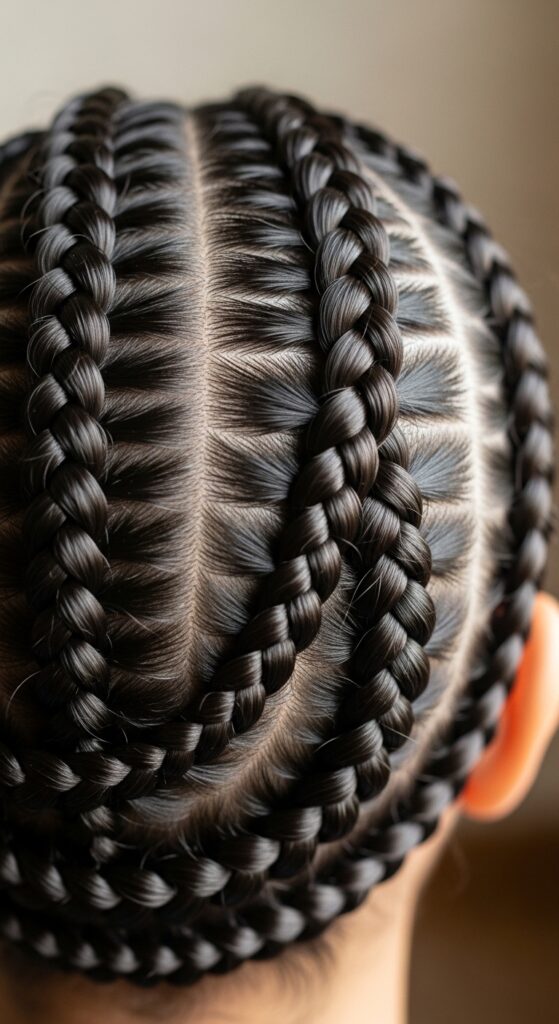
Step 5: Repeating the Process Seamlessly
Continue this exact process. For each new link, part a fresh section directly behind your last braid. Loop the previous braid into it, then braid the new combined section.
Keep your sections uniform in size for a consistent look. The chain will naturally follow the path you create with your partings. Guide it around your head where you want it to go.
How to Navigate Curves and Corners
To go around a curve (like the back of your head), make your partings slightly curved, not straight. Take slightly smaller sections on the inside of the curve for a tighter turn.
If you’re going around your entire hairline, the sections near your temples and nape will be the trickiest. Go slow, keep the sections small, and use a mirror to check your placement.
Finishing and Securing the Final Braid
When you reach your end point (like the other ear), braid the final link as usual. You can then integrate this last braid into your hairstyle. For example, you can tuck it under and pin it, or use it as part of a ponytail or bun.
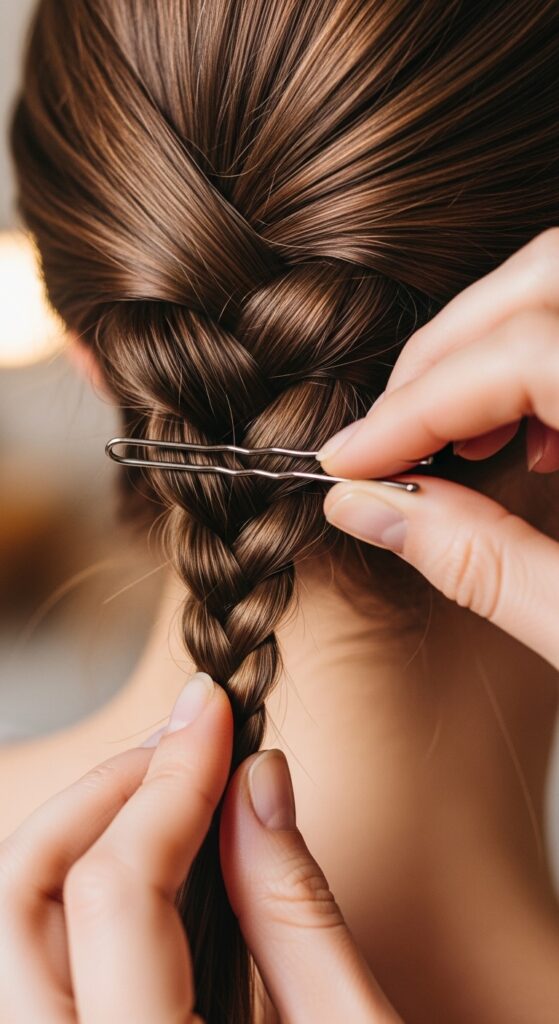
Use bobby pins that match your hair color to discreetly secure the end. Gently tug on the sides of each braid link to loosen them slightly for a softer, more effortless look.
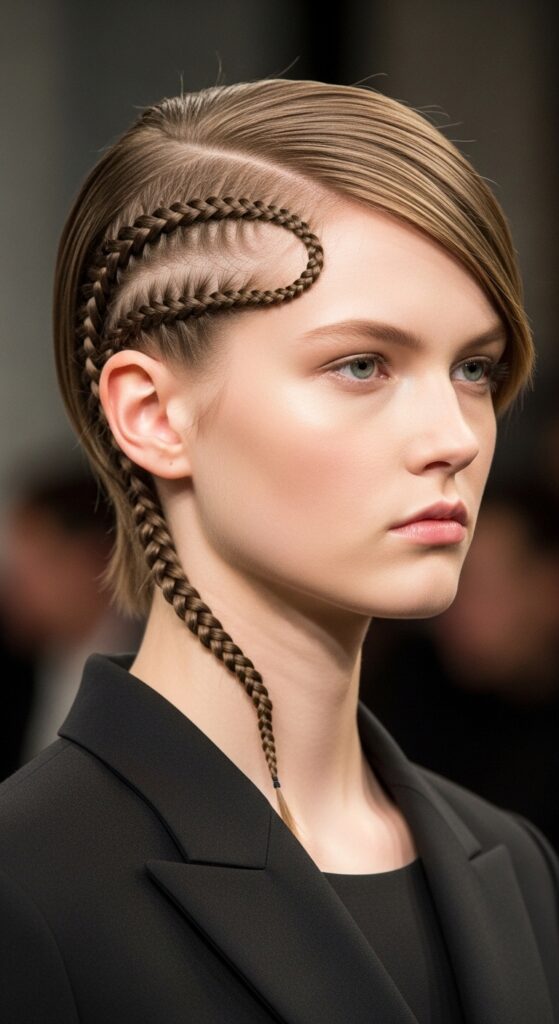
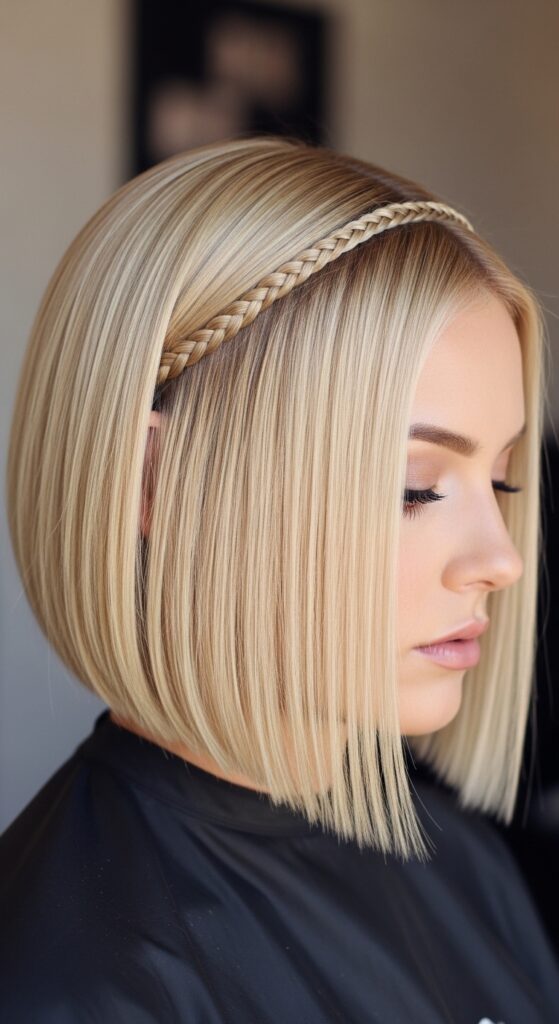
Incorporating into an Asymmetrical Lob
This technique is stunning on shorter hair! On an asymmetrical lob, create a short chain just along the heavier, longer side. Start near the back and curve it forward toward your face.
It adds a detail that feels very 2026—architectural yet soft. It’s a perfect way to elevate a simple cut into something editorial and cool, playing with that glitchy glam hair aesthetic.
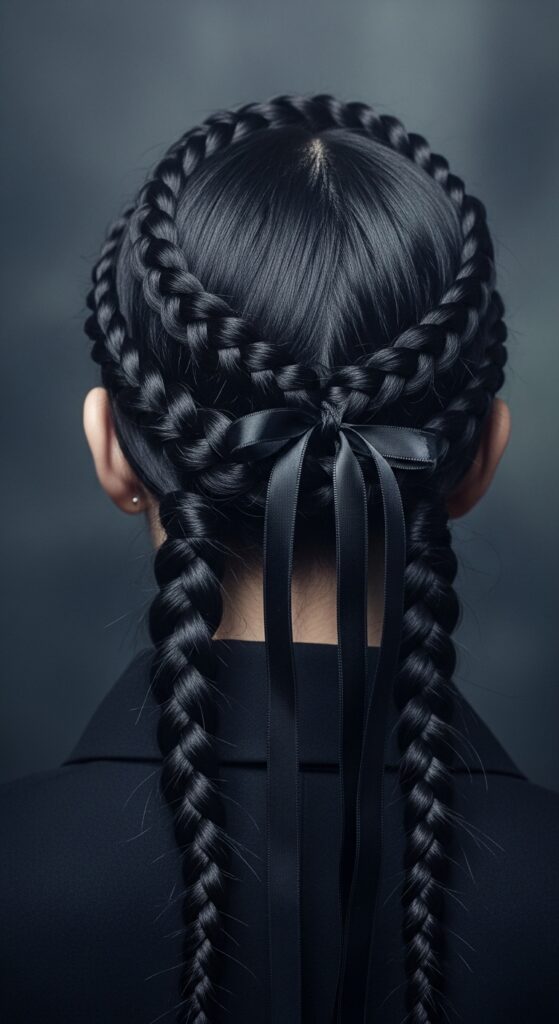
Adding Gothic Romance Vibes
For romantic goth hairstyles or a vampire haircut, make the chains darker and more dramatic. Create two chains that start at the temples and meet at the back, like a dark crown.
Weave in a thin, black satin ribbon or a few faux pearl pins. Keep the rest of your hair down in loose waves. It’s elegant, moody, and absolutely breathtaking.
Achieving the “Old Money Hair” Look
For that quiet luxury bob feel, keep it pristine and minimal. Do a single, very fine and tight continuous braid chain along your side part. It should look almost like an extension of your part.
Pair it with a sleek, low bun or a perfectly blown-out bob. The goal is subtle, “I-was-born-with-this” elegance. It’s detail without any effort, which is the whole point of old money hair.
Experimenting with Glitchy Glam Texture
Glitchy glam hair is all about intentional imperfection. Braid your chains a little loosely. Let a few face-framing pieces escape. Use different sizes—one thick chain next to a super thin one.
Add in a single, unexpected colored thread or a metallic hair chain that you only see from certain angles. It’s playful, modern, and perfect for a night out.
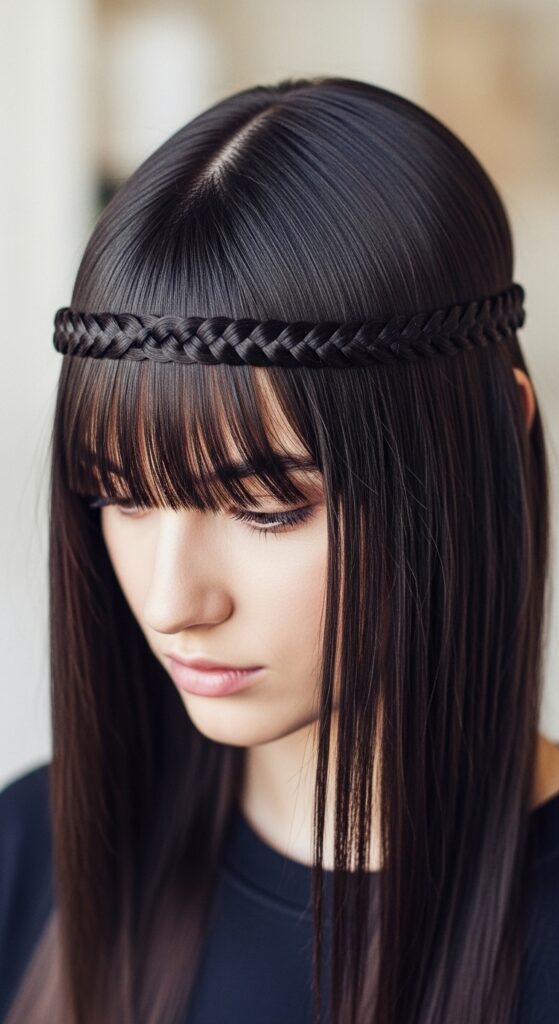
Adapting the Technique for a Hime Cut
The hime cut, with its dramatic front locks, is a perfect canvas. Create a continuous braid chain along the blunt bang line, connecting the two long front sections.
It frames the face beautifully and adds a traditional-meets-modern twist. You can leave the long back hair straight or wavy to let the front detail really pop.
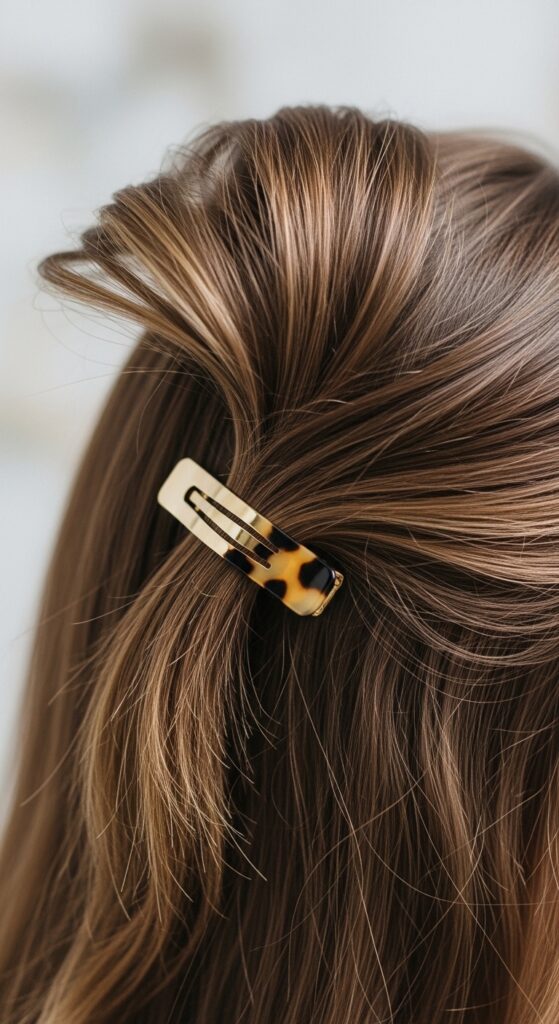
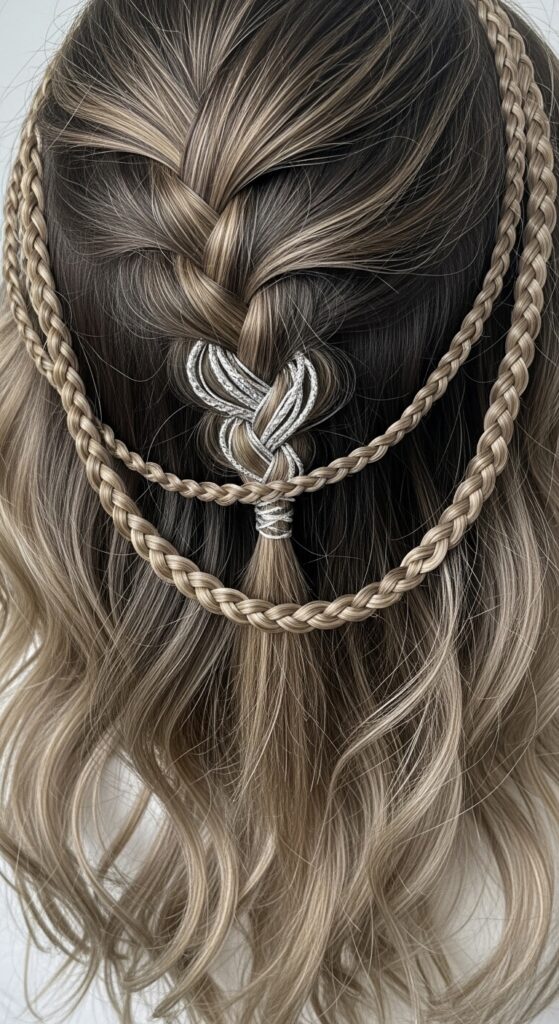
Using Chains for Half-Up, Half-Down Styles
This is my go-to for a quick upgrade. Create a continuous braid chain just along the section where you’d gather hair for a half-up style. Then, gather the hair *including* the chain into a half-up ponytail or clip.
The chain becomes a built-in decoration. It looks like you spent an hour, but it took just a few minutes. It works on every hair length and texture.
Common Mistakes and How to Fix Them
The biggest mistake is taking sections that are too thick. This makes the chain bulky and hard to manage. Stick to one-inch widths or less for a dainty look.
If a connection feels loose or a braid is slipping out, don’t panic. Use a tiny bobby pin at the connecting point, hidden under the top layer of hair. No one will ever know.
Maintaining Your Braid Chain All Day
A light mist of flexible-hold hairspray over the finished chain will lock it in without making it crunchy. Carry a few extra clear elastics and bobby pins in your bag for emergency repairs.
If it starts to look fuzzy, you can smooth down the flyaways with a tiny bit of hair wax on your fingertips, applied just to the surface of the braids.
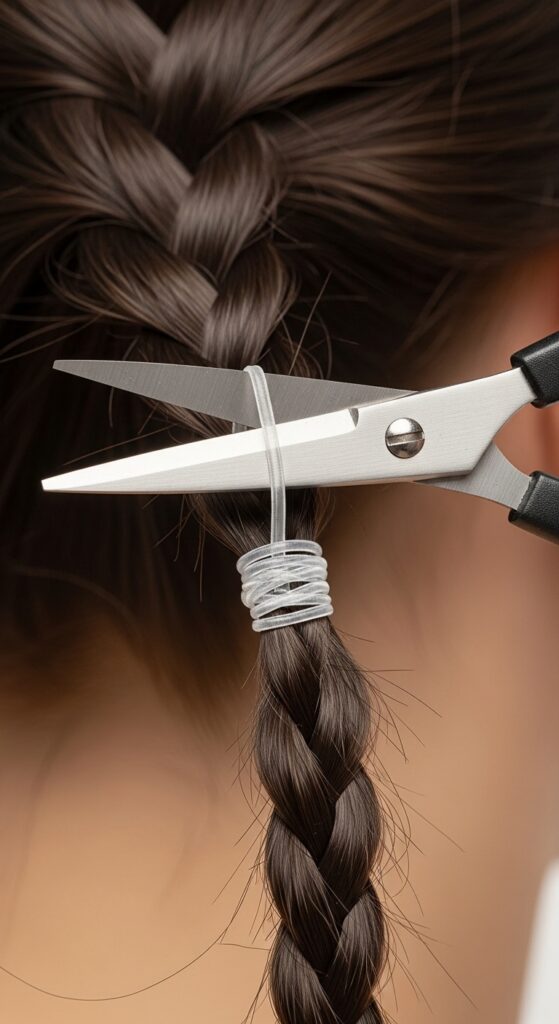
Taking It Out Without Breakage
Please don’t just rip the elastics out! Carefully snip each clear elastic with small, sharp scissors. Gently unravel each braid link, starting from the last one you made.
Once all the braids are out, finger-comb your hair, then use a wide-tooth comb. Follow up with a nourishing hair oil or leave-in conditioner if your hair feels dry.
Your New Go-To Hair Skill
Once you master this, you’ll see opportunities everywhere. It’s more than a hairstyle; it’s a technique you can plug into any look. It works for the gym, a wedding, or just a Tuesday.
It makes you look put-together with minimal real effort. That’s the kind of beauty hack I live for—one that actually makes your life easier and more beautiful.
And that’s it! The continuous braid chain is officially in your toolkit. It might feel fiddly the first time, but I promise by your third try, your hands will know exactly what to do. It becomes second nature.
This is the kind of detail that transforms your entire look. It shows you care about the craft, but in a cool, understated way. Whether you lean towards romantic goth hairstyles or that clean, quiet luxury bob aesthetic, this technique bends to your will.
I’d love to see what you create! Tag me on Instagram when you try it. And if you found this guide helpful, do me a huge favor: Save this post to Pinterest so you can always find it later, and share it with a friend who needs a hair win this week. What style are you going to try first? Let me know in the comments below!