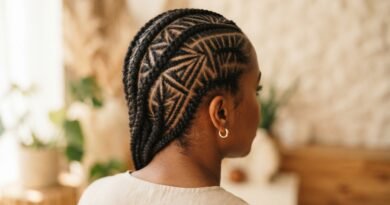
No-Heat 15 Straw Curls Twisting Thin for Tight Spirals
Hey friend. Let me guess: you love the look of tight, bouncy curls but hate the thought of pulling out a hot tool every single time? Same. That’s exactly why I had to share this little trick I’ve been perfecting for months. It’s called the 15-straw curl method, and it is a total game-changer for thin hair. No heat, no damage, just soft, defined spirals that actually hold. I promise, by the time you finish reading this, you’ll be able to do it in your sleep. And the best part? It takes almost no effort, just a few minutes of twisting and a little patience.
This technique is all about working with your hair’s natural texture, not against it. We’re using simple plastic straws (the same ones you use for iced coffee) to create those tight, uniform curls that usually only come from a curling iron. And because we’re not using any heat, your hair stays healthy and shiny. Ready to give your strands a break from the straightener? Let’s get twisting.
What You’ll Need for This No-Heat Method
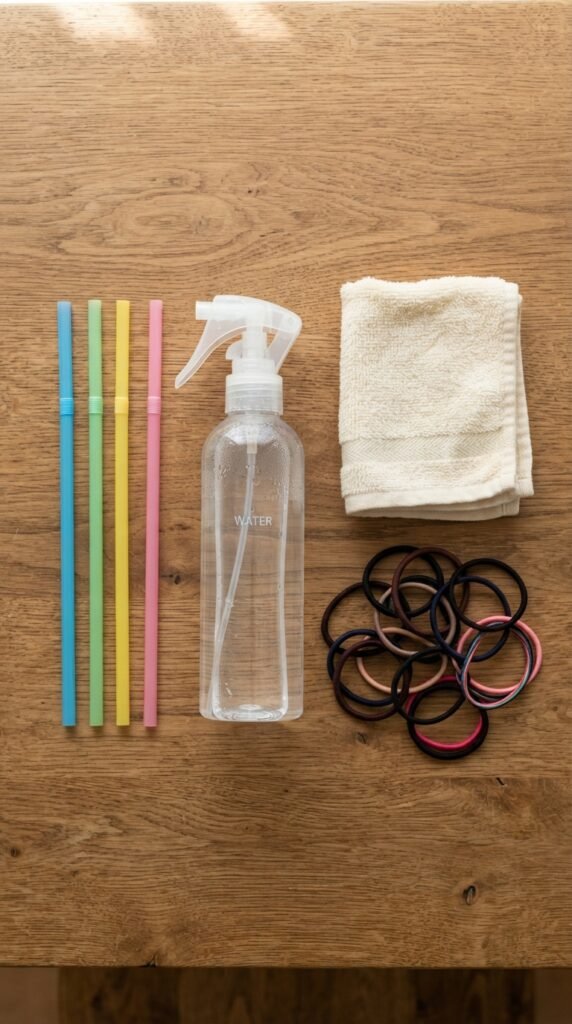
First things first, let’s gather your tools. You only need a few things, and I bet you already have them lying around. Here’s the quick list:
- Plastic drinking straws (the standard bendy kind work best)
- A spray bottle filled with plain water
- Small, clear hair elastics (the kind that don’t leave a dent)
- A light leave-in conditioner or a drop of hair oil (optional, but nice for shine)
That’s it. No fancy rollers, no foam rods, just straws. For thin hair, these straws are the perfect size—they’re narrow enough to create tight spirals without being too bulky. And since they’re hollow, your hair dries faster than it would with a thick foam roller.
Why Straw Curls Work So Well for Thin Hair
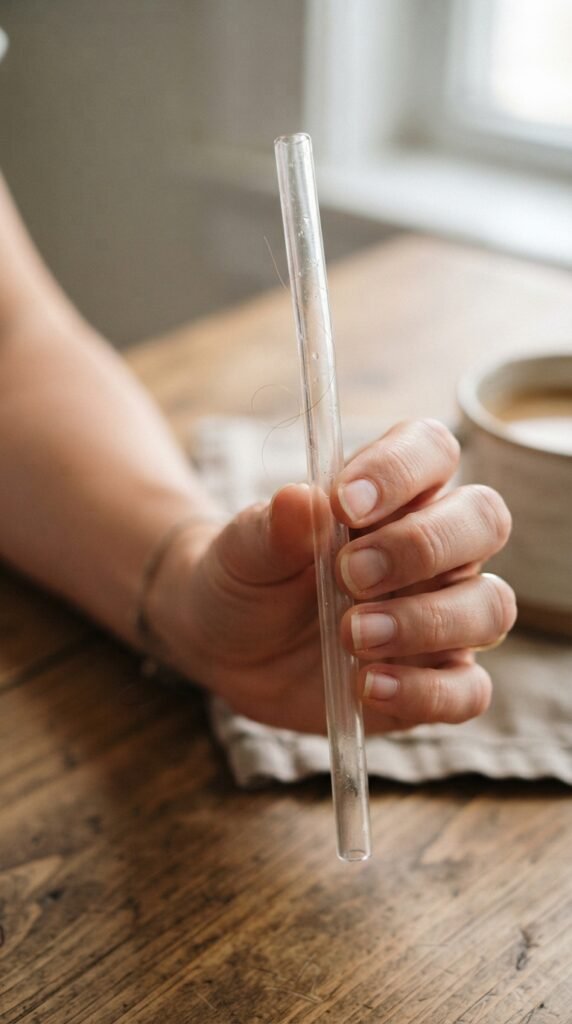
The reason this method is a secret weapon for fine or thin hair is all about the diameter. When you wrap your hair around a small object like a straw, you get a very tight, defined curl that looks full and bouncy. On thin hair, loose curls can sometimes fall flat before lunch. But these little spirals? They have staying power.
Plus, because you’re not using heat, your strands don’t get that limp, crispy feeling. Instead, you get a soft, touchable texture that looks like you spent an hour with a curling iron. And since thin hair tends to be more fragile, skipping the hot tools means less breakage over time. It’s a total win-win for healthy, pretty hair.
Step 1: Start With Damp, Not Soaking Hair

This part is key. You want your hair to be damp, not dripping wet. If your hair is too wet, the curls won’t set properly and can take forever to dry. If it’s too dry, the curl won’t hold. I like to spray my hair section by section until it feels cool and slightly moist to the touch.
For best results, do this on freshly washed hair that’s been towel-dried. Your hair’s natural cuticle is more open when it’s clean, which helps the curl pattern lock in. If you’re refreshing day-old hair, just give it a light mist. A tiny bit of leave-in conditioner on the ends will help define the spiral and fight frizz.
Step 2: Section Your Hair Into Small Strands
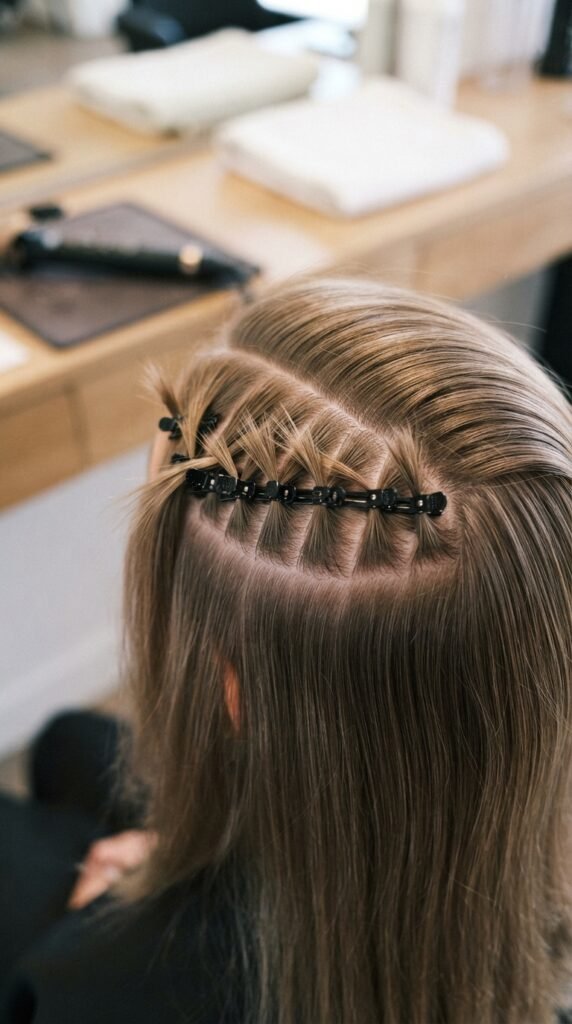
Thin hair needs small sections for this to work. I’m talking about strands that are about half an inch wide or even a little less. The smaller the section, the tighter and more defined your curl will be. Use clips to keep the rest of your hair out of the way while you work.
- Start at the nape of your neck and work your way up.
- Each strand should be narrow enough that you can see through it.
- If your hair is very fine, consider using a bit of mousse on each section for extra grip.
I know it feels a little tedious at first, but trust me, the payoff is huge. Taking the time to make small sections is what separates a messy wave from a perfect spiral curl.
Step 3: Wrap the Hair Around the Straw
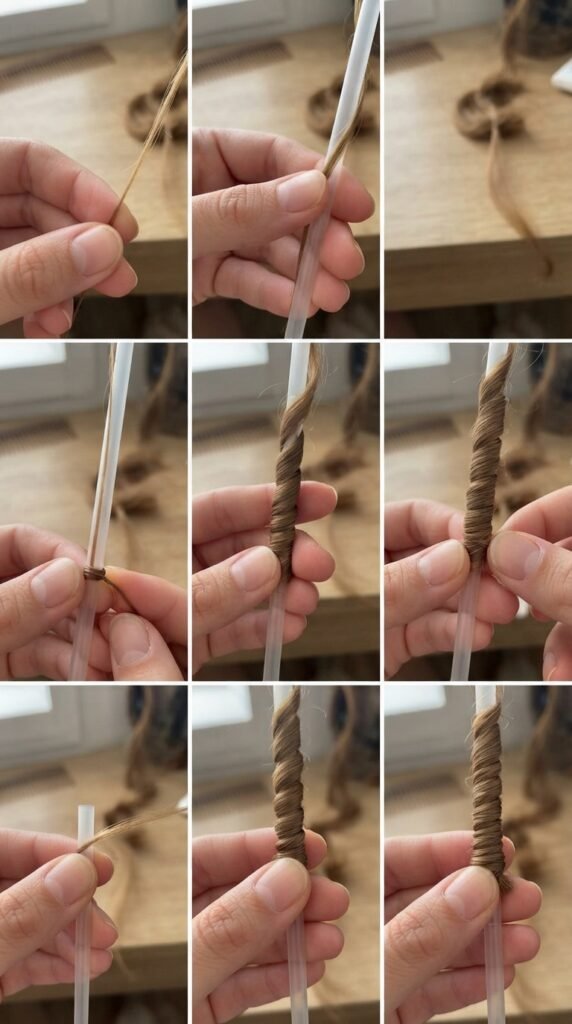
Now for the main event. Take one small section of damp hair. Starting at the very end of your hair (the tips), wrap it tightly around the straw, working your way up toward your scalp. The key word here is “tight.” You want the hair to lay flat against the straw, with no loose sections.
- Hold the straw vertically at the tip of your hair.
- Wind the hair around the straw, keeping the tension even.
- Stop when you reach your scalp, but don’t pull it so tight that it hurts.
Once it’s all wrapped, bend the top of the straw over to secure it, or use a small elastic to hold the hair in place. It should feel snug but not painful. If your hair is short, you can use half a straw.
Step 4: Secure the Curl Properly

This step is where people sometimes mess up. You need to make sure the curl is anchored so it doesn’t unravel while you sleep or wait for it to dry. The easiest way is to take one of those tiny clear elastics and loop it over the straw, right where your hair ends at the top of your head.
Another trick? If your straw has a bendy part, you can fold it over the hair to hold it in place. For extra hold, I sometimes wrap a small piece of toilet paper around the end of the straw and secure it with the elastic. It sounds silly, but it works. Just make sure the hair isn’t slipping. A loose curl becomes a flat wave.
How Many Straws Do You Need?
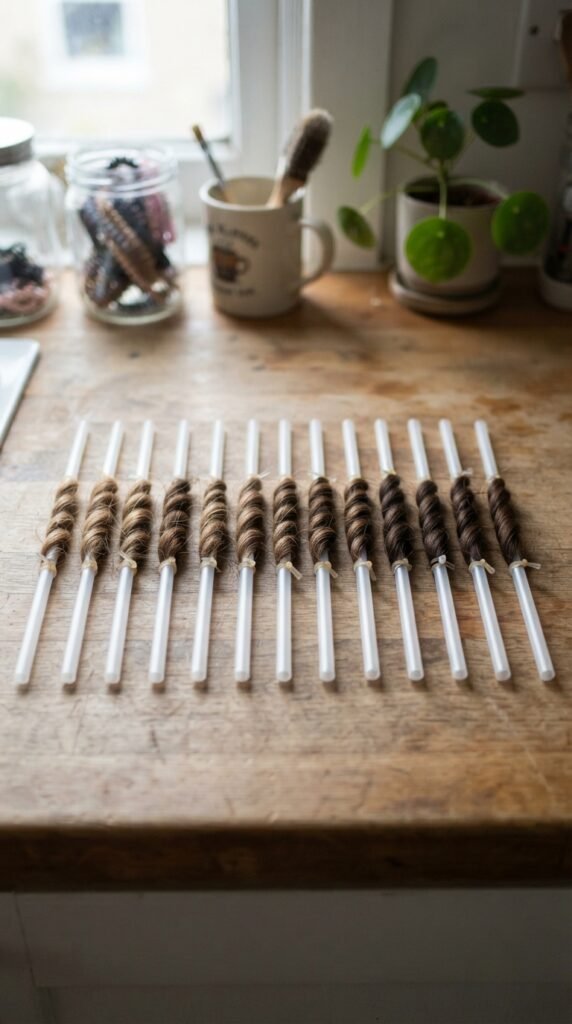
For the 15-straw method, the number is right in the name. I usually use about 12 to 15 straws for a full head of thin hair that hits just below the shoulders. If your hair is shorter or thinner, you might need a few less. The goal is to cover your whole head evenly.
Here’s a rough guide:
- Short hair (chin-length): 8 to 10 straws
- Shoulder-length hair: 12 to 15 straws
- Longer hair: 15 to 20 straws (just use more sections)
Don’t stress about being perfect. Once everything is wrapped and secured, you’ll have a head full of little straws. It looks a little funny, but the results are worth it.
How Long Do You Leave Them In?

The easy answer is: leave them in until your hair is completely dry. For thin hair, that usually takes 4 to 6 hours if you’re hanging out at home. But the most popular option is to do them right before bed. I sleep with the straws in all the time, and it’s totally comfortable if you use a silk or satin scarf.
If you’re in a rush, you can sit under a hooded dryer on low heat (cool air is best) for about 45 minutes. But air drying is gentlest. Just be patient. If you take them out even a little damp, the curls will drop fast. Dry is the rule.
The Best Products to Use for Hold
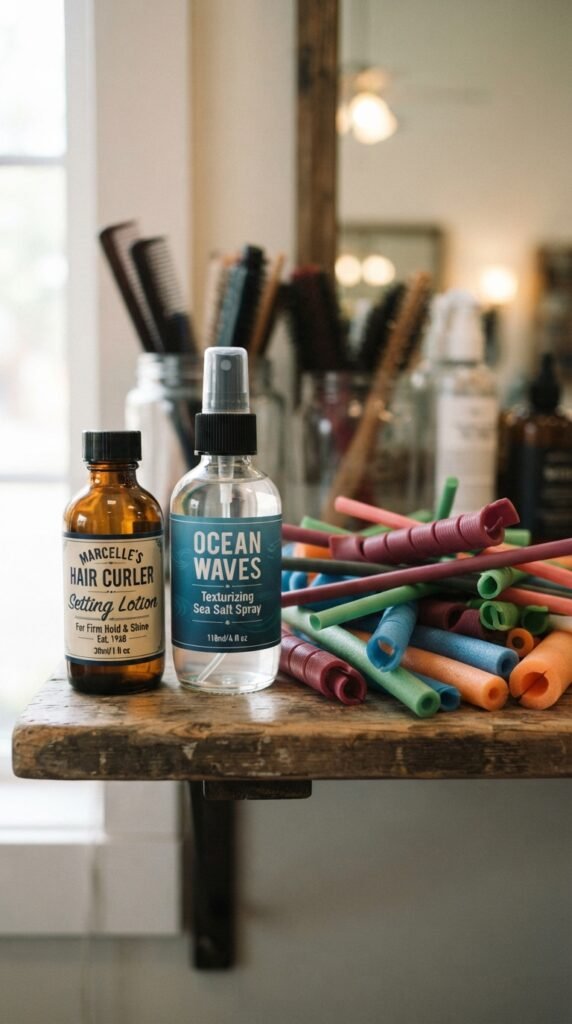
Since you’re not using heat, you need a little help from products to lock in the curl. A lightweight mousse is my go-to for thin hair because it adds grip without weighing things down. Apply a small amount to each section before you wrap it around the straw.
Other great options:
- A salt spray for texture and volume
- A light gel for very fine hair (use a tiny drop mixed with water)
- A curl cream if your hair is dry or damaged
Just avoid heavy oils or butters before you wrap, because they can make the hair slippery and the curl won’t hold. Save those for after you take the straws out.
How to Take Them Out for Perfect Spirals
This is the most satisfying part. When your hair is 100% dry, it’s time to unroll. Don’t pull or yank the straw out. Instead, gently unwind the hair from the straw, starting from the bottom. Let the curl spring free as you go.
- Carefully remove the elastic from the top.
- Slowly rotate the straw as you slide it out of the curl.
- Let the curl hang loose—don’t pull it straight.
If you feel any resistance, your hair might still be damp. Put the straw back in and wait longer. Once all the straws are out, you’ll have a head full of tight, beautiful spirals. Don’t brush them yet!
Why You Shouldn’t Brush Them Right Away
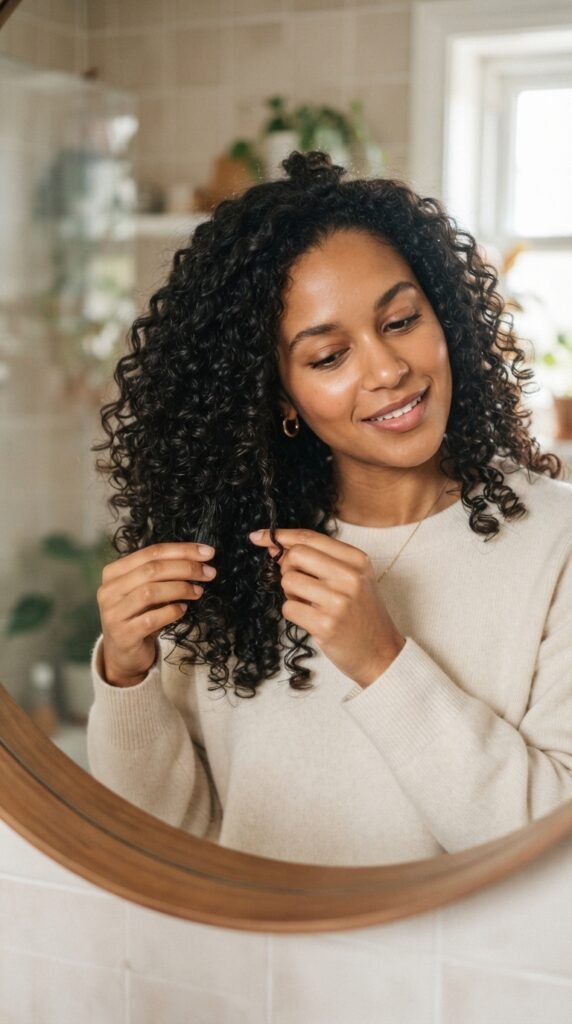
I know it’s tempting to run a brush through those fresh curls to make them look more “done.” But please, resist the urge. Brushing tight spirals on thin hair will instantly turn them into a frizzy, undefined mess. Instead, use your fingers to gently separate the curls.
Flip your head upside down and shake your roots a little. If you want more volume, you can lightly spray a bit of texturizing spray at the roots. For a more relaxed look, you can gently stretch each curl between your fingers. But for that tight, defined spiral look, just leave them alone and let them shine.
How to Make the Curls Last All Day

Since you’ve already put in the work, you want these curls to stick around. A light hairspray is your best friend here. Hold the can about 12 inches away and give your whole head a light mist. Don’t soak it—just a fine layer to seal the style.
Other tips for longevity:
- Sleep on a silk pillowcase to reduce friction.
- Don’t touch your hair too much during the day.
- If it starts to drop, refresh with a little water mist and scrunch.
These curls are surprisingly resilient because they were set from a completely dry state. You might even get a second-day wave if you’re gentle.
What to Do If Your Curls Fall Flat
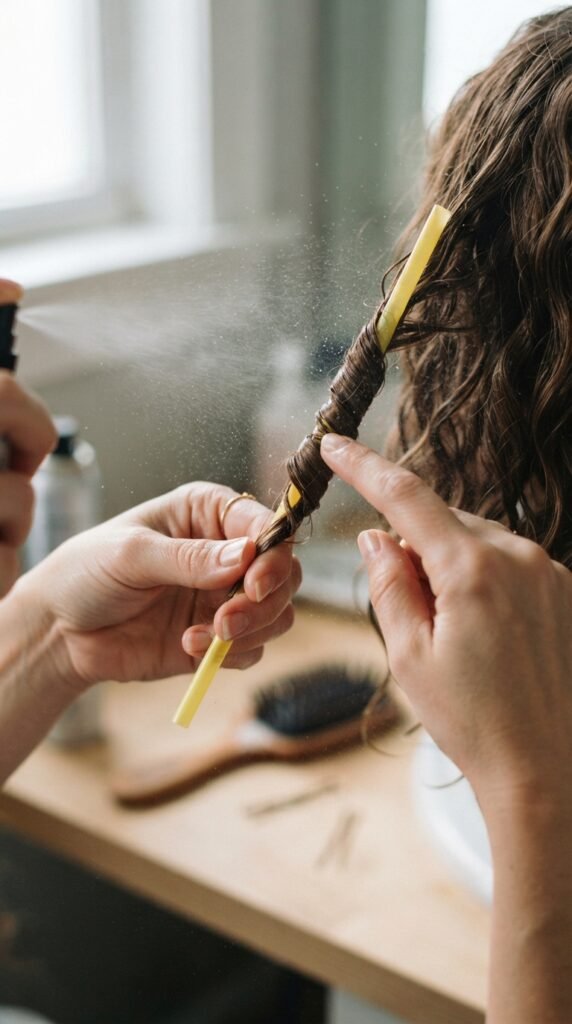
It happens, especially with thin hair. If you take the straws out and some curls just aren’t cooperating, don’t panic. You can easily fix them. Simply spritz that section with a bit of water until it’s damp again, wrap it back around a straw, and give it another hour or two to dry.
If you don’t want to wait, you can use a small curling iron on a very low setting just to reshape that one piece. But the whole point of this method is to avoid heat. My advice? Just rewet and rewrap. It’s faster than it sounds, and it saves your hair from extra damage.
How This Method Fits Into 2026 Hairstyles

You might be wondering if this 15-straw look is still trendy for the upcoming seasons. Absolutely. In 2026 hairstyles, we’re seeing a huge comeback for defined, bouncy texture. It works perfectly with the quiet luxury bob and the old money hair trend—those styles love a polished, healthy curl that looks effortless.
Straw curls also pair beautifully with the romantic goth hairstyles aesthetic if you want a darker, more dramatic vibe. And if you’re into the asymmetrical lob, adding a few straw curls to the ends gives it that modern, choppy movement. This isn’t just a throwback; it’s a very current, versatile technique.
Why This Look Reminds Me of Old Money Hair

The old money hair vibe is all about understated luxury—hair that looks naturally beautiful and not over-styled. Straw curls hit that note perfectly. They’re soft, shiny, and full of movement without looking like you tried too hard. It’s the kind of curl you’d see on a weekend in the Hamptons, not a night at the club.
To lean into this aesthetic, keep your makeup minimal and your accessories classic. A simple gold hoop or a silk headband is all you need. The curls do the talking. This is a perfect example of how a low-effort technique can give you a very high-end result, which is the whole spirit of old money hair.
A Quiet Luxury Bob Made Easy

If you have a bob, this method is basically a cheat code. The quiet luxury bob is all about precise shape and beautiful texture. Wrapping a bob around straws gives you that exact look—tight, neat spirals that frame your face beautifully. Since the hair is shorter, the curls are even more defined and last longer.
Try it on a blunt bob for a more retro feel, or on a slightly layered bob for more movement. Either way, you get that expensive, salon-fresh look without the heat. It’s the kind of style that whispers elegance instead of shouting for attention.
Romantic Goth Hairstyles Get a Boost

For my friends who love a darker aesthetic, the romantic goth hairstyles trend is perfect for straw curls. The tight spirals add volume and drama to dark hair colors, especially if you have black, burgundy, or deep violet locks. The contrast between the dark color and the bouncy texture is stunning.
To make it work, try doing the straws on slightly damp hair with a tiny bit of shine spray. The curls will catch the light beautifully. Pair it with a dark, romantic outfit, and you have a look that’s both edgy and feminine. It’s one of my favorite ways to update a simple gothic look for 2026.
What About the Vampire Haircut?

The vampire haircut is trending hard right now, and it’s basically a longer cut with lots of choppy, face-framing layers. Straw curls are a fantastic way to style it because they bring out all those layers. The shorter pieces curl up tighter, creating a really cool, voluminous shape around your face.
If you have this cut, focus the straws on the layers around your cheeks and jaw. The longer pieces can be done looser or just left straight. It gives you that dramatic, almost supernatural volume that the vampire haircut is famous for. It’s a fun, bold way to wear your hair.
Try It With an Asymmetrical Lob

An asymmetrical lob is a super chic, modern cut. The uneven length makes it interesting, and adding straw curls to the longer front pieces really emphasizes the asymmetry. Wrap just the front sections around straws and leave the back more relaxed or straight.
This creates a beautiful shape that draws attention to your jaw and neckline. It’s a low-key way to try a trendy cut without committing to a full perm or heat styling. Plus, the contrast between the curly front and the straighter back is very editorial and cool.
Can You Get a Hime Cut Look With Straws?

The hime cut is that Japanese-inspired style with blunt bangs and longer side pieces, with the rest of the hair long. Straw curls work really well here if you use them only on the long back part of your hair. The front bangs and side pieces stay straight and sharp, creating that iconic contrast.
It’s a playful juxtaposition—very structured in the front, very soft and curly in the back. If you’re into the 2026 hairstyles that mix sharp lines with soft texture, this is a fun way to try it. Just be careful not to get any curl in your bangs if you want that blunt look.
Glitchy Glam Hair and Straw Curls

Okay, this one is for the bold. Glitchy glam hair is all about mixing textures that don’t usually go together—think half curly, half straight. You can achieve this easily with the straw method. Do straw curls on the bottom half of your hair, and leave the top half completely straight and sleek.
The effect is like a visual glitch, a cool artistic statement. Use a shine spray on the straight part and a matte texture on the curls to really emphasize the difference. It’s not for everyone, but if you love to stand out, this is a super fun way to use straws. It feels very 2026.
My Top Tips for First-Timers

If you’ve never done this before, here’s my honest advice: try it on a weekend afternoon when you have nowhere to be. It might take a couple of tries to get the wrapping tension just right. And don’t worry if it looks a little silly while the straws are in. That’s part of the fun.
Start with just the front sections of your hair. That way, if it doesn’t turn out perfectly, you can hide the rest. Once you get the hang of it, you’ll be doing full heads in no time. And remember, practice makes perfect. Your first attempt will still look good, I promise.
How to Refresh Them on Day Two
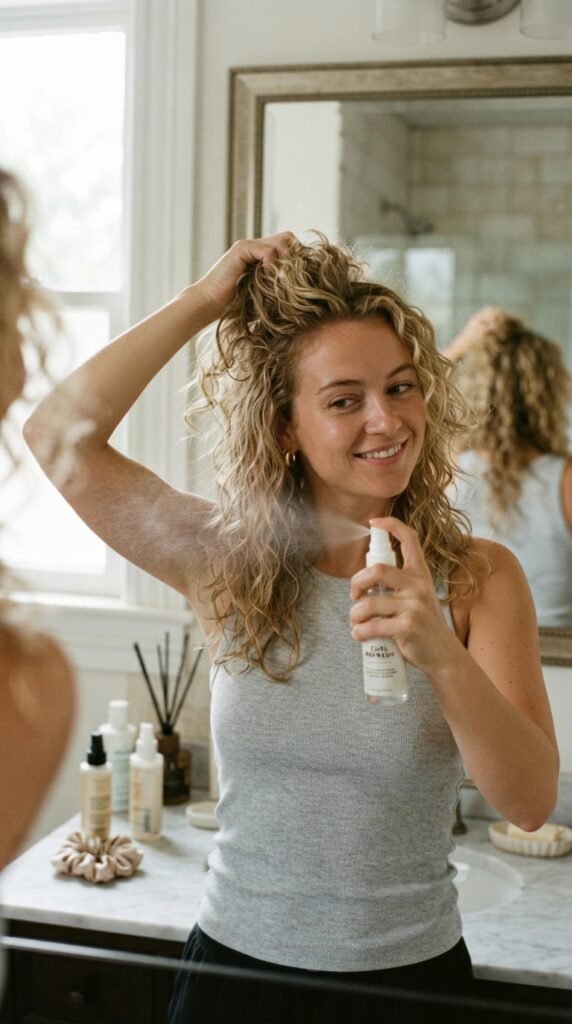
These curls can last more than one day with a little care. In the morning, lightly mist your hair with water or a curl refresher spray. Don’t soak it. Then, gently scrunch your hair upward with your hands to reactivate the curl pattern.
If any pieces look flat, you can re-wrap just those sections around a straw for about 30 minutes while you get ready. It’s a great low-effort way to stretch your style. You can easily get two, sometimes even three, days out of this set.
Final Thoughts Before You Start Twisting
Here’s the thing: this method is not about perfection. It’s about giving your hair a break from heat while still getting those beautiful, tight spirals you love. Some curls will be a little looser, some a little tighter, and that’s exactly what gives it that natural, effortless feel.
So grab some straws, put on a podcast, and give it a try. You might just find your new go-to hairstyle. And honestly, there’s something so satisfying about knowing you created those bouncy curls without plugging in a single thing. Your hair will thank you for it.
I’d love to hear how your straw curls turn out. Seriously, drop a comment below and tell me if you tried it with the old money hair vibe or went full romantic goth. And if you found this helpful, save this post to Pinterest so you can find it again next time you want heatless curls. Happy twisting!