Silky Smooth Blowout Techniques Replicating Expensive Salon Results At Home
You know that feeling when you walk out of the salon and your hair looks like it belongs in a shampoo commercial? Smooth. Shiny. Bouncy. Then you try it at home and get… frizz.
Same here, for years. Then I finally started paying attention to what my stylist was actually doing, and it turns out the difference is not magic. It’s technique.
In this post I’m sharing the silky smooth blowout techniques that copy expensive salon results at home. No training required. Just a few small changes to how you dry, brush, and finish.
Whether you’re after old money hair, a quiet luxury bob, or something edgier, this works. Let’s get into it.
Why Salon Blowouts Look Different
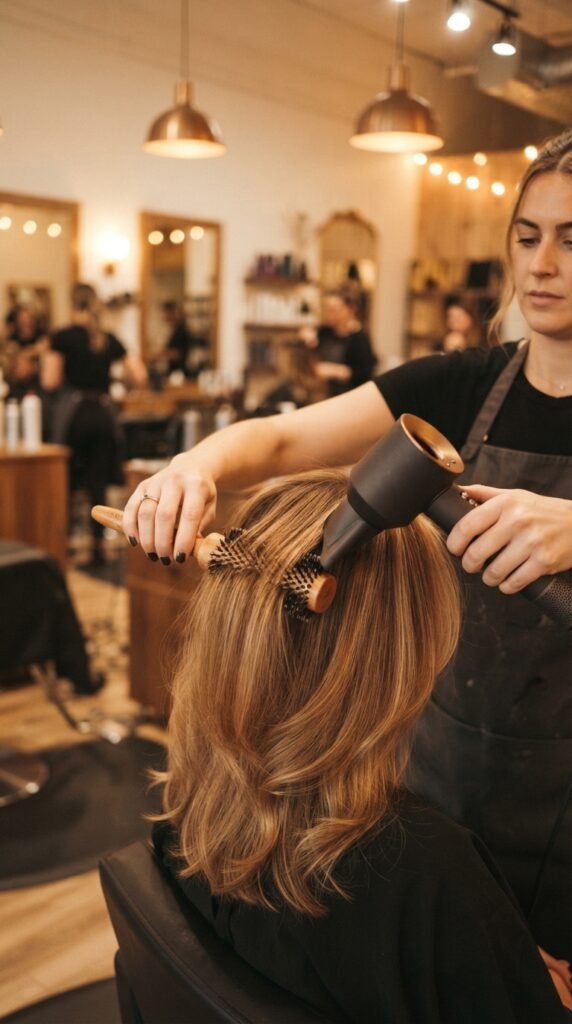
Here’s the truth: your stylist is not using secret products. They’re using better technique and better tension. That’s it.
At the salon, your hair gets sectioned, dried slowly, and stretched smooth with a brush. At home, most of us rush through it with the dryer too close and too hot.
Three things separate salon results from home results:
- Sectioning the hair instead of drying it all at once
- Keeping constant tension on the brush
- Finishing with cool air to seal the cuticle
Fix those three things and you’re already most of the way there.
The Tools That Actually Matter
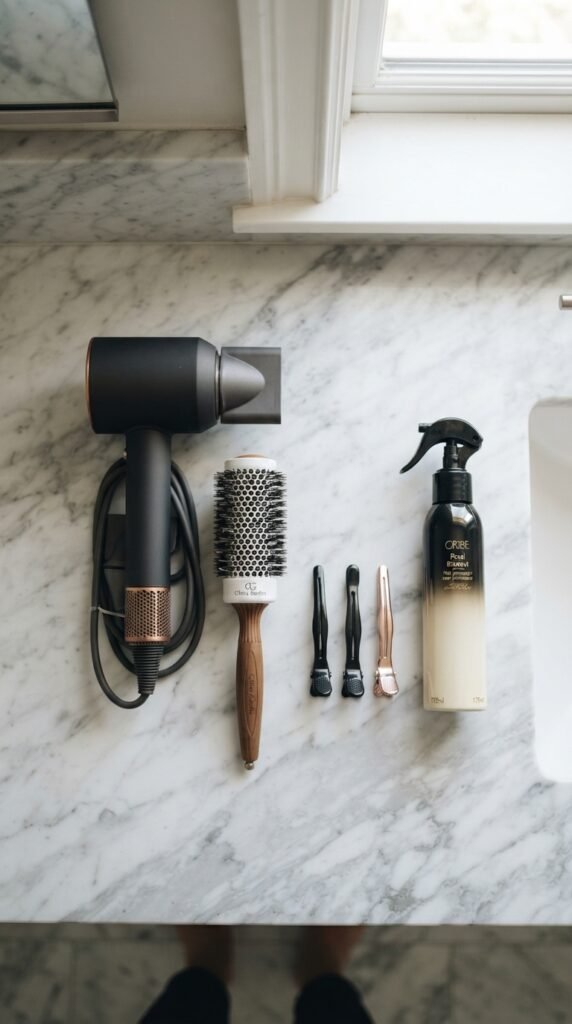
You don’t need a $400 dryer. You need the right attachment and a brush that grips your hair type.
- Dryer: one with a concentrator nozzle and a cool shot button
- Round brush: 1.5 inch for medium hair, 2 inch for long or thick hair
- Clips: plastic sectioning clips, cheap and game changing
- Comb: a wide tooth comb for detangling before heat
Skip the diffuser and the paddle brush here. A round brush with bristles that grab is what creates that smooth, polished finish.
If you buy one upgrade this year, make it the brush.
Start With Clean, Healthy Hair

A blowout on day four hair will never look salon fresh. Start clean, but not squeaky clean.
Wash with a gentle shampoo, then use conditioner only from mid length to ends. Rinse with cool water to help close the cuticle before you even pick up the dryer.
One important note: rough towel drying is the number one cause of frizz at home. It creates friction, and friction lifts the cuticle.
Squeeze water out gently with a soft t-shirt or microfiber towel instead. Your hair should feel damp, not dripping.
The Pre-Blowout Prep Routine
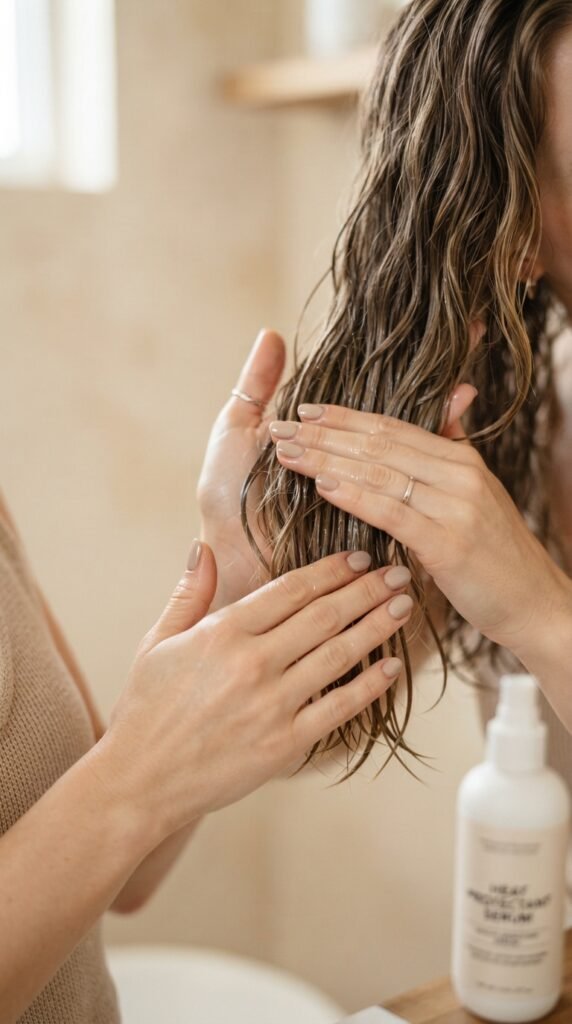
This takes two minutes and changes everything. Do it before the dryer comes out.
- Comb through a pea sized amount of leave in conditioner
- Add a heat protectant spray, focusing on mids and ends
- Add a light oil only to the ends, never the roots
- Detangle completely with a wide tooth comb
Never start drying tangled hair. Heat plus tangles equals breakage, and breakage equals frizz.
If your hair is very fine, skip the leave in and use spray only. Less product equals more bounce.
Sectioning: The Secret Salons Never Mention
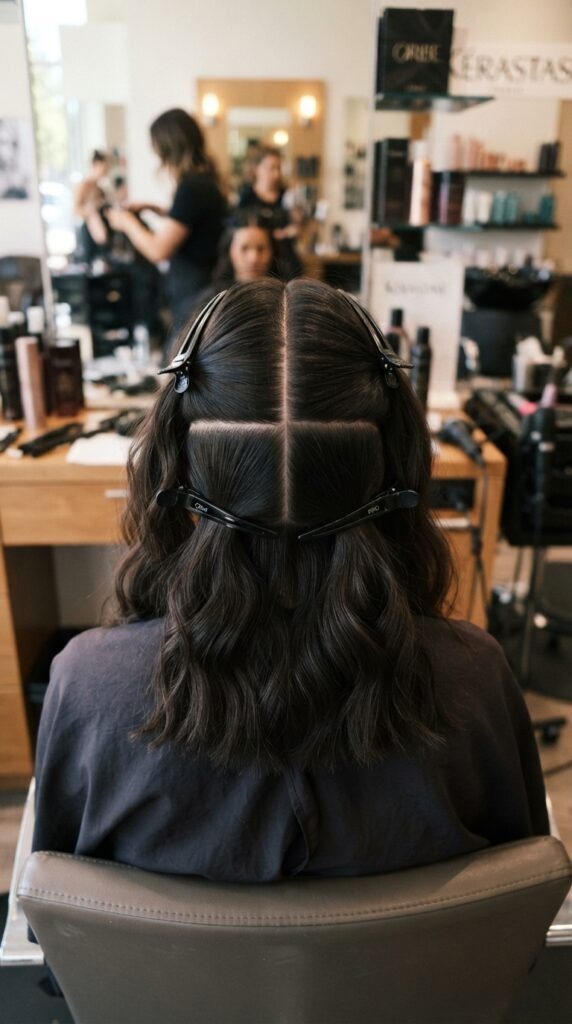
This is the single biggest reason home blowouts look messy. Salons work in small sections. We work in one giant blob.
Split your hair into four parts: two in the back, two in the front. Clip three of them up and out of the way.
Start at the bottom back section and work upward. Only move on when that section is completely dry.
- Smaller sections dry faster and smoother
- Tension stays consistent when you’re not fighting the whole head
- You can actually see what you’re doing
Rough Dry First, Then Smooth
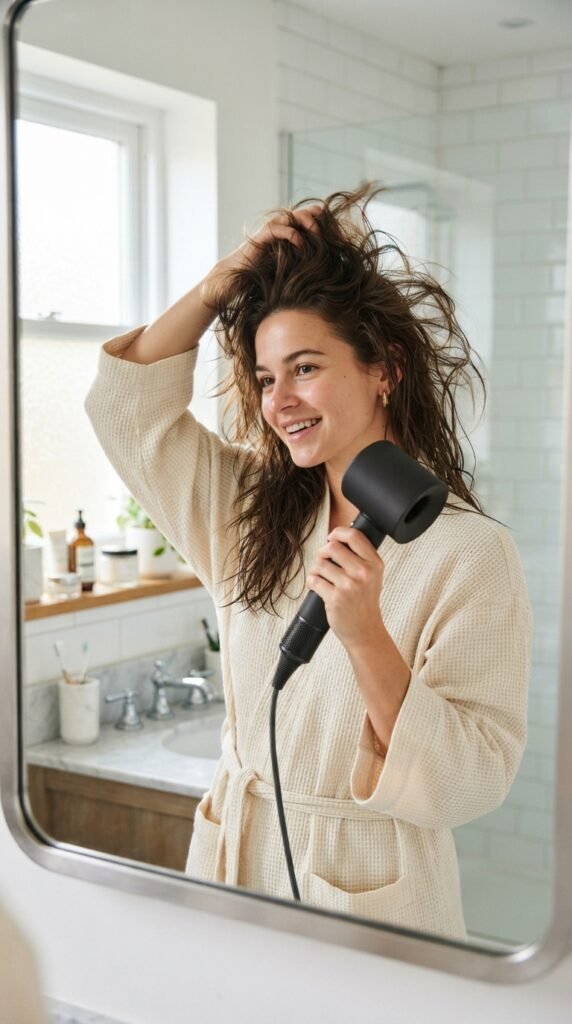
Do not go straight in with the round brush. That’s a rookie move and it takes forever.
First, rough dry your hair to about 80 percent dry. Use your fingers or a wide tooth comb, and keep the dryer moving. Flip your head over for volume at the roots.
Once it’s mostly dry, switch to the round brush. Now you’re styling, not drying.
This one step alone can cut your blowout time in half. It also means less heat exposure overall, which means healthier, shinier hair long term.
How to Hold a Round Brush Correctly
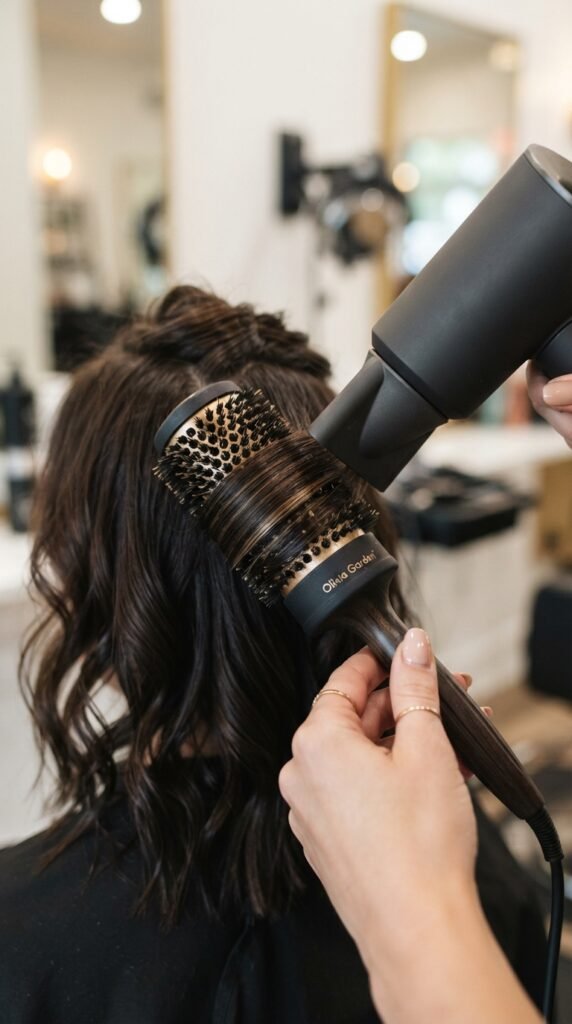
Hold the brush like a pencil, not a hammer. Loose grip, controlled wrist.
The brush should be under the hair, with the hair wrapped over the top of the barrel. The dryer nozzle points down the hair shaft, from root to tip.
- Chase the brush with the dryer, don’t lead with it
- Keep the nozzle 1 to 2 inches away from the hair
- Move in one smooth motion, not back and forth
Going down the shaft is what makes the cuticle lay flat. That flat cuticle is literally what shine is.
Tension Is Everything
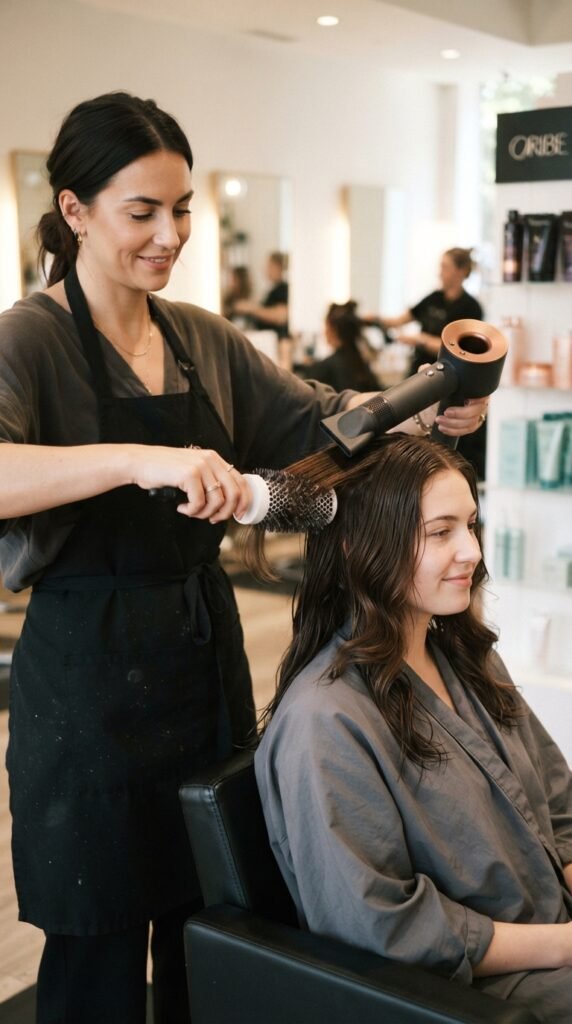
If you remember one thing from this post, make it this. Tension creates smooth hair.
As you pull the brush down the section, keep a gentle but steady pull. Not yanking. Think of it like smoothing a piece of fabric with your hand.
Too little tension and you get a fluffy, frizzy finish. Too much and you risk snapping the hair. Find the middle.
You’ll know the tension is right when the section comes out warm, smooth, and noticeably straighter than when it went in. That is a salon blowout happening in your bathroom.
Point the Nozzle Down the Hair Shaft
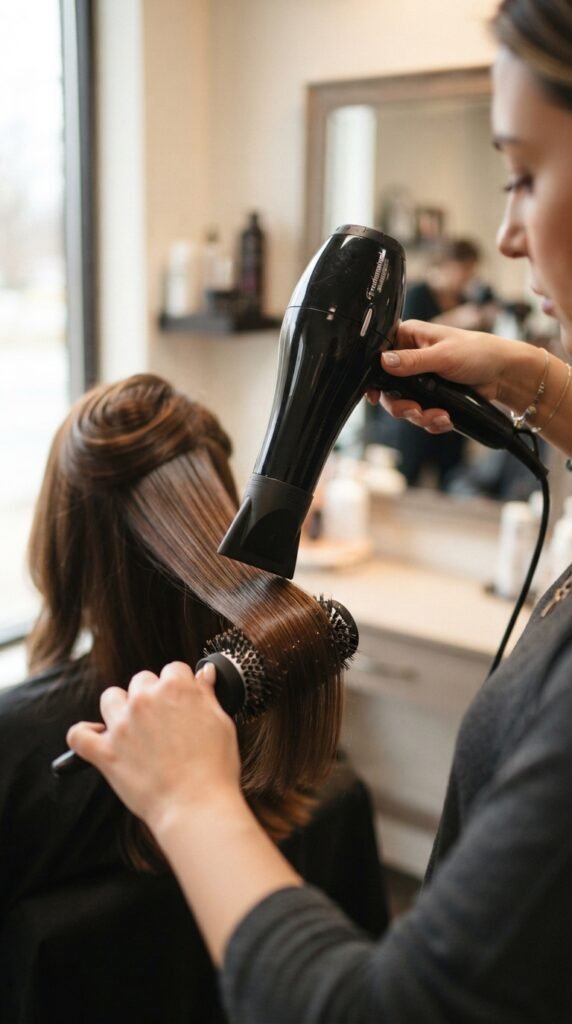
This is a tiny detail with a huge payoff. Air direction controls the cuticle.
Hair cuticles are like roof shingles. They lay flat when air moves from root to tip. They lift and ruffle when air moves the other way.
- Always point the nozzle downward
- Never blow upward at the ends
- Keep the dryer parallel to the section, not perpendicular
If you’re wondering why your hair looks dull even after drying, this is usually the culprit. Fix the angle and shine shows up almost immediately.
The Cool Shot Trick
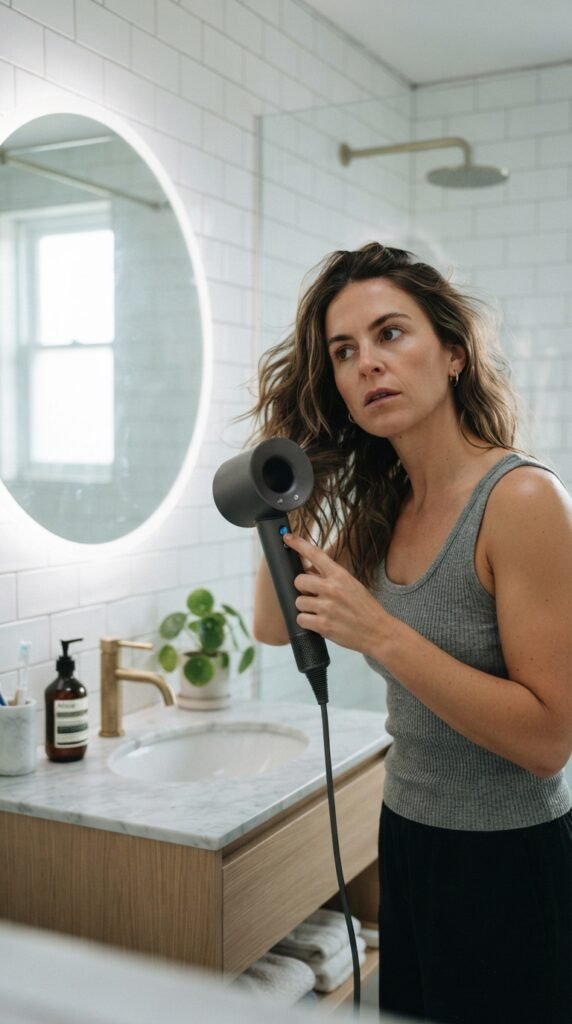
This is the step almost everyone skips and it’s the one that makes the blowout last.
Heat shapes the hair. Cold sets the shape. Once a section is dry and smooth, hit it with cool air for five to ten seconds while it’s still wrapped around the brush.
Then release. The curl and smoothness lock in.
Do this for every section and you’ll get that bouncy, salon quality movement instead of flat, limp hair that falls within an hour.
Getting That Old Money Hair Finish

Old money hair is not about a specific cut. It’s about the finish. Smooth, healthy, expensive looking, and effortless.
To get it: blow dry with a round brush for volume at the roots, then smooth the mid lengths and ends with a slight bend instead of a curl.
Keep the part clean and the ends pointing inward. A little natural shine is the goal, not a hard, sprayed look.
- Skip heavy styling creams
- Use a light oil on ends only
- Finish with one soft mist of flexible hold spray
Blowout Technique for a Quiet Luxury Bob

The quiet luxury bob lives or dies by the blowout. It has to be smooth with a slight inward bend at the ends.
Because the hair is short, use a smaller round brush, about one inch. Section it into smaller pieces, since short hair dries fast but shows every kink.
Wrap each section around the brush and pull down and slightly under. Hit it with cool air before releasing.
Keep the roots lifted for volume and the ends tucked. That contrast is what makes this cut look expensive instead of flat.
How to Blow Out an Asymmetrical Lob

The asymmetrical lob is one of the biggest 2026 hairstyles because it works on almost everyone. The trick is keeping both sides smooth without losing the shape.
Blow dry the shorter side first with a slight bend under. Then do the longer side with a bit more volume and a softer curve.
- Use a 1.5 inch round brush for both sides
- Keep the longer side lifted at the root
- Do a final pass over both sides with cool air
The goal is intentional difference, not a messy mismatch. Smooth on both sides makes the asymmetry look styled, not accidental.
Romantic Goth Hairstyles With a Smooth Base

Romantic goth hairstyles need one thing underneath all the texture: a smooth, shiny base. Frizz kills the mood instantly.
Blow dry as normal with tension and cool air. Then add any braids, soft waves, or pinned sections on top of that smooth foundation.
Dark hair shows shine beautifully when the cuticle is sealed, so the downward nozzle and cool shot are extra important here.
Finish with a light shine serum on the mid lengths. A little gloss goes a long way when the rest of the look is dark and dramatic.
Glitchy Glam Hair: Smooth Roots, Edgy Ends

Glitchy glam hair is all about contrast. Sleek at the top, broken up and textured at the bottom.
Blow dry your roots and mid lengths completely smooth using the round brush. Get them glossy and flat against the head.
Then stop. Leave the last two inches alone or add a light texturizing spray and scrunch gently with your fingers.
That sharp line between polished and piecey is the whole point. Don’t over smooth the ends or you’ll lose the effect. This is one of those 2026 hairstyles that’s easier than it looks.
Styling a Vampire Haircut at Home

The vampire haircut is bold, layered, and usually full of sharp, face framing pieces. It needs a blowout that keeps the shape sharp.
Use a small round brush on the face framing layers and pull them forward and down. That keeps them defined and slightly pointed.
- Blow dry the back sections smooth first
- Work the face framing layers last
- Use a light hold product, not a heavy one
Keep the crown smooth and the layers separated. Sharp edges plus shine equals the whole look.
The Hime Cut and a Silky Straight Finish

The hime cut is all about clean, blunt lines. Straight blow drying works best here, no curl at all.
Use a concentrator nozzle and pull each section straight down with the round brush. Keep the tension steady and the lines sharp.
Pay extra attention to the blunt side sections. They need to be perfectly flat and glossy to frame the face the way the cut is designed to.
Finish with cool air on every section. One tiny bend at the ends will ruin the look, so slow down on the last pass.
2026 Hairstyles That Love a Good Blowout
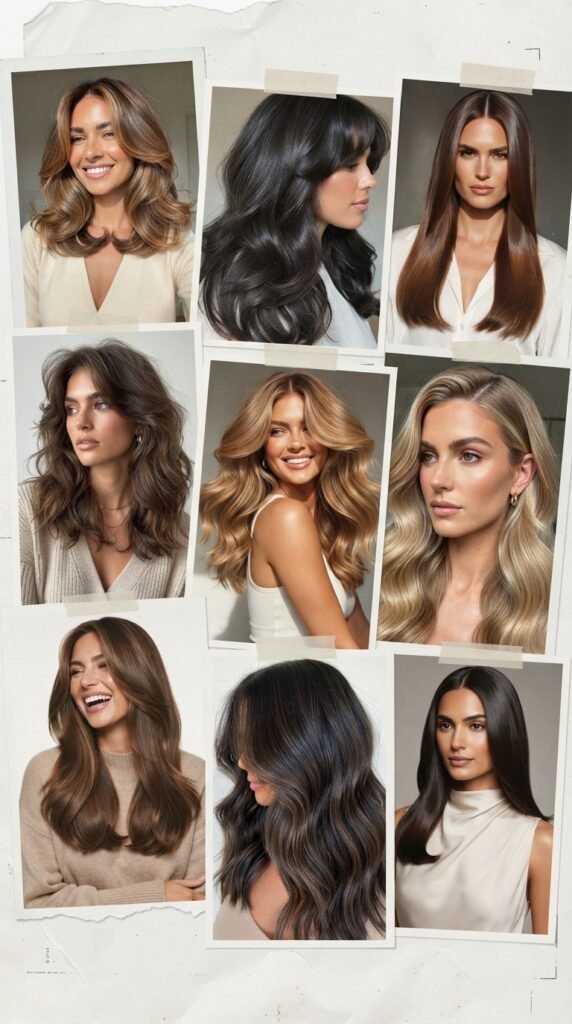
Some cuts are simply built for a smooth blowout. If you’re picking a new look this year, these are the ones that show it off best.
- The quiet luxury bob, sleek and tucked under
- The asymmetrical lob, smooth with soft movement
- The hime cut, sharp and glassy straight
- The vampire haircut, layered with defined edges
- Old money hair, root volume and smooth ends
All of the 2026 hairstyles on this list depend on the same thing: a smooth, sealed cuticle. Master the blowout and every one of these cuts looks better on you.
Products That Add Shine Without Weight
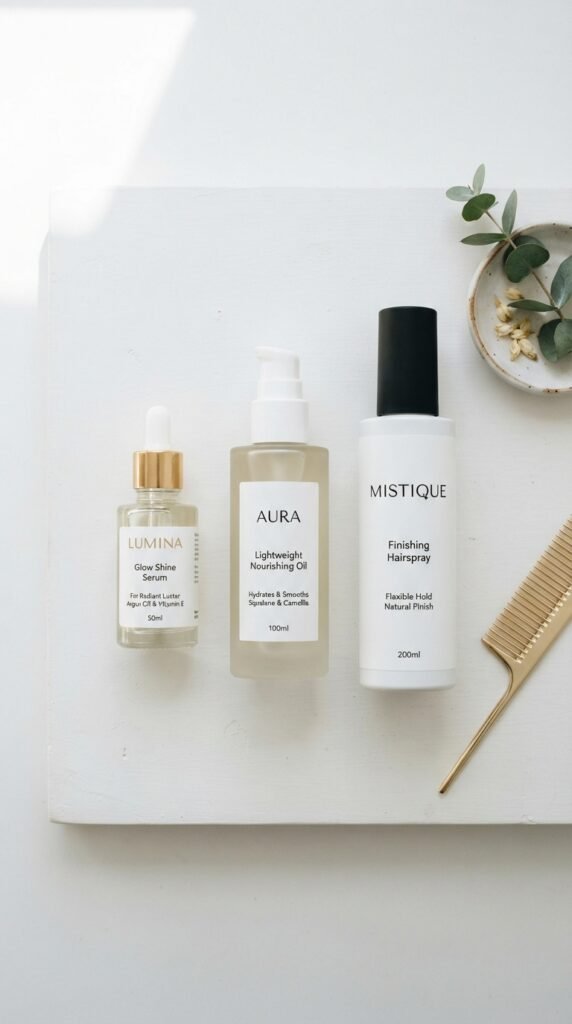
Shine comes from smooth hair, but the right products help a lot. The key word is lightweight.
- Shine serum: one drop, mid lengths to ends only
- Light oil: for dry ends, never near the scalp
- Finishing spray: flexible hold, light mist only
- Dry shampoo: for day two root refresh
Heavy products weigh hair down and kill the bounce you just worked for. If your hair feels greasy by noon, you used too much.
Start with less than you think you need. You can always add a little more.
Heat Protection Without the Crunch
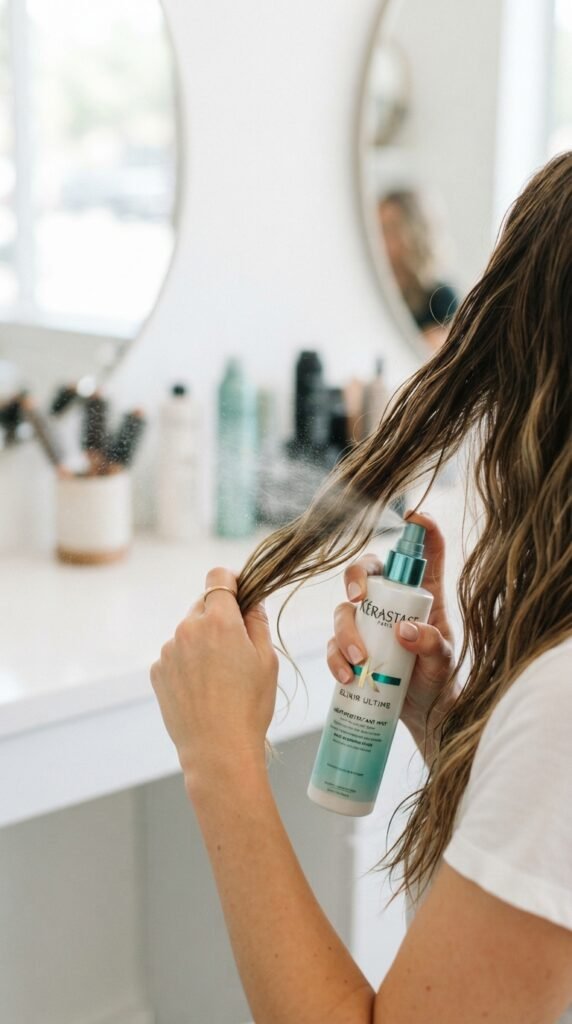
Heat protectant is non negotiable, but a lot of them leave hair stiff and sticky. Here’s how to avoid that.
Spray it on damp hair, not dry hair, and hold the bottle about eight inches away. Focus on the mid lengths and ends where heat sits longest.
Then comb it through so it’s evenly distributed.
- Use a spray, not a cream, for fine hair
- Use a cream or milk for thick or coarse hair
- Never skip it just because you’re in a rush
How to Make Your Blowout Last Three Days

A good blowout should carry you through at least three days. A few habits make that possible.
Don’t touch your hair while it cools. Hands add oil and break up the shape. Let it set completely first.
At night, sleep on a silk pillowcase or wrap your hair loosely in a silk scarf. Cotton creates friction and frizz.
On day two, refresh roots with dry shampoo and blast the crown with cool air. Skip the brush unless you really need it. Less handling means longer wear.
Sleeping on a Blowout Without Ruining It
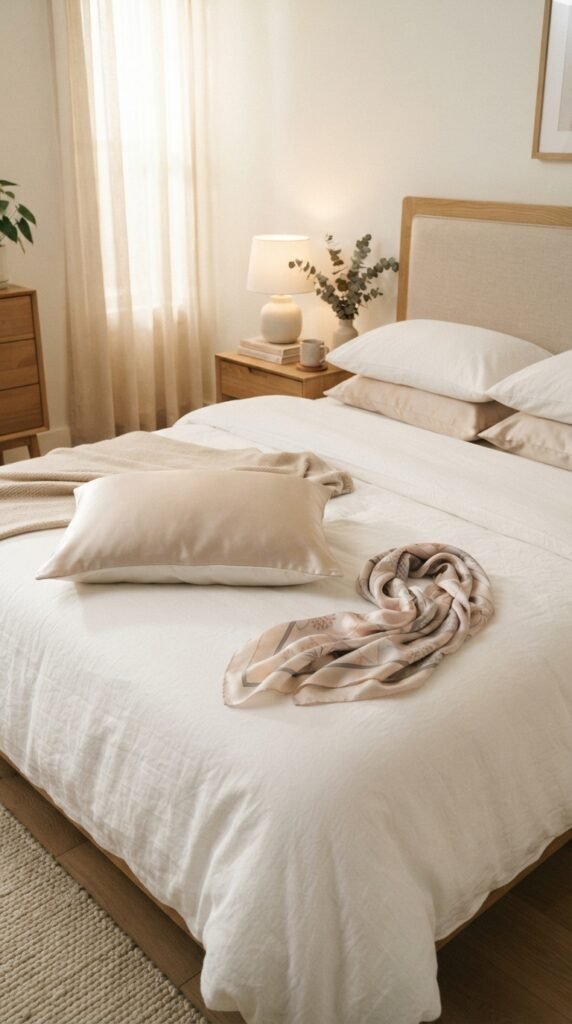
You spent twenty minutes on this. Don’t wreck it overnight.
The loose ponytail method works well. Flip your head over, gather hair into a very loose high pony with a soft scrunchie, and let it fall naturally.
Or do the silk scarf wrap if you want maximum smoothness. Either way, never sleep on wet or damp hair.
- Silk or satin pillowcase always
- Loose scrunchie, never a tight elastic
- No heavy oils before bed
Fixing Frizz Without Starting Over
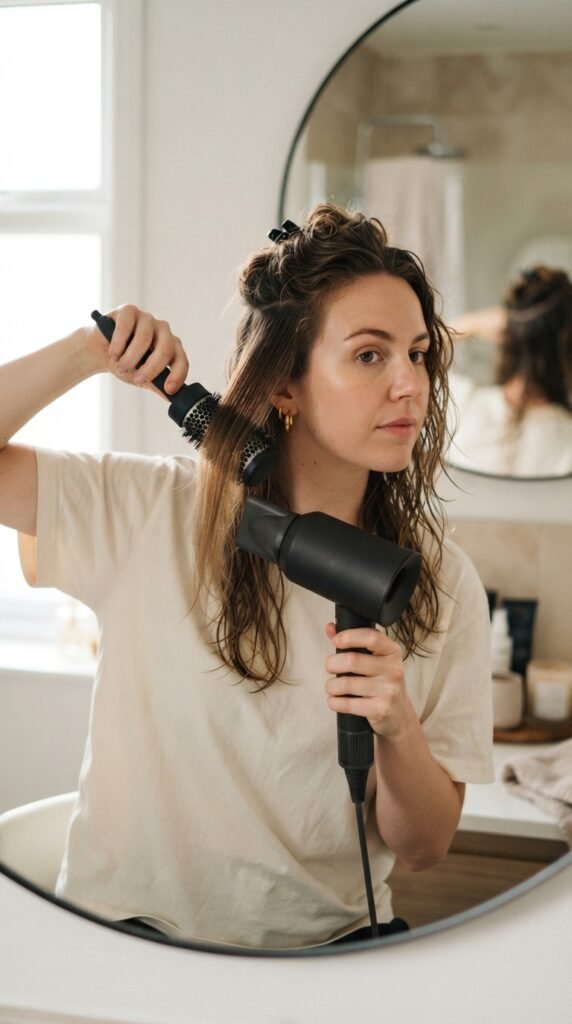
Frizz happens. You do not need to rewash your whole head.
Take the frizzy section, spritz it lightly with water or a smoothing spray, and re-blow dry just that piece with the round brush. Downward nozzle, gentle tension, cool shot at the end.
For the whole head, a tiny drop of shine serum warmed between your palms and pressed over the surface works wonders.
Don’t brush dry hair repeatedly to fix frizz. That makes it worse. Press and smooth instead of brushing through.
Drugstore vs. Salon Tools
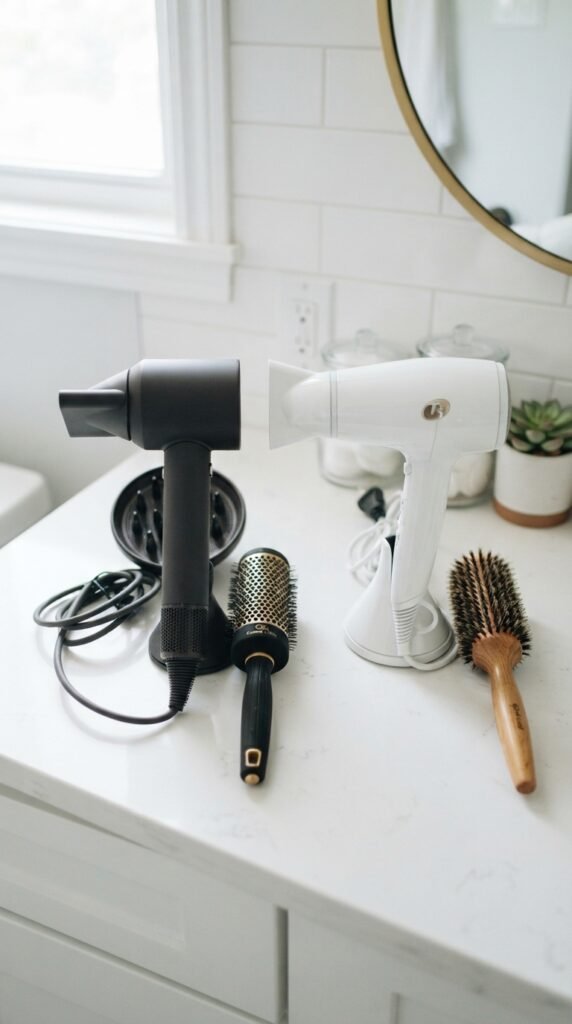
Do you need salon tools? Honestly, no. But there are a couple of places where spending a little more pays off.
- Worth the upgrade: a dryer with a cool shot and a real concentrator nozzle
- Worth the upgrade: a round brush with mixed bristles that grip
- Save your money: expensive clips, combs, and sectioning tools
A mid range dryer with good technique beats an expensive one used badly. Every single time.
Start with what you have. Upgrade the brush first, then the dryer if you blow dry often.
The Quick 15 Minute Blowout Routine
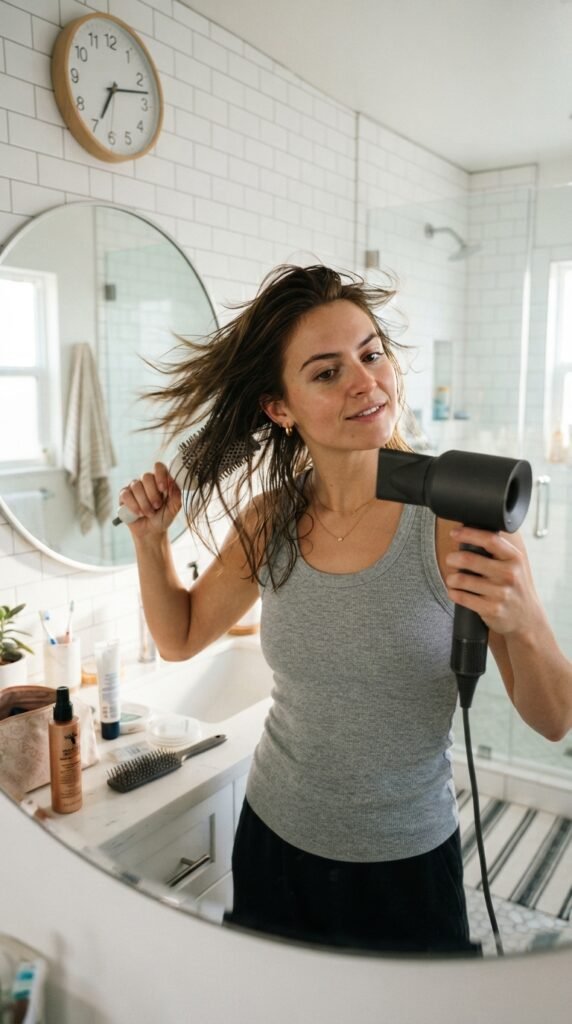
Short on time? This is the streamlined version that still looks salon quality.
- Heat protectant and comb through, one minute
- Rough dry to 80 percent, four minutes
- Four sections, top two clipped up
- Round brush each section with tension, seven minutes
- Cool shot on each section as you go
- One drop of oil on ends, done
Speed comes from sectioning and rough drying. Skip either one and fifteen minutes turns into forty.
Common Blowout Mistakes to Avoid
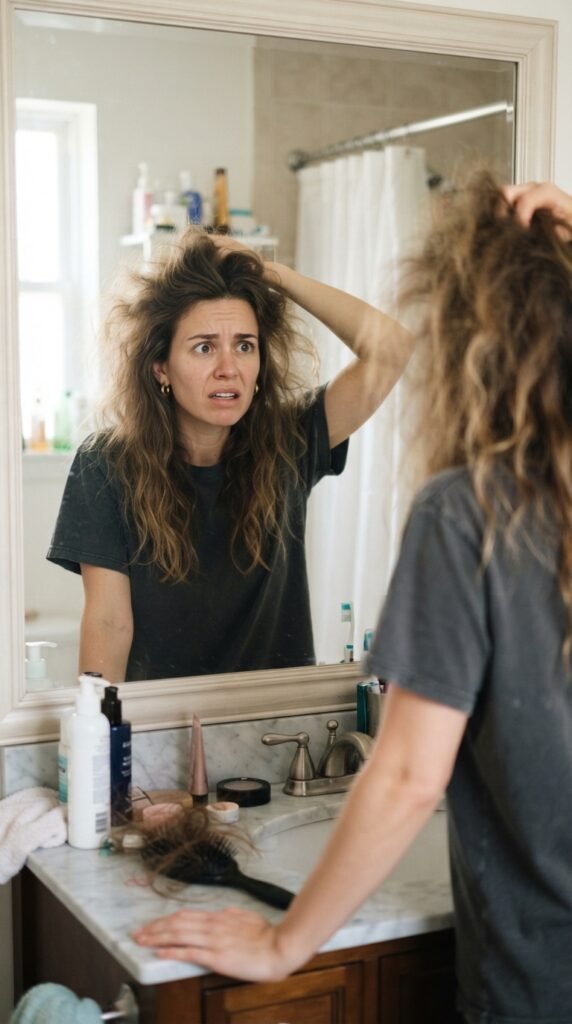
I’ve made all of these. Learn from my mistakes.
- Starting on soaking wet hair with a round brush
- Using the highest heat setting the whole time
- Drying in one giant section
- Skipping the cool shot
- Touching the hair before it cools
- Using too much product at the roots
Every one of these adds frizz, flatness, or damage. Fix them one at a time and you’ll see the difference within a week.
The heat setting one is the biggest. Medium heat, high airflow is the sweet spot.
When to Skip the Blowout Entirely

Not every day needs a blowout. Your hair will actually thank you for the breaks.
If your hair is freshly washed and you’re not going anywhere special, let it air dry. If your ends feel dry or brittle, give the heat a rest for a few days.
And if you’ve just had a keratin treatment or a gloss, let it settle before you blow dry again.
Eighty percent of great hair is healthy hair. Sometimes the best technique is simply not using heat at all.
One Last Thing Before You Pick Up That Dryer
Here’s what I want you to take away. A salon blowout is not a secret formula. It’s sectioning, tension, downward air, and cool air. That’s the whole trick.
Practice it once a week and it becomes muscle memory. Within a month, you’ll be doing it without thinking, and your hair will look like you just left the chair.
Start with the brush. Master the tension. Everything else follows.
Save this post to Pinterest so you can pull it up next time you’re standing in front of the mirror with a round brush and big ambitions.
And tell me in the comments: which technique are you trying first, and what’s your biggest blowout struggle? I read every single one.