
Soft Face Framing Layers For Round Faces That Create Beautiful Definition
Hey friend, it’s Hailey. If you have a round face, you’ve probably heard the same tired advice a hundred times: skip the layers, skip the bangs, keep it long. Honestly? That advice is outdated.
Soft face framing layers are one of the most flattering cuts for a round face. They don’t hide your shape. They define it, adding gentle angles at the cheekbone and jaw so everything looks lifted and intentional.
In this post I’m sharing exactly what to ask your stylist for, which versions work best for fine or thick hair, and how to style it in five minutes at home.
No complicated rules. Just simple, pretty cuts you can actually live with.
Why Soft Face Framing Layers Work So Well on Round Faces

Round faces are beautiful. Soft jawline, full cheeks, youthful energy. The goal isn’t to hide any of that. It’s to add a little structure so your features read clearly.
Face framing layers do that by creating angles right where you want them.
- They break up width across the cheeks
- They pull the eye downward toward the jaw and chin
- They add movement instead of bulk
- They work at almost any length, short or long
Blunt cuts sit flat and round out the face. Soft layers taper. That taper is the whole magic trick.
What “Soft Face Framing” Actually Means
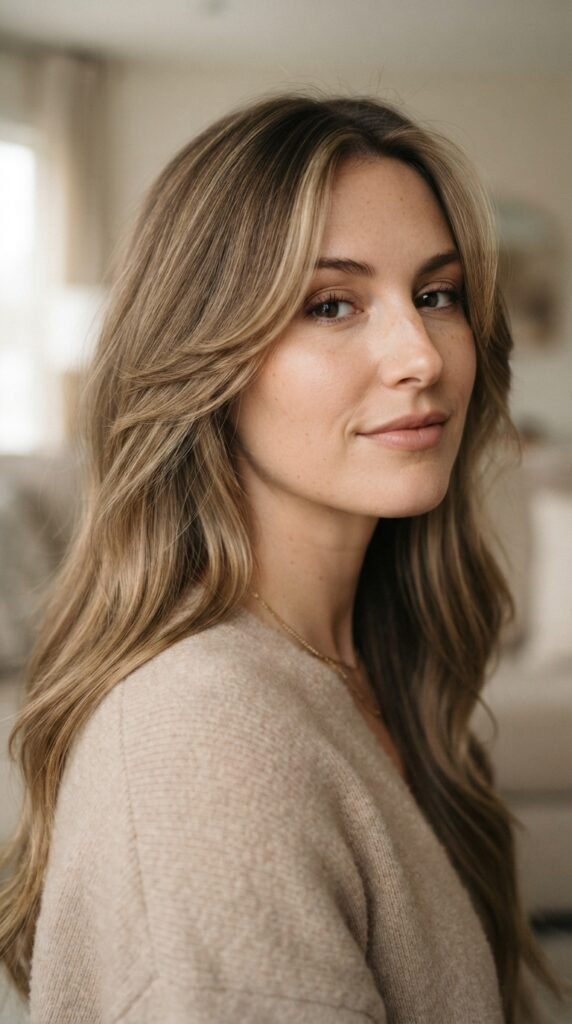
Soft is the key word here. It means no blunt edges, no heavy chunks, no hard line sitting against your cheek.
Instead, your stylist cuts a gradual, feathered set of pieces that blend into your length. Here’s what that looks like:
- The shortest piece usually starts around your cheekbone
- Each following piece gets slightly longer
- Everything melts into the rest of your hair
- Nothing sits as a separate, obvious chunk
If you can trace one obvious line, it’s not soft. You want it to look like your hair just naturally falls that way.
The Round Face Cheat Sheet: Angles Over Volume
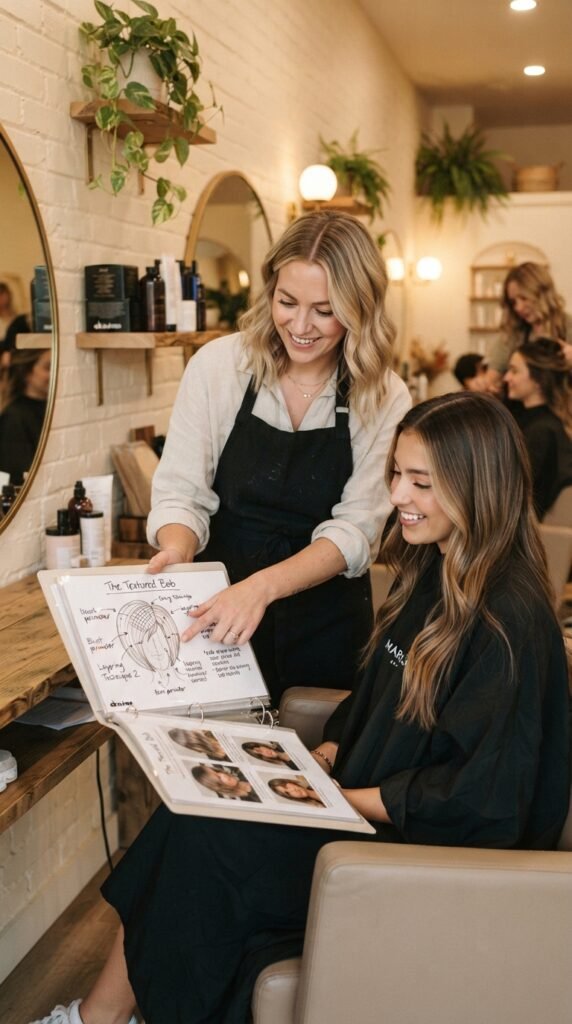
Here’s your quick rule set. Save it, screenshot it, bring it to your appointment.
- Ask for angles, not volume. Width at the sides is the enemy.
- Your longest framing piece should end below your chin.
- Keep the layers close to your face, not fanned outward.
- Avoid a blunt one-length cut that stops at your cheeks.
- Add a little height at the crown to stretch the face.
That’s it. Five rules. If a cut follows them, it will flatter you. If it breaks two or three, it probably won’t.
How to Ask Your Stylist (Word for Word)
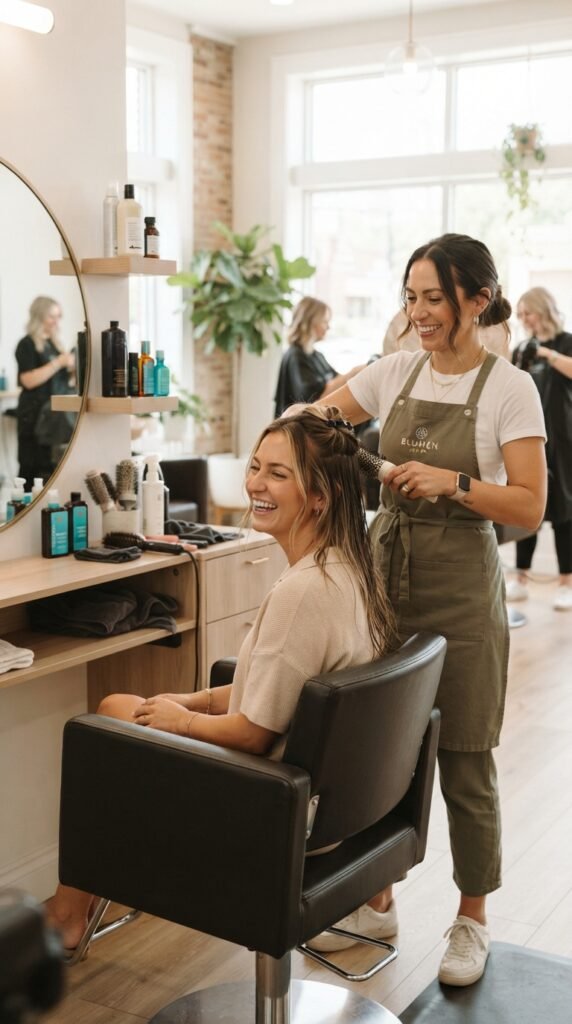
Stylists translate requests in their head all day. Give them clear words and you’ll walk out happier.
Try this script at your next appointment:
- “I’d like soft face framing layers that start at my cheekbone.”
- “Please keep the shortest piece below my chin.”
- “I want movement, not a heavy chunk near my face.”
- “Keep the sides tapered so it doesn’t add width.”
Also bring two photos of a round face with the cut you love. That one detail saves so much confusion.
The Quiet Luxury Bob With Soft Framing

The quiet luxury bob is everywhere, and it’s made for round faces when it’s cut softly.
Ask for a collarbone or jaw-length bob with gentle framing pieces around the cheekbone. Keep the ends slightly tapered rather than blunt.
- Pairs beautifully with old money hair: glossy, healthy, unfussy
- Looks expensive with a middle or slight side part
- Style with a round brush and call it done
Skip the chin-length blunt version. That’s the one that can round out your face.
The Asymmetrical Lob for Round Faces
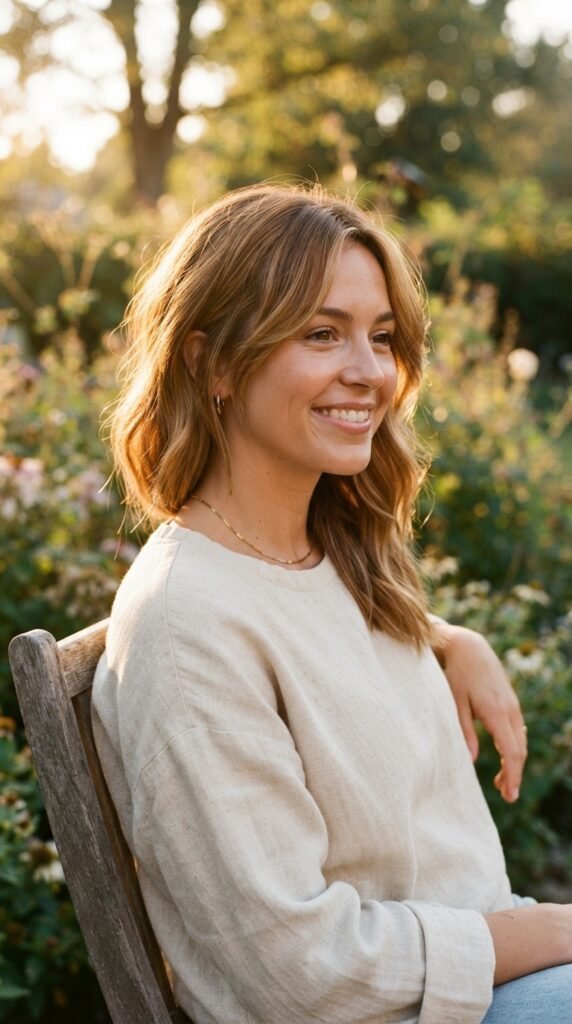
The asymmetrical lob is one of my favorite tricks for round faces. A slight difference in length on each side breaks up symmetry, which instantly makes the face look longer.
Ask for:
- A lob that hits just below the collarbone
- One side an inch or two longer than the other
- Soft framing pieces that sweep away from the cheek
Keep the asymmetry subtle. You want people to wonder why you look so good, not count the inches.
Curtain Bangs Plus Face Framing Layers

Curtain bangs and face framing layers are basically best friends. Together they create a soft V shape that draws the eye down and in.
Here’s the combo to request:
- Curtain bangs that start at the cheekbone, not the center of your forehead
- Pieces that skim past the jaw
- A middle part or a soft off-center part
Style them with a round brush, sweeping away from your face. That outward sweep is what makes the angles appear.
The Softened Hime Cut

The hime cut is a bold, blunt, straight-across look with side pieces. Done exactly as-is, it can be tough on a round face. Softened, it’s gorgeous.
Ask your stylist to:
- Keep the cheek-length side pieces, but point-cut the ends
- Make the pieces start slightly lower, around the jaw
- Blend the back instead of keeping it fully blunt
You keep that dramatic, editorial feel but gain softness that flatters. It’s one of those 2026 hairstyles that looks special without being a hassle.
The Vampire Haircut, Tamed for Round Faces
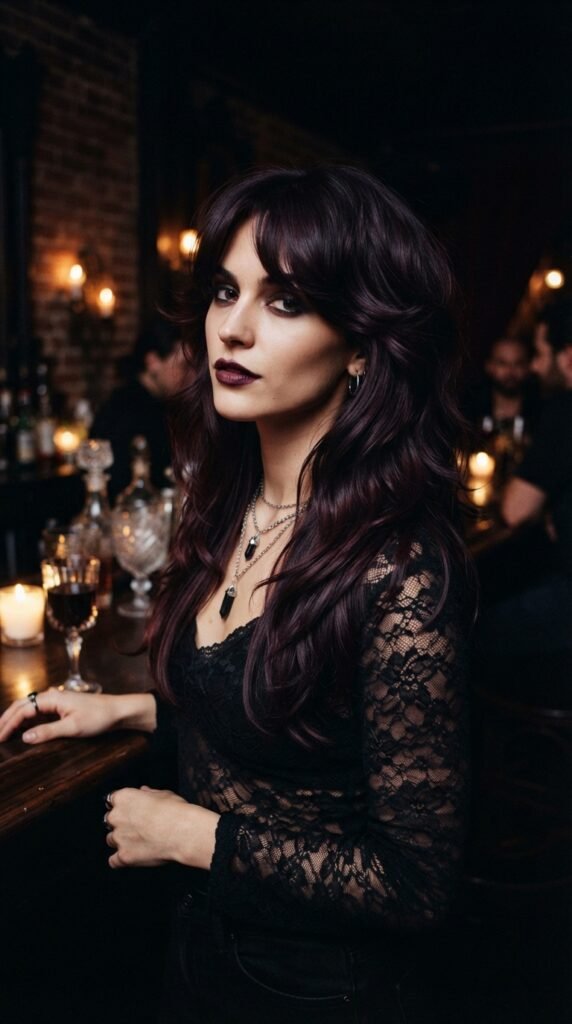
The vampire haircut is layered, moody, and just a little dramatic. Think soft volume with tapered ends and pieces that frame the face.
Round faces can absolutely wear it. You just need the framing pieces to do the work.
- Keep the shortest layer at or below the cheekbone
- Ask for tapered ends, not blunt ones
- Add a soft side part for a lengthening effect
Stick with the soft version rather than a shaggy, heavy one. It stays moody without swallowing your features.
Romantic Goth Hairstyles With Soft Framing Pieces
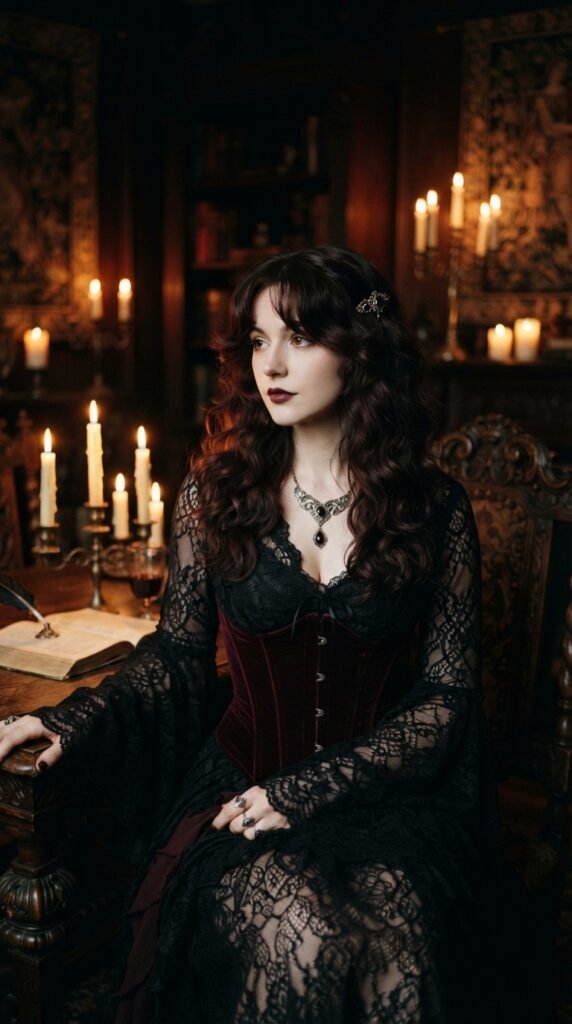
Romantic goth hairstyles are all about softness with a dreamy edge: loose waves, deep tones, delicate movement.
Face framing layers fit right in. Ask for long, tapered pieces that start at the cheekbone and float down past the jaw.
- Soft, airy waves rather than tight curls
- A middle part for that ethereal look
- Pieces that stay close to the face, not puffed out
It’s romantic, a little mysterious, and very flattering on a round face.
Glitchy Glam Hair Meets Soft Layers
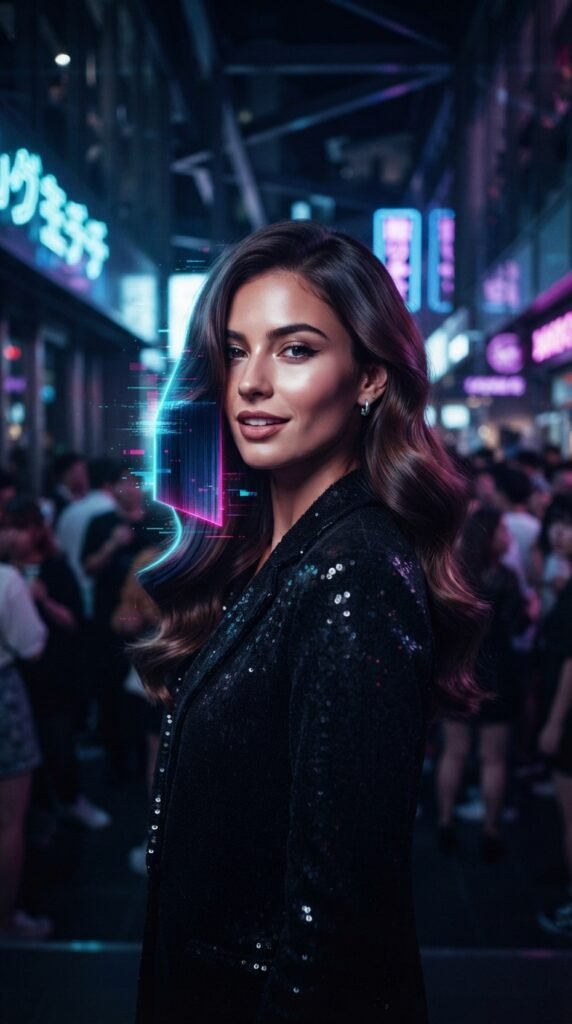
Glitchy glam hair is playful and a little unexpected: glossy texture, sharp edges in one place, softness in another.
You can wear it on a round face by keeping the edge away from your cheeks.
- Soft framing layers near the face
- A crisp, blunt line somewhere else, like the ends
- High shine to keep it looking intentional
That contrast is the whole point. Soft where it matters, sharp where it doesn’t.
Old Money Hair: The Polished Framing Look
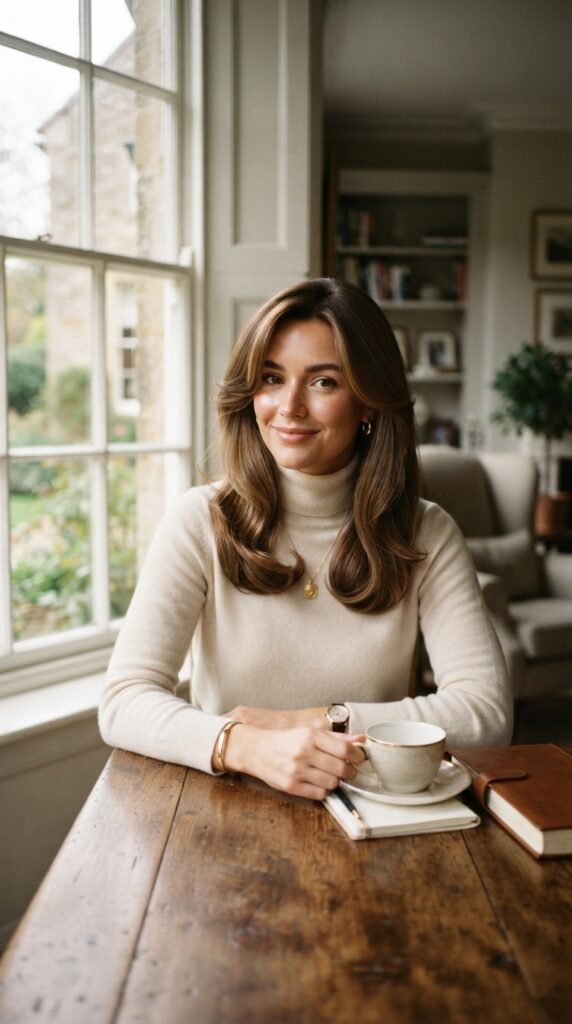
Old money hair is glossy, healthy, and quietly expensive. No obvious styling, just really good hair.
For a round face, the move is simple:
- Soft face framing layers starting at the cheekbone
- A middle part or a gentle side part
- A round-brush blowout for a smooth, tucked finish
Keep products light. The goal is shine and movement, not stiffness. This is one of the easiest ways to look put together on a normal Tuesday.
2026 Hairstyles to Watch for Round Faces
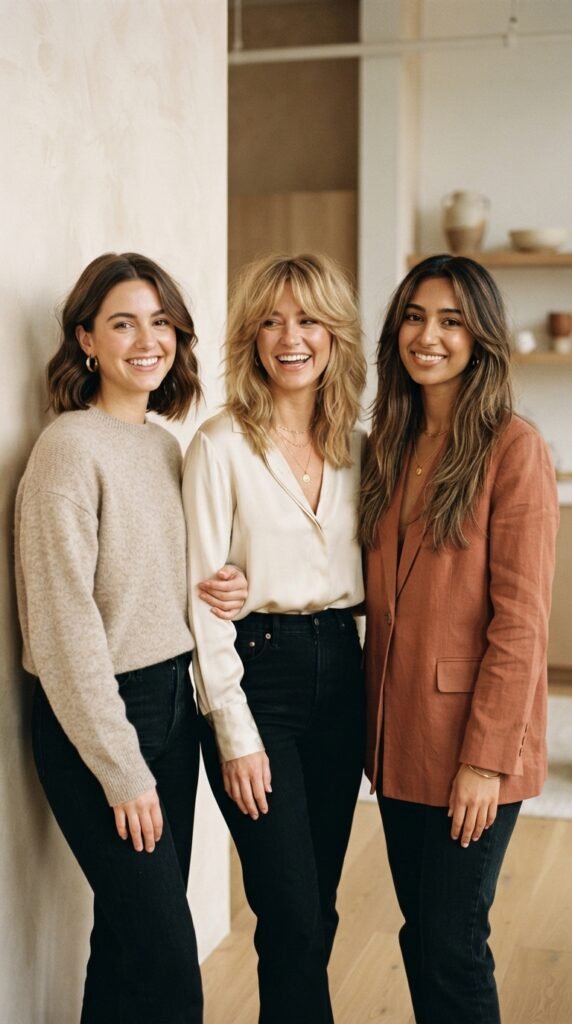
If you’re planning ahead, here’s what I’m seeing for 2026 hairstyles on round faces.
- Soft, tapered face framing on almost every length
- Quiet luxury bobs with gentle interior layers
- Long, airy layers paired with curtain bangs
- Subtle asymmetry, especially in the lob family
- Textured, lived-in waves instead of perfect curls
The throughline? Softness and movement. Harsh, heavy cuts are fading, and that’s great news for you.
Face Framing Layers for Fine Hair
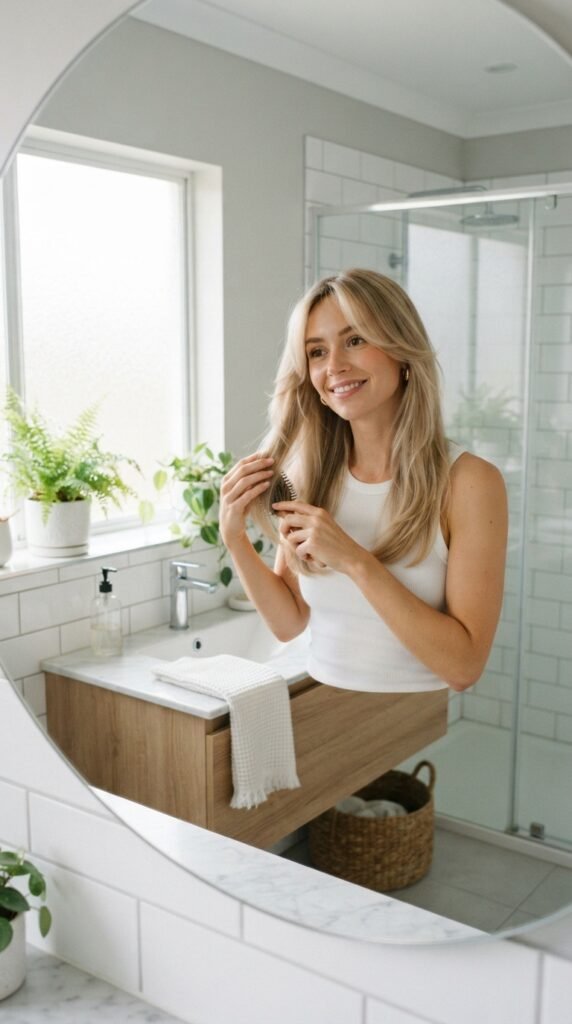
Fine hair actually loves face framing layers, as long as they’re cut right.
Do this:
- Ask for long, tapered pieces, not choppy short ones
- Keep the layers minimal so you don’t lose density
- Skip heavily thinned-out ends
At home, use a little volumizing mousse at the roots and a round brush. Dry the framing pieces away from your face for lift.
Fine hair plus soft layers equals movement without disappearing.
Face Framing Layers for Thick, Wavy, or Curly Hair
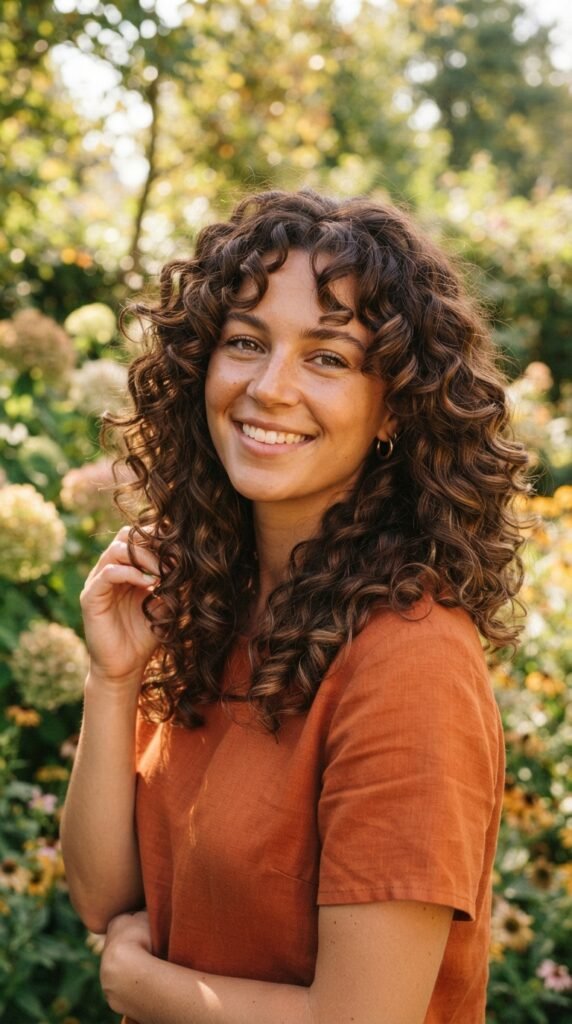
Thick and curly hair can handle more, but it needs careful shaping. Too many layers creates a triangle shape, and nobody wants that.
Ask for:
- Layers cut dry, so your curl pattern shows
- Soft, blended framing pieces, not one big chunk
- Weight removed from the ends, not the crown
Style with a curl cream and let it air dry. Then gently pull the front pieces forward so they frame your face instead of hanging back.
How Short Should Your Framing Pieces Be?
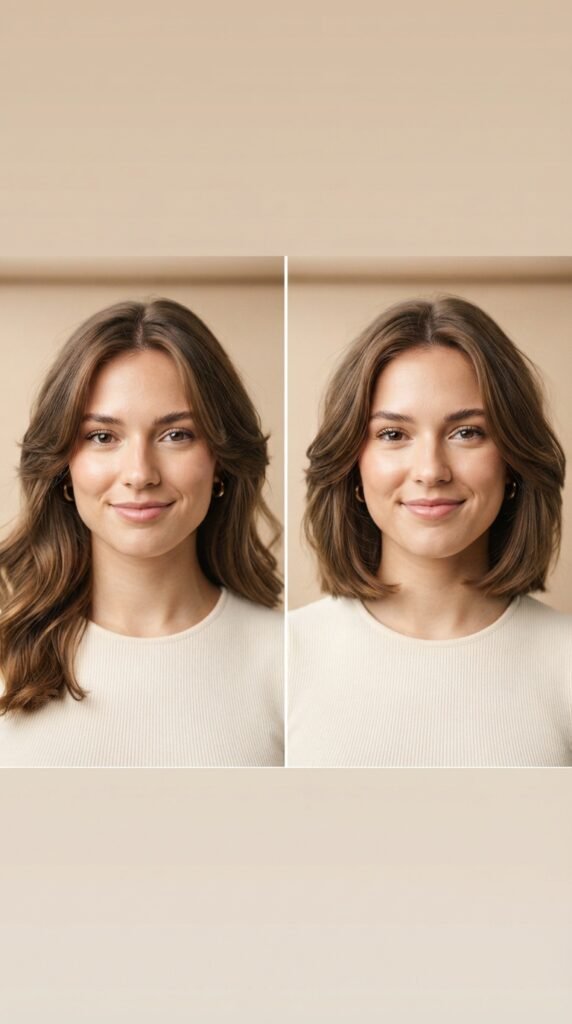
This is the question I get most. Here’s the simple answer.
- Cheekbone length: softens and lifts
- Chin length or longer: lengthens the face
- Above the cheekbone: can add width, so be careful
For round faces, the sweet spot is usually the cheekbone or just below it. That’s where pieces can angle downward and create definition.
When in doubt, go longer. You can always take more off next visit, but you can’t put it back.
Where to Start Your First Layer: Cheekbone vs Jaw
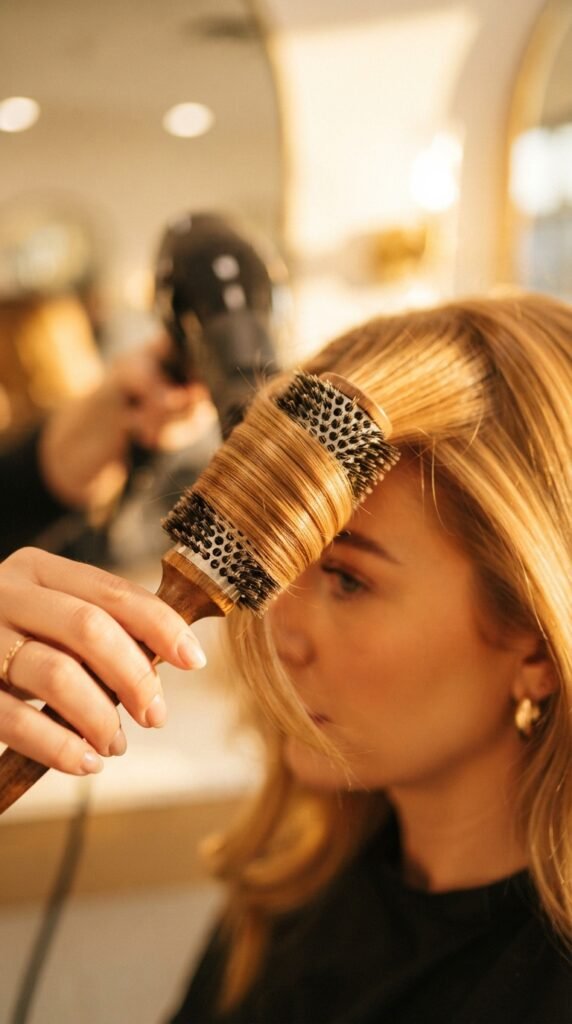
Where your first layer starts changes everything.
Starting at the cheekbone creates a diagonal line that lifts the face and adds definition. It’s the classic choice for round faces.
Starting at the jaw creates a longer, softer frame that pulls attention downward. Great if you want a more relaxed feel.
- Cheekbone start: more definition and lift
- Jaw start: more softness and length
- Avoid ending right at the widest point of your cheeks
The 5-Minute Blow-Dry Routine

You don’t need a salon chair to get this look. Here’s my quick routine.
- Spray heat protectant and rough-dry your roots.
- Wrap the front pieces around a round brush and pull them away from your face.
- Hold for a few seconds, then hit with cool air to set.
- Repeat on the other side.
- Finish with a light mist of flexible spray.
The outward sweep is what creates the angle. That one motion makes all the difference.
Styling Tools That Make Framing Layers Pop
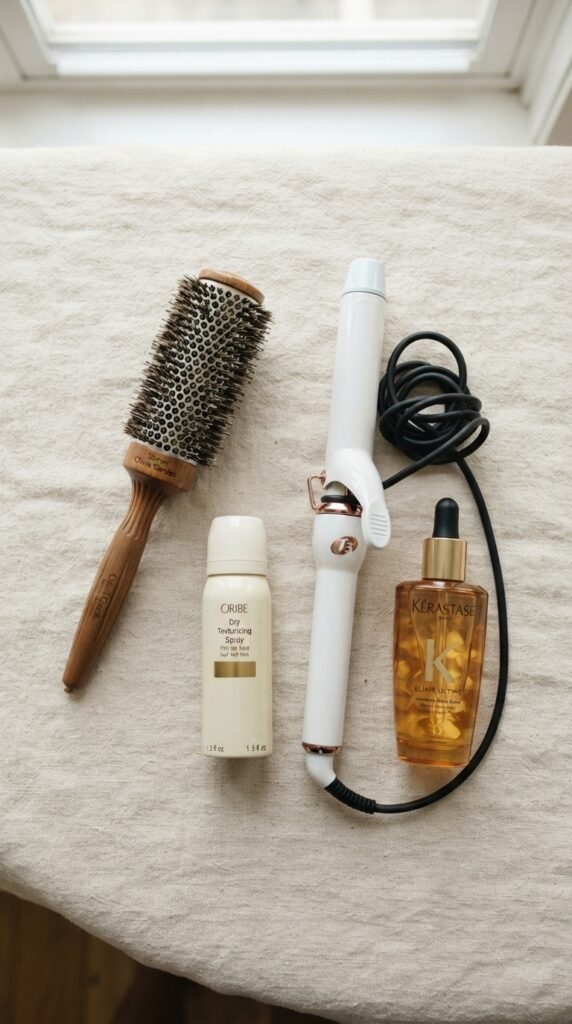
You really only need a few things.
- A medium round brush for smooth, sweeping front pieces
- A one-inch curling iron for quick touch-ups
- Light hold hairspray, nothing crunchy
- A little shine serum for the ends
That’s it. Skip heavy creams near your face, since they weigh framing pieces down and flatten them against your cheeks.
Keep it light and your layers will hold their shape all day.
Bangs or Face Framing Layers?
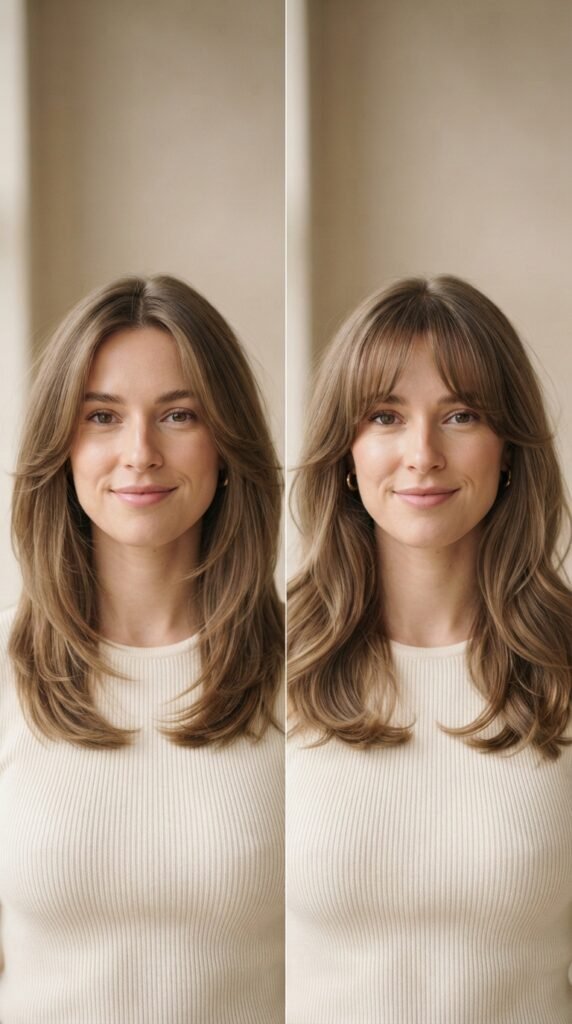
Wondering which one you actually need? Here’s the honest breakdown.
- Face framing layers: low commitment, easy to grow out, very flattering
- Curtain bangs: more noticeable, still soft on round faces
- Blunt bangs: trickier, can shorten the face
If it’s your first time adding shape, start with face framing layers. You get definition without a big change.
If you want more of a statement, ask for curtain bangs that start at the cheekbone.
Growing Out Face Framing Layers Without the Awkward Stage

The nice thing about soft layers? They grow out gracefully.
To keep them looking intentional:
- Trim the longest pieces every 8 to 10 weeks
- Pin them back with a clip when they feel awkward
- Use a tiny bit of pomade to tuck them behind your ear
A small side clip is your best friend during the in-between weeks. It looks cute and solves the problem in two seconds.
How Often to Trim Face Framing Layers

Here’s the simple schedule.
- Every 6 to 8 weeks if you style them daily
- Every 8 to 12 weeks if you mostly air dry
- Sooner if the pieces start flipping outward on their own
You don’t need a full haircut every time. A quick face framing refresh takes ten minutes and keeps everything looking sharp.
Ask your stylist for a framing piece clean-up between full cuts. Most will happily do it.
The Money Piece: Color That Makes Layers Pop

Want your soft layers to really show? Ask for a money piece.
That’s a soft, brightened section right around your face. It highlights the layers and adds light exactly where you want it.
- Keep it subtle, two shades lighter at most
- Blend it, don’t block it
- Choose a soft balayage version for easy upkeep
When the color sits right around your face, your layers suddenly look very intentional.
Mistakes That Make Round Faces Look Wider
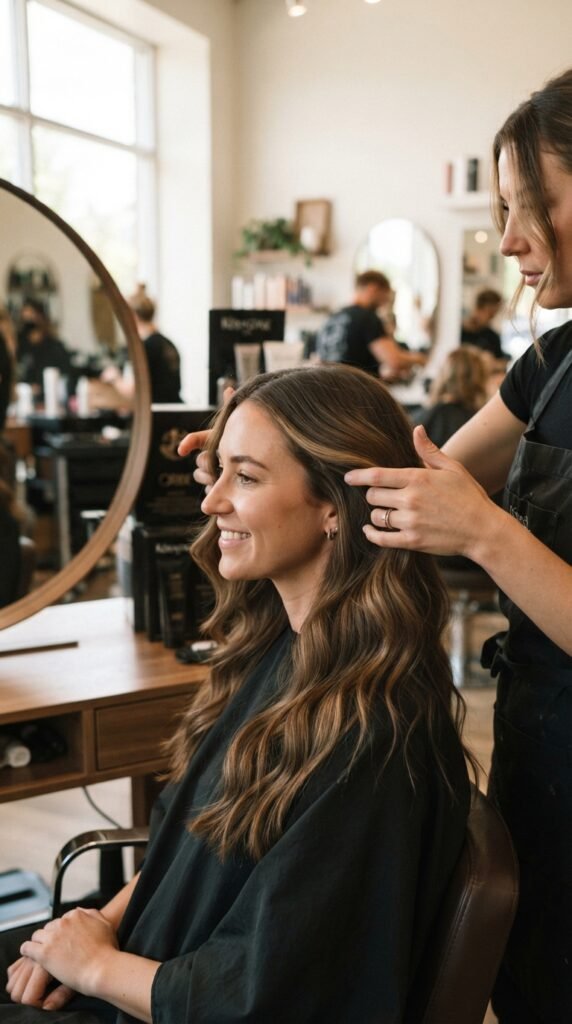
Let’s save you from the regret phase.
- Blunt one-length cuts that stop at the cheek
- Heavy volume at the sides
- Layers that sit as one thick chunk near the face
- Straight-across blunt bangs
- Flat, product-heavy front pieces
Avoid those five and you’re already ahead. Everything else is personal taste.
How to Fake Face Framing Layers With Zero Cutting

Not ready to commit? Try this first.
- Part your hair where you normally do.
- Take a one-inch section from the front on each side.
- Wrap each piece around a round brush or curling iron, away from your face.
- Pin them in place with a clip for five minutes.
- Release and shake out gently.
You’ll get that soft swept-back framing effect without scissors. It’s a great way to test the look before your appointment.
A Soft Little Wrap-Up
Round faces don’t need to be hidden or corrected. They need a little shaping, and soft face framing layers do exactly that.
Start with pieces that begin around your cheekbone, keep the shortest one below your chin, and always ask for softness over blunt edges. That’s the whole formula.
Bring photos, use clear words, and style the front pieces away from your face. You’ll be surprised how much a small change does.
Save this post to Pinterest so it’s ready for your next salon visit.
And tell me in the comments: have you tried face framing layers on a round face? What worked for you? I read every single one.