
The Difference Between a Classic Shag and a Modern Dutch Shag
If you’ve been saving haircuts all week, you’ve probably noticed two names popping up again and again: the classic shag and the modern Dutch shag. They sound almost interchangeable, and from across the room they kind of look it too.
But they’re not the same cut. One is soft, lived-in, and a little bit rock and roll. The other is smoother, more polished, and closer to old money hair than you’d ever expect from a shag.
Here’s the good news. You don’t need a cosmetology license to understand the difference. In the next few minutes I’ll break down how each one is cut, who it flatters, how to style it at home, and exactly how to ask your stylist for the one you actually want.
Let’s get into it.
The Short Answer, In Plain English

A classic shag is choppy, textured, and intentionally a little messy. Layers are cut short and left to point in different directions. The finish is piecey and lived-in.
A modern Dutch shag takes that same layered shape and smooths it out. The layers curve around the face instead of sticking out, and the ends feel deliberate rather than undone.
- Classic shag: rock and roll, undone, high texture
- Dutch shag: soft, blended, quietly polished
- Shared DNA: lots of layers, shorter crown, movement at the ends
Neither one is better. They just send a different message.
What a Classic Shag Really Is

The classic shag came out of the seventies and never really left. It’s built on short layers at the crown, longer layers through the sides, and a lot of visible separation.
The cut usually includes bangs, often curtain style, and the overall silhouette is rounded but uneven on purpose. Nothing lines up perfectly, and that’s the point.
- Short crown layers for volume
- Face-framing pieces that taper down
- Textured, razored ends
- A slightly messy, “I woke up like this” finish
If you love hair that looks better on day three than day one, this is your cut.
What Makes a Dutch Shag Different

The Dutch shag keeps the layer structure but changes the finish. Instead of razored, piecey ends, the layers are blended so they flow into each other.
The result is a shape that curves softly around the face and jaw. It still has movement, but it looks intentional. Think expensive blowout rather than beachy bedhead.
- Blended, point-cut layers
- Smooth, curved ends
- Softer face framing
- Works beautifully with a polished finish
This is the version that fits right into the old money hair mood so many of us are chasing.
The Cut Map: Where the Layers Land

Both cuts share a basic map. Short layers at the crown, medium layers through the sides, and length left around the perimeter. The difference shows up in how those layers are finished.
With a classic shag, the stylist usually uses a razor or slide-cutting to create texture. With a Dutch shag, they point-cut and blend so the layers sit smoother.
- Crown: short and lifted in both cuts
- Sides: medium layers, chin to collarbone
- Perimeter: keeps the length you asked for
- Ends: textured for classic, blended for Dutch
Same blueprint, different finishes.
Face Shape: Who Wears What Best

Here’s where the choice gets personal.
- Round faces: the classic shag’s choppy vertical layers break up width nicely
- Square jaws: the Dutch shag’s curved layers soften strong angles
- Heart shapes: either works, but softer Dutch layers balance a wider forehead
- Long faces: the Dutch shag’s chin-length curves add width
- Oval: honestly, both are fair game
If you’re unsure, look at your jawline. Angular jaws usually love curves. Soft jaws usually love texture.
Bangs: Curtain, Fringe, or None

Bangs change everything about how a shag reads.
Curtain bangs are the safest bet. They work with both cuts and grow out gracefully. A blunt or micro fringe pushes the look more retro and edgy. No bangs keeps things easier to maintain but slightly less shag-like.
- Curtain bangs: universal, easy, flattering
- Wispy fringe: softer, more romantic
- Blunt fringe: bold, editorial, needs trims
- No bangs: lowest maintenance
If this is your first shag, start with curtain bangs. You can always go shorter next visit.
Texture Talk: Air-Dry vs Blowout

This is the single biggest difference in your daily routine.
Classic shags almost always look better air-dried. The messier, the better. A little leave-in cream and a scrunch is genuinely all you need.
Dutch shags reward a round brush blowout. You’re going for smoothness and curve, so a bit of tension and heat makes a real difference.
- Classic shag routine: damp cream, scrunch, walk away
- Dutch shag routine: mousse, round brush, smooth the ends
- Both: dry shampoo is your best friend
Pick the cut that matches the time you actually have.
Tools You Actually Need
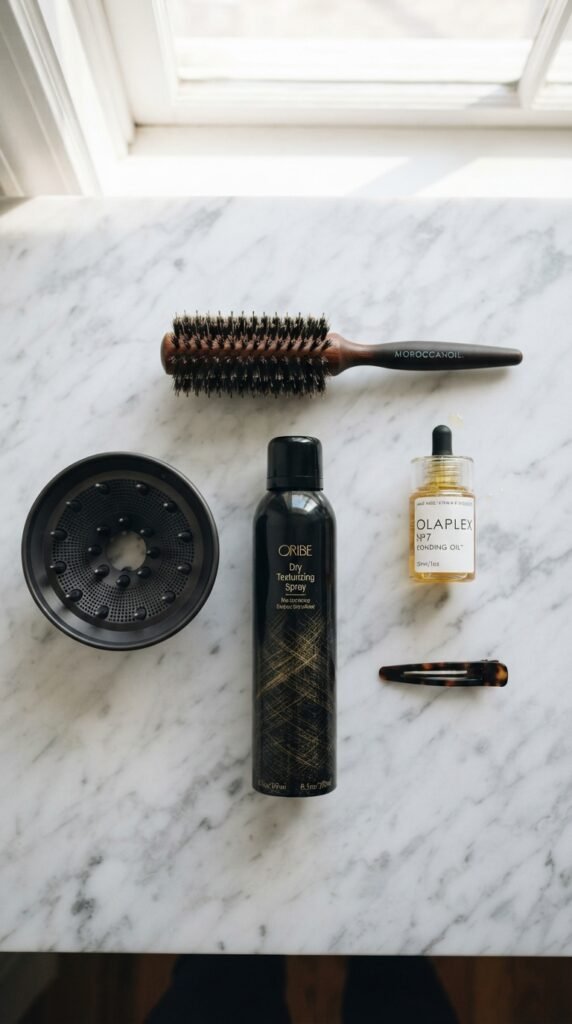
You don’t need a drawer full of gadgets. A few good tools do all the work.
- Round brush for Dutch shag smoothness
- Diffuser if you have waves or curls
- Small clip for pinning sections while you style
- Texturizing spray for classic shag separation
- Lightweight oil to smooth Dutch shag ends
That’s it. Anything beyond these five is a bonus, not a requirement.
Products That Pull Their Weight
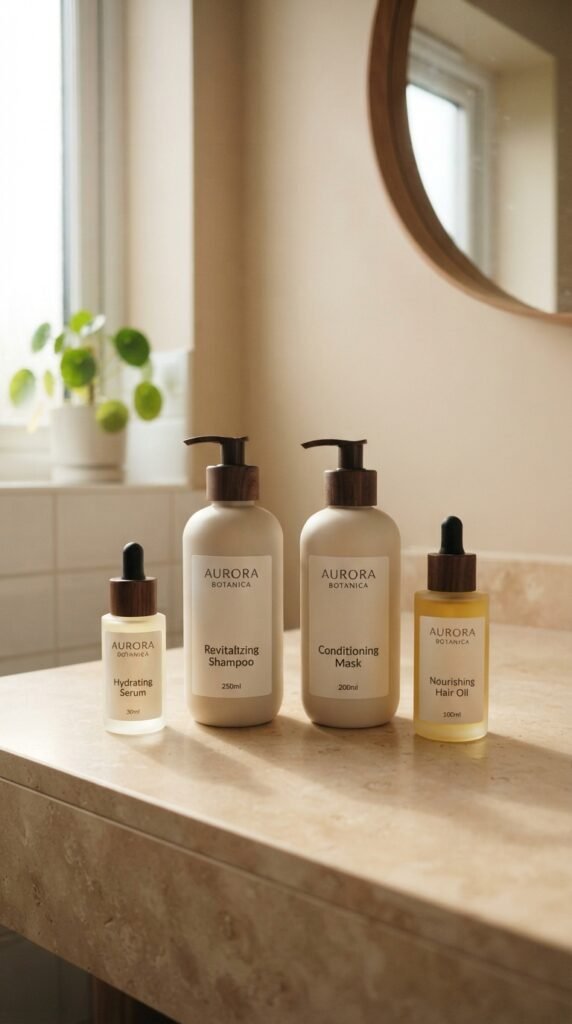
Product choice matters more than people think with layered cuts.
- Sea salt spray: classic shag’s secret weapon for grip and grit
- Light mousse: gives Dutch shag lift without crunch
- Leave-in cream: keeps both cuts from looking frizzy
- Dry texture powder: revives day-two hair in seconds
One rule: start with less than you think you need. Layered hair soaks up product fast, and overloaded shags look greasy instead of cool.
Weeks 1 Through 8: What to Expect
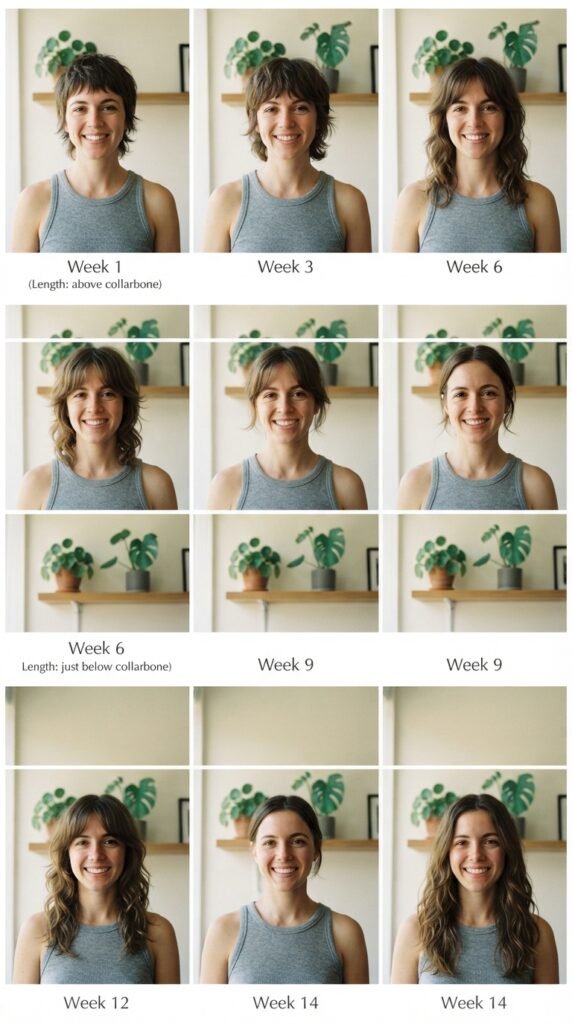
A shag changes shape as it grows, and knowing that ahead of time saves a lot of panic.
- Week 1 to 2: fresh, sharp, exactly what you asked for
- Week 3 to 4: settles in, layers relax, usually the sweet spot
- Week 5 to 6: classic shag still looks great, Dutch shag starts losing smoothness
- Week 7 to 8: ends get heavy, shape softens, time for a trim
Dutch shags need trims a little sooner. Classic shags forgive a few extra weeks.
How to Ask Your Stylist

This part matters more than anything else on this page. Bring photos. Always bring photos.
- Save three to five inspo pics, not just one
- Point out exactly what you love in each one
- Say the words “classic” or “Dutch” out loud
- Mention your routine honestly, including how often you blow-dry
- Show the length you want, in inches, not vibes
If your stylist starts razoring the ends and you wanted smoothness, speak up early. It’s much easier to add texture than remove it.
Maintenance and Realistic Timing

Layered cuts ask for regular visits. There’s no way around it.
- Classic shag: every 8 to 12 weeks
- Dutch shag: every 6 to 8 weeks
- Bangs: every 3 to 4 weeks if you keep them short
Between visits, a tiny trim of your fringe at home can buy you a couple weeks. Everything else, leave to the pros.
Where This Fits Into 2026 Hairstyles

If you’re browsing 2026 hairstyles, you’ve probably noticed a push and pull. Some trends are chaotic and playful. Others are calm and expensive-looking.
Shags sit right in the middle, which is exactly why they’re everywhere.
- Classic shag fits the louder side of 2026 hairstyles
- Dutch shag slides right into quiet luxury territory
- Both photograph beautifully, which matters in a camera-first world
Either version feels current without feeling like a costume.
Old Money Hair Meets the Shag
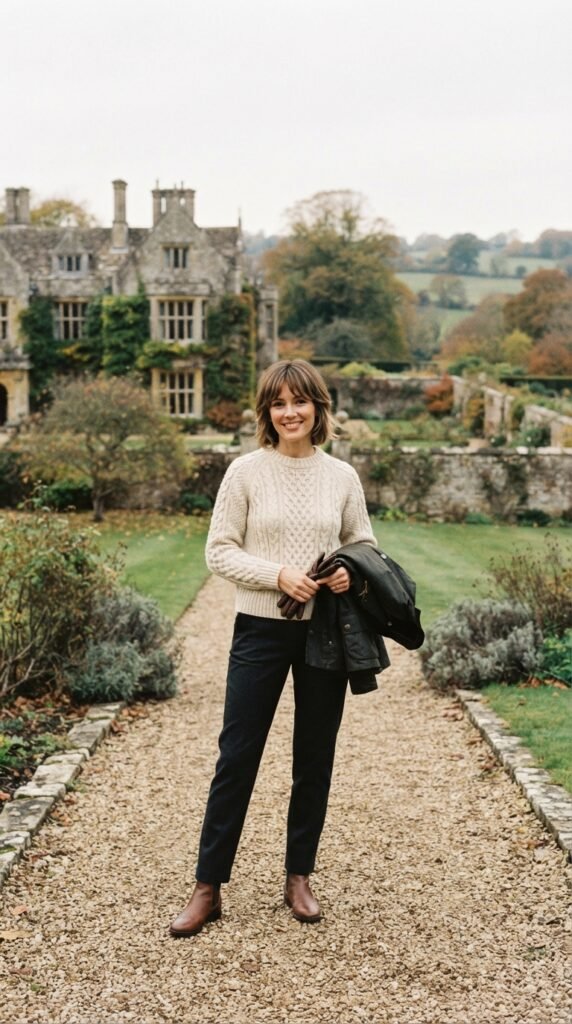
Old money hair is all about looking effortless but expensive. Healthy shine, soft movement, nothing obviously styled.
A Dutch shag is basically the edgier cousin of that look. It has structure and layers, but the finish stays smooth and quiet. Pair it with a rich brunette or soft blonde and it reads instantly elevated.
- Keep the finish glossy, not greasy
- Choose blended ends over choppy ones
- Skip harsh highlights, go for soft dimension
This is probably the easiest way to make a shag feel grown-up.
Quiet Luxury Bob Cousins

If you’re drawn to the quiet luxury bob but want more movement, a Dutch shag is a natural next step. Same polished spirit, way more texture.
The two cuts even share a mood. Both are about looking put together without trying too hard.
- Quiet luxury bob: blunt, smooth, structured
- Dutch shag: layered, curved, softer
- Best of both: a collarbone-length Dutch shag with a smooth finish
If a bob feels too strict, this is the compromise that still looks expensive.
Romantic Goth Hairstyles and the Vampire Haircut

Shags have a dark, romantic side too, and it’s having a moment.
Romantic goth hairstyles lean on soft layers, deep colors, and a slightly undone finish. The vampire haircut is a close relative, usually a layered shag or long bob with choppy face framing and a moody tone.
- Go darker: espresso, oxblood, cool black
- Keep the layers soft, not spiky
- Let a few pieces fall loose around the face
A classic shag suits this mood best. The texture does the heavy lifting.
Glitchy Glam Hair and the Asymmetrical Lob

Glitchy glam hair is all about controlled chaos. Sharp pieces, unexpected angles, and a finish that looks almost digital.
An asymmetrical lob fits that energy perfectly, and a classic shag cut into one is a bold move that works.
- Keep one side noticeably longer
- Add choppy layers for that glitchy feel
- Smooth the top, roughen the ends
This one isn’t for everyone, but if you want a shag with an edge, it’s a great direction.
The Hime Cut: A Third Option Worth Knowing

The hime cut is a Japanese style built on straight, blunt side sections and longer hair at the back. It’s clean, graphic, and very different from a shag.
But the two can blend. A hime-inspired shag keeps blunt face-framing pieces in front and adds soft layers behind.
- Hime cut alone: sharp, structured, high contrast
- Shag alone: soft, textured, low structure
- Hybrid: blunt front pieces plus layered back
If you like contrast, this mix is worth bringing to your stylist.
Curly and Coily Shags

Every rule changes with curls, and that’s a good thing.
A classic shag on curly hair creates a rounded, layered shape that makes the most of natural volume. A Dutch shag is trickier because smoothing curls fights their nature.
- Ask for dry cutting if you have curls
- Layer by curl pattern, not by inches
- Skip razors on coily hair
- Style with a curl cream and diffuse
Curly shags are some of the most stunning versions out there. Just find a stylist who specializes in texture.
Fine Hair vs Thick Hair

Layer amount should change based on your density.
- Fine hair: fewer layers, keep the ends thicker, go Dutch for smoothness
- Thick hair: more layers, go classic for texture and weight removal
- Medium hair: you can wear either, lucky you
Fine hair plus too many short layers equals stringy. Thick hair plus too few layers equals a triangle. Mention your density at the consultation and let your stylist adjust.
Color Ideas That Make Layers Pop
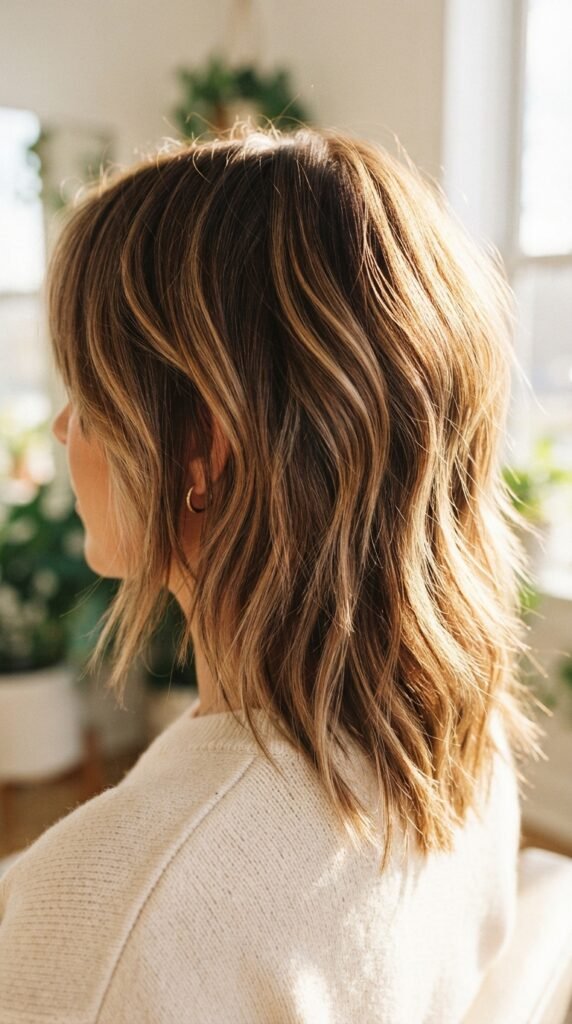
Layers show up best when color creates contrast, so a little dimension goes a long way.
- Soft balayage: adds depth to both cuts
- Face-framing money piece: highlights the layers around your jaw
- Deep single tone: sleek and very Dutch shag friendly
- Warm brunette with subtle face framing: classic old money hair energy
Avoid heavy, high-contrast highlights on a classic shag. They can make choppy layers look busy instead of cool.
Mistakes to Avoid

I’ve seen these trip up almost everyone, including me.
- Asking for “just a shag” without photos
- Wanting a Dutch shag but not owning a round brush
- Getting a classic shag and styling it flat
- Overloading fine hair with heavy product
- Skipping trims until the shape disappears
The fix is simple. Get clear on the finish you want, then build a routine around it. That’s the whole game.
The Five-Minute Everyday Routine
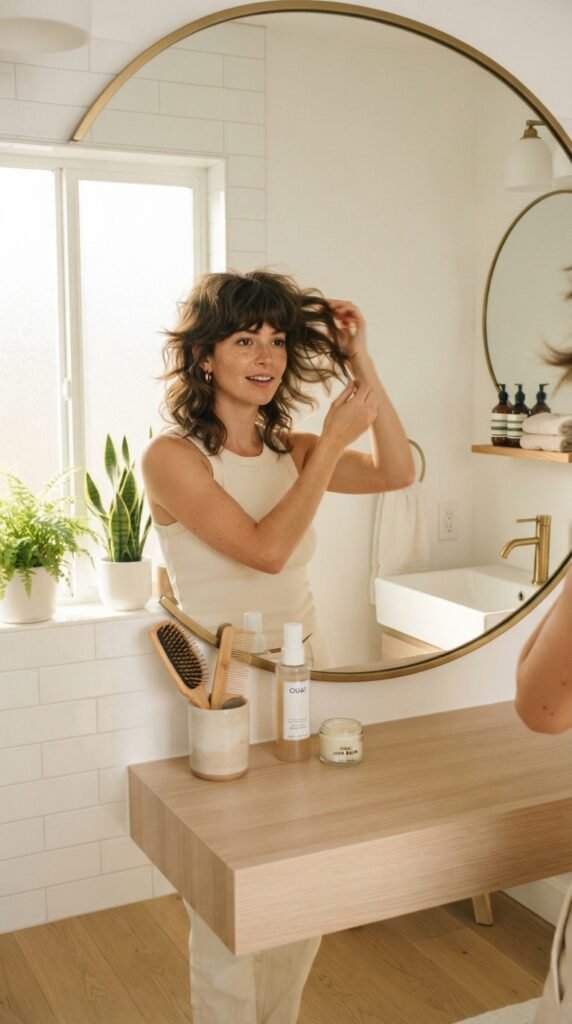
Nobody has forty minutes on a weekday. Here’s the realistic version.
- Spray in a leave-in while hair is damp
- Scrunch and let it air-dry on your commute
- Add one pump of oil to the ends
- Pin back the front pieces if they’re misbehaving
- Finish with a light mist of texturizing spray
For a Dutch shag, swap step two for a quick round brush on the top section only. That’s enough to look polished without a full blowout.
Which One Should You Get?

Here’s my honest take.
- Choose a classic shag if you love texture, air-dry, and a little edge
- Choose a Dutch shag if you want polish, softness, and a smooth finish
- Choose either if you want a cut that grows out beautifully
You really can’t go wrong. The difference is in the finish, not the shape, so the better question is: which one fits your actual mornings?
Before You Go
The classic shag and the modern Dutch shag are close cousins with very different personalities. One is textured, undone, and effortlessly cool. The other is smooth, curved, and quietly polished.
Neither is the upgrade. They just suit different people, different routines, and different moods. Pick the one that matches your real life, and bring photos when you go.
And if you’re still torn, start with a Dutch shag. It’s easier to add texture later than to smooth out a choppy cut.
Save this post to Pinterest so you have it ready at your next salon appointment.
Which one are you leaning toward, classic or Dutch? Tell me in the comments. I read every single one, and I love hearing what you end up choosing.