This Curl-Defining Method Finally Tamed My Frizzy, Unpredictable Waves
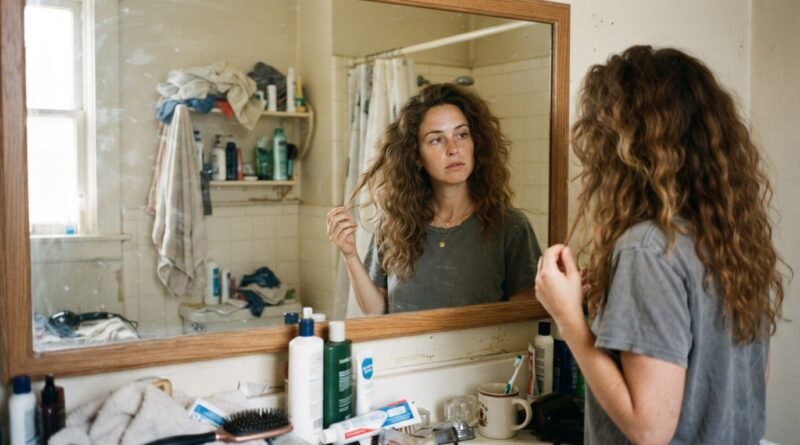
For years, I treated my waves like an enemy. They looked decent on day one, then turned to poof by noon. I tried every serum, cream, and prayer. Nothing stuck.
Then I found this curl-defining method. Not from a fancy salon, but from trial and error that took way too long. It finally tamed the frizz and gave me soft, touchable waves that hold their shape.
In this post, I’m sharing the exact method, plus how I style these waves with the biggest 2026 hairstyles. I use a few simple tricks and easy products. By lunchtime, you’ll know exactly what to do. No fluff.
Why are waves so unpredictable in the first place?

Waves are the middle child of hair. They don’t have a strict curl pattern, so they’re easily confused. Humidity makes them puff. Too much product makes them stringy. Too little means frizz.
Most of us also treat our waves like they’re straight. We brush them after a shower. We rub them with a regular towel. We comb them with tiny teeth. That breaks up the wave clumps and invites frizz in.
The good news? Once I stopped fighting my pattern and started working with it, everything changed. It took me twenty-seven years, so I’m saving you the wait.
The curl-defining method that finally clicked
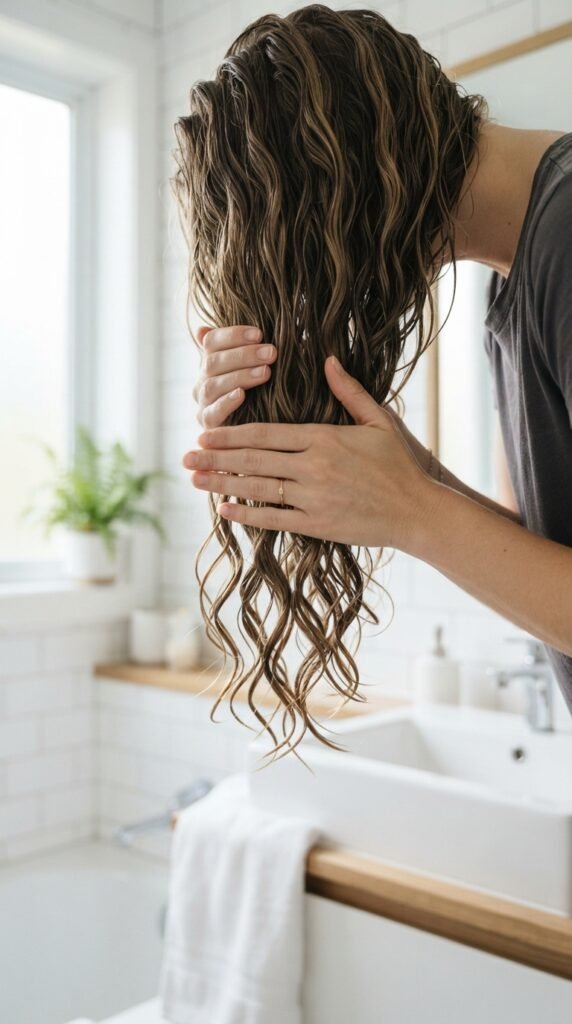
This method uses six simple steps. You don’t need a dozen products or a fancy salon dryer. Just a microfiber towel, a light gel or mousse, and a diffuser.
The key is to create a “cast” around each wave while it dries, then break it gently once everything is dry. That cast seals the cuticle and stops frizz from sneaking in.
Sounds fancy, but it’s really just smart timing. Apply product to dripping wet hair, dry it without moving the waves around, then scrunch out the crunch. That’s the whole secret.
Step one: start with soaking wet hair

This step is non-negotiable. Your hair needs to be soaking wet before you add any product. Not damp. Not towel-dried. Soaking.
Why? This is when the cuticle is most open, which is the perfect time to lock in moisture and product. If your hair is only damp, the product sits on top and never absorbs. Then it dries crunchy, flaky, or sticky.
- Let the water run over your hair for a few seconds.
- Flip your head upside down and run your fingers through.
- Make sure every section feels fully saturated.
Trust me, wetter is better. This one change made everything else work.
Step two: blot, don’t rub
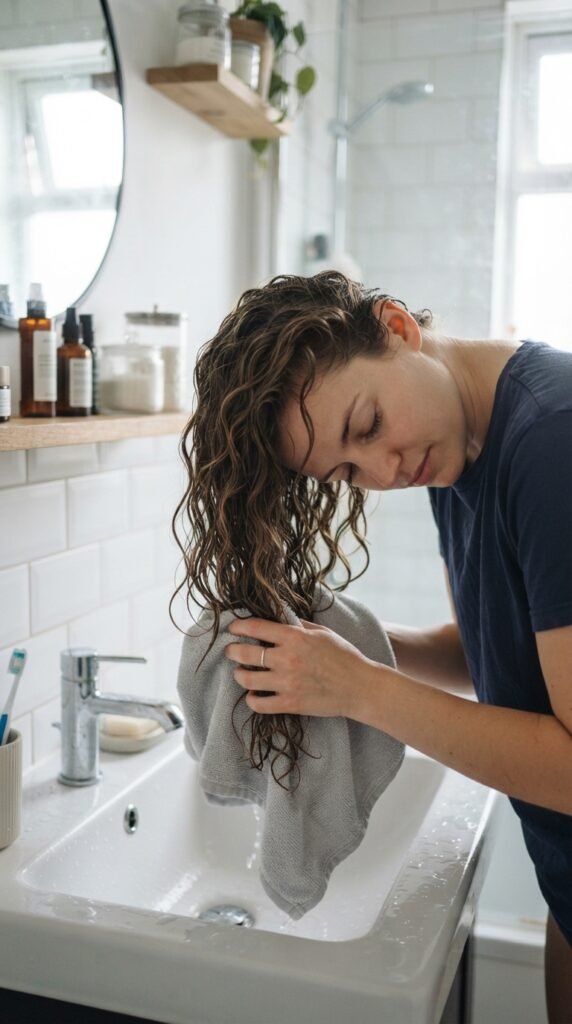
Your grandma’s towel rub is the biggest frizz trigger in existence. The friction from rubbing makes the hair cuticle lift, which causes instant poof.
Instead, take a microfiber towel or an old cotton t-shirt and gently clasp it around sections of your hair. Press and scrunch upward, like you’re begging your waves to form. Let the towel soak up the excess water.
- Don’t twist or wring your hair.
- Don’t wrap the towel into a turban too tightly.
- Work in sections, from the front to the back.
This simple swap takes about forty-five seconds and saves your whole day.
Step three: smooth on product with prayer hands

Now it’s product time. Grab a light gel or mousse, not a heavy cream. Heavy stuff is for tight curls, not for waves that want to move.
Use the prayer hands technique: just rub the product between your palms, then press your hands over the outside of each section. This smooths the strand without breaking up your wave clumps.
- Start with a quarter-sized amount of gel.
- Apply it to the mid-lengths first, not the roots.
- Once the bottoms are coated, smooth the rest over the top.
Your hair should feel slick and coated, not heavy or sticky. You want that “slippy” feeling.
Step four: plop for ten minutes

Plop is a fancy word for wrapping your wet hair in a cotton t-shirt or microfiber wrap while the product sets. It holds your waves in loose clumps and lets them dry without gravity pulling them straight.
Use a t-shirt, not a towel. Lay it flat, flip your head upside down, and lower your hair into the middle. Fold the bottom up, then secure the sleeves behind your head.
- Just ten minutes is enough. Longer can crush the roots.
- The t-shirt absorbs extra water without adding friction.
- You’ll feel a small cast forming when you unwrap.
Don’t skip this part. It makes the diffuser step so much easier.
Step five: diffuse with your head upside down
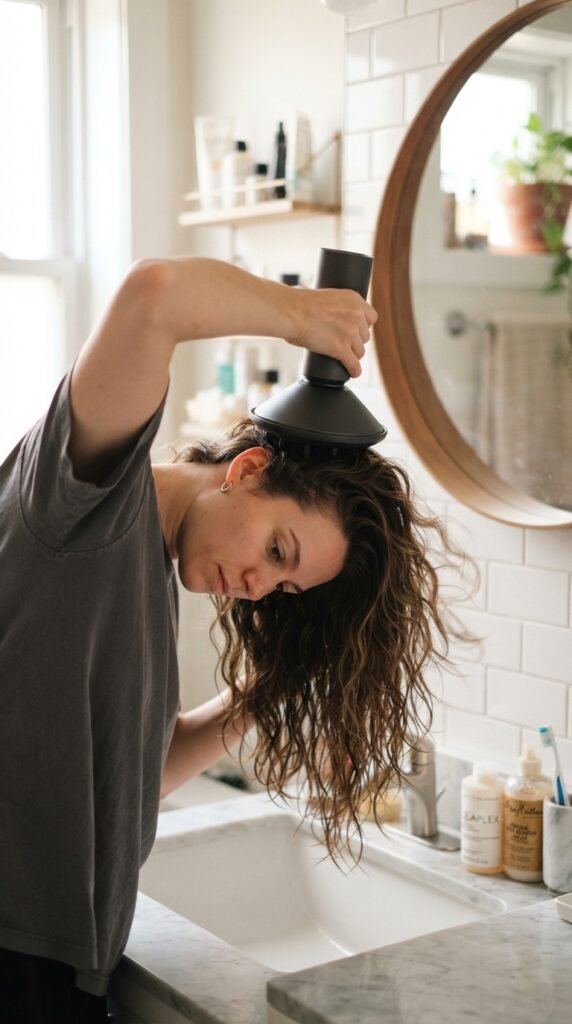
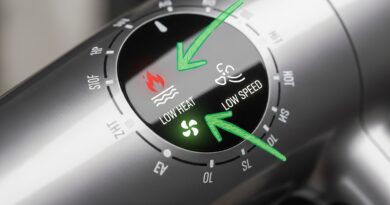
This step is where your waves really wake up. Attach a diffuser to your blow dryer and set it on low heat and low speed. Low is key. High heat destroys the gel cast and turns your wave pattern into a puffy cloud.
Flip your head upside down and gently nestle your hair into the diffuser bowl. Push the dryer toward your scalp, then hold still for twenty seconds. The idea is to dry the roots while the ends stay clumped together.
- Work in sections: back, sides, then crown.
- Don’t move the diffuser all around. Keep it still.
- When your hair feels barely damp, let it finish air-drying.
Once you feel that crunchy cast around each wave, you’re ready for the final step.
Step six: scrunch out the crunch
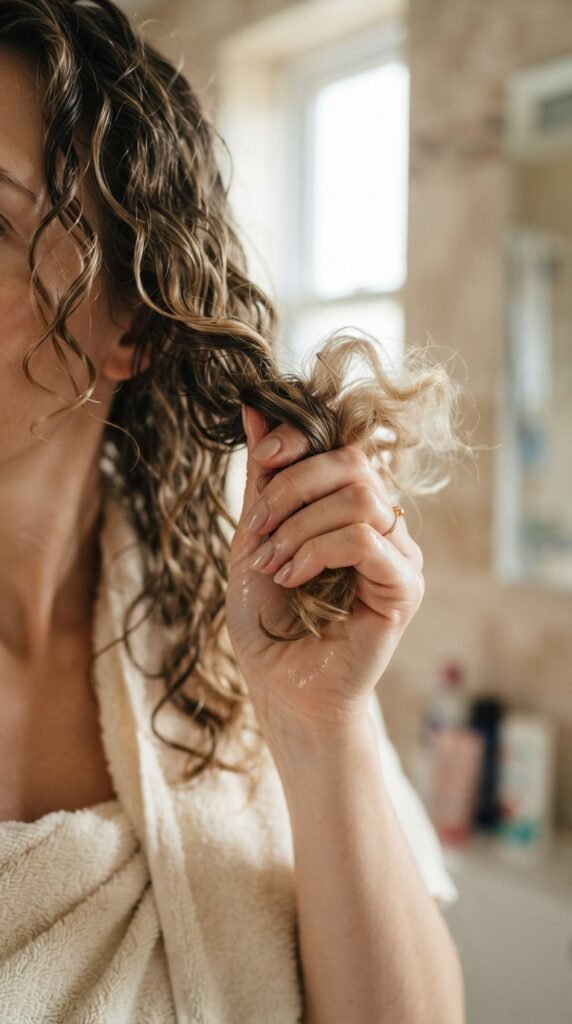
Here comes the fun part. Once your hair is completely dry, you’ll have these firm, crunchy waves. That’s the cast doing its job. Now you need to break it.
Put two or three drops of hair oil on your hands, rub them together, then gently cup each wave and squeeze upward. Repeat until your hair feels soft and bouncy, but still holds its shape.
- Don’t do it while hair is still wet.
- Use a light hand. You want to soften, not flatten.
- This is called “scrunch out the crunch.” It’s a game changer.
After this, your waves look like you woke up this way, even if you’re really tired.
What this method actually fixed for me
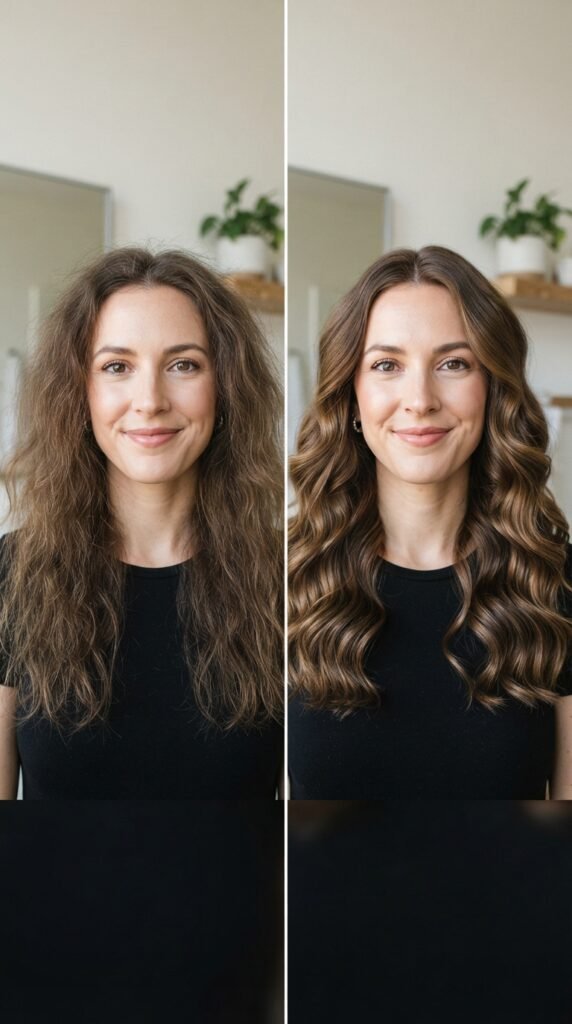
The difference was not subtle. My hair used to look like I’d stuck my finger in an electrical socket by 2 p.m. Now it holds its wave pattern for two full days. Sometimes I can even make it to day three.
Most importantly, my hair feels like hair. Soft, shiny, and touchable. Not a helmet of product. I can run my fingers through it without losing all the waves. Well, mostly.
- Frizz disappeared, even in humidity.
- My waves actually clump together instead of separating.
- My hair looks thicker because the definition stays.
If your hair has done the exact same thing to you, this method is worth trying this weekend.
How to wear these waves with 2026 hairstyles

The biggest 2026 hairstyles are actually designed to work with texture. Waves are not just for long hair anymore. They’re being styled into blunt lobs, soft layers, and even bangs.
Once your waves are defined, you can tweak them to fit any trend. Tuck them behind one ear for a sleek low-key feel. Crimp a few sections for a glitchy glam hint. Or pull the front pieces back to show off a classic old money vibe.
- Waves add movement to short cuts.
- They soften sharp bangs and fringes.
- They give long layers that effortless summer energy.
Your curl-defining method is just the foundation. The styling part is where the fun kicks in.
Yes, this works for old money hair too

Old money hair is all about quiet polish, healthy shine, and minimal effort. The internet loves that look, and it’s completely doable with this method.
The key is to use a very light product. Too much gel will make it look crunchy, which is the opposite of old money. So use less than you think, and focus the product only on the mids and ends.
- Let waves dry more before touching them.
- Use a soft bristle brush on your roots only.
- Add a tiny bit of oil to the ends for that shiny finish.
The result is hair that looks expensive without trying too hard. That’s the whole old money mood.
The secret to taming a quiet luxury bob

Quiet luxury is about subtle indulgence, and your bob should feel the same. If you have a bob, you might think waves won’t work because the cut is too blunt. But actually they make it look lived-in and expensive.
After scrunching out the crunch, lightly shake your roots with your fingers. Don’t overwork the waves. Just let the bob fall naturally around your jaw.
- Use a small barrel diffuser to target the ends.
- Skip heavy creams on a bob; gel is enough.
- Tuck one side behind your ear for a refined shape.
You’ll get that soft, polished feel without losing the bluntness of the cut. It’s the best of both worlds.
Romantic goth hairstyles and soft waves? Absolutely

Romantic goth hairstyles are usually all about volume, dark shine, and a little edge. My defined waves are actually perfect for this mood. They give that Victorian ghost energy without looking like a costume.
Use a darker hold hairspray after styling to keep waves in place. Then pull the front back with a tiny claw clip or a velvet ribbon. Pair it with a matte lip and a black top, and you’re there.
- Let waves stay soft, not crunchy.
- Add a center part for a mysterious look.
- A little root volume makes it feel more dramatic.
Romantic goth is about mood, and defined waves fit the mood perfectly.
Glitchy glam hair and defined waves can coexist

Glitchy glam hair is a big 2026 trend. It’s usually described as metal, texture, and futuristic shine. Think Y2K meets cyber grunge. But guess what? Defined waves are a huge part of the look.
Once your waves are set, spray a few strips of hair with a metallic shine mist or temporary color spray. You don’t need to redo your whole routine. The waves give the texture; the mist gives the glitch.
- Use a gloss spray on random sections.
- Leave the mid-lengths wavy and the roots smooth.
- Add butterfly clips if you want the full early 2000s vibe.
Glitchy glam is meant to look a little imperfect, and wavy texture already nails that.
Making it work with an asymmetrical lob

An asymmetrical lob is already a statement. The uneven lengths give it movement, and waves make it even better. This cut is especially flattering with this method because the waves soften the harsher line.
When I diffused my lob upside down, the shorter side curled inward and the longer side swept forward. It looked intentional, not messy. That’s the magic of letting your natural pattern show up.
- Apply extra product to the longer front pieces.
- Tuck the shorter side behind your ear.
- Scrunch the front upward gently while drying.
An asymmetrical lob with waves feels fresh, a little edgy, and still very polished.
For the vampire haircut crew

Vampire haircut is all about sharp, face-framing layers and dramatic bangs. It’s one of the best 2026 haircuts for people who want an edgier style. And contrary to what you’d think, defined waves are the perfect partner.
After your waves set, use a flat iron on the bangs and the very top section. Keep the underneath wavy. That contrast between sleek front and textured back is what makes the vampire haircut feel fresh.
- Don’t diffuse the forehead section; let it dry smooth.
- Use a small amount of hair spray to keep the fringe extra sharp.
- Let the back waves stay loose and a little wild.
You get that whole “elegant menace” vibe without losing the wave pattern.
Hime cut waves without ruining the bluntness

Hime cut is the iconic Japanese haircut with blunt side locks and a straight fringe. At first, waves seem like the opposite vibe. But after trying this method for two weeks, I found the perfect balance.
Only add product to the back layers. Let the side pieces and bangs air-dry straight or with just a tiny bend. Then you get a soft, fairy-tale look while keeping the hime cut’s signature structure.
- Keep the front fringe completely product-free.
- Use a flat iron on the side points if they frizz.
- Scrunch only the bottom layers for volume.
This way you can enjoy both clean edges and wavy fullness.
My go-to budget products for this routine
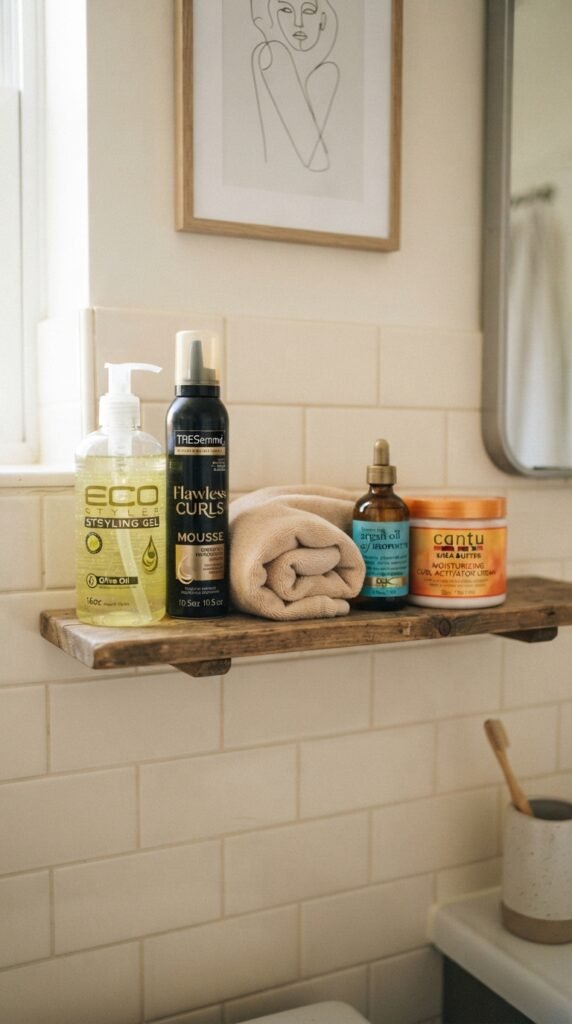
You don’t need to spend a fortune. In fact, the best part of this method is that it works with cheap drugstore stuff. I’m a huge fan of a simple clear gel, a mousse that doesn’t make things sticky, and a basic hair oil.
- Cheap clear gel: provides the cast without weighing waves down.
- Inexpensive mousse: adds body and helps fine waves hold.
- Microfiber towel: about ten dollars and prevents most frizz.
- Light hair oil: a few drops to break the gel cast.
Once you nail the method, you can experiment with fancier formulas later. But start with what you have.
The biggest mistake everyone makes with wave products
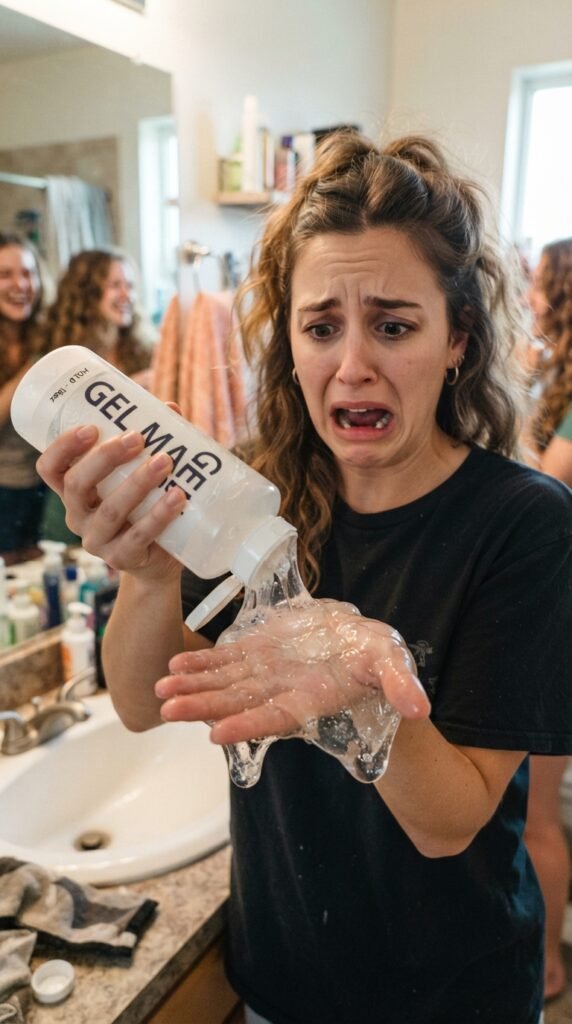
If your waves look greasy, sticky, or crunchy in a bad way, you’re using too much product. I know because I used to squeeze half a bottle into my hair.
The right amount should feel like a small, slippery layer, not a mask. Start with a dime-sized amount for a lob, a quarter-size for long hair. You can always add more later, but you can’t take it back easily.
- Spread product evenly between your palms.
- Apply in sections, not all at once.
- If you skipped the gel and only use mousse, don’t double up on accident.
Less product plus better technique will give you more definition than a mountain of cream.
How to refresh these waves on day two
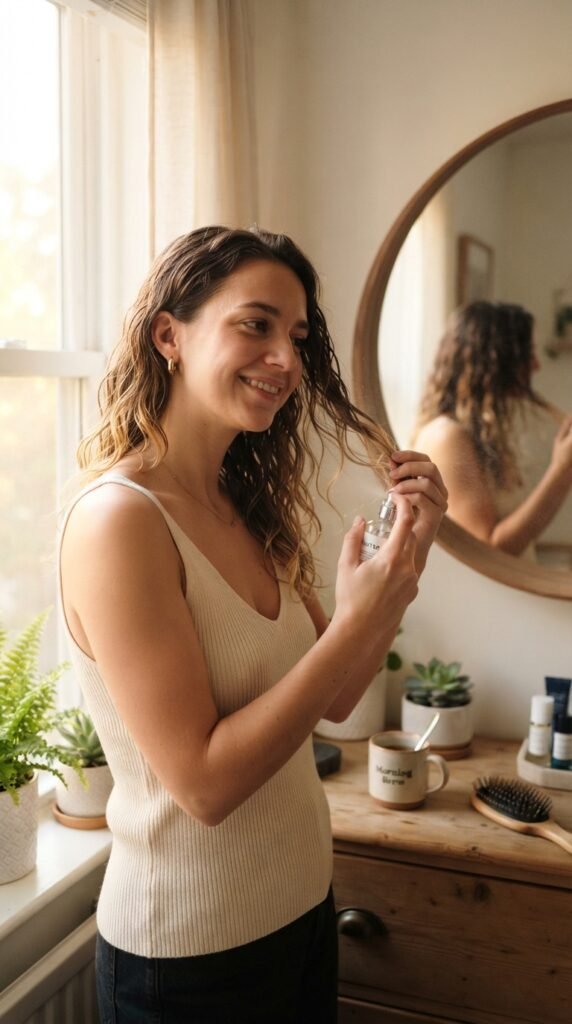
Not every day needs a full wash. Refreshing your waves is way easier than starting from scratch. You just have to bring the cast back in a smaller, softer way.
Fill a spray bottle with lukewarm water. Lightly mist your hair until it’s damp, especially the ends. Then gently scrunch with your hands and a tiny bit of mousse or gel. Let it air-dry or give it a quick diffuser finish.
- Don’t saturate your scalp, just the lengths.
- Use a very small amount of product, like a pea size.
- Sleep on a silk scarf or pillowcase to protect the waves.
With a good refresh, day two can look just as good as day one.
When your waves just want to be straight
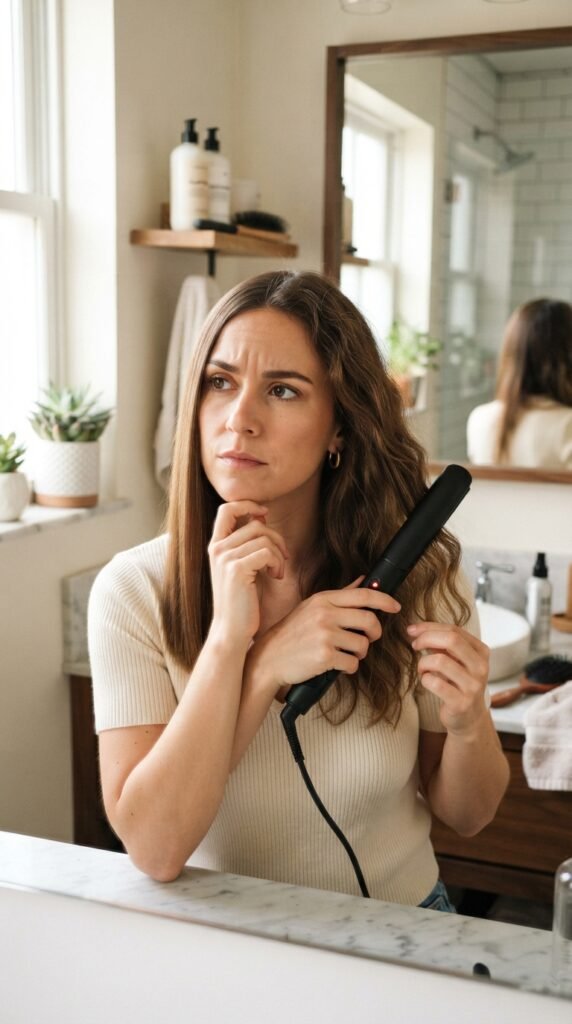
Here’s the honest part. Some days your waves will not cooperate. Maybe you slept at a weird angle. Maybe it’s stormy outside. Maybe your hair just woke up in a straight mood.
That’s okay. You’re not losing the method, you’re just adapting. If your roots are flat and your ends are stringy, give in and flat iron the whole thing. A sleek wave-free ponytail or a low bun is still gorgeous.
- Keep the gel cast in the bun to make it look polished.
- Use a small amount of oil on top to tame flyaways.
- Restart the method properly on your next wash day.
Your waves will be back. They always come back eventually.
A final word, from my wavy heart to yours
Your waves are not broken. They’re just waiting for the right routine. I know the frizz feels personal sometimes, but it’s usually just a technique problem, not a you problem.
Try this method for at least three wash days. Take notes. See what works with your hair’s specific quirkiness. You’ll probably tweak it, and that’s the best part.
Once you see defined, soft waves in the mirror, everything clicks. That feeling is honestly the best hair confidence boost.
Save this post to Pinterest so you can have it ready for your next wash day. And leave me a comment below: what’s the one hair habit you’re ready to break this year? I’d love to hear it.