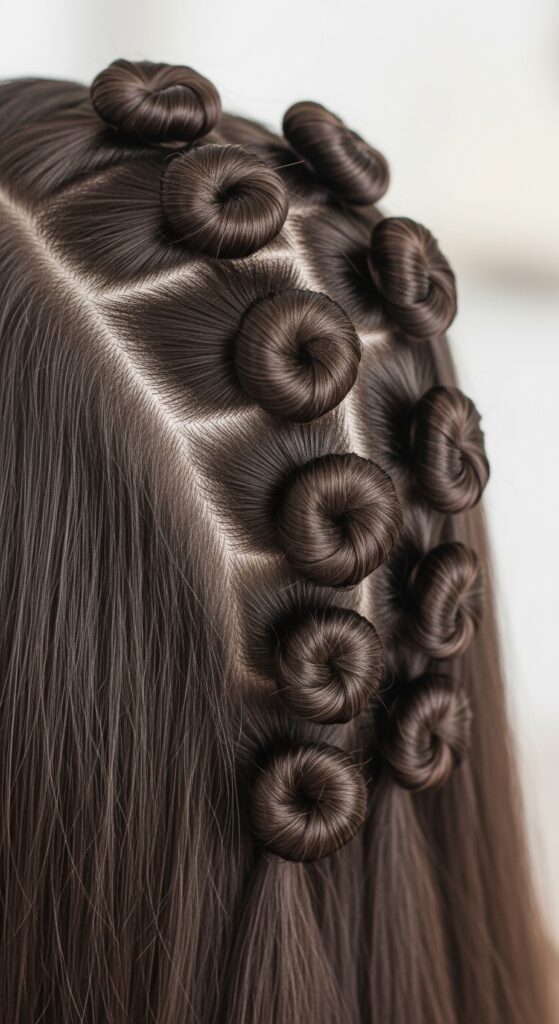
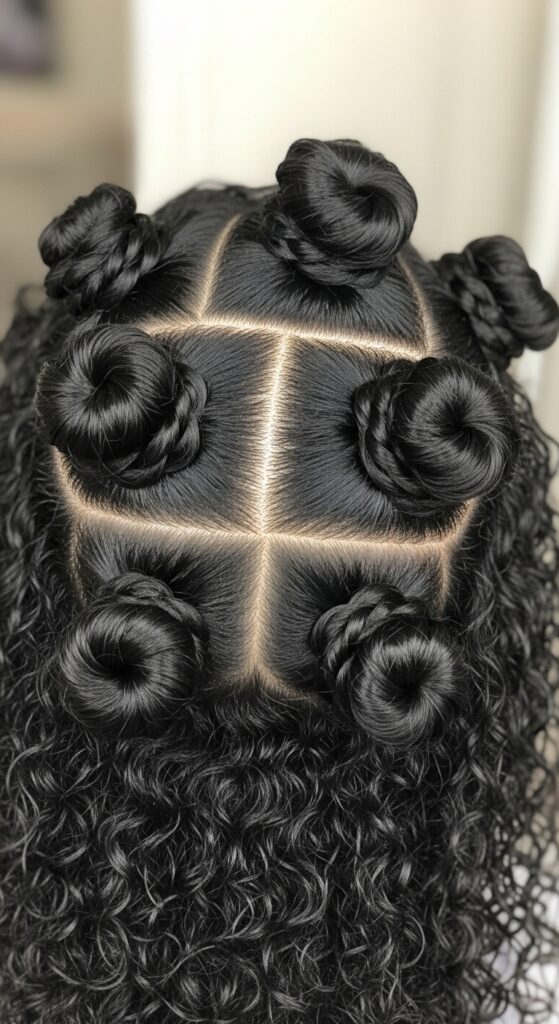
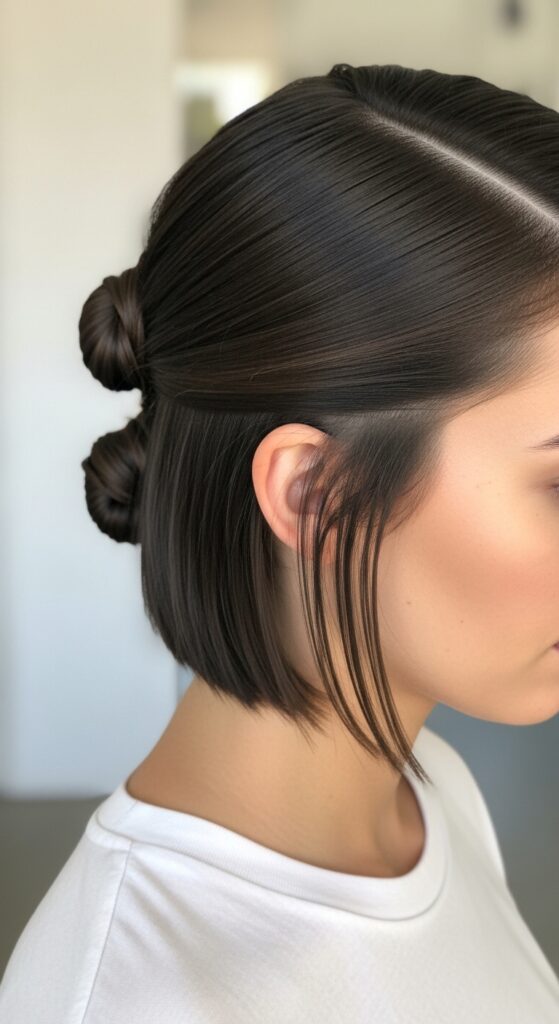
Twist 19 Mini Bow Buns Clustered Playfully Along Part Lines
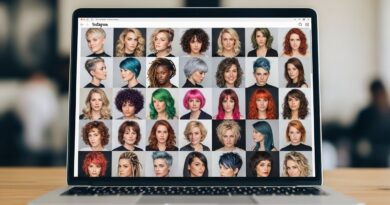
Okay, let’s be real. We’ve all seen those intricate hairstyles that look amazing but take a professional two hours to do. I’m here for the cute, the quick, and the totally doable. That’s why I’m obsessed with this playful bun cluster trend.
It’s giving major romantic goth hairstyles vibes but in a totally daytime-friendly way. Think of it as the little sister to the vampire haircut—all the drama, none of the commitment.
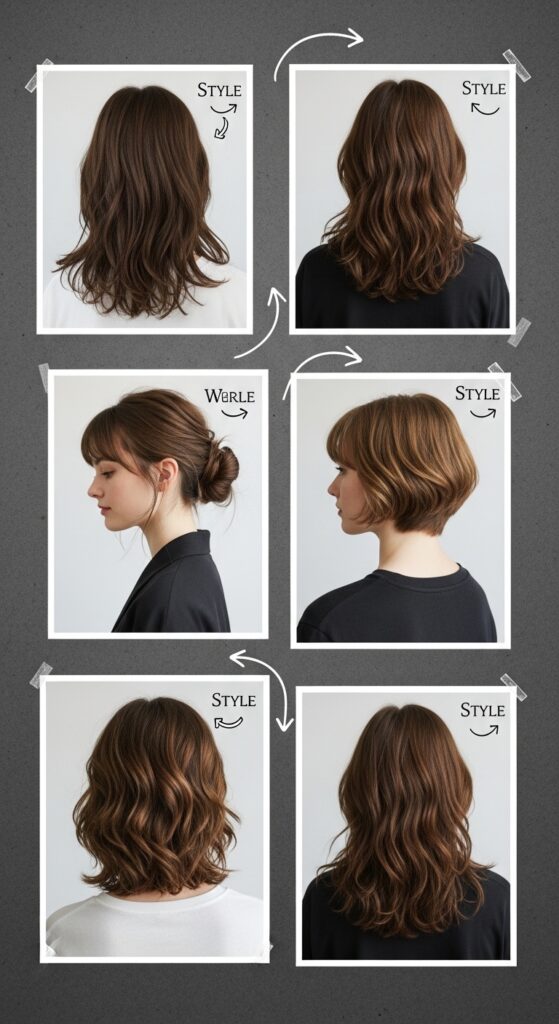
This style works on almost any hair length and texture. It’s perfect for a bad hair day, a festival, or just adding a twist to your usual look. I’ll walk you through the entire process, from prep to finish, with simple steps anyone can follow.
Why This Mini Bun Style is Everywhere
This look is popping up everywhere for a reason. It feels fresh and modern, like a natural next step from the glitchy glam hair we saw earlier this year. It’s playful, a bit unexpected, and incredibly versatile.
You can make it sleek and polished or messy and bohemian. It works for the office just as well as a weekend outing. It’s one of those 2026 hairstyles that’s arriving early because it’s just that good.
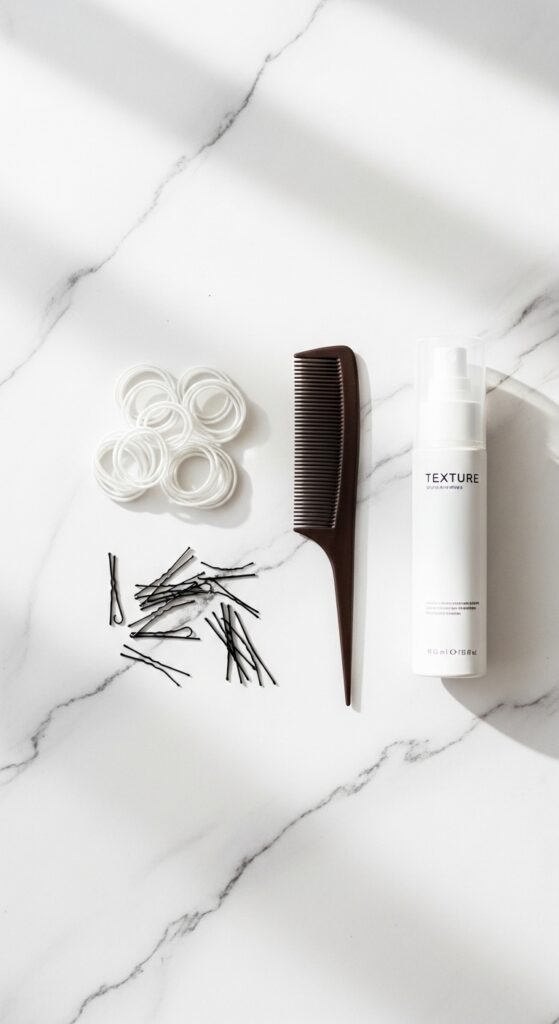
Gathering Your Simple Tools
You don’t need a salon worth of products. Here’s your minimalist toolkit:
- Fine-tooth comb: For creating super clean part lines.
- Clear elastics: Small ones that will disappear into your buns.
- Bobby pins: Matched to your hair color for security.
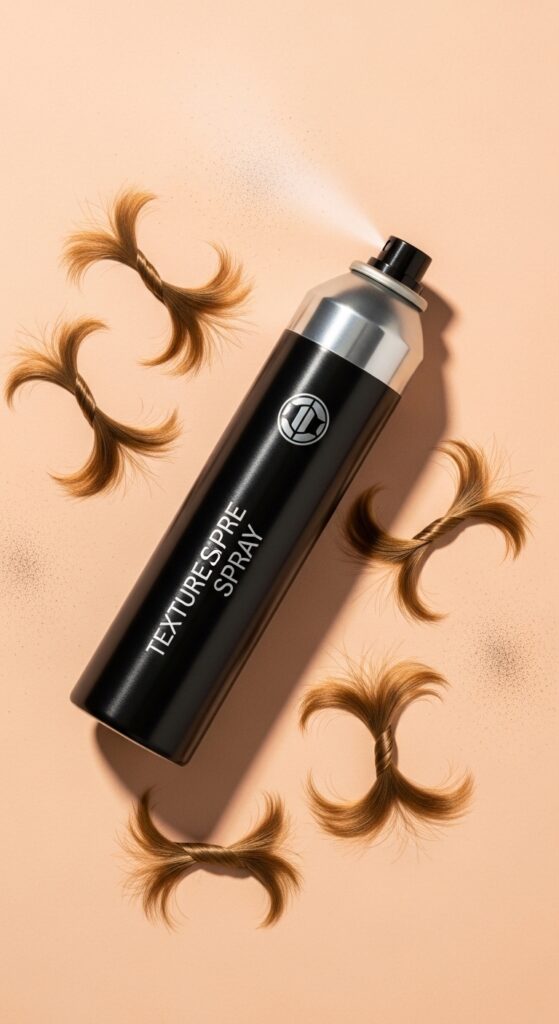
- Light-hold hairspray or texture spray: To grip without stiffness.
- Optional: A tiny bit of pomade or wax to smooth flyaways.
That’s it! With just these basics, you’re ready to create the whole look.
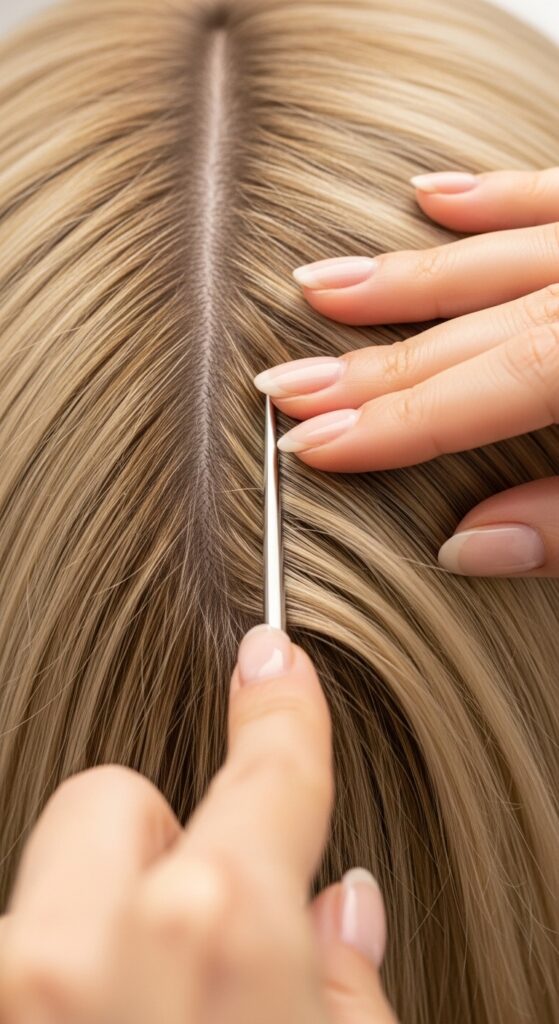
Start With The Perfect Part
The part is the foundation of this style. You can go for a classic center part for symmetry, or a deep side part for more drama. The part lines are your roadmap.
Use the end of your comb to make it sharp and defined. If you have a zigzag part or want something less precise, that works too! It adds to the playful feel. This step is what gives it that intentional, almost old money hair precision.
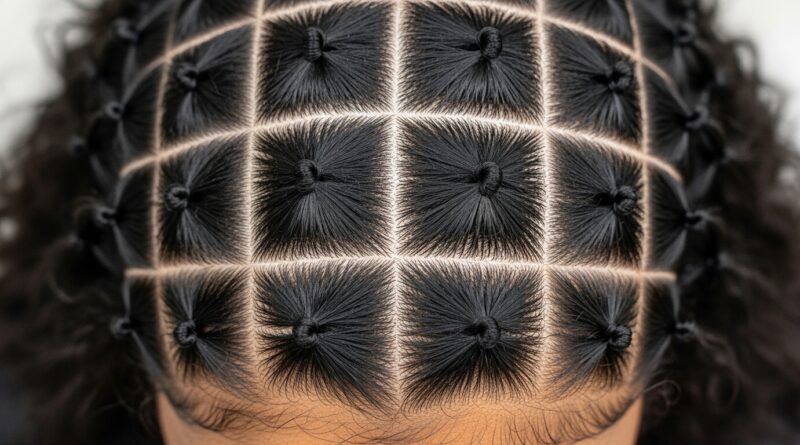
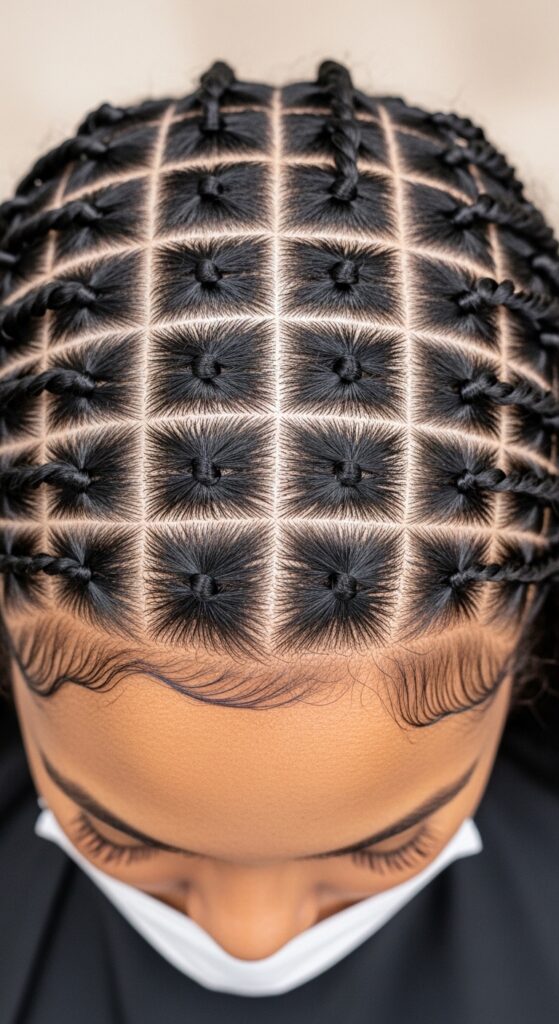
Sectioning Your Hair for Buns
Don’t just grab random sections. Plan it out! After your main part, create smaller sections along that line. Think of them like little boxes or ribbons of hair.
- Start with a section near your hairline.
- Make each section about 1-2 inches wide.
- Use the comb to separate them cleanly.
You’ll likely want 3-5 sections per side, depending on your hair thickness. This clustering is what makes the style special.
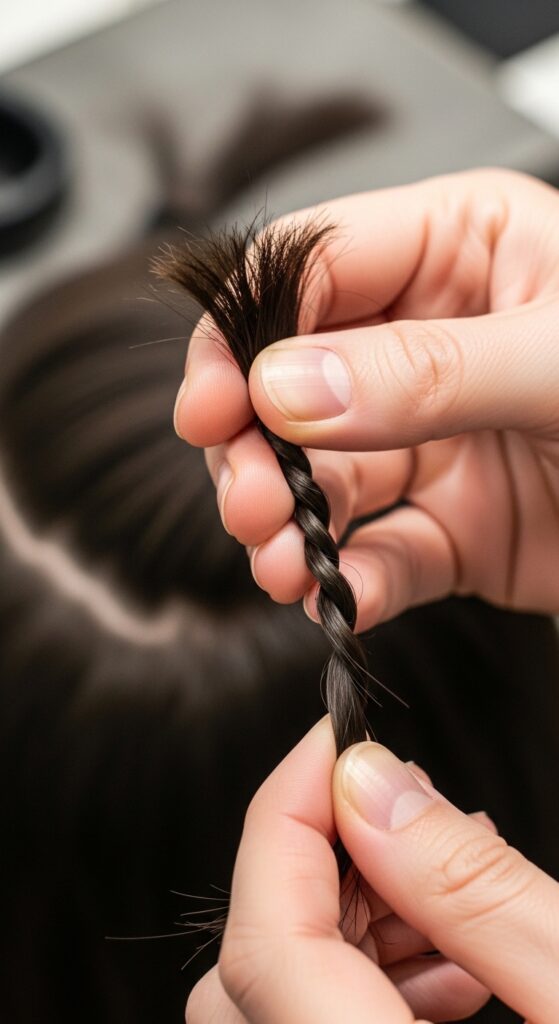
The Basic Twist Technique
This is the core move. Take your first small section and simply twist it tightly from root to end. The tighter the twist, the neater your mini bun will be.
If your hair is very slippery, a spritz of texture spray on the section first will give it something to grip. This isn’t a loose, beachy twist. We want it firm and controlled to hold its shape when we wrap it.
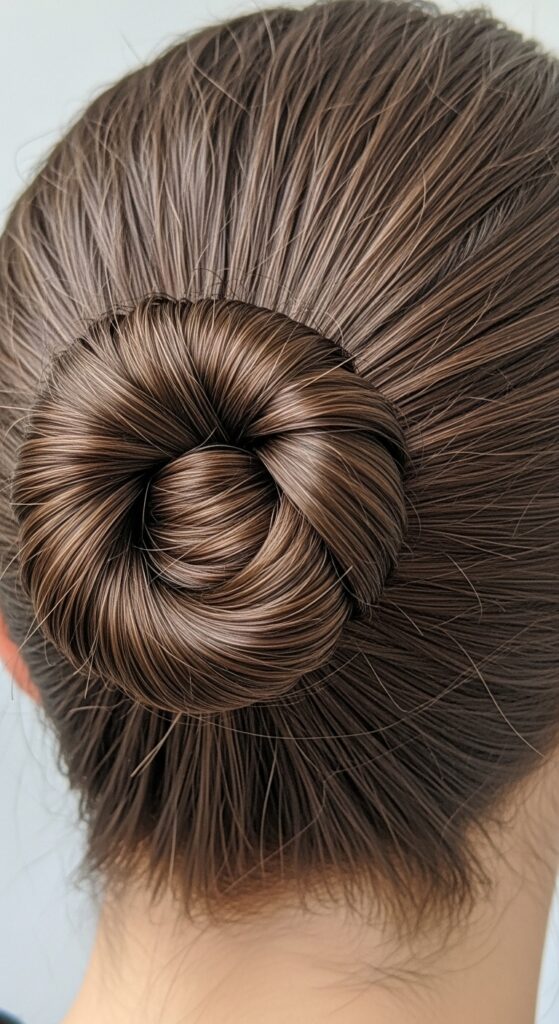
Forming the Mini Bun
Now, take your twisted section and wrap it around its own base, just like making a tiny cinnamon bun. Keep it flat against your head.
As you wrap, the twist will naturally coil into a perfect little disk. Hold the end of the twist flat against your scalp once you’ve wrapped it all up. You’re ready to secure it.
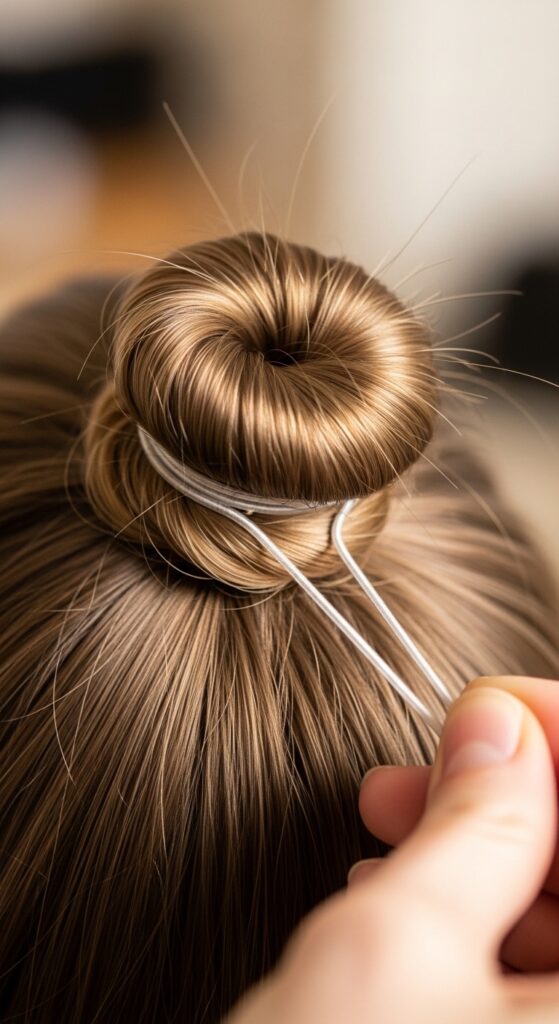
Securing with a Clear Elastic
Before you reach for pins, secure the bun with a small, clear elastic. Wrap it around the base of the bun, trapping all the ends.
This is the trick for longevity. The pins will hold it to your head, but the elastic holds the bun itself together. It makes the whole style much more secure, especially for finer hair.
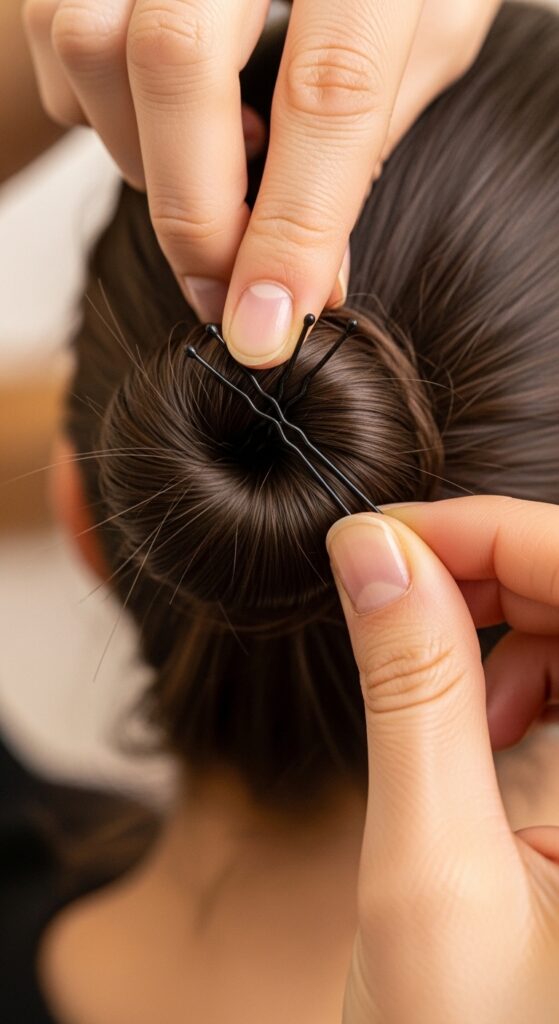
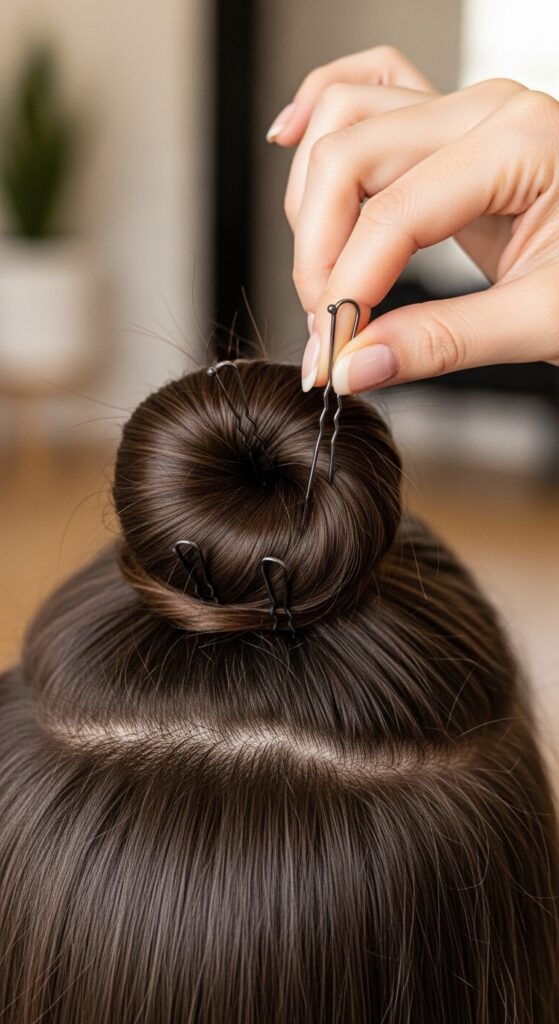
Pinning for All-Day Security
This is the non-negotiable step. Take 2-3 bobby pins and slide them through the elastic and into your hair underneath.
Criss-cross them for the strongest hold. Push them in firmly until they feel snug. Give the bun a gentle tug to test it. If it moves, add another pin. We want these buns to survive a busy day.
Repeating Down the Part Line
Repeat the entire process on the next section down your part line. Twist, wrap, elastic, pin. Keep them close together to get that adorable clustered effect.
Work your way down one side of the part, then move to the other side. Symmetry is cute, but having one side with more buns than the other is also a very cool, asymmetrical lob-inspired vibe.

Styling the Rest of Your Hair
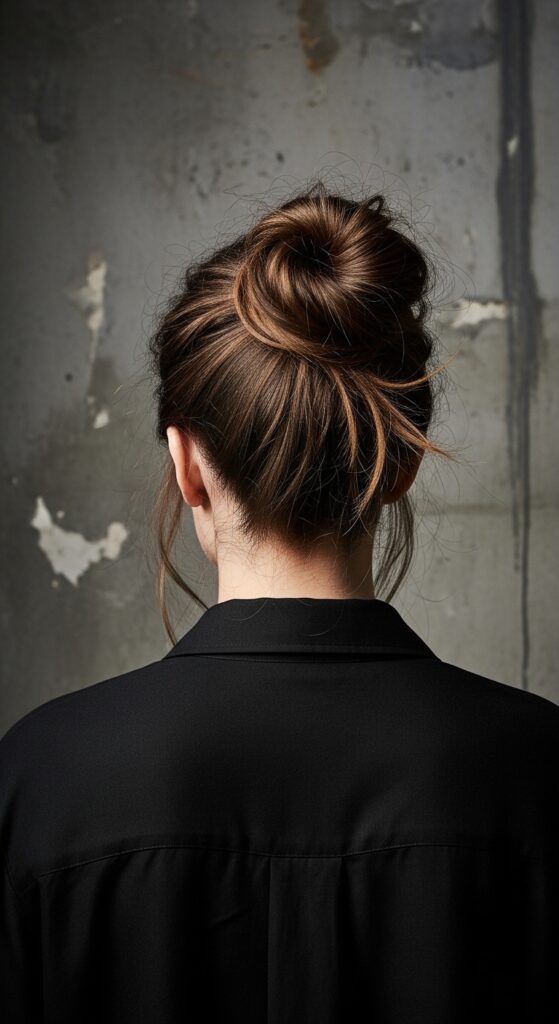
What about the hair not in buns? You have options! Leave it down in loose waves for a soft look. Or, pull it back into a low ponytail for a clean, quiet luxury bob feel.
You can even braid it or twist it loosely. The mini buns are the star, so let the rest be a simple, supporting act. This keeps the focus on your beautiful handiwork.
Adapting for Fine or Thin Hair
If you have fine hair, don’t skip this! Texture spray is your best friend. Spray it on each section before twisting for instant grip and volume.
You can also make your sections slightly smaller. More, smaller buns can actually create the illusion of more fullness. Backcombing the root of each section gently before twisting adds a hidden boost.
Making it Work on Thick or Curly Hair
For thick or curly hair, your sections might need to be a bit bigger to manage the volume. Make sure your twists are very tight so the bun doesn’t become too bulky.
You may need an extra elastic or a few more bobby pins for security. Embrace your texture! The buns will have amazing body and look full of life.
The “Undone” Messy Version
Want a less perfect, more glitchy glam hair look? After you pin each bun, gently pull at the edges to loosen it. Let a few face-framing pieces fall out.
Skip the super sharp part. The goal is effortless, like you just threw it up and it magically looked amazing. This version is perfect for second or third-day hair.
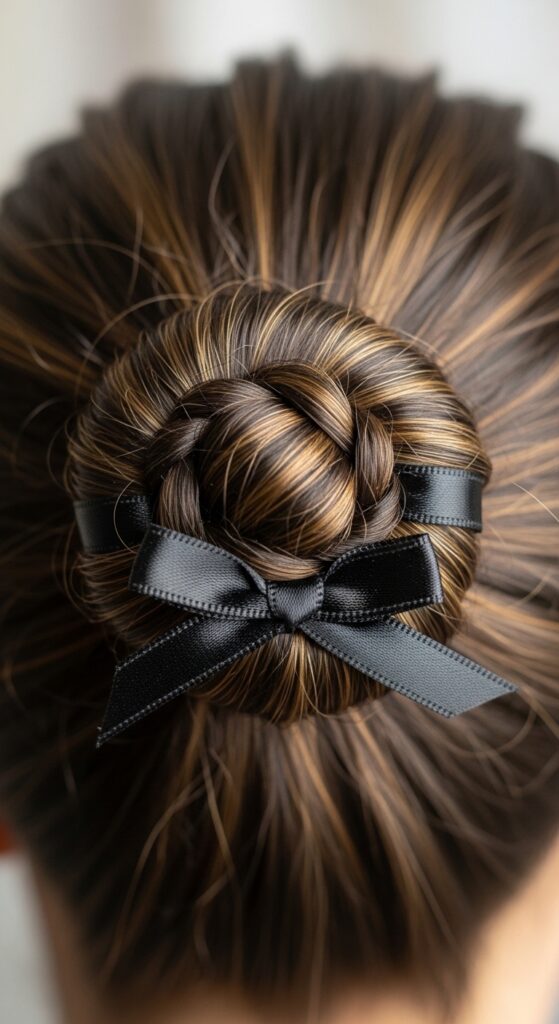
Adding Ribbons or Accessories
This is where it gets really fun. Before you twist a section, lay a thin ribbon or a decorative hair pin along it, then twist and bun over it.
The ends of the ribbon can peek out from the bun. You can also tuck small fresh flowers or jeweled pins around the buns after. It gives major hime cut decorative energy.
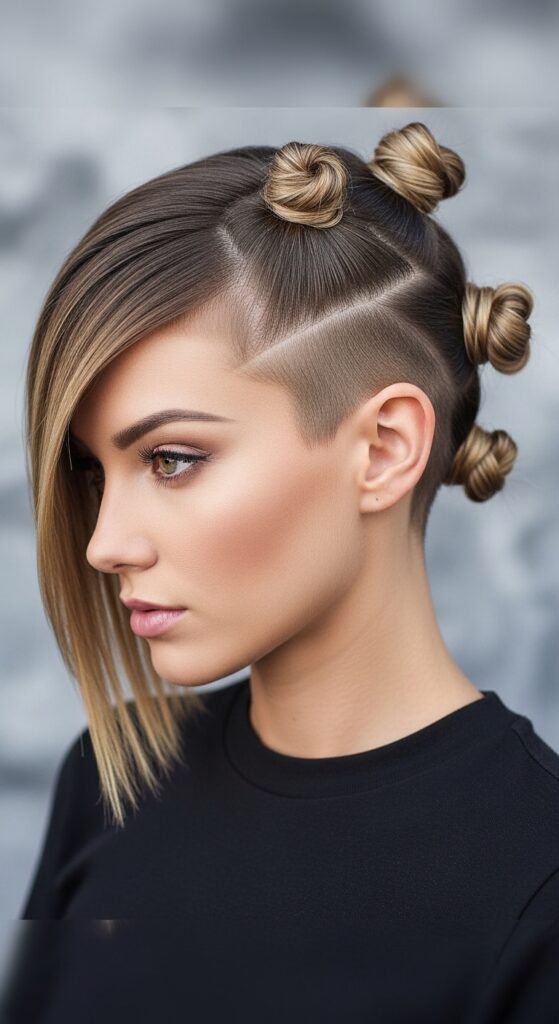
Creating an Asymmetric Layout
Why be balanced? Try placing all your mini buns on one side of your head only, trailing from temple to behind your ear. It’s a fierce, modern take.
This asymmetric look pairs incredibly well with an asymmetrical lob haircut. It draws all the attention to one side of your face and feels very fashion-forward.
Pairing with Different Hair Cuts
This isn’t just for long hair! It works on bobs, lobs, and even shorter cuts with longer top layers. On a quiet luxury bob, it adds unexpected detail.
With a shag or a vampire haircut, it leans into the romantic goth hairstyles aesthetic. On a blunt cut, it introduces softness and playfulness.
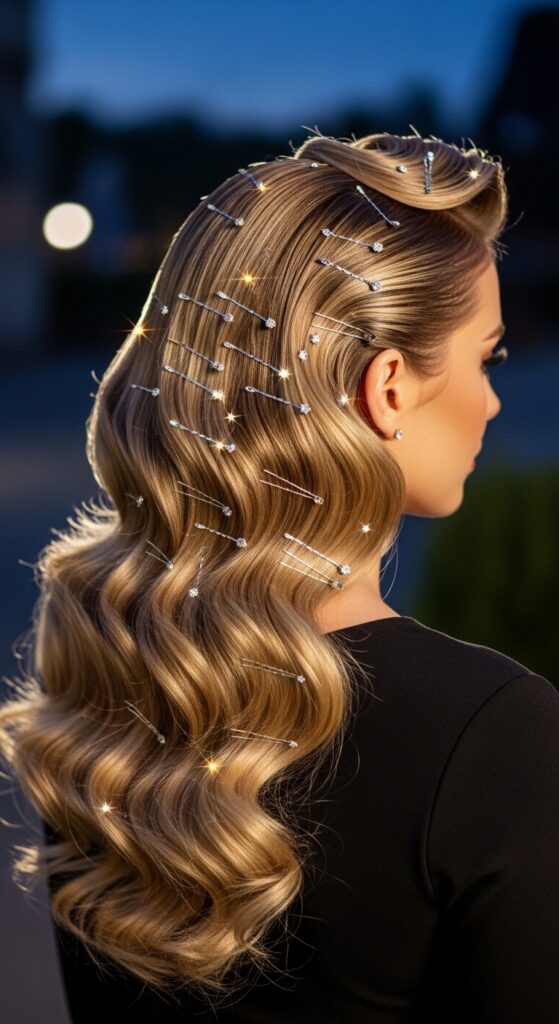
From Day to Night in Minutes
Wore this to work? To transform it for evening, add shine spray for a glossier finish. Swap in jeweled bobby pins or wrap a metallic thread around the buns.
You can also undo the rest of your hair and create a more voluminous wave or curl pattern. Suddenly, it’s elegant and ready for a dinner out.
Common Mistakes and Quick Fixes
The main issue is buns that fall out. The fix is always more pins! Criss-cross them. If a bun looks limp, take it out, re-twist tighter, and re-wrap.
If your part looks crooked, don’t panic. Gently remove the first bun, adjust the part, and re-do it. Starting with a perfect part is worth the extra minute.
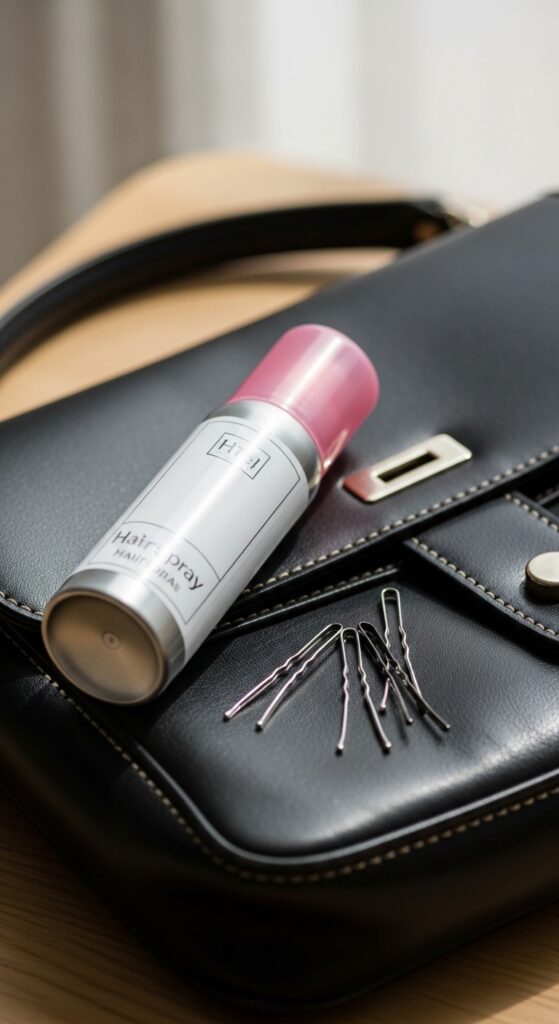
How to Make it Last All Day
Prep is key. If your hair is freshly washed and silky, use a light styling product first. A good hold hairspray is your final shield.
Lightly mist the entire style once it’s done. Carry a few extra bobby pins and a clear elastic in your bag, just in case one bun needs a quick refresh.
Inspiration from Other 2026 Trends
This style taps into the bigger trends we’re seeing. It has the detail of romantic goth hairstyles, the precision of old money hair, and the playful disruption of glitchy glam hair.
It’s a way to participate in the cool, emerging trends without a drastic haircut. It’s about styling creativity, which is always in fashion.
Your Questions, Answered
Can I sleep in these? Not really. They’re a day style. You’ll get tangles. Does it work on wet hair? I don’t recommend it. The twist needs dry hair to hold properly.
What if my hair is too short? Just twist and pin the end without wrapping it into a full bun. It will look like a cute, twisted accent.
Time to Play and Make it Yours
The best part about this look is there’s no single right way. Try different part lines. Mix in braids with the twists. Add color with accessories.
Use it to pin back your bangs in a cute way. Experimentation is how you find your signature version. That’s where the real fun begins.
So, there you have it. What seems complicated is really just one simple technique repeated. It’s a style that looks like you put in way more effort than you actually did, and those are always my favorite kinds.
I love how it bridges so many trends—it can be elegant, edgy, romantic, or playful depending on how you style it. It’s a true testament to the power of a little twist and a couple of pins.
Save this post to Pinterest so you can always find the steps when you need a quick hair win! Did you try it? Tag me or leave a comment below—I’d love to see your version and hear how it worked for you.