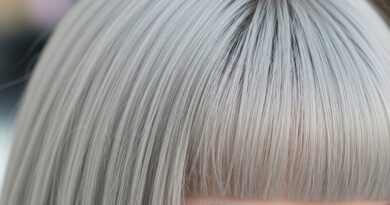
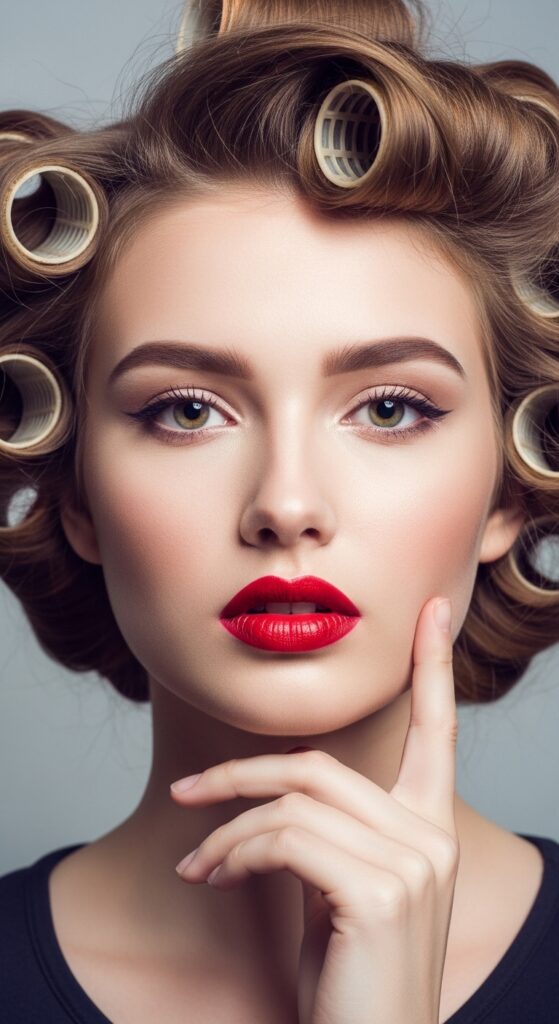
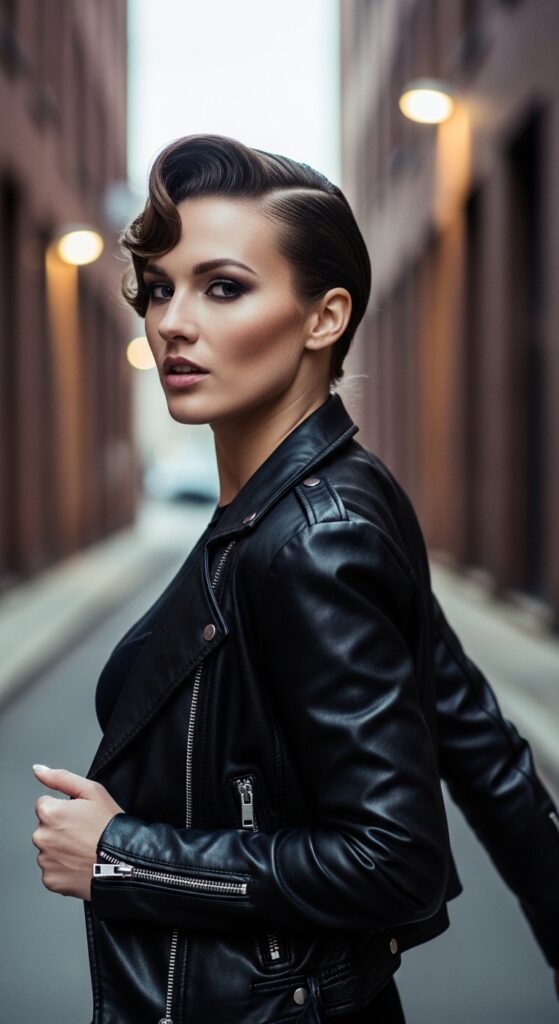
Victory 29 40s Pin Curls Softened Modernly for Nostalgia
Okay, let’s be real. Sometimes you see a vintage hairstyle and think, “That’s gorgeous, but I’d look like I was headed to a costume party.” I totally get it. That’s exactly how I felt about 1940s pin curls—until I figured out how to soften them for modern life.
We’re taking the iconic Victory Roll shape and dialing it down. Think less “strict vintage reproduction” and more “nostalgic, soft wave.” It’s about capturing that romantic, put-together feeling without needing an hour of hot tools.
This is your quick guide to getting that timeless, face-framing volume with a totally wearable twist. It’s easier than you think, and it works on almost every hair length. Let’s ditch the intimidation and get that soft, nostalgic glow.
Why 1940s Hair Still Feels So Fresh

There’s a reason these styles are cycling back. In a world of overly complicated 2026 hairstyles, the 1940s look is built on clever technique, not just products. It’s the original old money hair—understated, polished, and built to last.
It represents a kind of quiet confidence. The shapes are strong and feminine, focusing on structure and health. By softening the edges, we keep that powerful silhouette but make it feel like it belongs in your everyday life, not just a black-and-white photo.
The Core Idea: Softened Structure
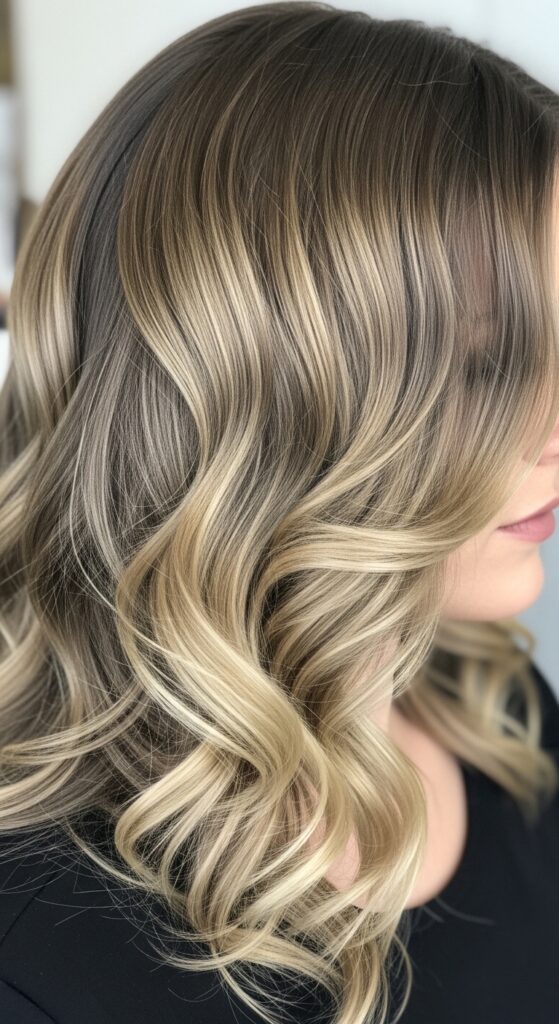
Forget the helmet-head shine and rigid curls. Our modern take is all about texture and movement. We want the volume and shape at the crown—that’s the “victory”—but we let the ends fall naturally.
The goal is a wave, not a tight spiral. It’s that lived-in, “I woke up like this” version of a classic. This approach makes it feel less costumey and more like a natural part of the quiet luxury bob and effortless wave trend we’re seeing everywhere.
What You’ll Need (The Short List)

You don’t need special vintage tools. Raid your bathroom. You’ll need:
- A spray bottle with water
- A light-hold mousse or setting lotion
- Hair clips (the flat, snap-clip kind)
- A wide-tooth comb
- A tiny bit of texturizing cream or oil for after
That’s truly it. The magic is in the method, not the products. We’re keeping it practical and accessible for a quick morning or a night-before routine.
Start With Damp, Not Soaking Wet Hair
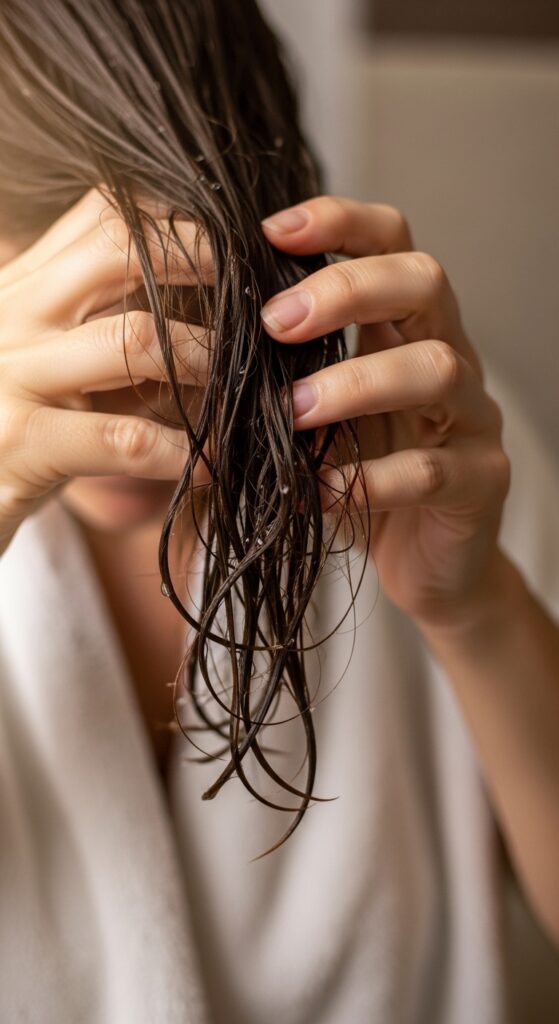
This is the first big trick. Vintage sets often used wet hair, which gives a firmer, longer-lasting curl. For our softer version, we want hair that’s just damp.
Towel-dry your hair thoroughly, then mist it lightly section by section as you work. Damp hair gives a looser, more relaxed wave pattern. It also dries faster, which is perfect for a modern, low-maintenance routine.
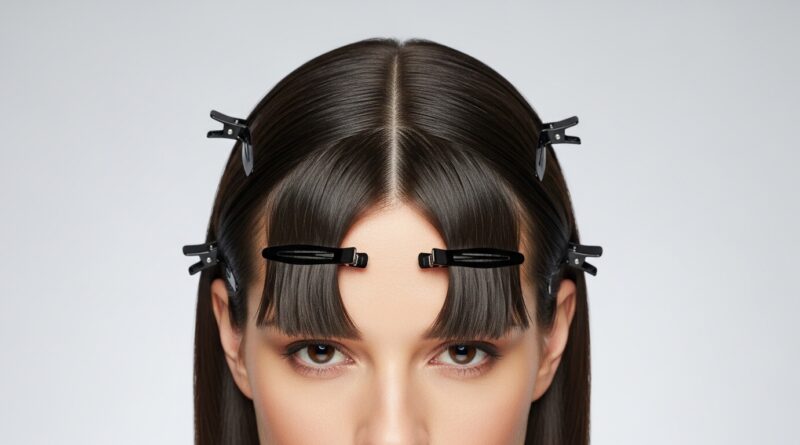
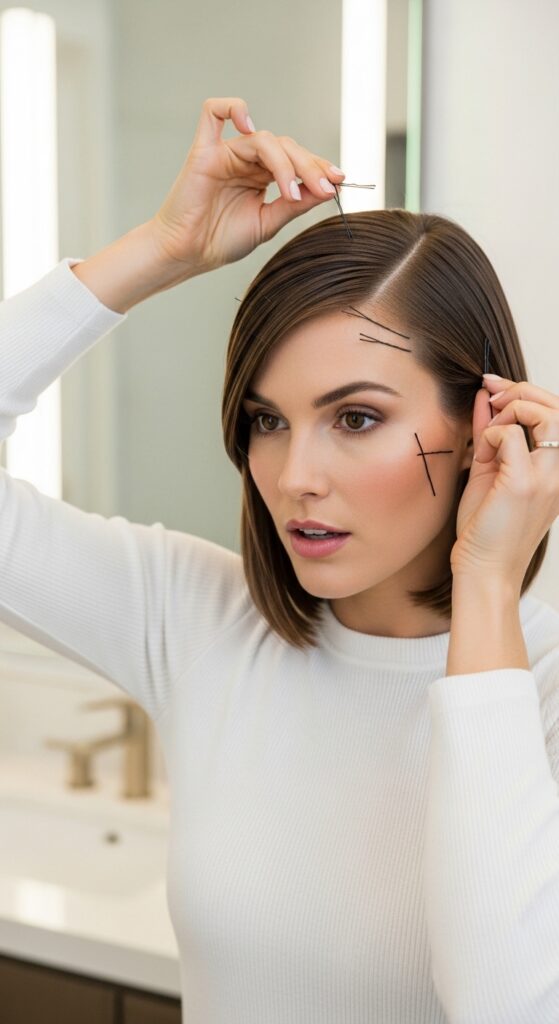
Sectioning Made Simple

Don’t let sectioning scare you. We’re keeping it super easy. Just create four main sections:
- Part your hair down the middle.
- Now, make a part from ear to ear over the top of your head.
You now have a top front section and a bottom back section on each side. Clip the top sections out of the way. We’ll start with the bottom back for practice. This keeps it manageable and organized.
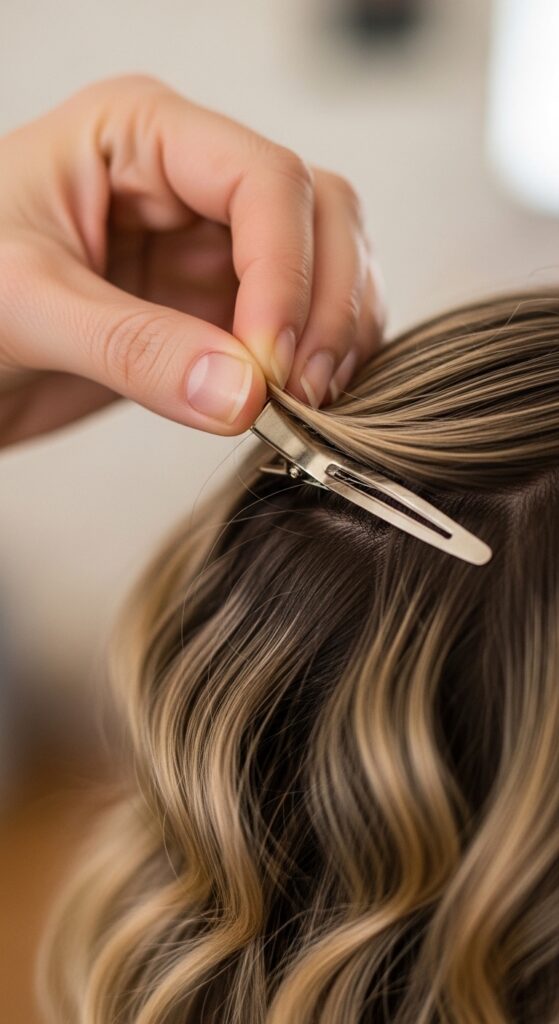
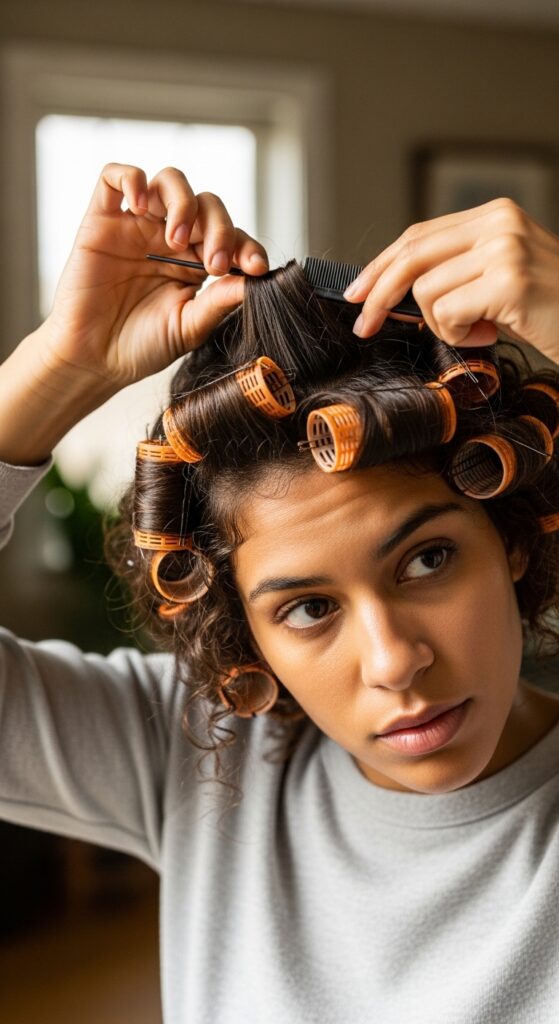
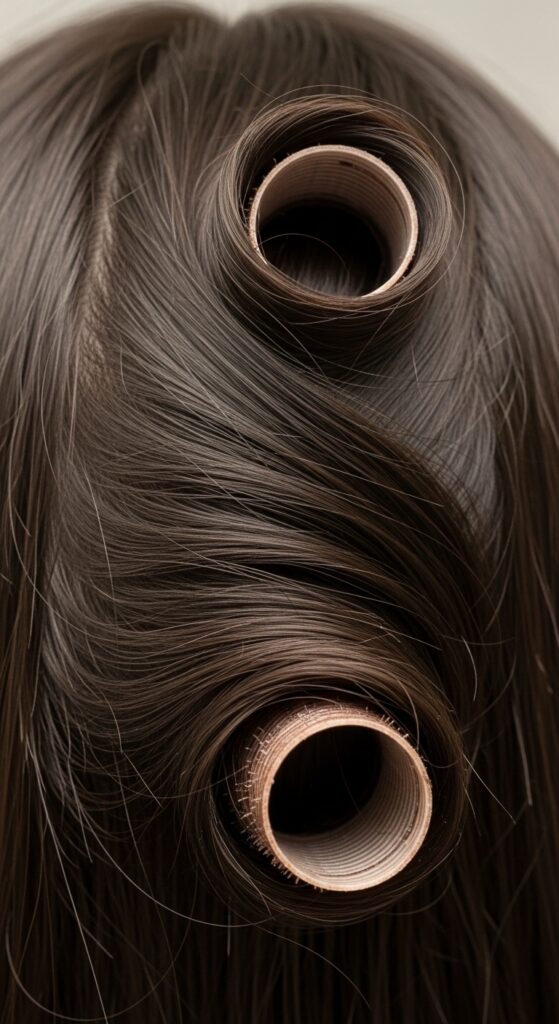
Creating Your First “Soft Roll”
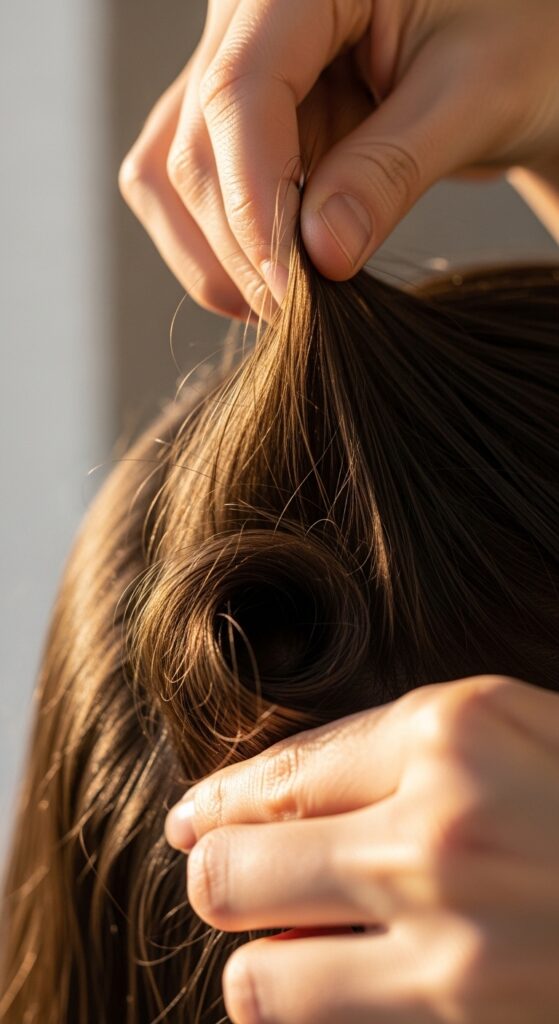
Take a horizontal section, about two inches wide, from the bottom back. Comb it smooth. Now, instead of rolling it straight up, roll the hair forward toward your face, keeping it flat against your head.
This creates the base of the volume. Secure the roll with a clip, pinning it at the base. It doesn’t need to be a perfect tube; a flat, pancake-like roll is what we want. This gives lift, not a tight curl.
Moving to the Side Sections
Release one of your top front sections. This is for your face-framing wave. Take a section along your hairline and part.
This time, roll the section back toward the crown, following the curve of your head. This creates that beautiful, romantic frame for your face. Secure it with a clip. Repeat on the other side. These side rolls are key for that iconic shape.
Dealing With Short Hair & Bangs
Have a quiet luxury bob or an asymmetrical lob? This still works! Use smaller, narrower sections. Your rolls will be smaller and closer to your head.
For bangs or a hime cut fringe, you can pin-curve them to the side for a swoop, or create a small, flat roll at the front for volume. The principle is the same: create shape where you want it, then let it soften.
The “Let It Dry” Patience Game
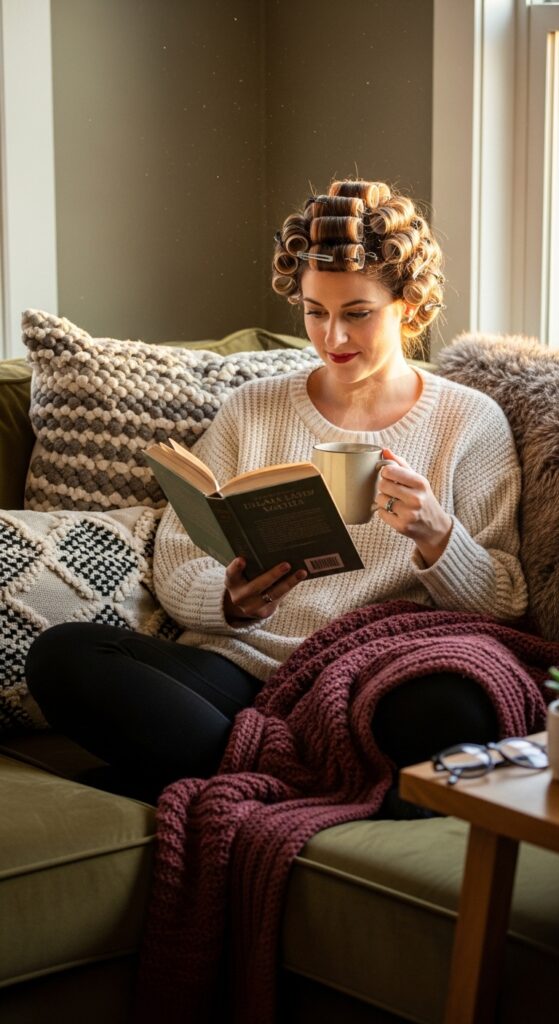
Here’s the slow fashion part. You need to let the pins dry completely. This could take a couple of hours air-drying, or you can use a diffuser on low, cool heat to speed it up.
Don’t rush it. If the hair is even slightly damp when you take the pins out, the wave will fall flat. Use this time to relax, work, or get ready for your day. The wait is worth it.
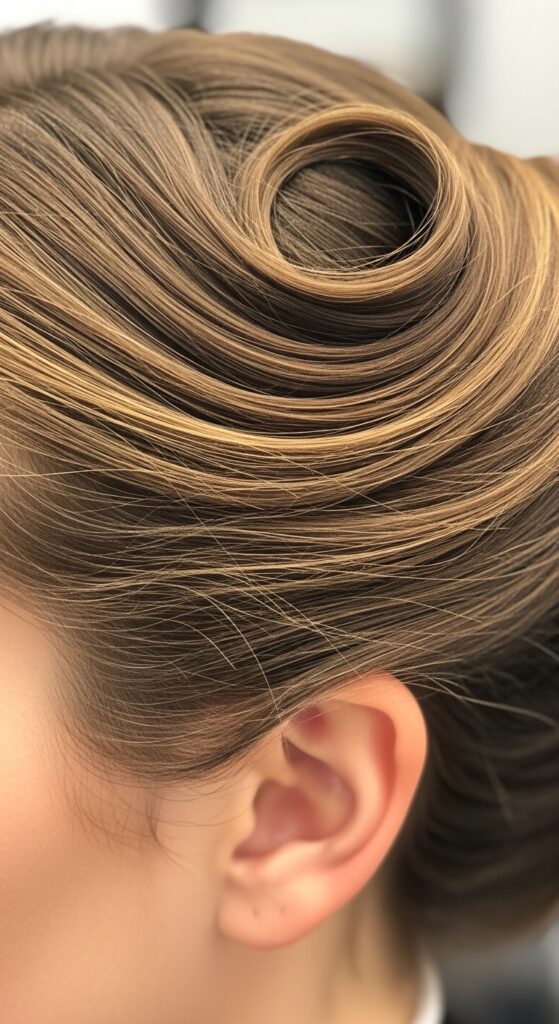
The Magic Reveal: Taking the Pins Out
Once your hair is 100% dry, it’s time for the fun part. Gently remove all the clips. Your hair will look a little crazy—tight, crimped waves close to your head. Don’t panic!
This is exactly what we want. Carefully finger-comb the waves apart. Start from the ends and work up, gently separating the ridges created by the pins. Avoid brushes at this stage to prevent frizz.
Finger-Combing vs. Brushing
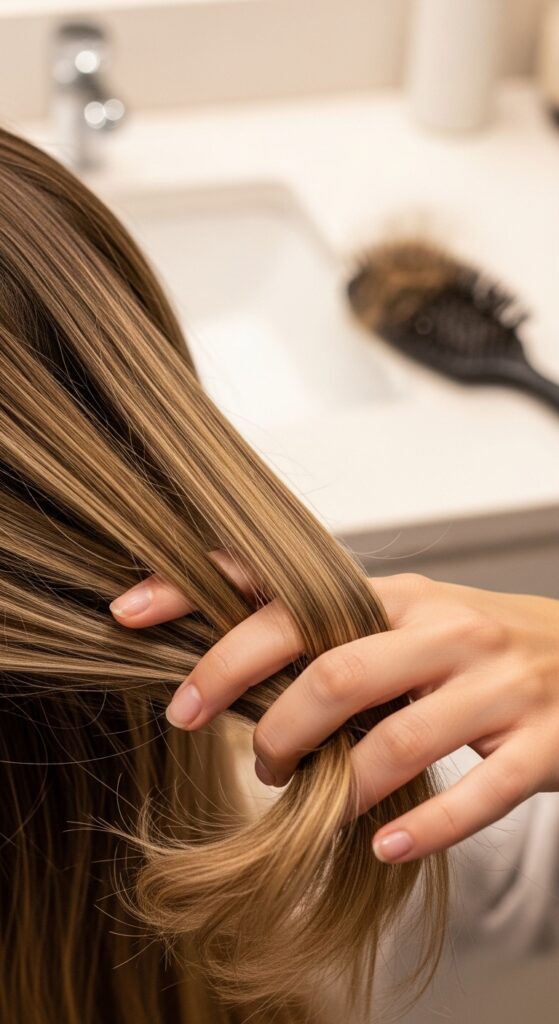
Your fingers are your best tool here. Brushing will turn your set into a fluffy, undefined cloud (which can be pretty, but it’s not our goal). Finger-combing gives you control.
You can decide how much to separate each wave. For a more defined, romantic goth hairstyles vibe, separate less. For a beachy, fully soft look, separate more. It’s your custom finish.
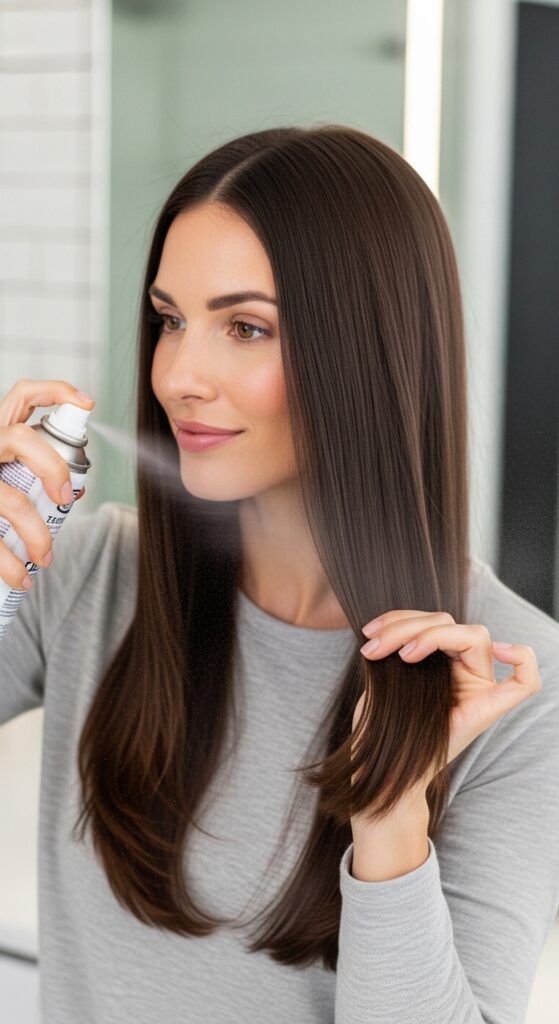
Adding the Modern Texture
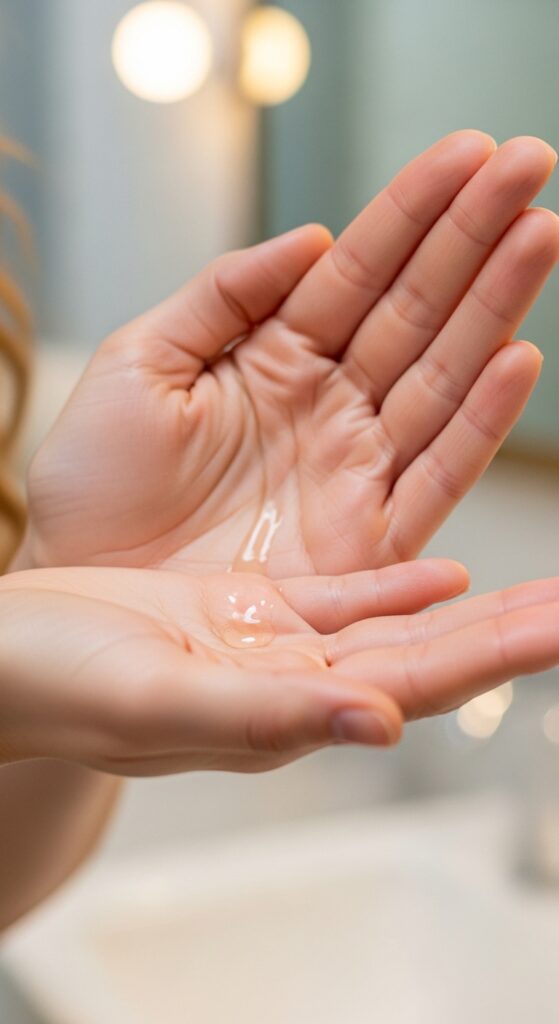
Now, for the modern softening. Take a pea-sized amount of texturizing cream or a drop of hair oil. Rub it between your palms.
Scrunch it gently into the mid-lengths and ends of your hair. This breaks up any remaining uniformity, adds a touch of separation, and gives that lived-in, modern texture. It tames any frizz and makes the style look “now.”
Styling the Final Shape
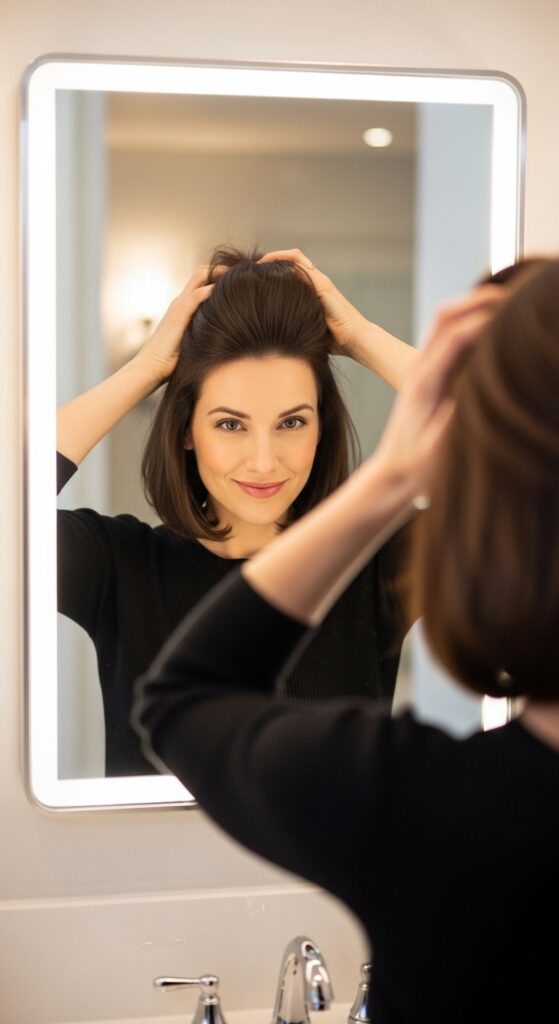
Look at your shape. Flip your head over and gently massage the roots for extra volume. Flip back.
Use your hands to place the waves. Push the crown volume up and back for that “victory” feel. Let the side waves frame your face. The final look should feel balanced, soft, and intentionally undone.
Day-Two Refresh & How to Make It Last
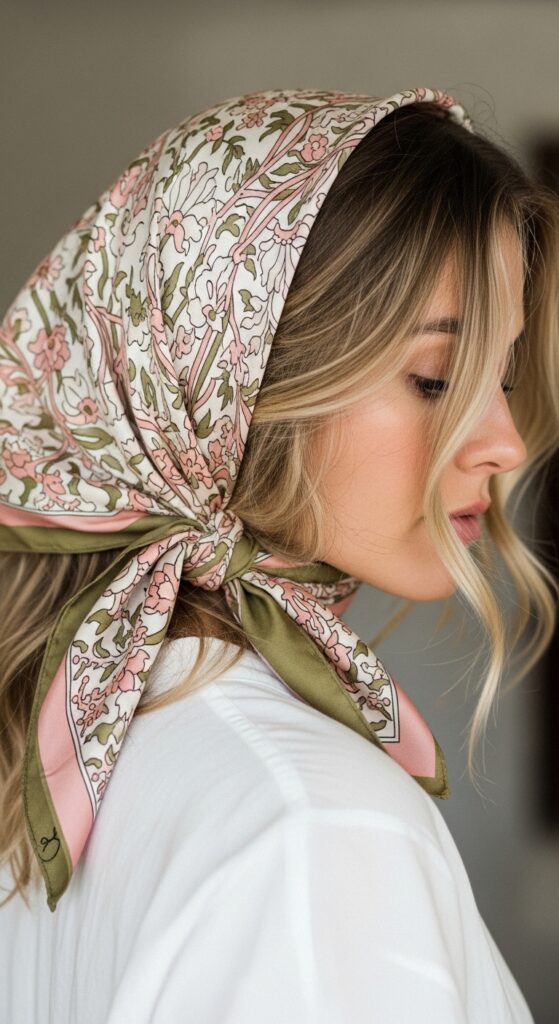
This style gets even better on day two! To preserve it, try a loose, low braid or a silk scarf tied over your hair at night.
In the morning, mist dry shampoo or a light texturizing spray at the roots for lift. Gently re-scrunch the waves with a bit of water or cream on your hands. The waves will be softer but still hold that beautiful shape.
Pairing With Modern Makeup Looks
This hair begs for a modern makeup balance. Try a bold lip with barely-there skin for a classic twist. Or, go for a glitchy glam hair vibe with dewy skin and graphic eyeliner.
It also pairs perfectly with the vampire haircut aesthetic—think pale skin and a deep berry lip. The hair is romantic, so let your makeup either complement or contrast that mood.
Adapting for Super Straight Hair
If your hair is very straight and slippery, prep is everything. Use a stronger holding mousse or a light styling gel on your damp sections before rolling.
Make your sections a bit smaller and ensure your hair is damp, not just barely wet. The extra product and slightly tighter roll will help the shape “grab” and last longer on sleek hair types.
Adapting for Curly & Coily Hair
This method is fantastic for enhancing your natural pattern! Use the pin curls to stretch and shape your curls for a different look.
Set your hair on dry or damp hair with a curl cream. Use larger sections to create big, defined waves that will blend seamlessly with your own texture when released. It’s a great stretching and styling hybrid technique.
When You Want More Drama
Feel like channeling a bit of romantic goth hairstyles or retro drama? It’s easy. Simply don’t separate the waves as much after taking the pins out.
Leave the ridges more defined, especially at the sides. Pair it with deeper makeup and darker clothing. You’ve instantly got a moodier, more dramatic version of the same basic set. It’s all in the styling.
The “Glitchy Glam” Twist
For a true glitchy glam hair take, only set one section of your hair. Leave the rest straight or in its natural state.
Create one perfect, soft pin curl wave right at the front. Let everything else be messy. This intentional mismatch of textures is the core of glitchy glam—beautifully broken, nostalgic, and utterly modern.
Why This Beats Heat Styling
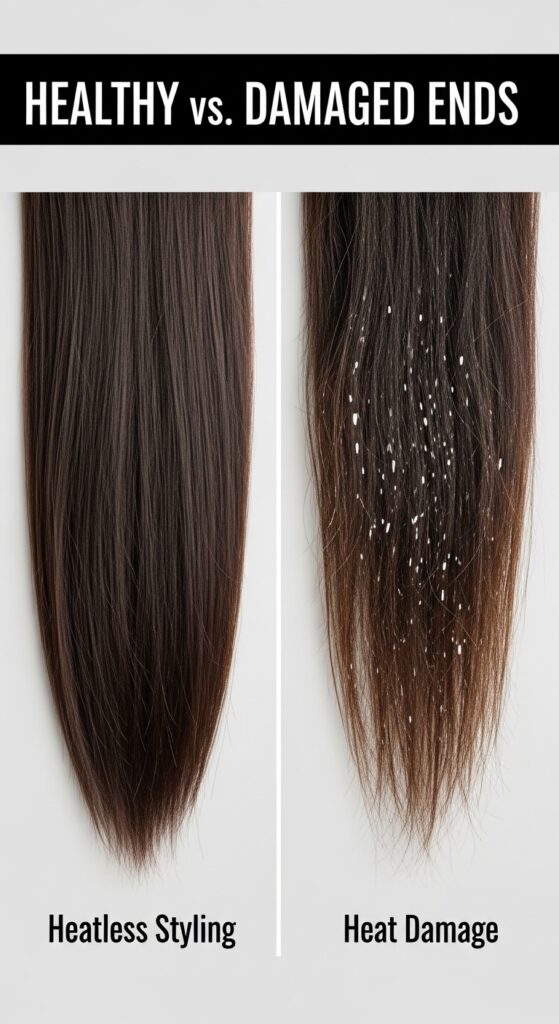
This is a hug for your hair. Unlike daily heat styling, pin curls create lasting shape without damage. The wave pattern also gets better over days, reducing how often you need to style.
You’re training your hair to hold a wave with memory, not with a scorching tool. Your hair will feel thicker, healthier, and more resilient over time. It’s a total win-win.
Your New Go-To Style
Once you get the hang of it, this becomes the fastest “look like I tried” style there is. It works for the office, a date, or just feeling put-together on a weekend.
It’s that versatile, timeless style that fits right in with today’s love for old money hair and quiet luxury. It’s polished but not stiff, romantic but not fussy. It’s your new secret weapon.
And just like that, you’ve got a touch of vintage magic that fits perfectly into your real, modern life. It’s not about recreating the past, but taking the best parts—the volume, the romance, the craft—and weaving them into your own story.
I love how hairstyles can be this little bridge to another time, all while feeling completely fresh on your terms. This soft pin curl method is one of my absolute favorites for that reason. It feels special, but never like you’re trying too hard.
Did you give it a try? I’d love to hear how it worked for your hair type! Tag me in your pics or leave a comment below. And if you want to keep this tutorial handy for your next hair night, save this post to Pinterest! It’s the perfect way to have it ready when inspiration strikes.