25 Half-Up Hairstyles That Work for Every Hair Length and Texture
Listen, I love a good “all down” hair day as much as anyone, but sometimes you just need a little lift. Whether you are dealing with a stubborn cowlick, a hot date, or you simply want to show off your new earrings, the half-up hairstyle is the ultimate MVP of hair. It’s the perfect middle ground between “I tried” and “I didn’t.”
The best part? This style works on literally everyone. From the shortest pixie to the longest mermaid waves, and from pin-straight strands to the curliest coils, there is a half-up look waiting for you. We have gathered 25 fresh ideas that feel right for 2026. Think sleek, think messy, think romantic—we’re covering it all.
Let’s dive into your new go-to styling guide. I promise you will find at least three looks you want to try this weekend.
1. The Classic Tied-Back Knot
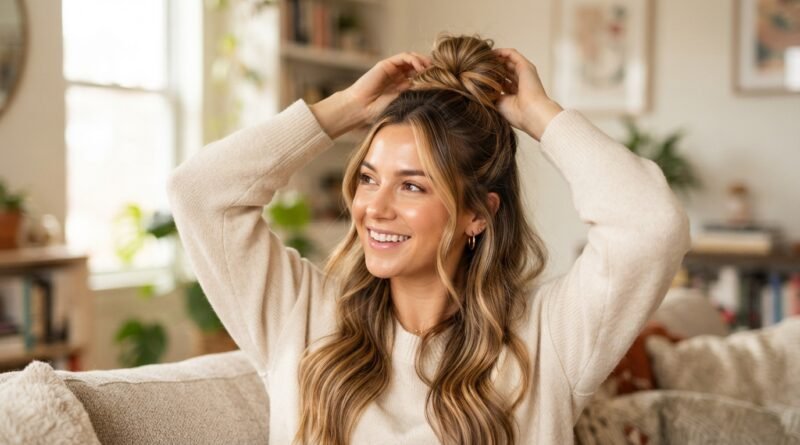
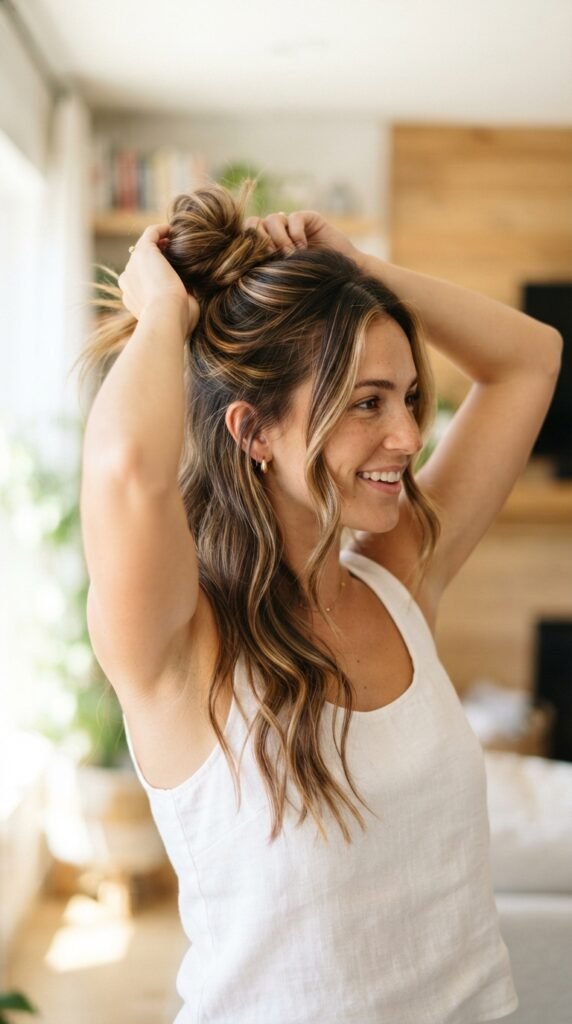
This is the starting point for all half-up styles. It is simple, fast, and looks effortlessly chic. If you have ten seconds, you have time for this look.
Just pull the top section of your hair back, twist it gently, and wrap it into a small bun at the crown of your head. Leave the rest of your hair flowing freely.
- Works best on medium to long hair.
- Perfect for day two or three hair.
- Use your fingers to create a messy, undone texture.
2. The Sleek Grown-Up Slick Back
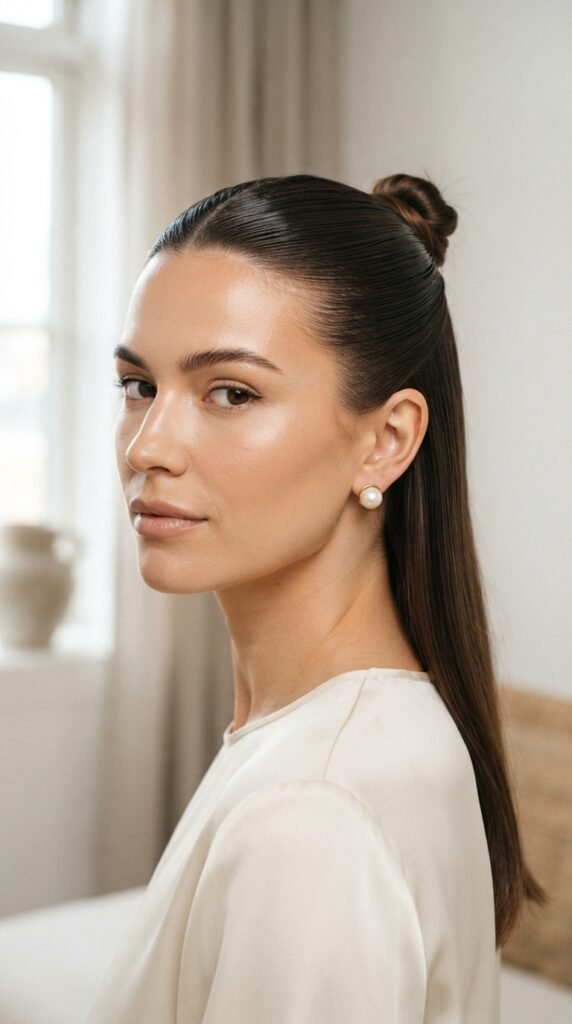
If you are looking for that expensive, “old money hair” vibe, this is it. This style is all about precision and shine. It screams quiet luxury.
Use a fine-tooth comb and a bit of gel or mousse to smooth the top section of your hair tightly back. Secure it with a bobby pin right at the back of your head. This is the perfect companion to a “quiet luxury bob” or a longer cut.
- Apply a styling cream to damp hair.
- Comb everything straight back.
- Pin flat at the nape.
3. The Romantic Braided Crown
This style feels straight out of a fairy tale, yet it is super wearable for brunch or a walk in the park. It adds a soft, feminine touch to any face shape. It’s one of my personal favorites for spring.
Take a small section of hair from the front, braid it away from your face, and pin it behind your ear. Do the same on the other side. The two braids meet in the back to form a lovely crown effect.
- Great for adding texture to fine hair.
- Pairs beautifully with the “romantic goth hairstyles” aesthetic if you wear dark colors.
- Use small clear elastics to secure.
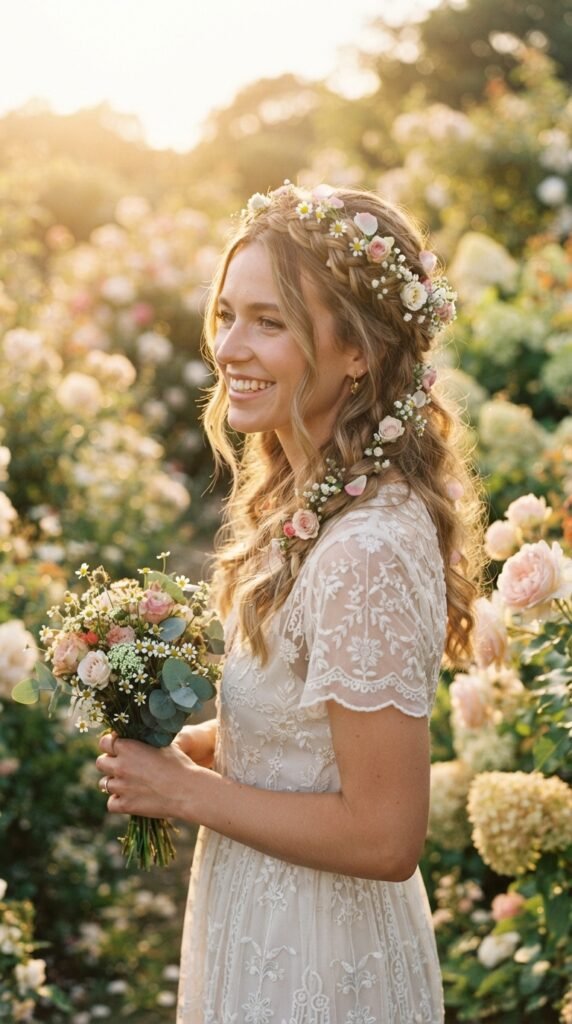
4. The Bubble Pony
Get ready to have some fun. This trend is taking over social media, and it’s perfect for making a statement. It looks complex, but it is actually very forgiving and easy to DIY.
Pull the top half of your hair into a ponytail. Then, add small clear elastics down the length of that ponytail, gently tugging at each section to create a “bubble” effect.
- Ideal for medium-length hair.
- A fun way to try the “glitchy glam hair” trend.
- Leave some face-framing pieces loose.
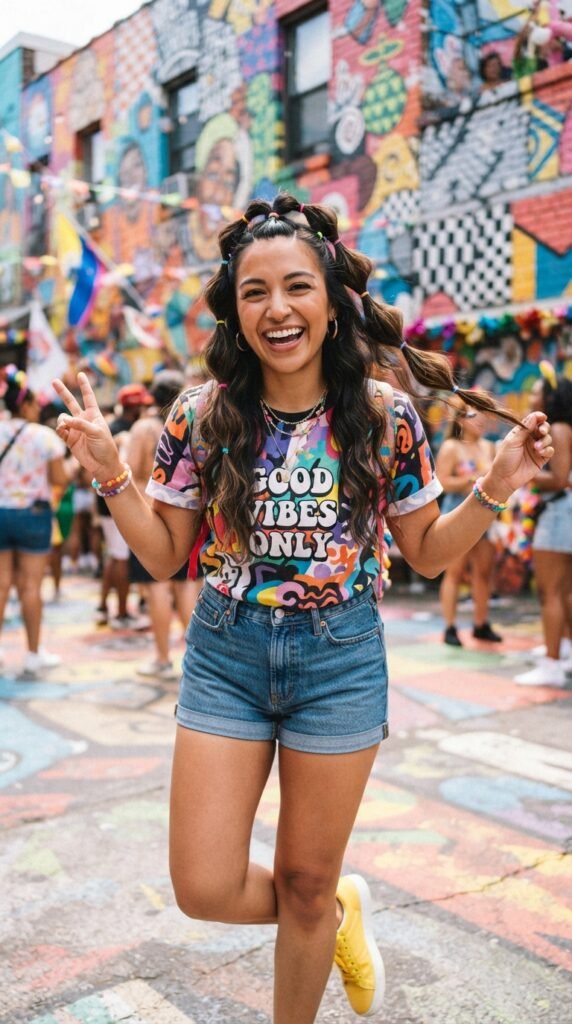
5. The Claw Clip Chaos
Sometimes, you just want your hair out of your face, and you want it to look good doing it. The claw clip is your best friend. It does half the work for you.
Twist the top section of your hair, lift it up, and secure it with a trendy claw clip. Let the bottom hair hang loose. It’s the ultimate “messy but expensive” look that fits perfectly with 2026 hairstyles.
- Works for almost all hair lengths, even an “asymmetrical lob”.
- Takes five seconds to install.
- Choose a tortoiseshell or gold clip for max style points.
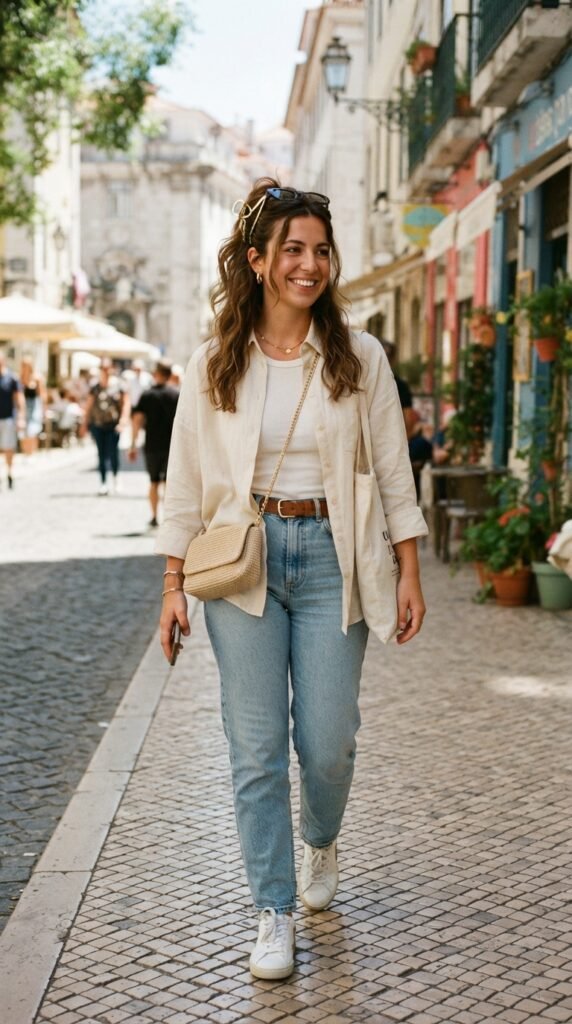
6. The Poetic Peek-A-Boo Twist
This one is for the creative souls. It is all about taking two small strands from the front and twisting them back. It looks like you spent ages on it, but it takes two minutes.
Take a one-inch section from each side of your part. Twist them backwards, adding more hair as you go, until they meet in the back. Pin them together for a super elegant look.
- Perfect for defining your cheekbones.
- Works great with face-framing layers.
- Keep the twists loose to avoid tension.
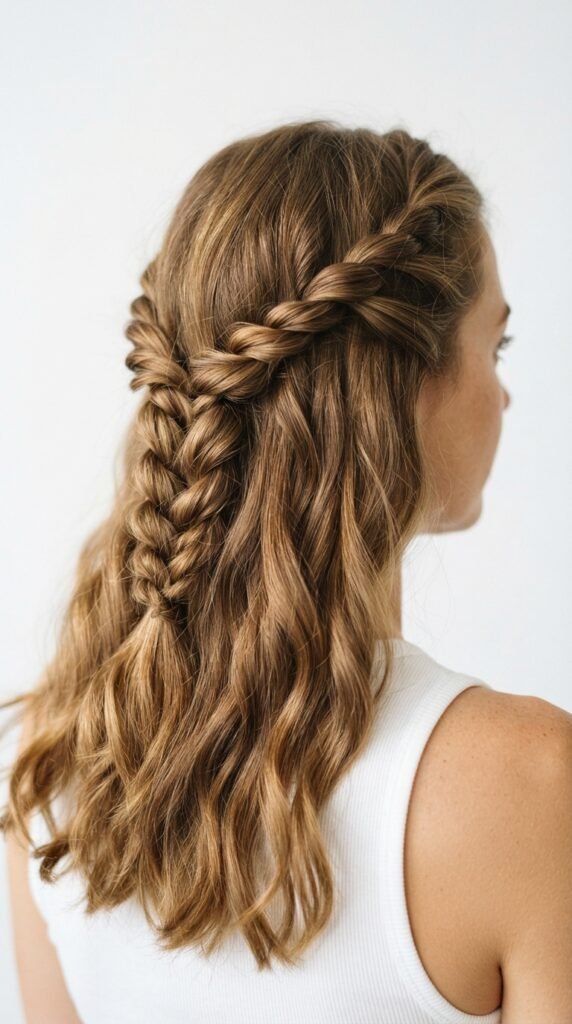
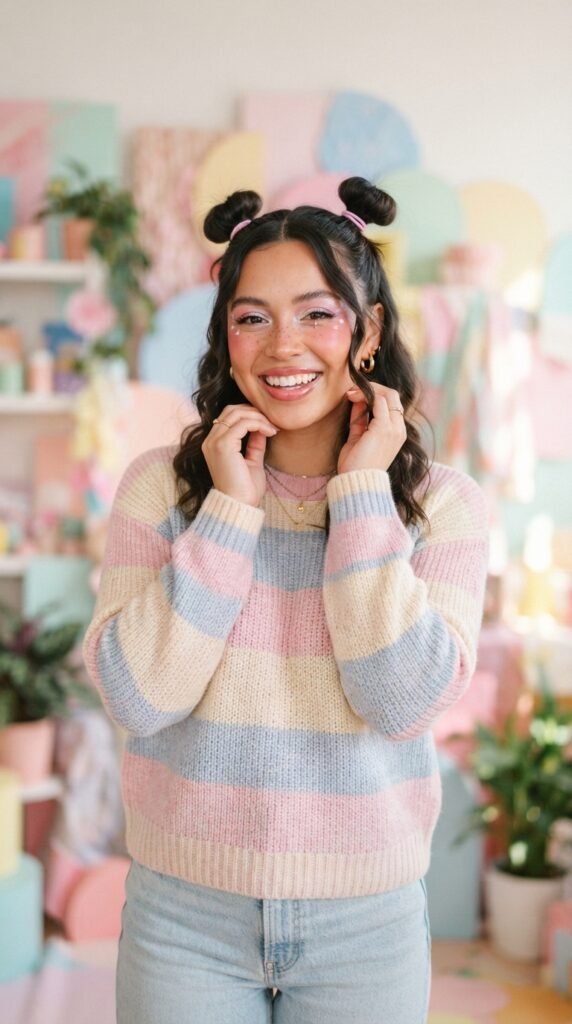
7. The High Space Buns
Did someone say Y2K? This style is back and better than ever, but with a more refined edge. Instead of two full buns, we are doing two tiny ones on top of the head.
Section out the top half of your hair and split it down the middle. Create two small, high pony tails and twist them into mini buns. It is quirky, cute, and very Gen-Z approved.
- Long hair needs a bit of pinning to keep buns secure.
- Try it with curly hair for extra volume.
- A great canvass for fun accessories.
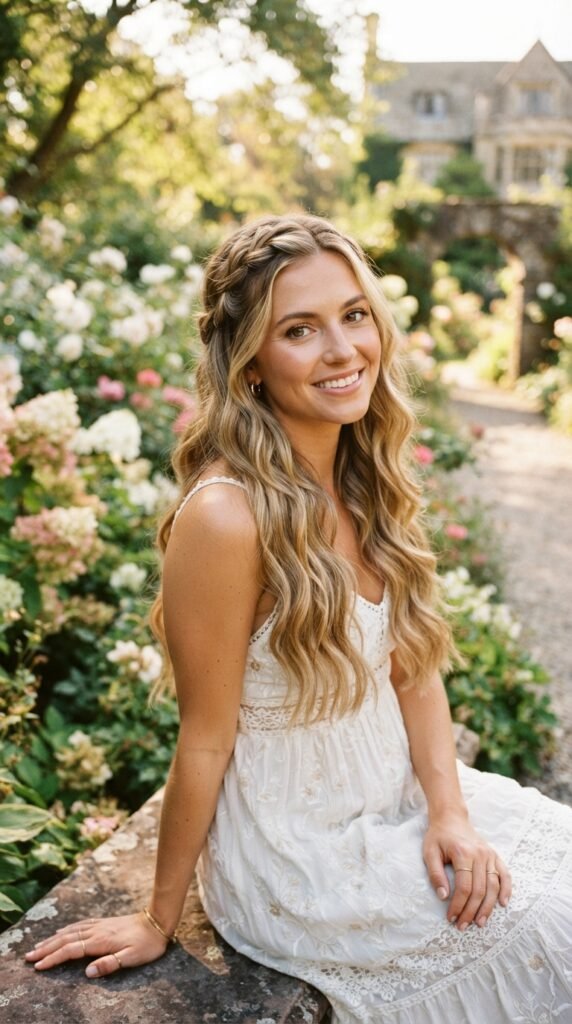
8. The Waterfall Braid Twist
This isn’t the complicated waterfall braid you might be thinking of. This is a simpler, modern version. We are just weaving a tiny braid along the hairline and letting the rest fall.
Start a normal braid at your temple. Instead of crossing the strands over, drop the top one and pick up new hair. It creates a cascading effect that falls beautifully through the rest of your hair.
- A great way to dress up an “old money hair” look.
- Keeps hair off the face during summer.
- Perfect for a romantic date night.
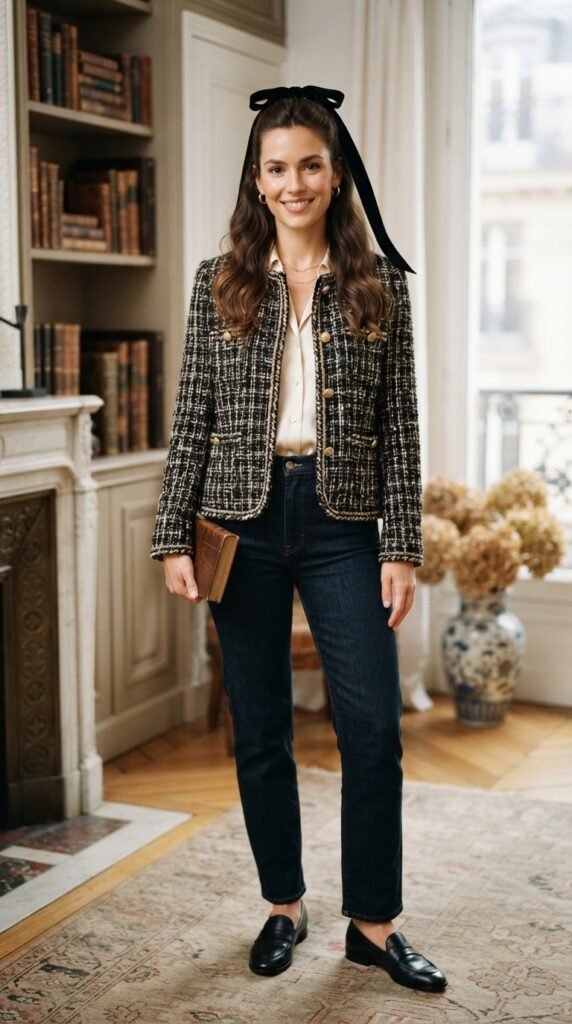
9. The Velvet Ribbon Tie
This is one of the easiest ways to elevate any standard ponytail. You don’t need a fancy hair tie; use a piece of ribbon or a silk scarf instead. It instantly adds a touch of luxury.
Gather the top section of your hair into a low or medium pony at the back. Instead of a normal elastic, tie a wide velvet ribbon around the base of the ponytail. Tie it in a neat bow.
- Works with a “hime cut” aesthetic.
- Helps disguise a tired ponytail.
- Use a silk ribbon for less friction and damage.
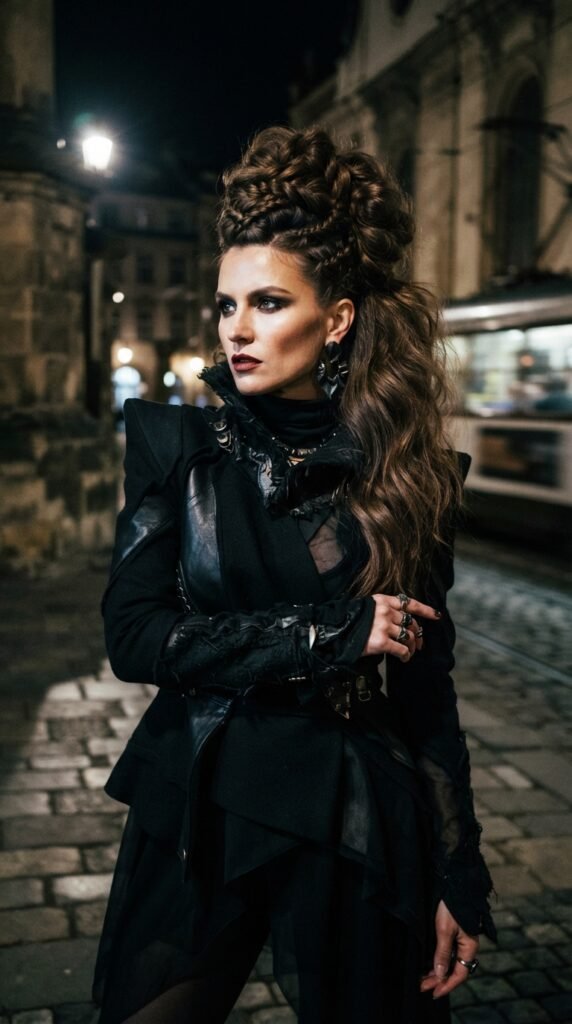
10. The Criss-Cross Anti-Gravity
Get ready for some “glitchy glam hair” inspiration. This look is about optical illusions. Instead of pinning your hair straight back, you cross the sections over each other.
Take the top section on your left side and pull it over to the right. Take the top section on your right side and pull it over to the left. Secure them in the back. It creates an instant voluminous, textured look.
- Tease the roots slightly before crossing.
- Use bobby pins to secure the crossover.
- Spray with a medium-hold hairspray.
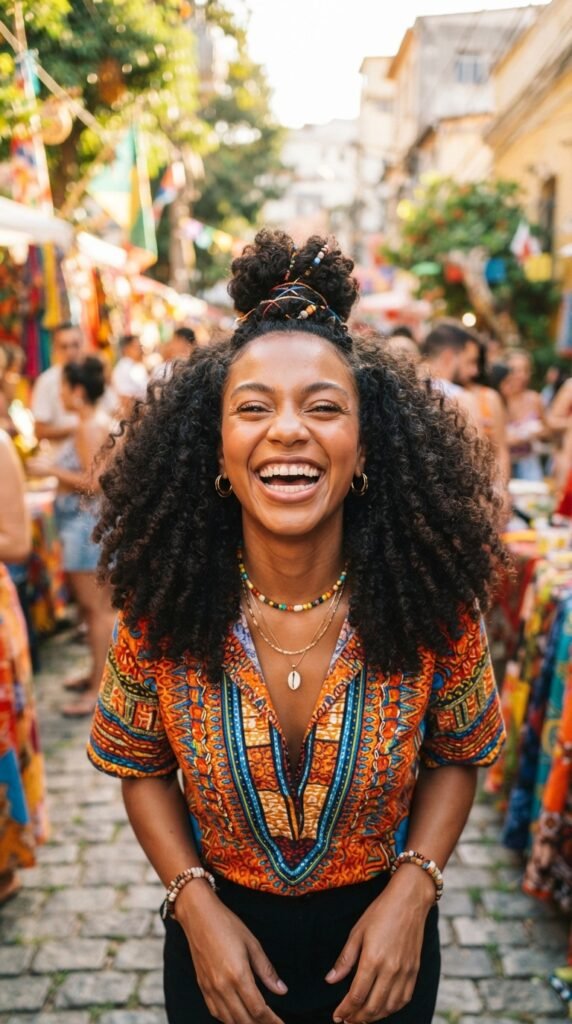
11. The Textured Curly Half-Up
If you have natural curls, this is your sign to stop hiding them. This style celebrates your texture and keeps your hair out of your face without trying to flatten your natural volume.
Take two fistfuls of hair from the front sides, bring them to the back, and secure them with a scrunchie. Let your curls spring free at the top. The key here is to be gentle and not to break your curl pattern.
- Use a satin scrunchie to avoid pulling.
- Define your curls with a curl cream first.
- This is a beautiful contrast to a “vampire haircut” if you have longer front pieces.
12. The Straight & Sleek Ponytail
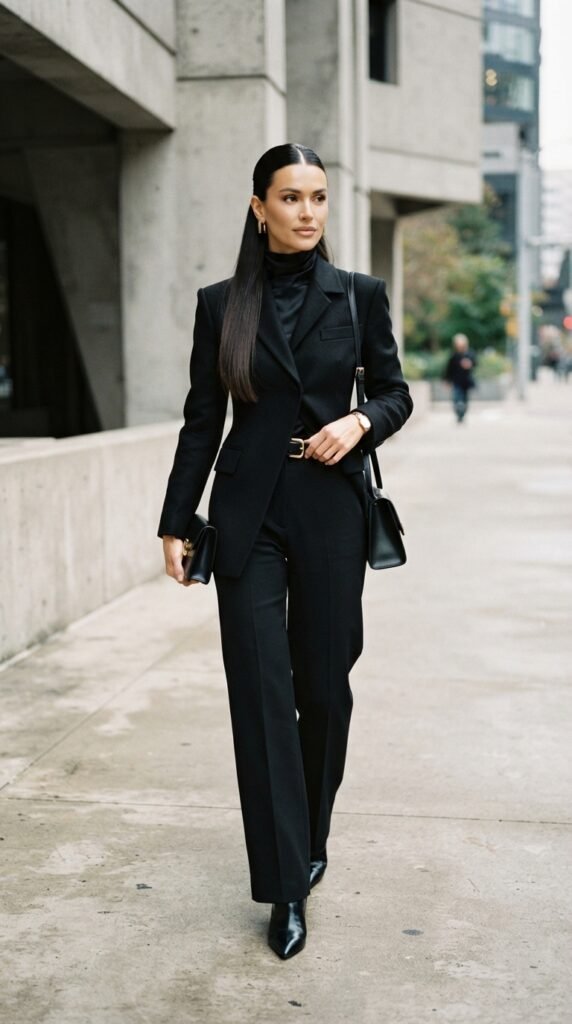
For those with pin-straight hair, or those who love to straighten it, this is the sleekest look possible. It is clean, minimalist, and very “quiet luxury bob” adjacent in its vibe.
Follow the same technique as the slicked-back version, but instead of pinning the hair flat, gather it into a neat ponytail at the top of your head. Make sure the part is razor-sharp for maximum effect.
- Great for showing off a fresh blowout.
- Perfect for the office.
- Add a drop of shine serum for gloss.
13. The Loose Ends Bun
Don’t have time to make a perfect bun? Me neither. This style is about embracing the pieces that fall out. It’s the perfectly imperfect bun that everyone is trying to achieve.
Pull your top hair into a messy bun. Let the ends stick out—it’s part of the charm. Don’t try to smooth it down; the messier, the better. This perfectly captures the effortless vibe of many 2026 hairstyles.
- Use texturizing spray for grip.
- Works wonders on an “asymmetrical lob”.
- Takes under one minute.

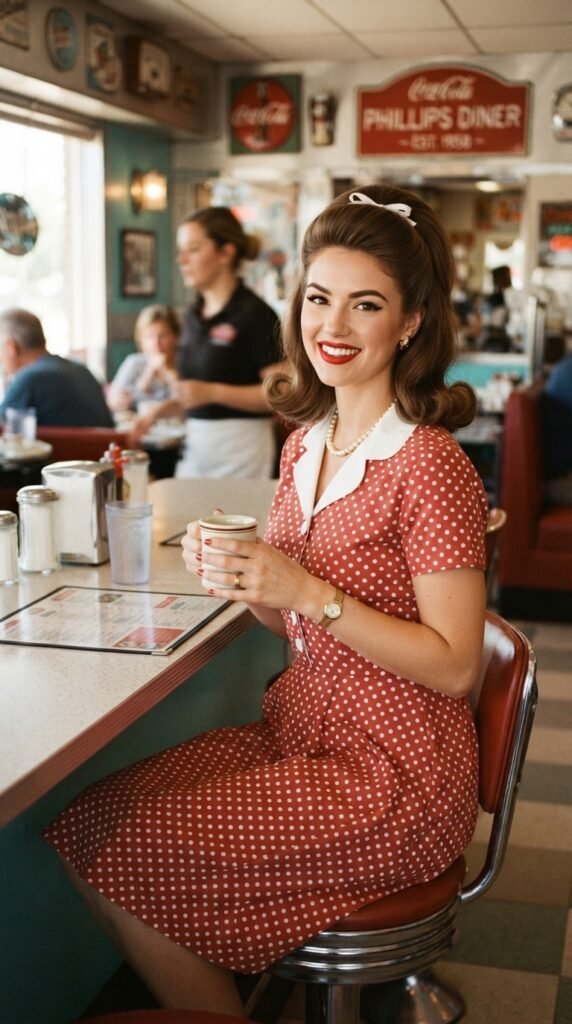
14. The Flipped Ends Retro Vibe
We are taking a trip back to the 60s. This is about creating intentional flip at the ends of your hair. It’s flirty, fun, and very distinct.
Set the top half of your hair in a pony at the crown. Use a curling iron or a straightener to curl the ends of that pony and the ends of your loose hair upwards and outwards. It creates a very chic “old money” aesthetic with a twist.
- Curl small sections for best results.
- Brush through the curls to soften them.
- Finish with a lightweight mist.
15. The Deep Side Part Sweep
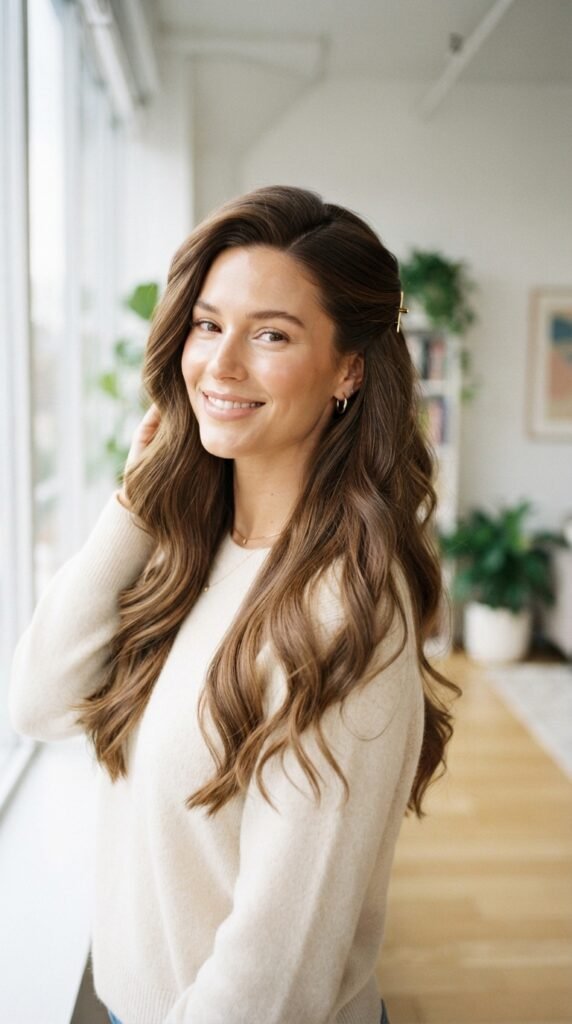
This is the simplest half-up style that solves the classic “my hair is in my face” problem. It’s all about the parting. It’s elegant and takes literally seconds.
Create a deep side part. Take the larger section of hair from the front, sweep it over to the other side, and pin it behind your ear. It’s less strict than a full slicked-back style and more romantic.
- Perfect for oval and round face shapes.
- Works best on shoulder-length to long hair.
- Add a sparkly bobby pin for a “romantic goth hairstyles” edge.
16. The Accent Braids
Adding small braids is the quickest way to personalize your half-up look. It adds a hint of boho or even punk, depending on how you style it. It’s all about the details.
Take the standard half-up pony. Before you tie it up, create two tiny braids along your hairline. Let them hang loose or incorporate them into the main ponytail. This pairs brilliantly with a “vampire haircut” to soften the edges.
- Try using small metal cuffs on the braids.
- Great for gym sessions.
- Easy to do with basic braiding skills.
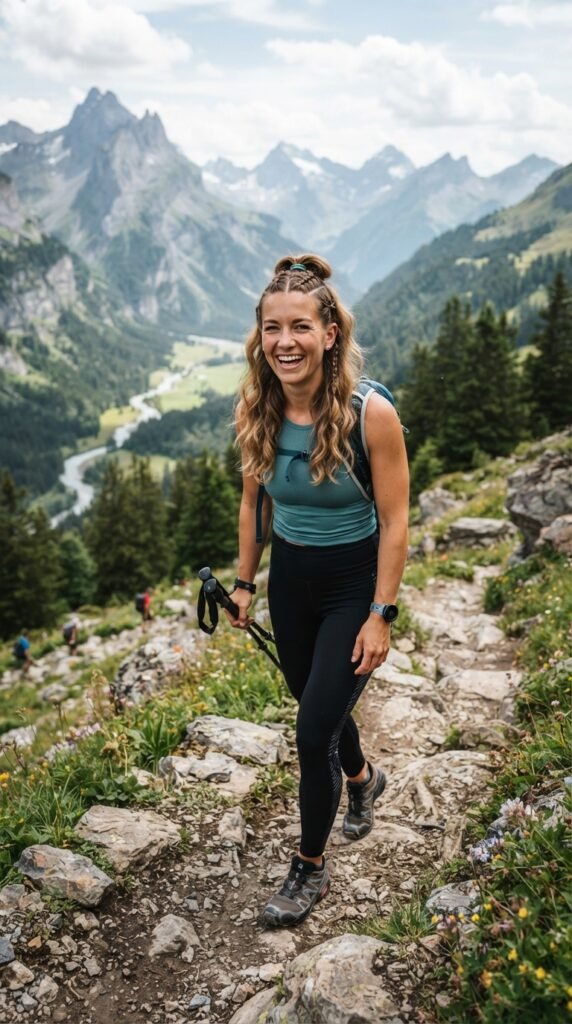
17. The Baby Hair Whisp
Let’s talk about the flyaways. This style is for embracing your baby hairs instead of fighting them. It’s sleek in the front, but playful at the edges.
Slick back your main top section. Then, using a clean mascara wand or a toothbrush, lay down your baby hairs in swirling patterns around your temples. This look is very trendy and adds an artistic element.
- Perfect for curly and coily textures.
- Adds a “glitchy glam hair” effect to the hairline.
- Use edge control gel for hold.
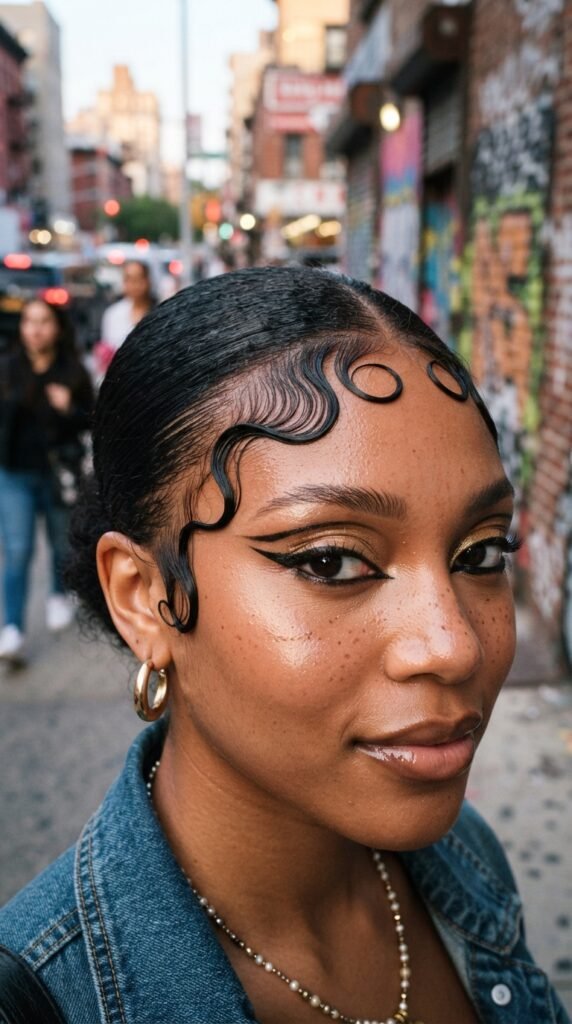
18. The Knotted Updo
This sounds fancy, but it’s literally a knot. It looks so high-fashion when you do it right. It’s a modern take on the classic bun and feels very editorial.
Gather your top hair at the back. Instead of putting the whole tail through a hair tie, just pull it partly through to create a loop. Then, tuck the ends around the knot and pin. It’s a chic, architectural shape.
- Make sure the top hair is smooth.
- Let the bottom hair have volume.
- Works best with blunt cuts like the “hime cut”.
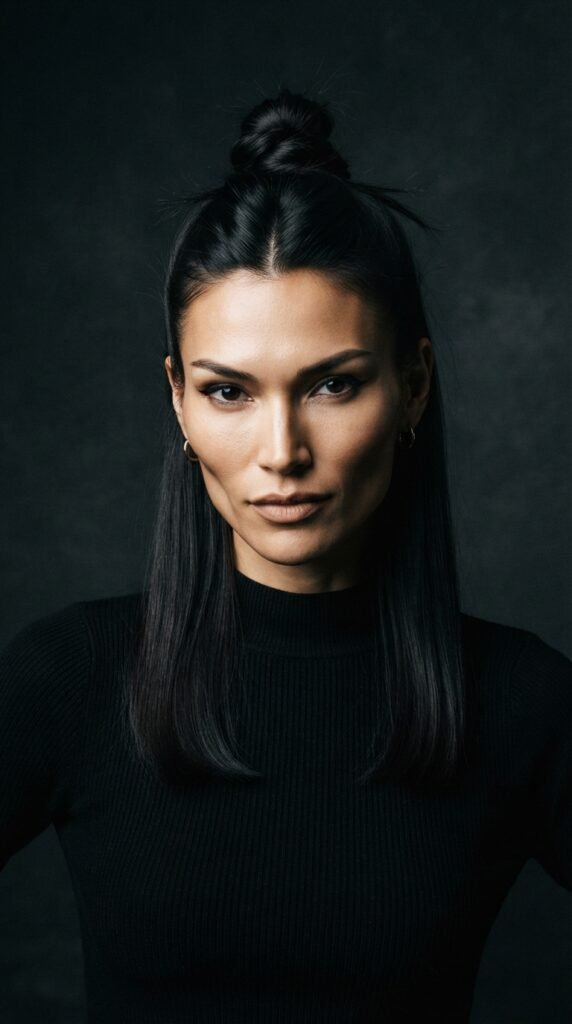
19. The Scarf Wrap Pony
This is your summer go-to. It adds a pop of color and keeps the style fresh. It’s so easy but always looks like you put in a lot of effort.
Tie your top half into a normal ponytail. The trick is taking a colorful scarf and wrapping it around the base of the ponytail, tying it into a bow. It instantly transforms a basic look.
- Great for protecting hair from the sun.
- Try a silk scarf to prevent breakage.
- Works well with long, loose waves.
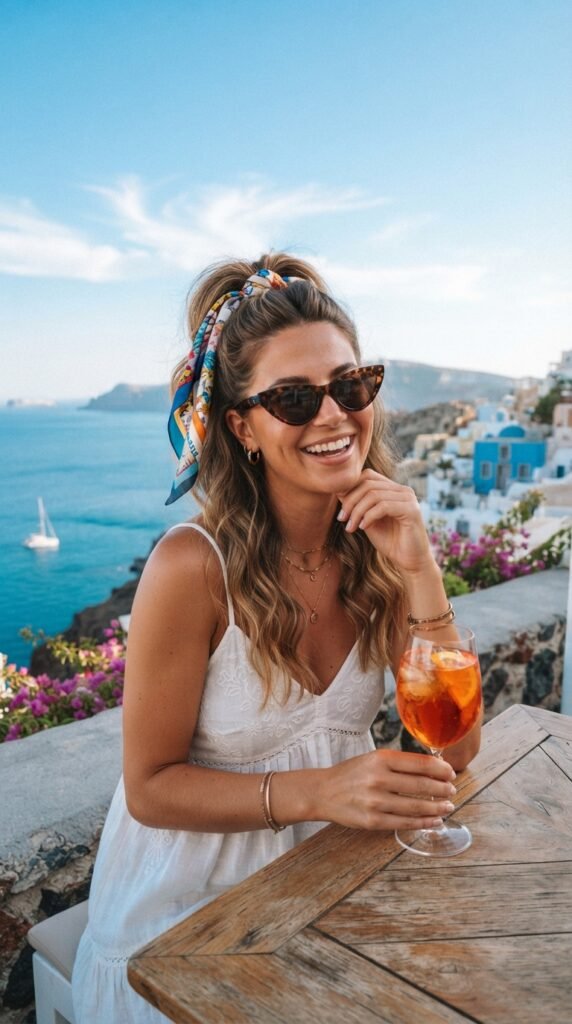
20. The Dramatic Lifted Front
If you have fine hair, this ones for you. It’s designed to give you maximum volume at the crown. It’s like a facelift for your hair.
Tease the roots at the crown of your head. Carefully smooth the top layer of hair over the teased section and pin it back. The height this creates is incredibly flattering and very “old money hair” meets Hollywood glam.
- Use a teasing comb for best results.
- This balances out an “asymmetrical lob” nicely.
- Finish with hairspray to hold the height.
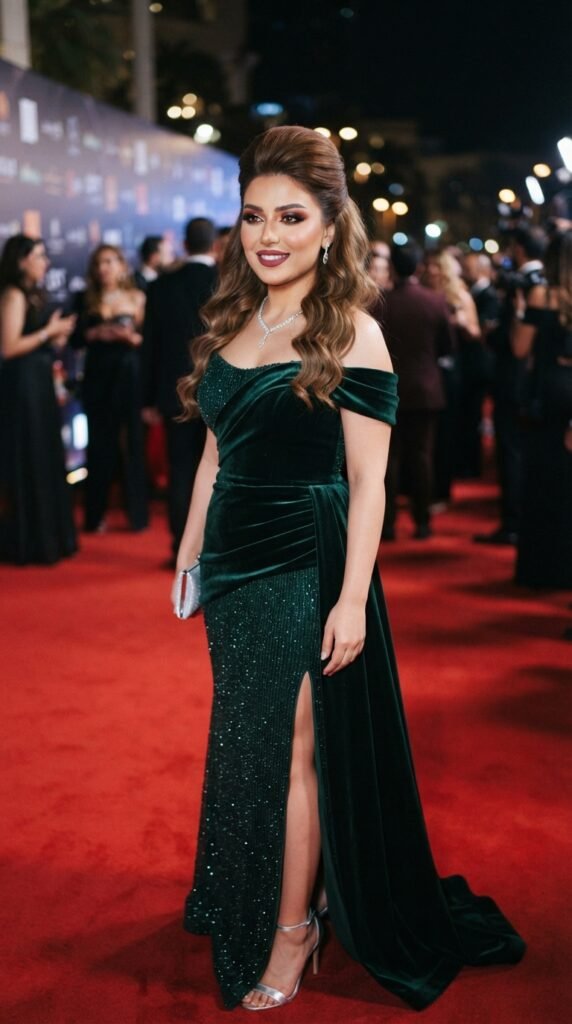
21. The Lunar Eclipse Buns
We talked about space buns, but this is the darker, more sophisticated cousin. This suits the “romantic goth hairstyles” aesthetic perfectly. It’s moody and chic.
Instead of one bun, create two low, tight buns at the back of your head. Leave the top half of your hair down. It sounds unusual, but it creates a structural frame that looks very editorial.
- Best for medium to long hair.
- Can be sleek or messy.
- Try it with dark lipstick.
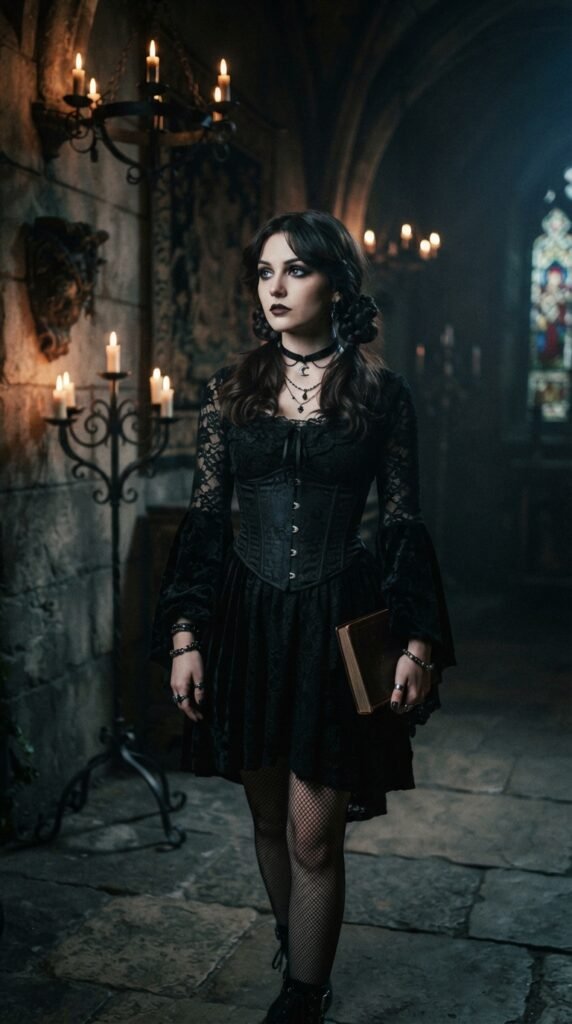
22. The Deep Braid Tuck
This is the ultimate boho queen style. It’s a great way to keep hair off your neck while still showing off the length. It’s deceptively simple to create.
Braid a larger portion of hair from your crown, but instead of leaving it hanging, tuck it into the rest of your hair at the back and pin it securely. It looks like complex weaving, but it’s just a clever tuck.
- Braid loosely for best effect.
- Tug at the braid to make it thicker.
- Pin it under the bottom layer of your hair.
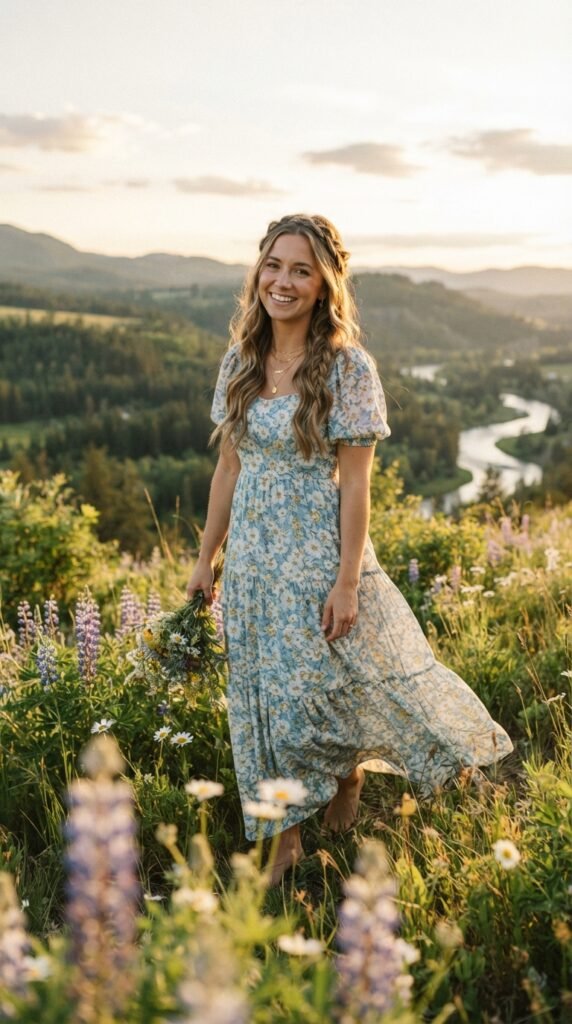
23. The Y2K Butterfly Clip
This one is pure nostalgia. Those big claw-like butterfly clips are back. They are the easiest tool to create a quick half-up style that looks incredibly cool.
Simply clip two or three butterfly clips along the side of your head, pulling back just the front sections. The result is playful and perfectly aligned with the Y2K revival influencing 2026 hairstyles.
- Great for all hair lengths.
- Instant volume from the clips.
- Zero skill required.
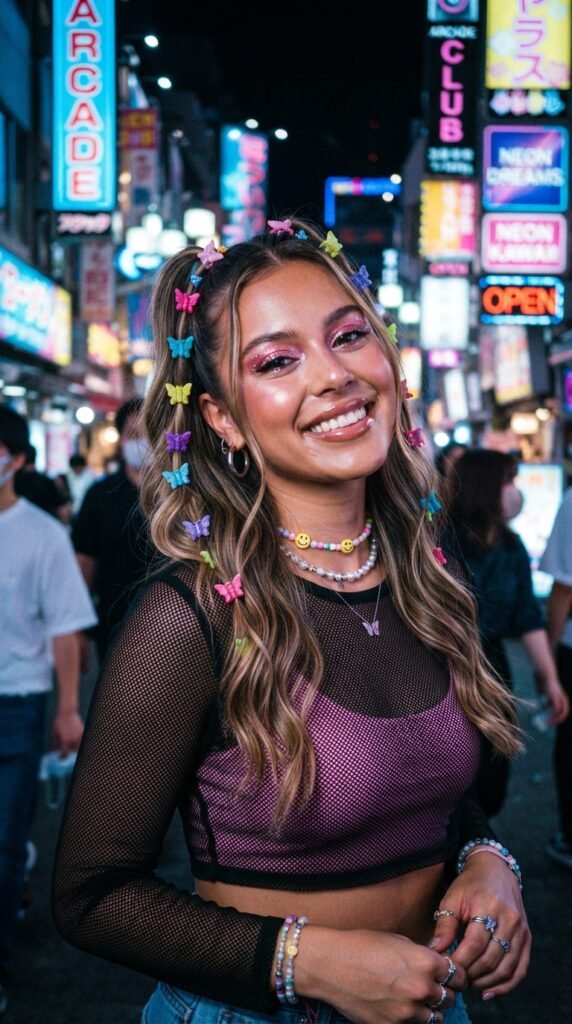
24. The Soft Feathered Edge
This look is all about blended layers. It’s not a clean separation between the “up” part and the “down” part. Instead, they blend seamlessly together for a soft, romantic finish.
Secure the top half loosely, then use a wide-tooth comb or your fingers to gently pull out some strands from the front and the back. It should look airy and light. Think 70s rockstar energy.
- Works beautifully on a “quiet luxury bob”.
- Use sea salt spray for texture.
- Very low maintenance.
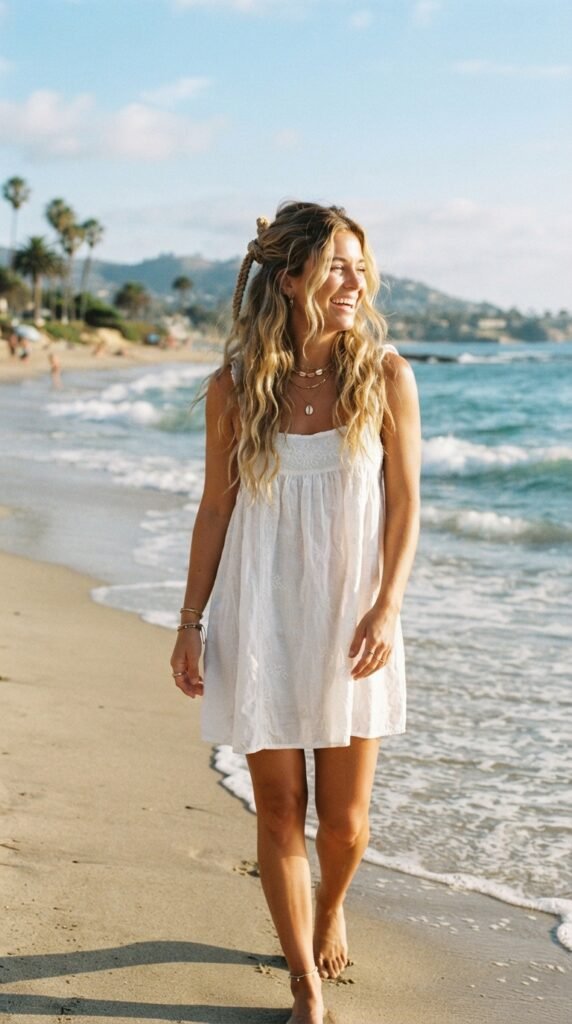
25. The Italian Twist
We are ending with a classic. The Italian twist is a chic, undulated roll on the sides of your head. It looks like you had a professional stylist do it, but you can do it at home.
Roll the top side sections of your hair inwards towards the back. Pin them together to create a smooth, elegant roll on each side. This is the epitome of a “vampire haircut” styling or just old-school chic.
- This adds instant sophistication.
- Perfect for weddings or parties.
- Pairs great with statement earrings.
Whew! We made it through all 25 looks. I hope your inspiration meter is completely full now. The beauty of the half-up style is that there is truly something for everyone. You just have to find the one that makes you feel like the best version of yourself.
Don’t be afraid to experiment. Mix and match these ideas. If you don’t get the perfect bun or braid on the first try, that’s okay. Practice makes progress, and the messy look is always in style anyway.
Save this post to Pinterest so you can find your favorite styles again later. And please, leave a comment below—tell me which one are you trying first tonight?