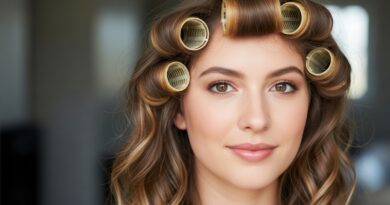
27 Effortless Messy Bun Tutorials For Casual Weekend Outings
I love a good messy bun. Not the kind you hide under a baseball cap — the kind that looks like you actually tried, even when you rolled out of bed nine minutes ago.
Weekends are for brunch, farmers markets, coffee runs, and that one errand you’ve been putting off for three weeks. Your hair should keep up without eating your entire morning.
So I rounded up 27 effortless messy bun tutorials for casual weekend outings. Some lean old money hair, some lean romantic goth hairstyles, and a few are straight-up 2026 hairstyles energy.
Every single one works on real hair — fine, thick, curly, short, greasy, whatever you’ve got going on. No round brush, no salon appointment, no stress. Grab a few pins and let’s go.
1. The 5-Minute Classic Messy Bun
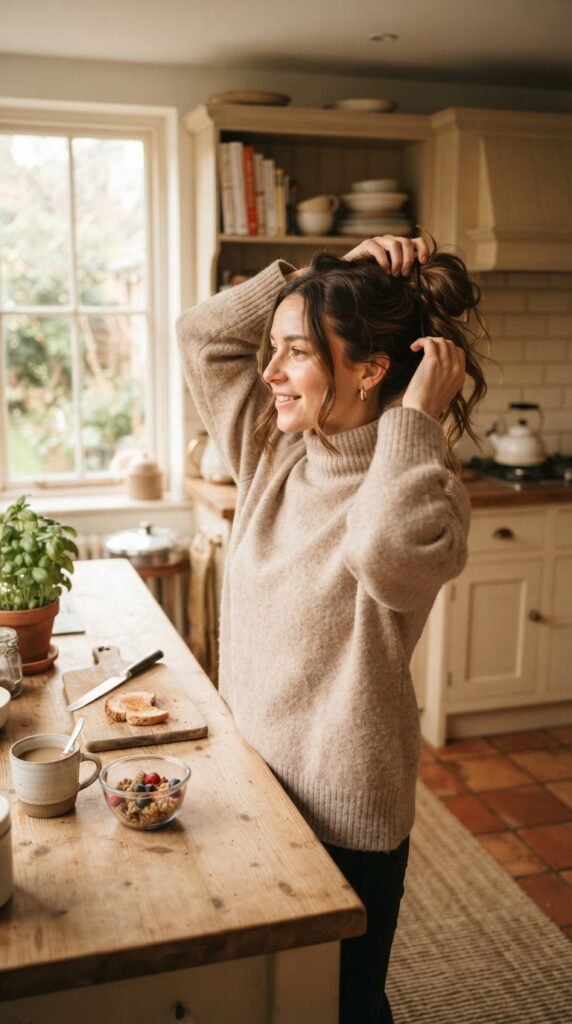
This is the one I come back to every single weekend. It works on day-two hair and takes about five minutes.
- Flip your head down and gather everything at the crown.
- Twist the ponytail until it coils on itself.
- Wrap it into a loop and pin the ends underneath.
- Pull two small pieces loose at the temples.
Messy is the point. If it looks too neat, tug the edges with two fingers. A little dry shampoo at the roots gives grip without crunch — and grip is what keeps a bun standing all day.
2. Old Money Low Bun

Old money hair is really about polish with softness. Think quiet, expensive, completely unfussy.
- Brush hair back into a low ponytail, keeping the part soft.
- Twist loosely and wrap around the base.
- Pin with two bobby pins crossed in an X.
- Loosen one strand behind each ear.
Pair it with a cream sweater and gold hoops and you’re done. The trick is not pulling it tight. Tension reads cheap; softness reads luxe. A drop of hair oil on the ends finishes it off.
3. Quiet Luxury Bob Meets Messy Bun
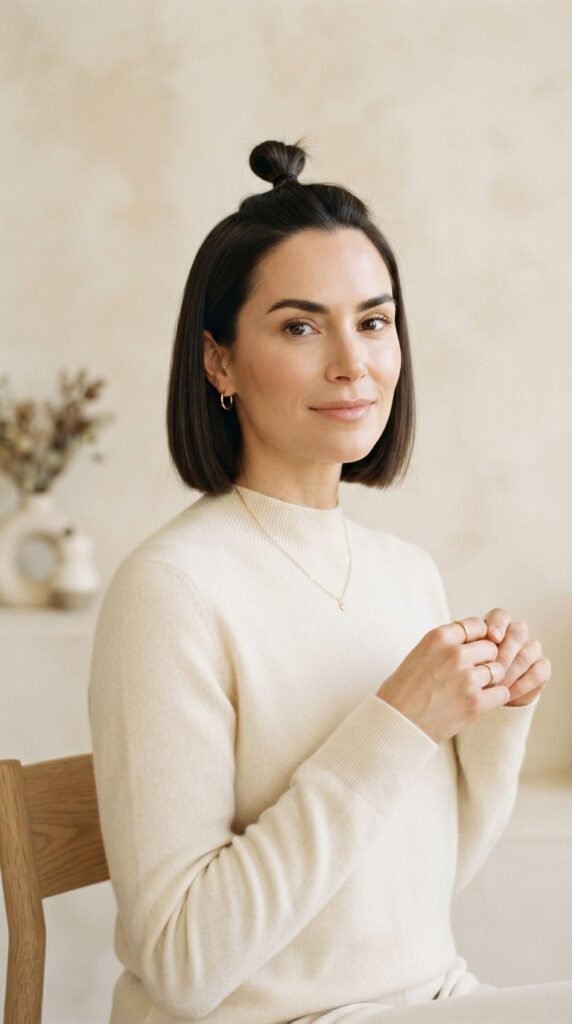
A quiet luxury bob is gorgeous on its own, but a small top knot makes it feel intentional. This one is for short hair, chin to collarbone.
- Section off the top third of your hair.
- Twist it into a small knot at the crown.
- Pin it flat against your head.
- Leave the bob loose and tuck one side behind your ear.
Keep the knot small so it doesn’t compete with the cut. A mini claw clip works great if pins slip out of short layers.
4. Romantic Goth Messy Bun

Romantic goth hairstyles love a soft, slightly undone bun. Think dark ribbon, loose pieces, a little mood.
- Pull hair into a low, loose bun.
- Leave wispy bits around the face and neck.
- Tie a black or deep burgundy ribbon around the base.
- Mist with a light shine spray.
Velvet ribbon over satin reads more romantic. Pair it with dark lipstick and you’re weekend-ready — market, movie, or midnight coffee run.
5. Glitchy Glam Half-Up Bun
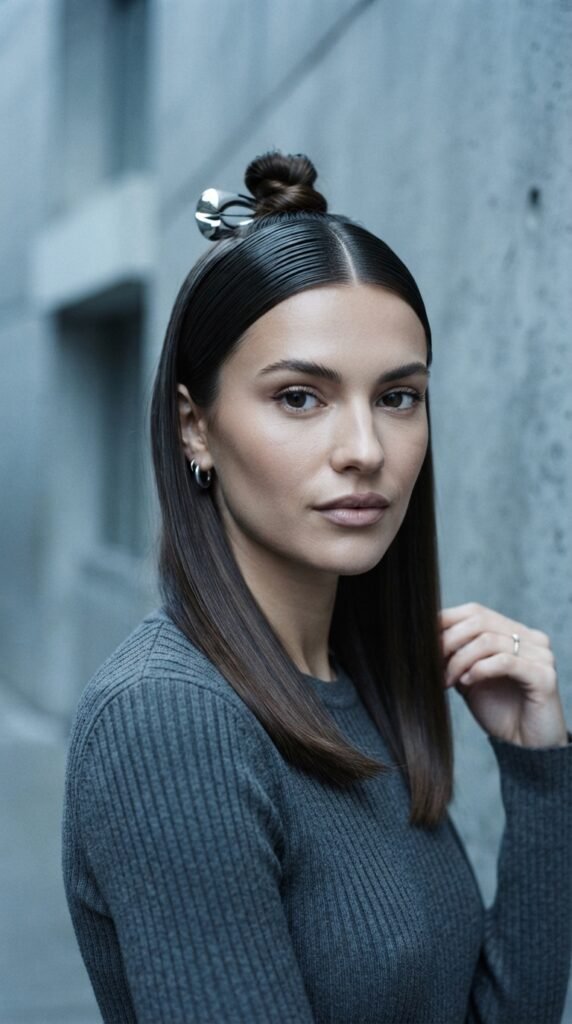
Glitchy glam hair is shiny, a little futuristic, and very 2026 hairstyles energy. Half-up is the easiest way in.
- Smooth the front with a fine-tooth comb and gel.
- Gather the top half into a small knot.
- Add one or two metallic pins.
- Leave the bottom sleek and straight.
Contrast is the whole point — sleek front, soft knot. A chrome clip takes this from basic to editorial in about one second.
6. Asymmetrical Lob Twist Bun
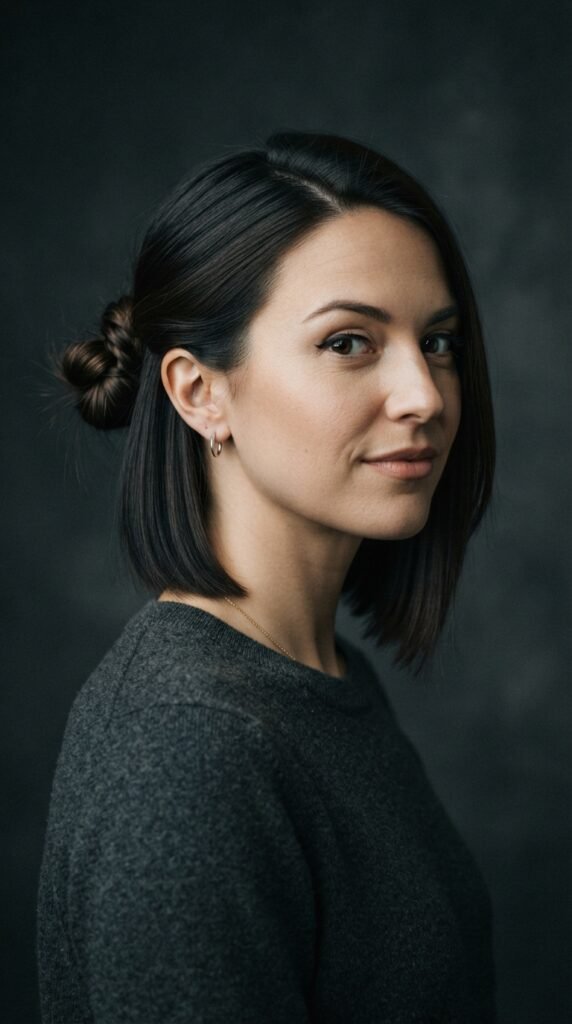
An asymmetrical lob can feel awkward on lazy days. This twist fixes that.
- Part deep to one side.
- Twist the longer side up toward the back.
- Pin it into a small knot behind your ear.
- Leave the short side down and straight.
The rule: keep the long side working, let the short side relax. It looks intentional, takes four minutes, and works on almost any length of lob.
7. The Vampire Haircut Bun

A vampire haircut — blunt, dark, sharp — looks amazing in a low bun with a middle part.
- Middle part, smooth the front flat.
- Low twist at the nape of the neck.
- Two blunt strands left out at the front.
- Pin tight so it stays sleek.
The sharp face-framing pieces do all the work here. Keep the bun small and tight so the blunt edges stay the star of the show.
8. Hime Cut Bun
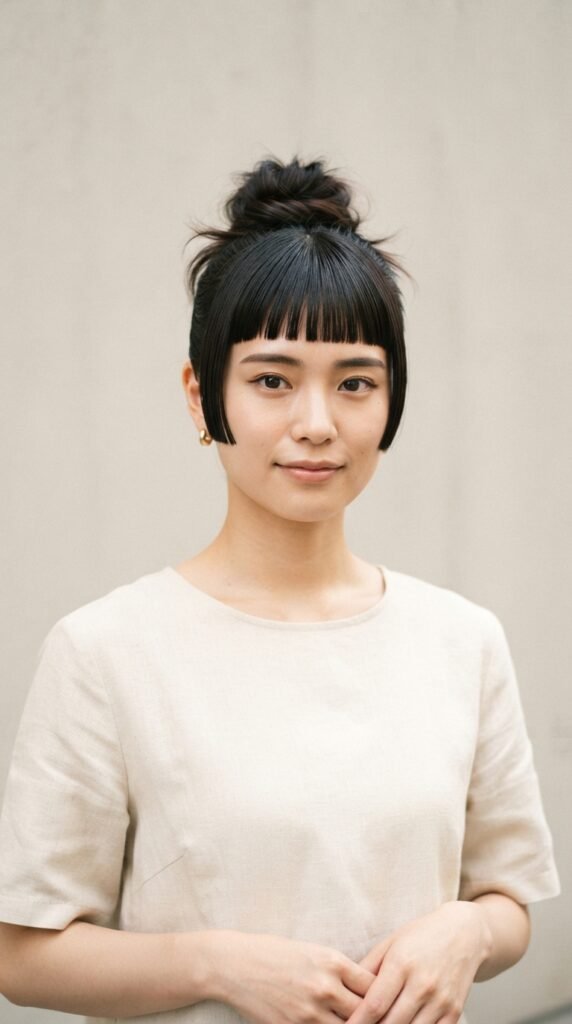
A hime cut has those signature straight side pieces. A bun actually shows them off better than wearing it down.
- Gather the back into a mid-height bun.
- Keep the side pieces straight and completely separate.
- Flat-iron them if you have a minute.
- Add a slim clip above one ear.
The contrast between a soft bun and sharp straight sides is the whole look. It’s clean, a little anime-inspired, and very 2026 hairstyles.
9. The 2026 Cloud Bun
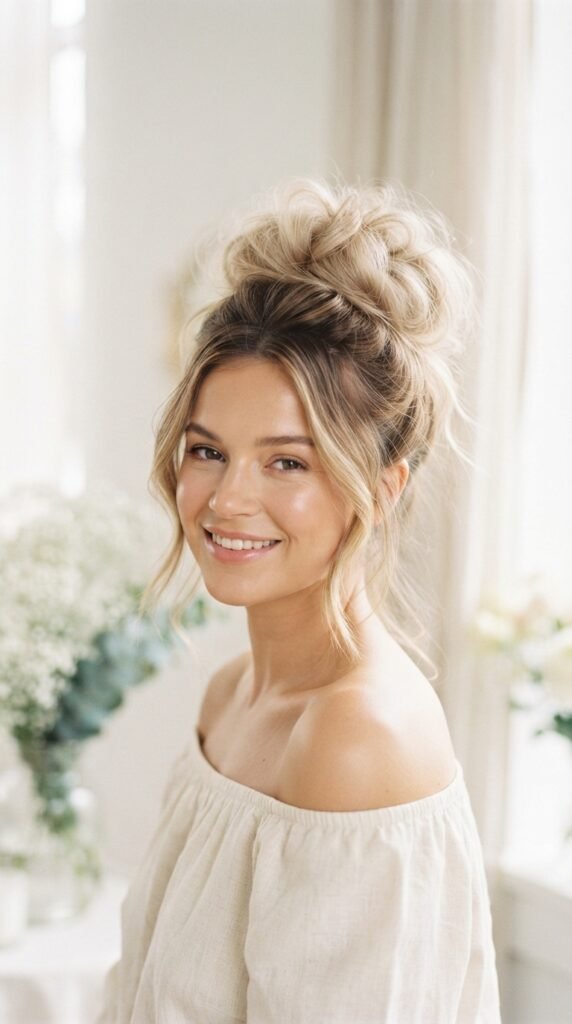
The cloud bun is everywhere right now. It’s a messy bun that’s been lightly fluffed instead of tightened.
- Make a regular high bun.
- Pull sections outward with two fingers.
- Leave the loop loose and airy.
- Skip the gel entirely.
Think soft, cloudy, weightless. A little texture spray holds the shape without any stiffness. It’s perfect for second or third-day hair when everything has a mind of its own.
10. Messy Bun With Curtain Bangs

Curtain bangs plus a messy bun might be the easiest combination in existence.
- Bun up the back as usual.
- Blow the bangs slightly outward.
- Pin one side back for balance.
- Leave the other side loose.
If your bangs are greasy, dry shampoo the roots and finger-comb. Don’t over-style them. The soft bend is enough, and fighting them never ends well.
11. Sock Bun For Thin Hair
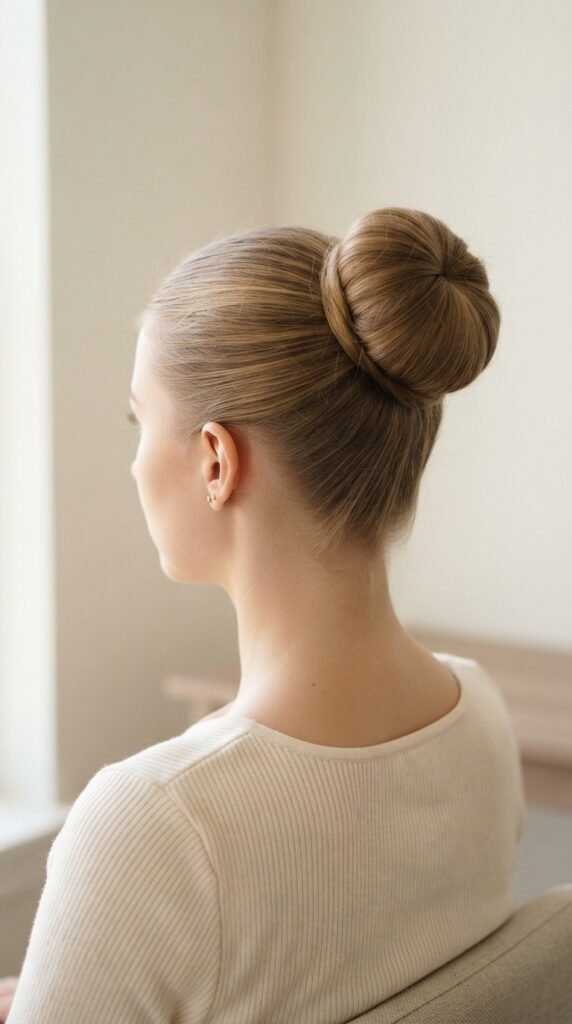
Thin hair and messy buns usually don’t get along. A sock bun changes that.
- Cut the toe off a clean sock and roll it into a donut.
- Pull hair through the donut into a ponytail.
- Wrap hair around it and tuck the ends.
- Fluff the top for volume.
It gives structure so the bun looks full without any teasing. Match the sock to your hair color so it disappears completely.
12. Chunky Scrunchie Bun
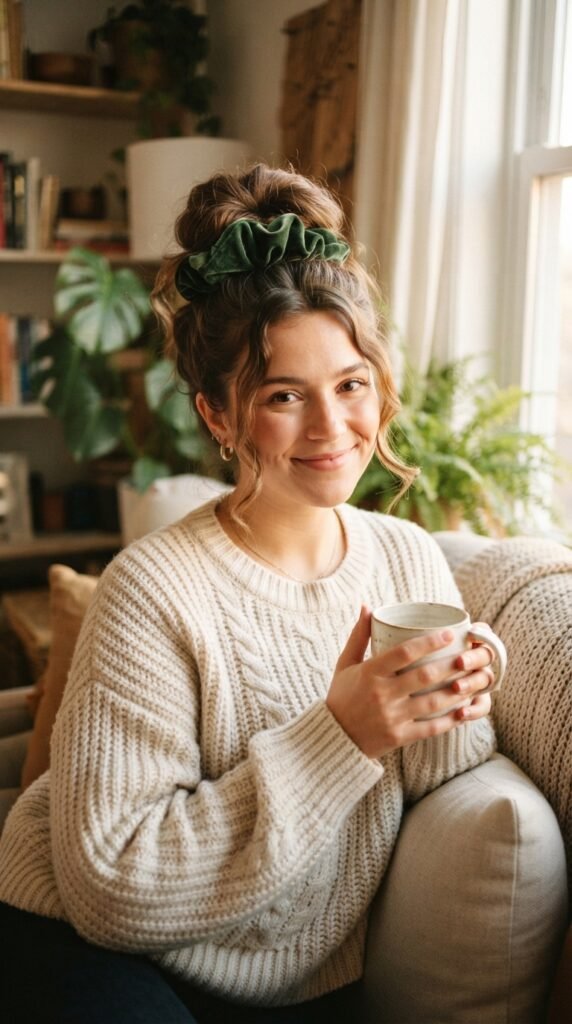
The chunky scrunchie is back and I’m not mad about it.
- Make a high ponytail, but stop on the last loop.
- Wrap the scrunchie once more.
- Pull the loops loose with your fingers.
- Tuck stray ends with a pin.
Velvet for fall, satin for spring. It’s the fastest way to make a bun look styled instead of survival mode. No pins needed most days.
13. Braided Base Messy Bun
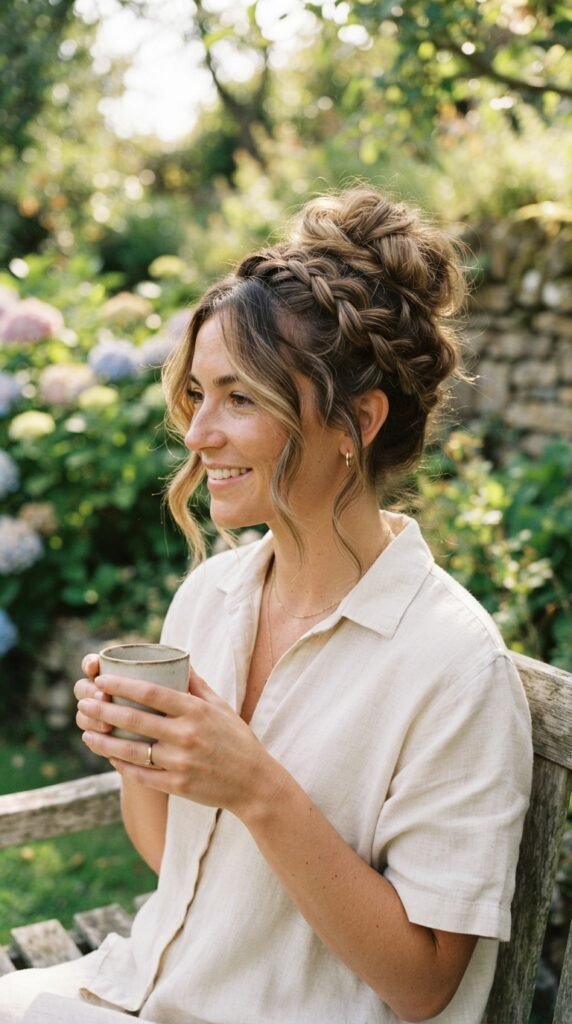
A braid at the base keeps everything in place — great for thick, heavy hair.
- Make a ponytail, then split it in two.
- Braid each half loosely.
- Wrap both around the base.
- Pin and pull the braid edges out.
The braid adds texture and stops the bun from sliding down by noon. It also looks way more complicated than it actually is, which is my favorite kind of hairstyle.
14. Wet-Look Slick Bun
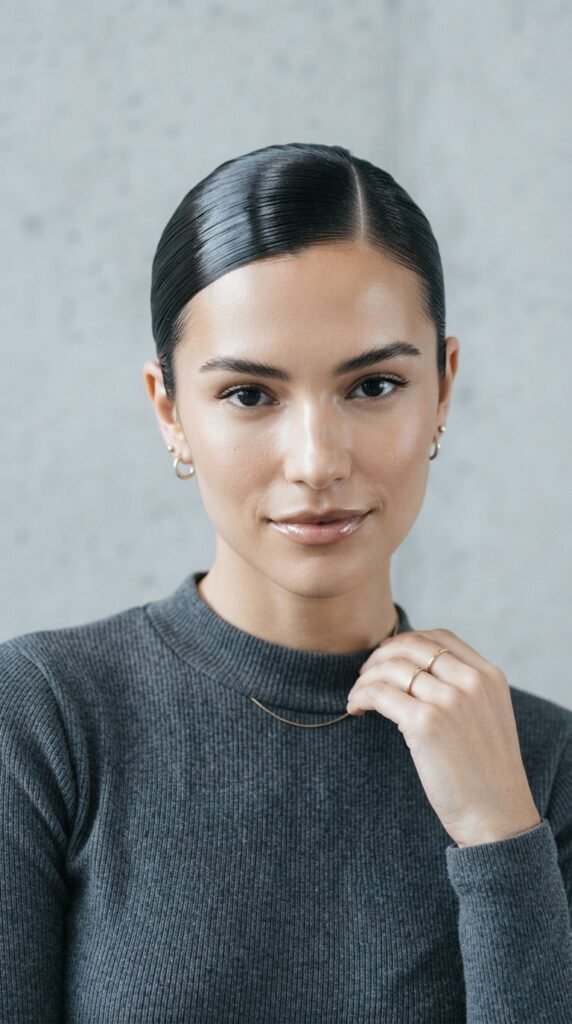
The slick bun is still a 2026 hairstyles favorite, especially with a wet finish.
- Comb gel through damp hair.
- Pull into a low or mid bun.
- Smooth the front flat with a brush.
- Mist with shine spray.
Use a flexible gel, not a stiff one — stiff gel flakes by lunch. This one’s perfect for dinner plans that start right after a very long day.
15. The Two-Minute Car Bun
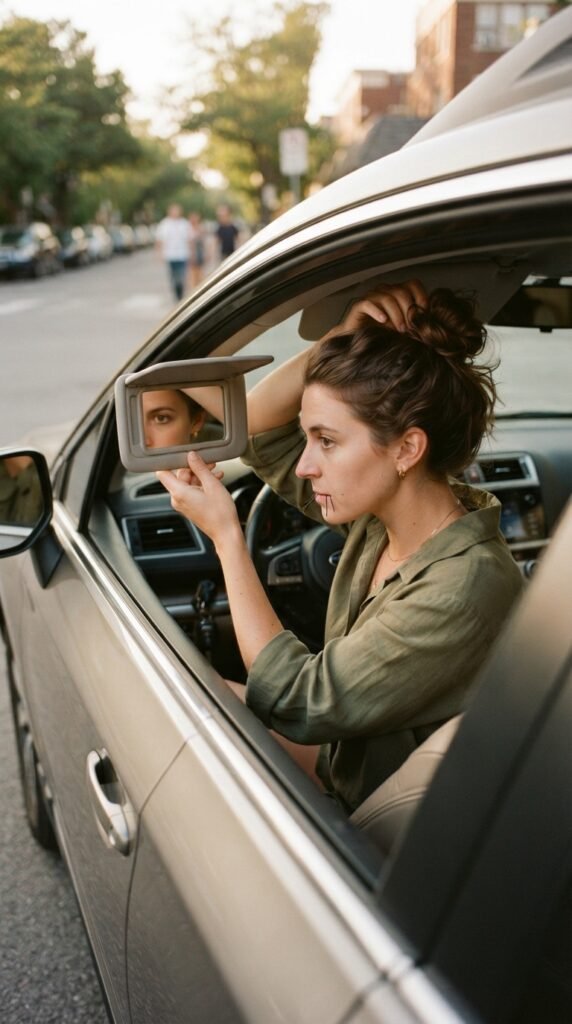
Some days you’re already late. This one is done at a red light.
- Flip your head down and gather everything.
- Loop a hair tie twice.
- On the last pull, stop halfway.
- Fluff and go.
No mirror, no pins, no problem. It won’t be perfect and that’s the charm. Keep a silk scrunchie in your car so you’re never stuck with a plain elastic.
16. Beach Day Textured Bun

Salt and sand actually help this one.
- Spray in a little salt spray.
- Scrunch, then gather at the crown.
- Twist and pin loosely.
- Leave pieces loose around the face.
Texture is what makes a beach bun actually stay put. If you have fine hair, add a light mousse first. Rinse-day hair works best here, so don’t wash it before you go.
17. Curly Girl Messy Bun
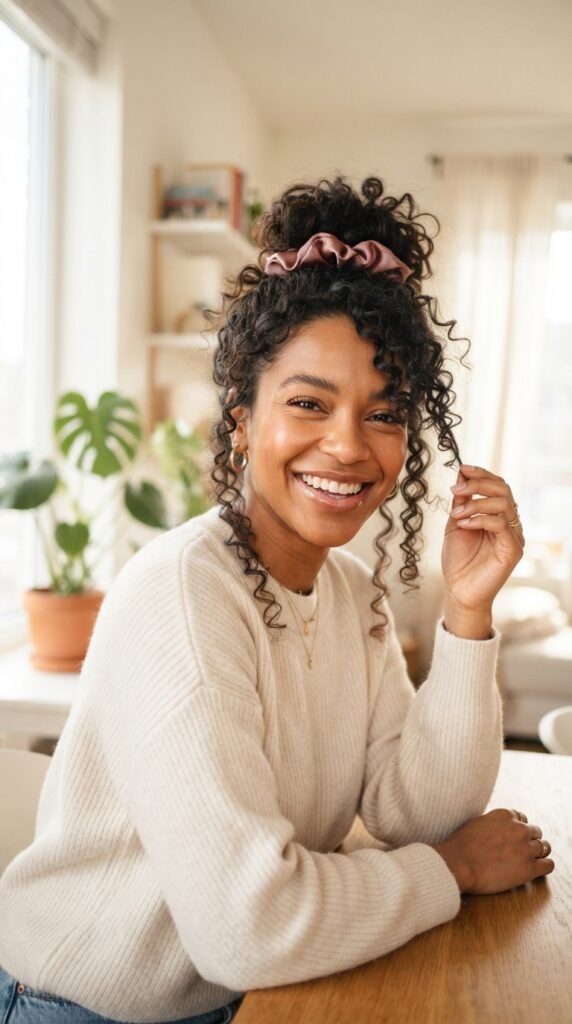
Never brush curly hair for a bun. Ever.
- Finger-comb with a little conditioner and water.
- Gather loosely at the crown.
- Loop with a satin scrunchie.
- Pull out a few ringlets around the face.
Use a satin tie to avoid creases and frizz. Your curls keep the bun looking full without any extra work, which is honestly a gift.
18. Fine Hair Volume Bun

Fine hair needs grip and a little bit of deception.
- Texture spray at the roots.
- Tease the crown lightly with a comb.
- Bun as usual, loosely.
- Pin the ends flat.
Skip heavy products. They weigh fine hair down and the bun collapses by noon. A mini claw clip tucked under the bun adds hidden height that nobody can see but everyone notices.
19. Twist and Pin Bun
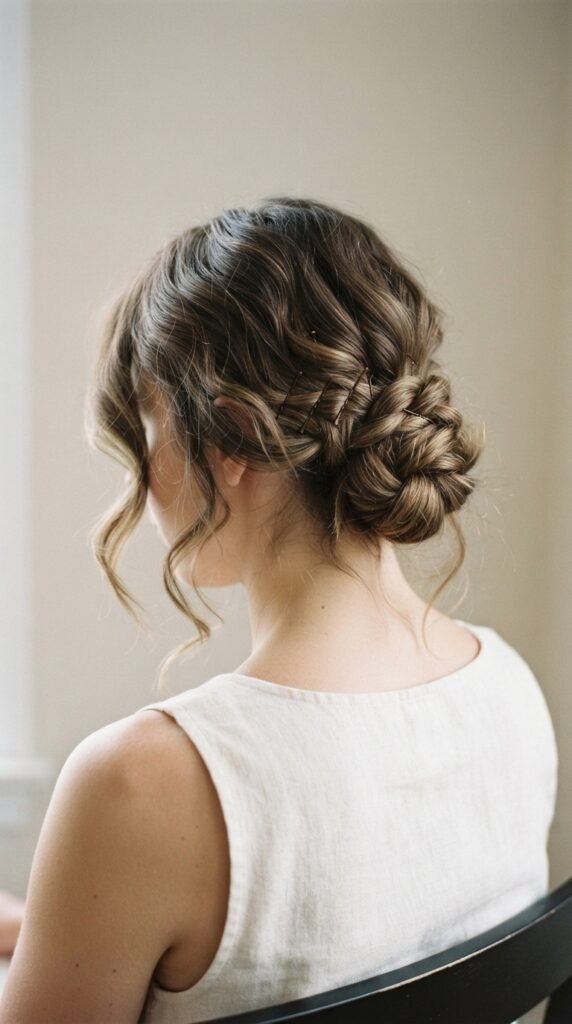
Two twists, four pins, done. This one is great if hair ties give you headaches.
- Split hair into two sections.
- Twist each toward the center.
- Cross them and pin.
- Loosen the edges with your fingers.
It holds without a band, which makes it a favorite for all-day wear. Works on almost any length past your shoulders, even layered hair.
20. Headband Messy Bun
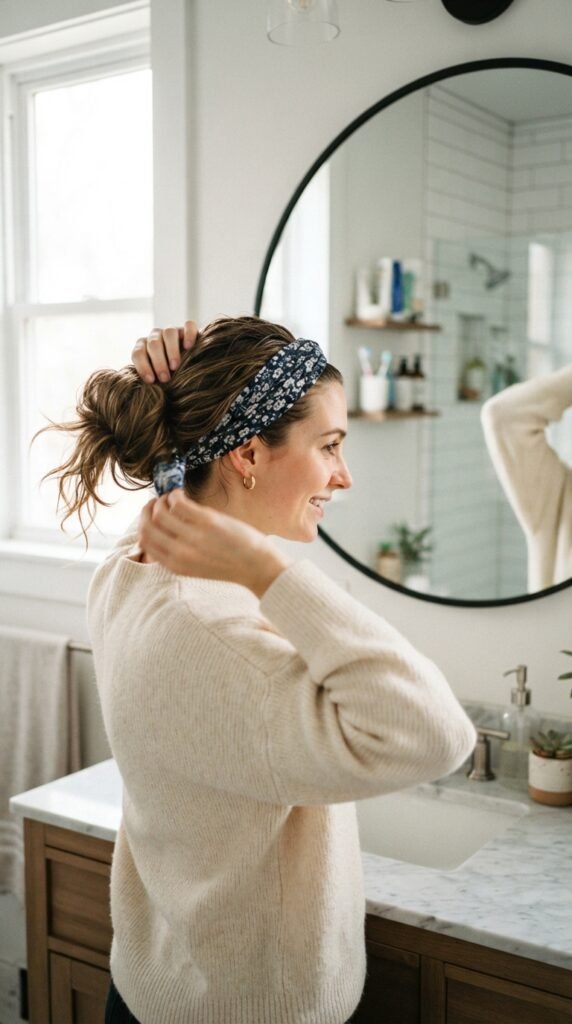
A headband bun is the trick for anyone who can’t get pins to stay.
- Put a stretchy headband on over loose hair.
- Tuck hair up and under the band.
- Roll it around until it forms a bun.
- Adjust the front.
It looks like a full bun and takes zero skill. Great for workouts, errands, and days when your arms are already tired.
21. Claw Clip Faux Bun

Skip the pins entirely.
- Gather hair into a low ponytail.
- Twist it up into a loop.
- Clamp a claw clip over the base.
- Fan the loop out.
A tortoiseshell clip reads old money hair; a matte black one reads clean and minimal. Either way it’s ten seconds of work and it basically never slips.
22. Gym To Brunch Bun
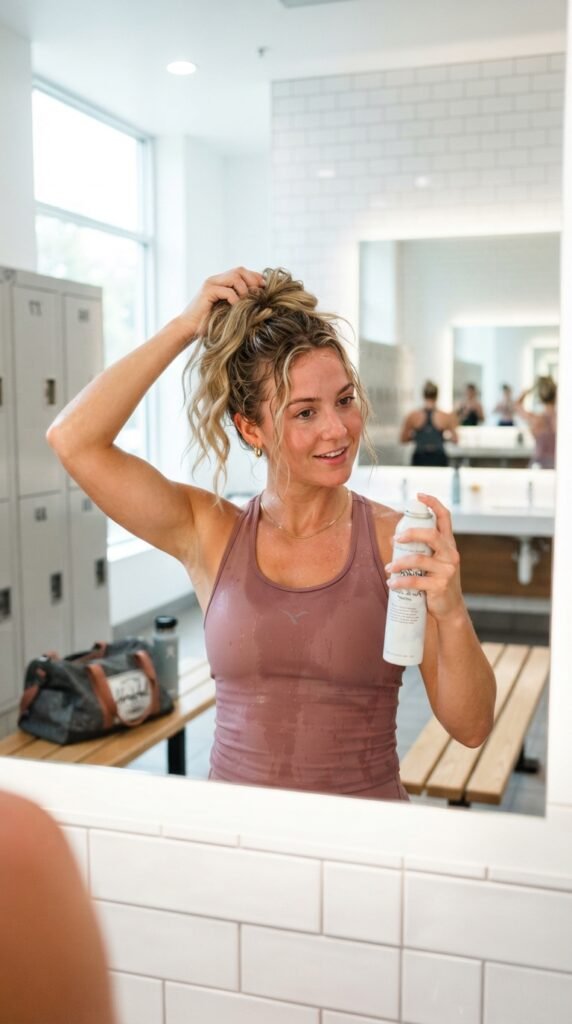
One bun, two stops.
- Tight high bun for the workout.
- After, pull it loose and fluff.
- Dry shampoo the roots.
- Pull face-framing pieces out.
Same bun, softer shape. That’s it. This is my favorite weekend hack because I don’t have to redo anything between the gym and pancakes.
23. Overnight Bun To Next-Day Bun

Sleep in a loose bun and tomorrow’s hair is halfway done.
- Pineapple your hair on top with a satin scrunchie.
- Sleep on a silk pillowcase.
- Loosen it in the morning for soft waves.
- Re-bun it in ten seconds.
You get volume at the roots and a little bend in the ends. It’s the laziest way to look like you tried, and it never fails.
24. Messy Bun For Short Hair

Short hair can absolutely bun — just smaller.
- Section off the top half.
- Gather into a tiny loop at the crown.
- Pin the ends underneath.
- Leave the bottom layers loose.
Don’t force all your hair up. A half-up look reads more polished on a bob or an asymmetrical lob anyway. Two pins and a mini clip are all you need.
25. Silk Scarf Messy Bun
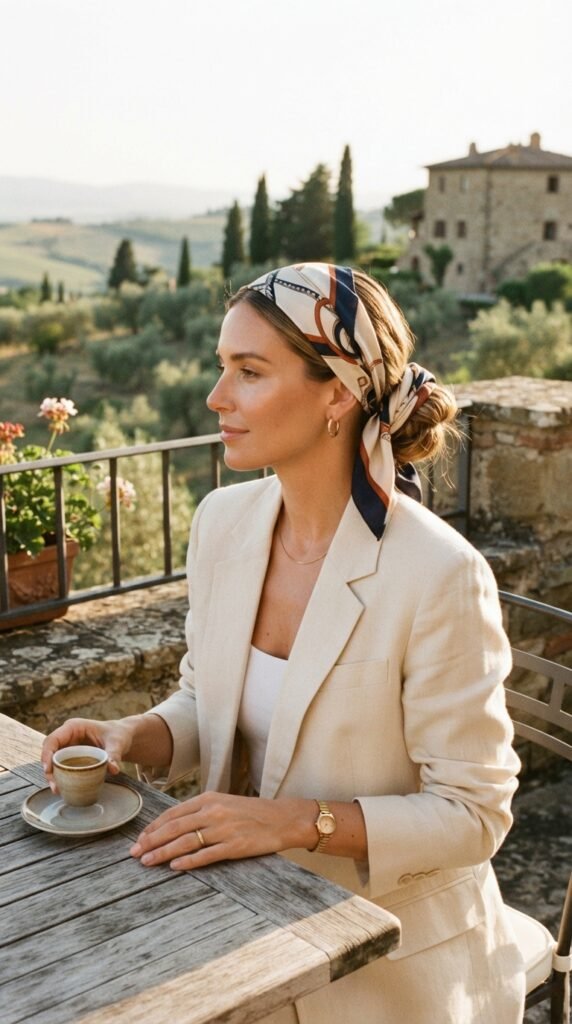
A scarf makes any bun look expensive.
- Tie the scarf around your head with the ends at the nape.
- Bun your hair over the knot.
- Wrap one end around the bun.
- Leave the other end loose.
It covers the messy parts and looks completely intentional. This one is very quiet luxury — simple, soft, a little old money. Great for a long lunch.
26. Rainy Day Secure Bun
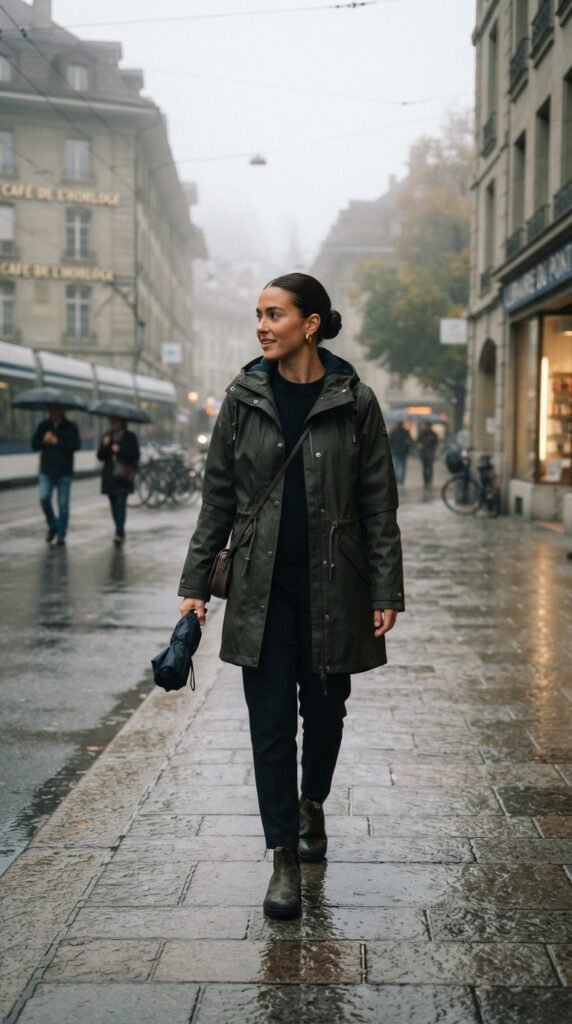
Humidity is a bun’s worst enemy.
- Start with dry shampoo for grip.
- Use a spiral hair tie, not a smooth one.
- Pin the base in four spots.
- Skip the loose pieces.
Leave nothing hanging out that can frizz. A little light hairspray on the front keeps the shape. Not the prettiest bun, but it survives drizzle and wind without a single complaint.
27. The Airport No-Mirror Bun
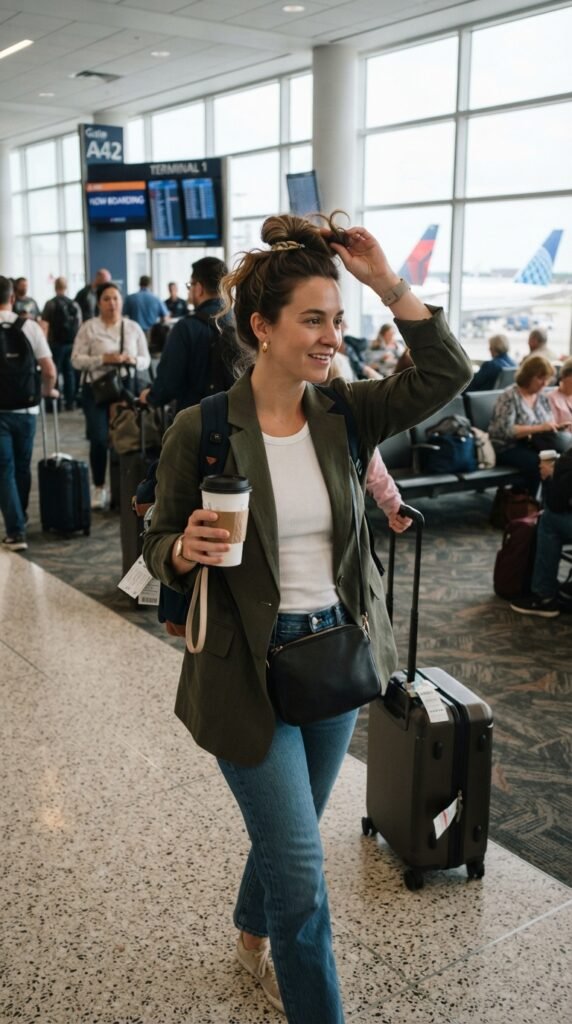
Last one, and it’s the one I use most.
- High ponytail on top of your head.
- Twist and wrap loosely.
- One pin at the top, one at the base.
- Fluff with both hands and walk.
You can do it in a bathroom stall, a car, or at the gate. It’s the definition of effortless — and honestly, the slightly imperfect ones always look best. Now you just need coffee.
The Weekend Wrap-Up
Twenty-seven buns, and honestly? You only need two or three in your regular rotation. Start with the 5-minute classic and the old money low bun, then branch out when you’re feeling brave.
What I love most about messy buns is that they forgive everything — greasy roots, weird layers, a haircut you’re still growing out. They just work with you instead of against you.
Pick one, try it tomorrow morning, and see how it feels. That’s the whole secret.
Save this post to Pinterest so you have all 27 tutorials ready the next time you’re standing in front of the mirror with five minutes to spare.
And tell me in the comments — which bun are you trying first? I read every single one. — Hailey