27 Polished Long Haircut Layers Emphasizing Healthy Reflective Hair Shine
I have been getting the same DM about ten times a day: “I want long layers, but I want them to look expensive.” Not choppy. Not that mullet-adjacent shag from two years ago. Soft, shiny, grown-up layers that move when you walk and catch the light in photos.
So I pulled together the 27 polished long haircut layers I keep saving for us, plus the real talk on shine. The cut is only half of it. The other half is what happens in the shower, in your hand, and in your sleep.
This is the quick version. Skim the sections you need, screenshot what you want, and bring it to your stylist. You will be in and out in about five minutes.
Why Polished Layers Are Everywhere in 2026

2026 hairstyles swung hard toward “quiet” this year. Fewer razor edges, more weightless movement. The layers are still there. They just got smoother, longer, and way more intentional.
Polished layers sit around your collarbone and chin, blending down so nothing looks stacked or stair-steppy. You get volume on top and a soft taper at the ends.
- Layers start lower on the head
- Ends stay thick, not thinned out
- Shine becomes part of the design
What “Shine” Actually Means for Your Hair
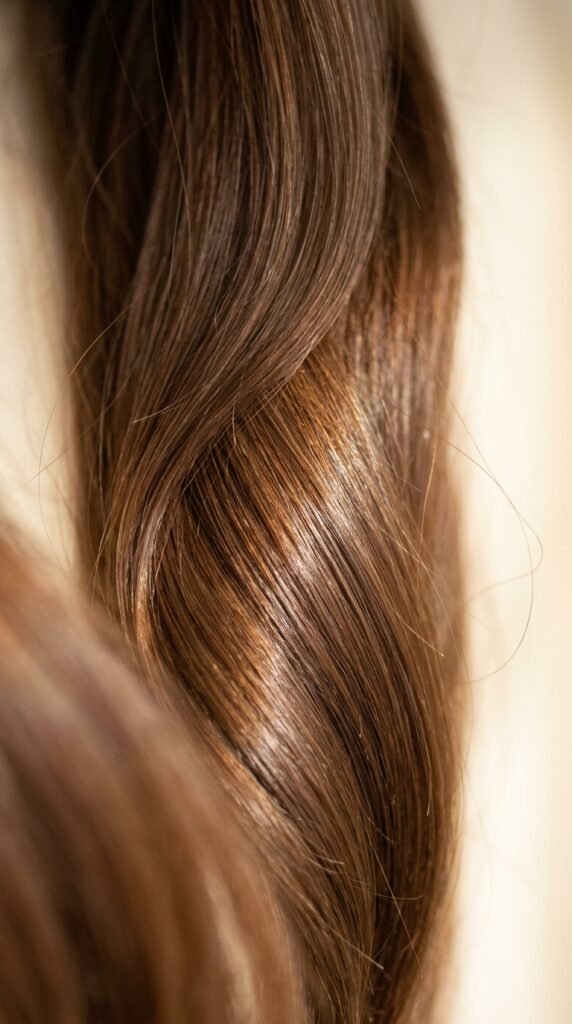
Shiny hair is a smooth surface, full stop. Light bounces off a flat cuticle and comes back at you. A rough cuticle eats the light, and you get that dull, dusty look even with good color.
So when we say “reflective,” we mean three things working together: a clean cut, smooth texture, and a little moisture sealed in. Skip one and the whole thing looks flat.
That is why I put shine talk in a haircut post. The best layer job in the world still looks blurry without it.
The Face-Framing Start Point

Where your first layer starts changes everything. Too high and you get a shelf. Too low and you get no movement at all.
Rule of thumb: start at the cheekbone for softer faces, chin for longer or more angular faces. Your stylist can feel your growth pattern and adjust from there.
- Bring a photo of the front, not just the side
- Ask where the shortest layer will land
- Say no to thinning shears near the face
Long Layers vs. Short Layers: The Honest Breakdown
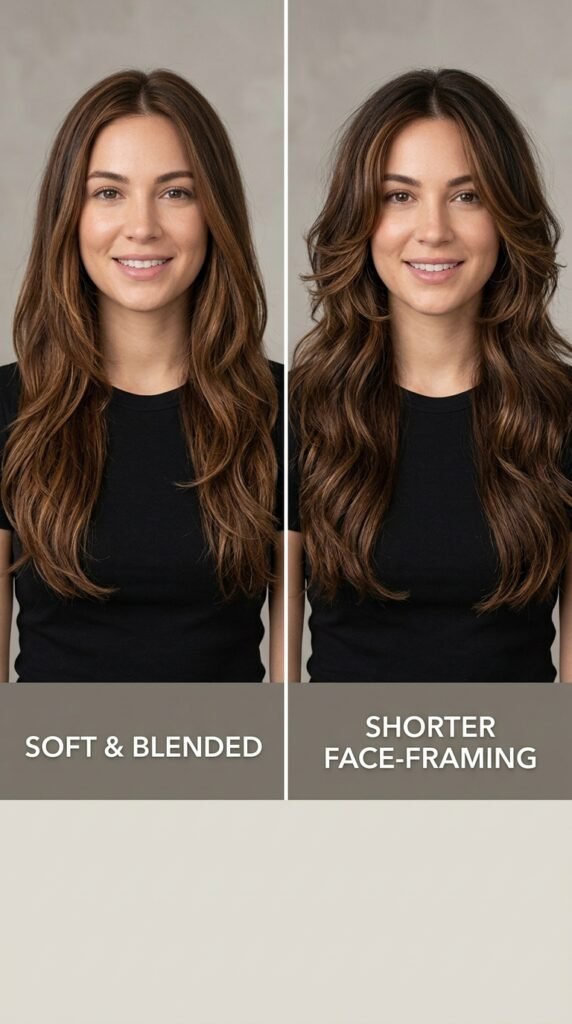
Long layers are the safe yes. They remove weight, keep your length, and grow out beautifully if you skip trims for a while. This is the version I recommend for most people.
Short layering is a statement. It gives volume and shape fast, but it needs more upkeep and can look dated if it goes too choppy. Not bad, just higher maintenance.
- Long layers: low commitment, high polish
- Short layers: high volume, more trims
- Middle ground: soft face framing only
The Quiet Luxury Bob Grows Out Into This
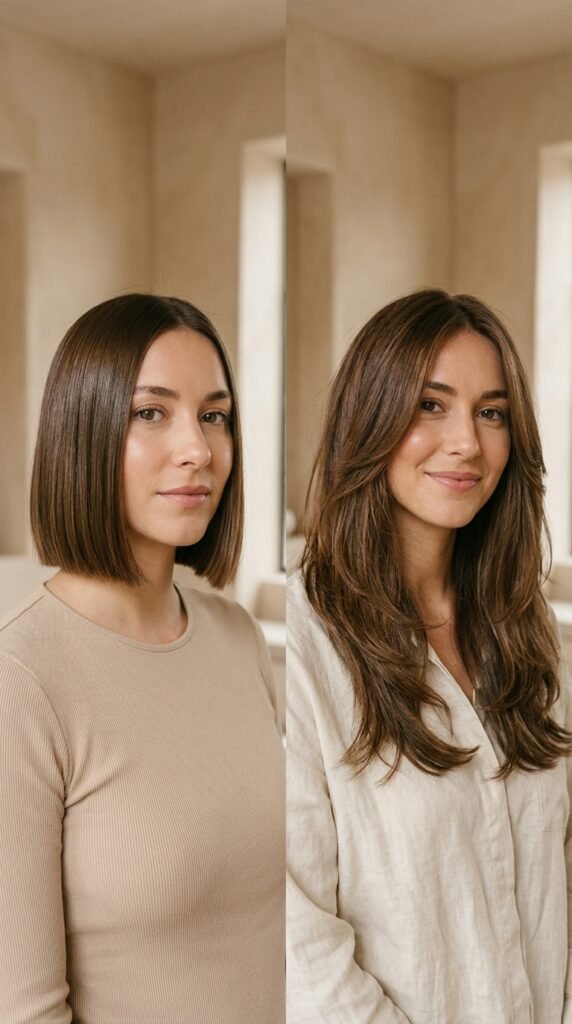
If you did the quiet luxury bob last year and you are growing it out, this cut is your next step. You already have a clean baseline. All you need is a little blending so it stops looking like two haircuts at once.
Ask for the shortest layer to sit exactly at your bob length, then blend down. That way your old cut becomes the frame instead of fighting the new one.
Honestly, this is the most painless grow-out path I know. No awkward year.
Old Money Hair: The Soft, Grown-Out Version
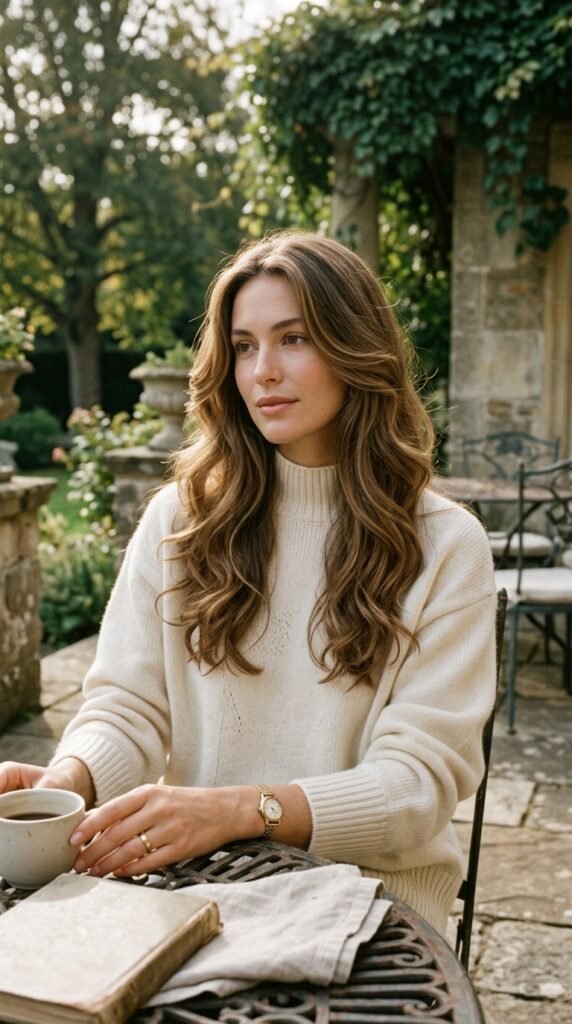
Old money hair is not really a cut, it is a finish. Long, healthy, softly bendy, never crispy or over-styled. The layers are barely visible until you move.
The trick is keeping the ends full. Nothing screams “cheap” like stringy, overly layered ends, and nothing reads more expensive than thick, glossy lengths.
Ask for minimal layering with a soft bend at the bottom third. Then commit to a gloss every six weeks.
The Asymmetrical Lob as a Training-Wheel Cut

Not ready for full length? An asymmetrical lob gives you the same polished movement with way less hair to manage. It also looks intentional, which is half the battle.
Keep the longest side just past the collarbone and layer only the front. You get that modern, slightly off-center feel without losing your safety net.
This is also the perfect cut if you are recovering from damage and want to cut most of it off without going full short.
Hime Cut: The Blunt Girl With Soft Layers
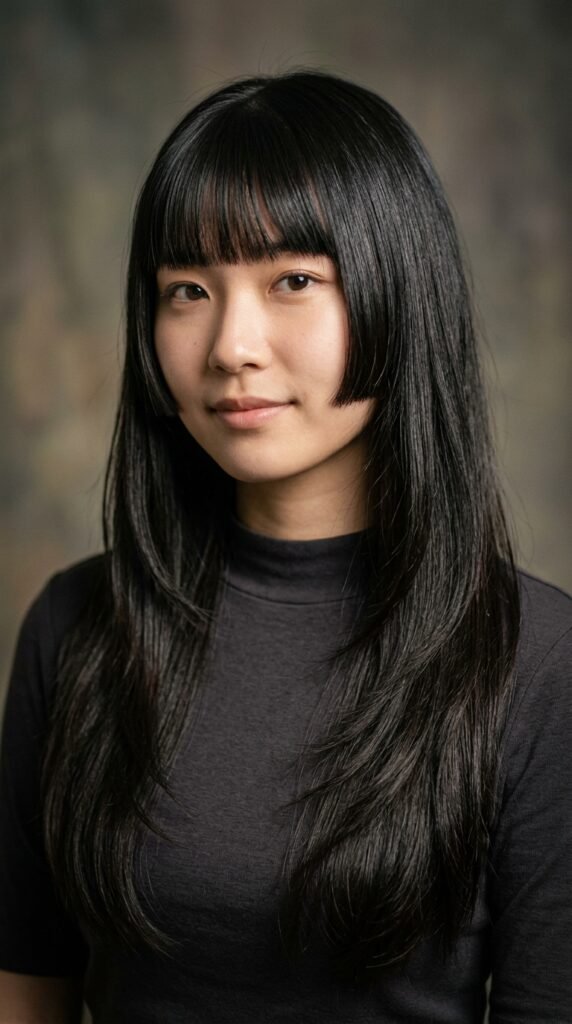
The hime cut is the blunt side pieces with long hair behind, and it is still having a moment. To keep it polished instead of costume-y, blend the back into soft long layers.
That combo keeps the cool blunt edges at the front and gives the rest of your hair movement. You get the drama without the helmet.
It works best on straight or slightly wavy hair with a strong gloss finish. Curly girls can do it too, just expect more styling time.
Romantic Goth Hairstyles With Polished Layers
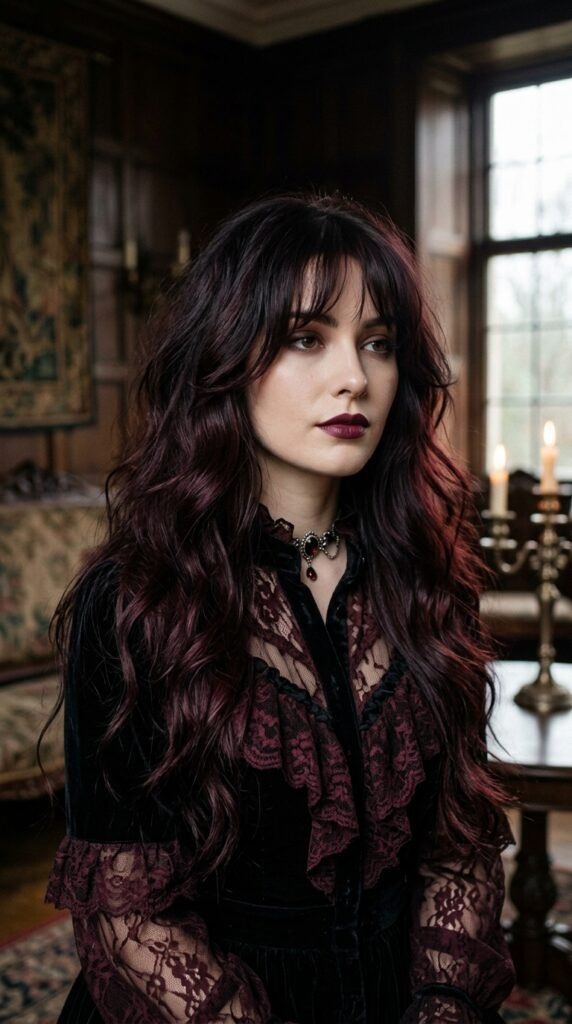
Romantic goth hairstyles are my favorite place to use layers. Think soft, long, slightly undone waves with real shine, not matte and dusty.
Deep color needs extra gloss or it reads flat and black in photos. A clear gloss or a shot of cherry tone brings the reflection back.
- Layer the mid-lengths, not the ends
- Use a shine serum only on the last three inches
- Skip heavy matte sprays
Glitchy Glam Hair: The Edgy Glossy Take

Glitchy glam hair is the fun one. It is glossy and polished but with an unexpected detail, like a sharp highlight placement, an off-center part, or one random streak.
The cut underneath still has to be clean. Long layers with a slightly disconnected face frame give you that “almost perfect, slightly off” look.
Keep the shine high and the volume low. This style is all about the surface, not the fluff.
Vampire Haircut: Layers That Look Expensive
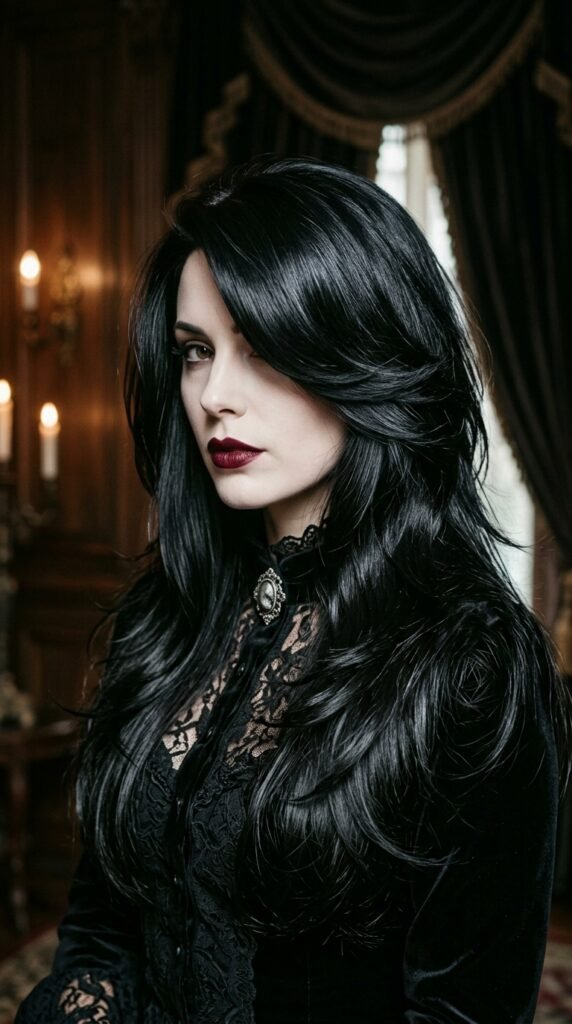
The vampire haircut is basically long, glossy, slightly dramatic layers with a deep side part. It is romantic, a little moody, and surprisingly wearable.
The key is keeping the shortest layer around the jaw so it frames the face, then blending all the way down. Thin, spiky ends ruin it.
Pair it with a middle or deep part and a strong gloss. That is the whole formula.
How to Ask Your Stylist for These Layers

Say this: “I want long layers, low start, soft blend, and I want to keep my ends full. No thinning shears.” That one sentence solves most of it.
Then show two photos: one of the front and one of the back. Add one line about what you do not want. Stylists love a clear no.
- Say your length goal out loud
- Point to where the shortest layer should hit
- Ask for a dry check before you leave
Your Layer Map: 3 Questions Before You Cut
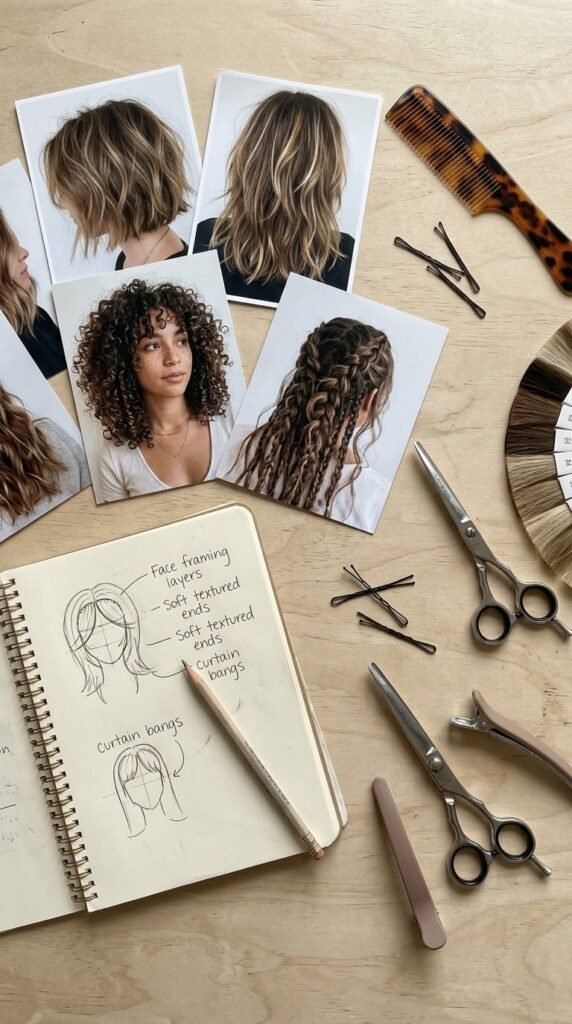
Before you sit in the chair, answer these three for yourself. It takes two minutes and saves months of regret.
- How often will I actually get a trim?
- Do I style my hair most days?
- Do I want it to look good air-dried?
If you said “rarely, no, and yes,” go minimal. Soft long layers and zero thinning. That combo forgives everything.
Shine Starts in the Shower
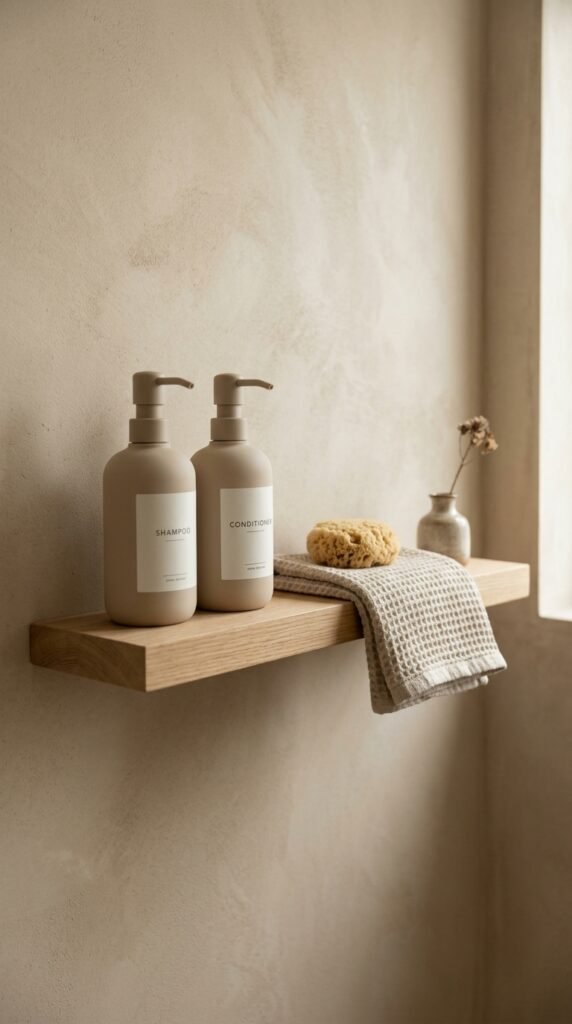
You cannot layer your way to shine. Start with how you wash. Scalp clean, ends conditioned, and no scalding water.
Use lukewarm water, rinse conditioner with cooler water, and stop scrubbing your ends with shampoo. They do not need it.
- Wash two to three times a week
- Conditioner on mid-lengths and ends only
- Cool rinse for the last thirty seconds
The Gloss Treatment That Does the Heavy Lifting
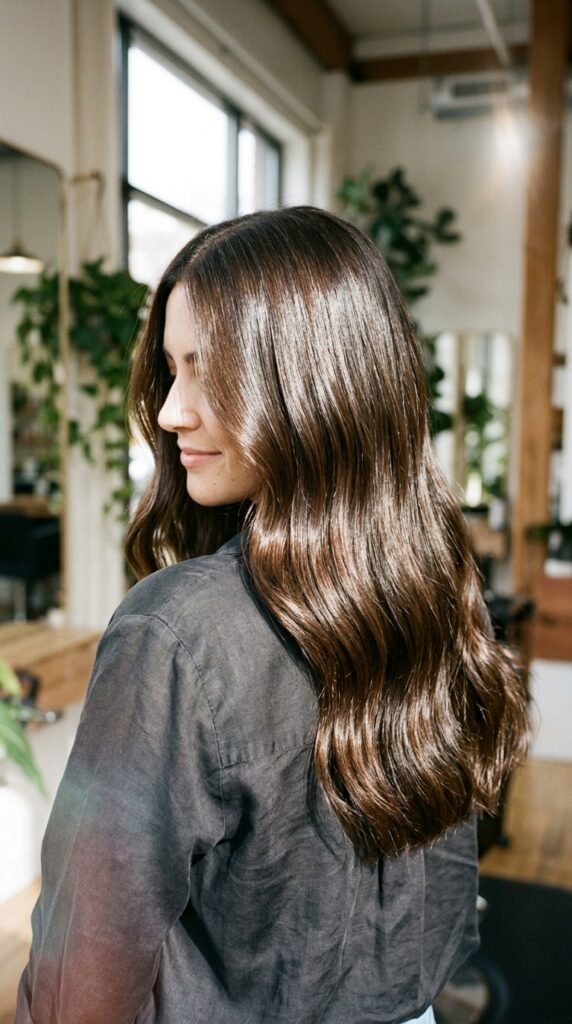
If I could only recommend one thing for reflective hair, it is a gloss. It smooths the cuticle and adds a translucent shine that no styling product can fake.
Salon glosses last about four to six weeks. At-home glosses are great every other week between appointments.
Do it after your trim, not before. Fresh ends plus fresh gloss is the whole look.
Heat Styling Without Killing the Shine
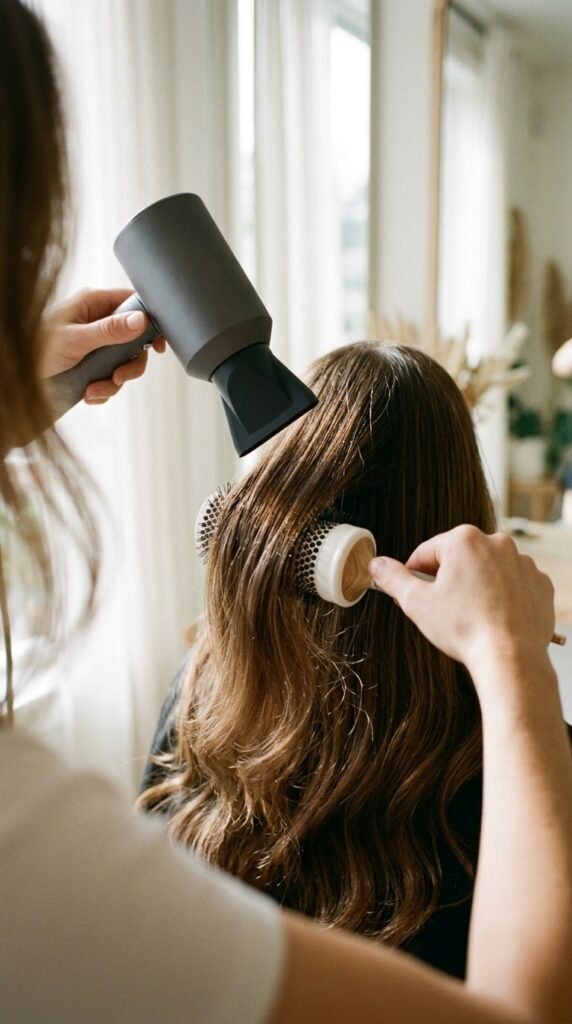
Heat is not the enemy. Overheating the same section three times is. Keep it moving, keep it on medium, and always use a heat protectant.
Point the nozzle down the hair shaft. That single habit flattens the cuticle and gives you that salon reflection.
- Spray protectant on damp hair
- Dry roots first, ends last
- Finish with a cool shot
The Blowout Method for Reflective Hair
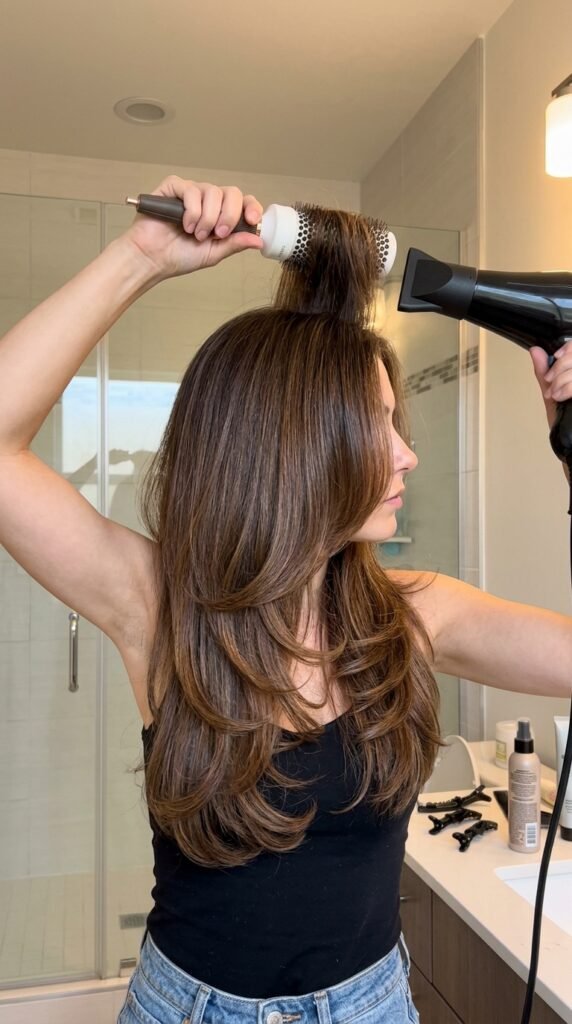
You do not need a salon blowout for shine. You need tension and direction. Wrap each section around the brush and pull slightly as you dry.
Do the front sections last so the face frame sets smooth. Then hit everything with cold air for ten seconds.
Finish with one drop of lightweight oil, rubbed between your palms first. One drop. Not three.
Products That Make Layers Look Polished
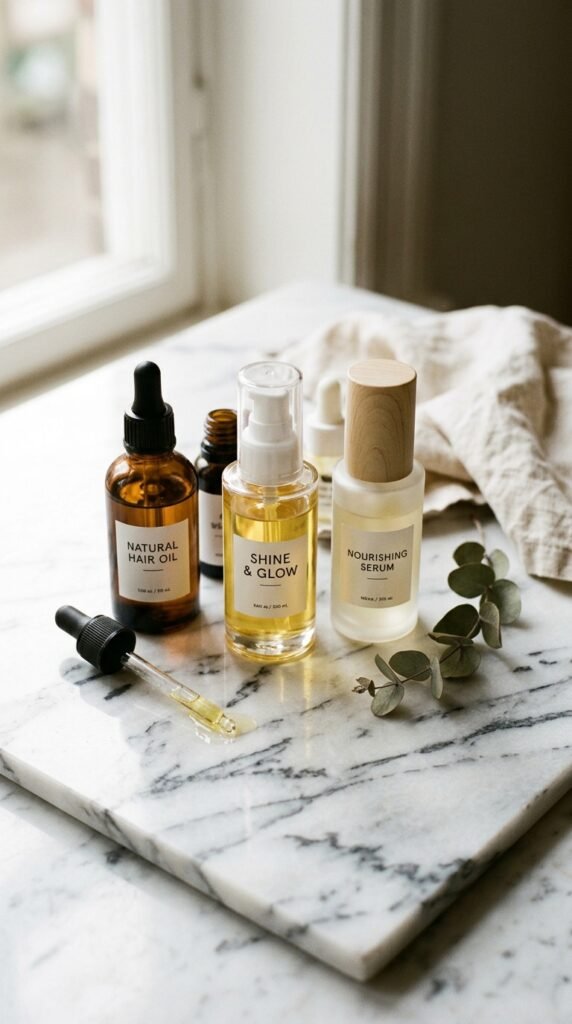
You need less than you think. A heat protectant, a lightweight oil, and a flexible hold spray cover about ninety percent of days.
- Heat protectant: every wash day
- Shine oil: ends only, one drop
- Flexible spray: for flyaways, not for hold
Skip heavy pomades and matte clays on long layers. They kill the reflection you just spent time creating.
Trims, Dusting, and Why Timing Matters
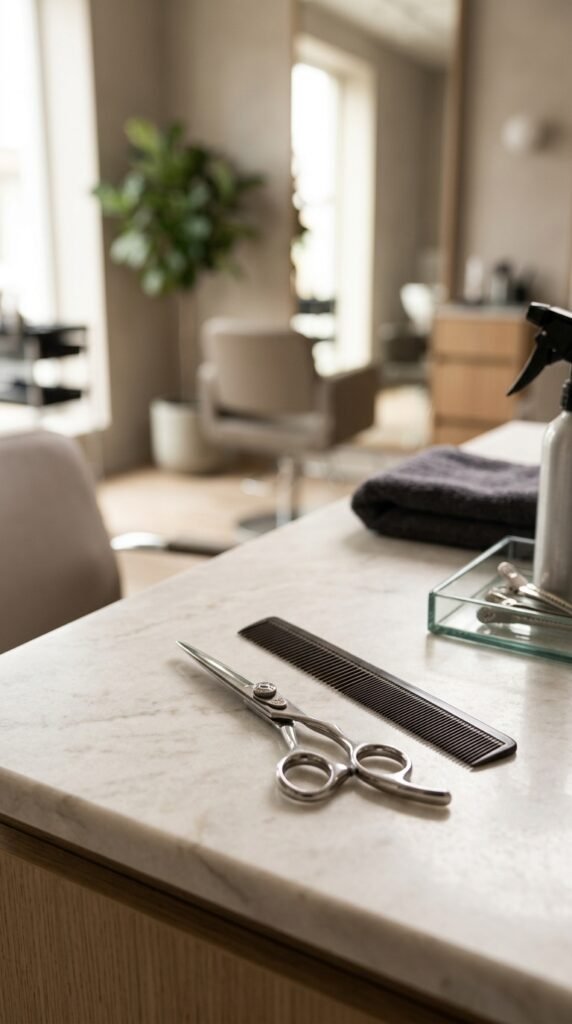
Layers look expensive when the ends are clean. Split ends travel up, and once they do, no gloss can save the reflection.
Get a light dusting every eight to ten weeks if you heat style often. Every twelve weeks is fine if you air-dry most days.
Ask for a dusting, not a trim, when you only want the very ends cleaned up. It keeps your length and your shine.
Color That Boosts Shine
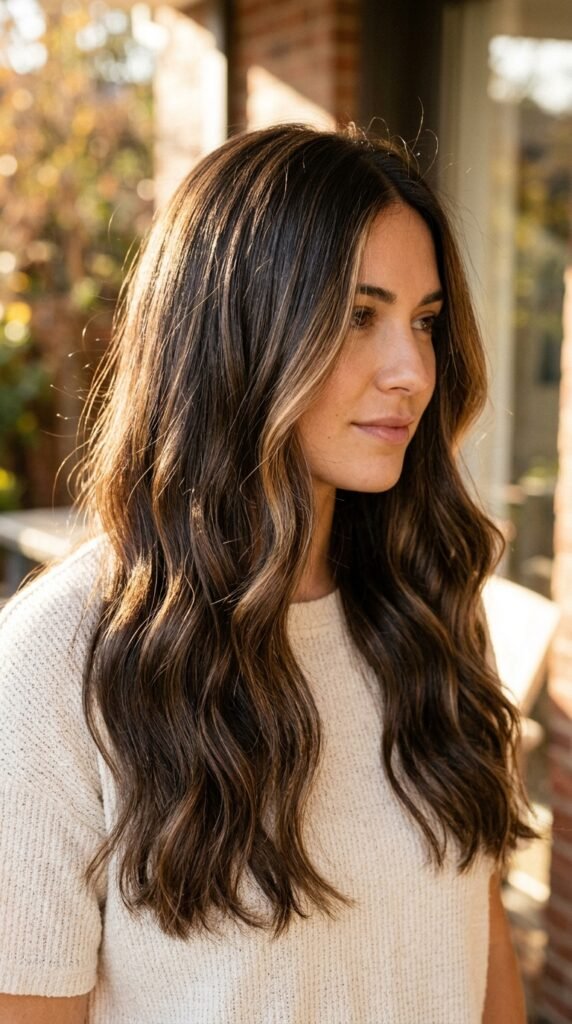
Color placement can fake shine beautifully. A few fine highlights around the face create contrast so light has something to catch.
Glossy, low-contrast color reads more expensive than heavy highlights. Think soft babylights, lowlights for depth, or a clear gloss on natural hair.
Whatever you do, keep the ends from going lighter than the mid-lengths. Lighter ends look worn, not shiny.
Sleep, Water, and the Boring Stuff That Works
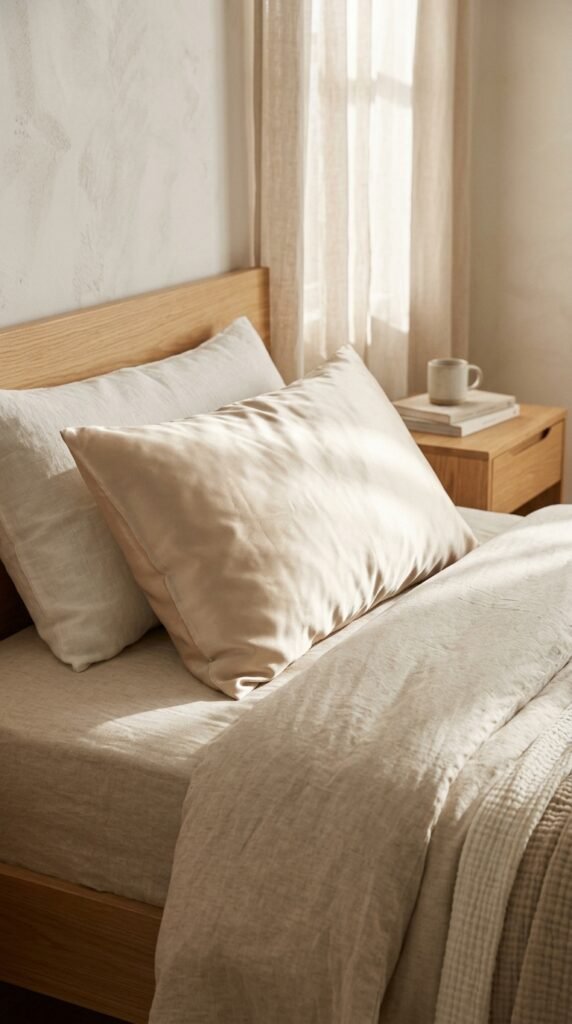
I know. Boring. But a silk or satin pillowcase genuinely reduces friction, frizz, and breakage. It is the cheapest upgrade on this list.
Drink water, eat enough protein, and stop tying your hair in a tight topknot on wet hair. That one habit causes more breakage than heat tools.
Loose braids or a soft clip at night keep your layers smooth instead of crushed.
Quick Styling Ideas for Busy Mornings

Polished does not mean high effort. Most mornings I do one of these and I am out the door in four minutes.
- Low sleek bun with two face pieces out
- Half-up clip with a middle part
- Loose braid sprayed with shine mist
- Straight down with one drop of oil at the ends
The face-framing pieces do all the work. Pull them out last and smooth them with your fingers.
Common Layer Mistakes to Avoid
I have made all of these, so you do not have to.
- Layering wet hair too high
- Letting a stylist thin the ends “for movement”
- Getting layers and color in the same week
- Using a clarifying shampoo daily
Movement comes from the cut and the blend, not from removing bulk. That is the one thing I wish I had known at twenty-two.
Who These Layers Flatter Most

Good news: long polished layers flatter almost everyone. Fine hair gets lift without losing thickness. Thick hair finally stops feeling like a curtain.
Curly hair needs a curl-specific cut, but the same idea applies. Lower start, blended shape, ends left alone.
The only real caution is very fine hair plus heavy layering. Keep it minimal and keep the ends solid.
Your Photo Checklist for the Salon
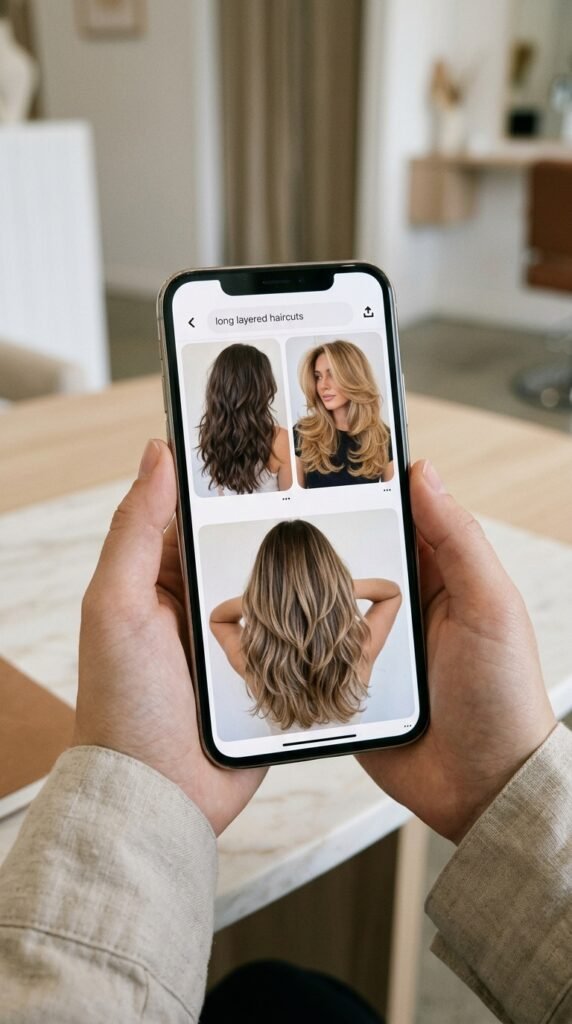
Screenshot these before you go. Trust me, photos beat words every single time.
- One photo of the front
- One of the side profile
- One of the back, flat
- One of your hair on a normal day
That last one matters most. Your stylist needs to see your real texture, not your wedding-guest blowout from three years ago.
Build It Around Your Lifestyle

The best haircut is the one that fits your actual life. If you have ten minutes in the morning, do not get a cut that needs thirty.
Minimal layers on long hair air-dry beautifully. Heavy layers need styling to look finished. Neither is wrong, just be honest with yourself.
Polished hair is not high maintenance hair. It is hair that suits you and your mornings.
One Last Thing Before You Book
You do not need a whole new head of hair. You need a clean cut, a soft blend, and a shine routine you will actually keep up with.
Pick one thing from this post to start this week. A gloss, a silk pillowcase, or a trim. That is how the polished look happens, one small habit at a time.
Save this post to Pinterest so you have it at your next appointment, and tell me in the comments which layer look you are trying first. I read every single one, and I will answer any questions you drop in.