27 Polished Long Haircut Layers Emphasizing Healthy Reflective Hair Shine
Long hair is easy. Long hair that looks polished, glossy, and intentional? That takes the right layers. I spent two years growing mine out, only to realize length means nothing if the cut is fighting your shine.
So I asked my stylist what actually makes long hair reflect light. Her answer was simpler than I expected: where the layers sit, how the ends are finished, and how much weight gets removed.
This post walks through 27 polished long haircut layers, from old money hair to the asymmetrical lob, plus the exact words to use at your appointment.
Save it, screenshot it, bring it with you. You’ll leave with a cut that looks expensive and a routine you can actually keep up with on a random Tuesday.
Why Polished Long Layers Are Everywhere in 2026
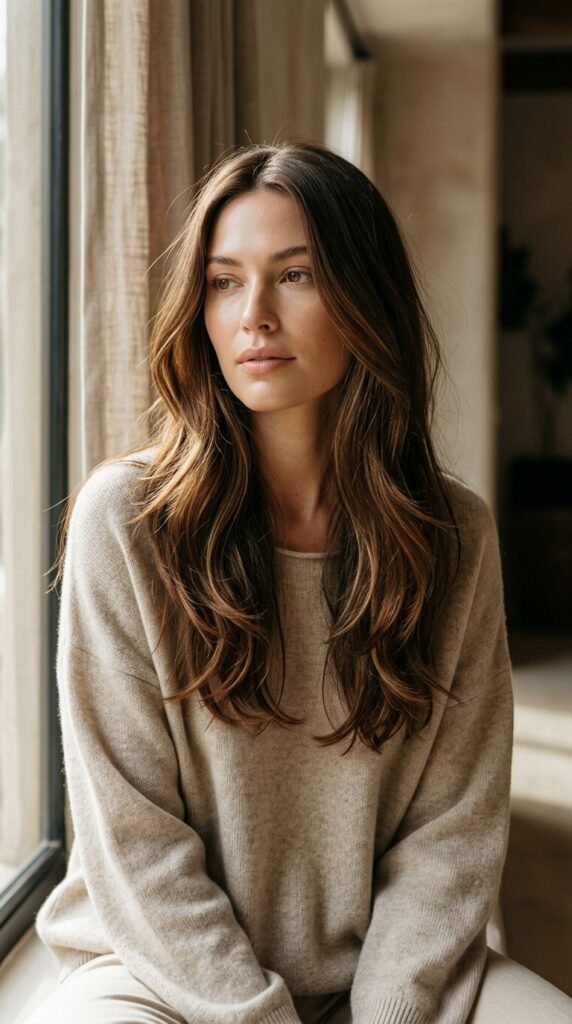
2026 hairstyles are leaning hard into quiet polish. People want hair that looks healthy first and styled second. Long layers do exactly that. They remove bulk in the right places so light travels down the strand instead of getting trapped in a triangle of density.
The trick is restraint. Heavy, choppy layers look dated and stringy. Polished layers are blended, soft at the perimeter, and cut to move.
If you only remember one thing, remember this: layers should make your roots look fuller and your ends look shinier. Both. Not one or the other.
The Shine Secret Starts at the Cut Line
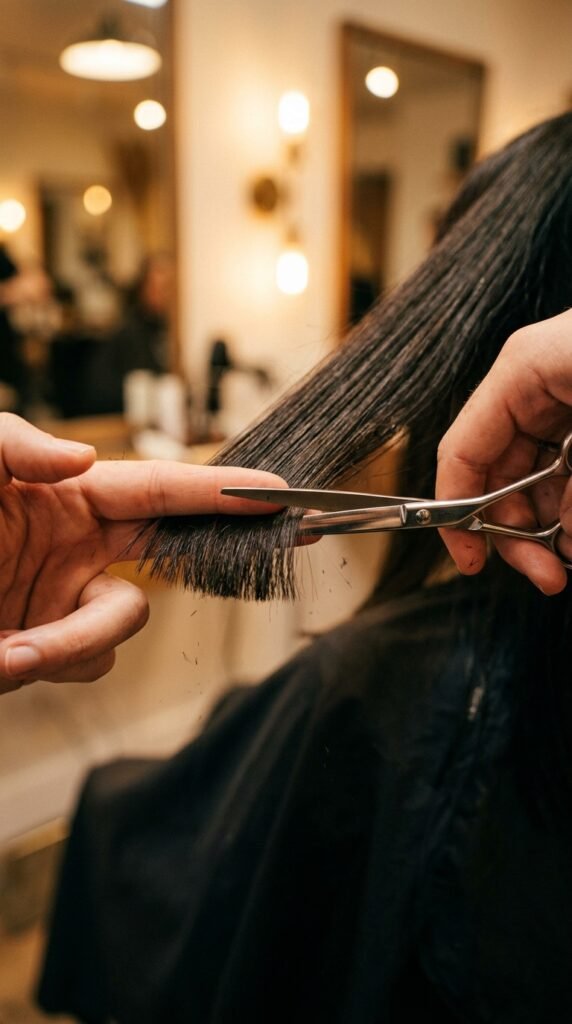
Shine isn’t just about products. It’s geometry. A clean, near-blunt perimeter reflects light like a mirror. A frayed, over-thinned end scatters it and reads as dry even when it isn’t.
That’s why polished long layers keep some weight at the bottom. Your stylist can build movement through the interior without shredding the ends.
- Ask for blended face-framing pieces
- Request soft interior layers, not chunky ones
- Keep the perimeter trimmed straight with a slight point
- Skip the razor if your hair is fine
Razor cutting can look amazing on thick, wavy hair. On fine hair, it often just creates frizz.
Face-Framing Layers That Flatter Everyone

Face-framing pieces are the difference between a haircut and a haircut that suits you. They’re also the fastest way to look put together on a no-makeup day.
The key is where they start. Too high and you get a shelf. Too low and you get a random short strand.
- Start the shortest piece at cheekbone level
- Blend down to the collarbone, then into the length
- Keep the pieces thin, not wide, so they tuck easily
- Ask for a soft point, never a hard step
This one detail instantly lifts a plain long cut into something that looks styled.
Old Money Hair: The Long Version
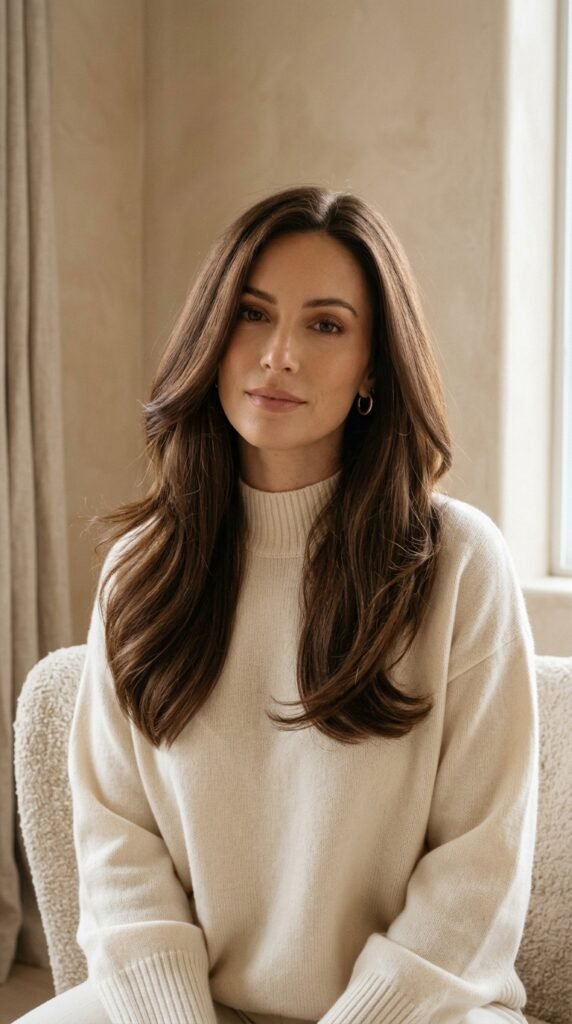
Old money hair is less about the cut and more about the finish. It reads as inherited, not effortful. Long hair pulls this off beautifully when the layers are minimal and the shine is high.
Ask for a one-length feel with invisible interior layers. You want movement, not visible steps. The perimeter stays full and blunt-ish.
Styling matters here. A round brush blowout with a slight bend at the ends gets you there in about fifteen minutes. Finish with a light oil on the mid-lengths only, never the roots.
Think glossy, calm, and expensive-looking. That’s the whole mood.
The Quiet Luxury Bob Meets Long Hair
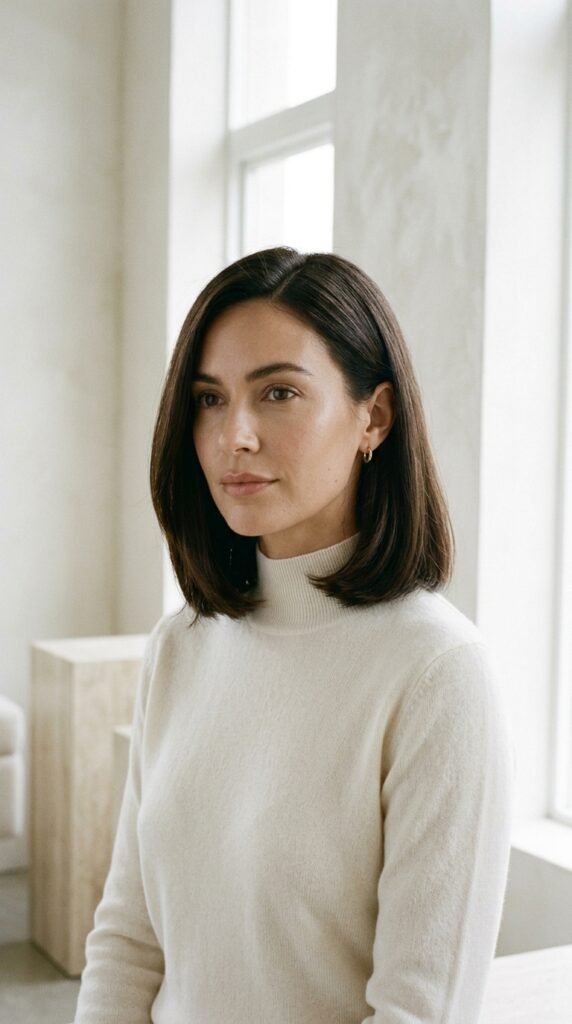
You love the quiet luxury bob. You also love your length. Good news: you don’t have to pick.
The hybrid keeps most of your length but adds a distinct layer that hits somewhere between the chin and collarbone. It creates that crisp bob shape around your face while the rest falls long and smooth.
- Best on straight to gently wavy hair
- Needs a smooth blowout to look intentional
- Keep the lower length blunt for maximum shine
- Works with a middle part or a deep side part
It’s the easiest way to test a shorter shape without committing to the chop.
The Asymmetrical Lob as a Stepping Stone
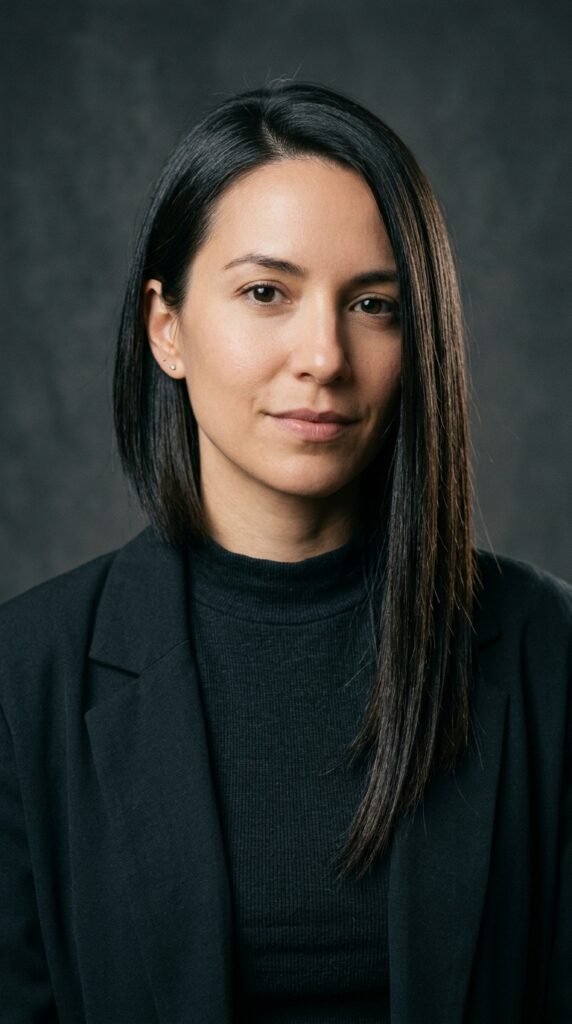
Not ready to go long-to-short in one appointment? The asymmetrical lob is your bridge. It’s shorter on one side, longer on the other, and it photographs incredibly well.
The version that works best with long hair keeps one side long and cuts the other to collarbone. You get all the edge of a lob without losing your length entirely.
Ask for a clean, sharp line on the shorter side. Softness here kills the effect.
Style it with a hard part and a flat iron for the full vibe, or tuck the short side behind your ear for something more relaxed.
Romantic Goth Hairstyles With Long Reflective Layers
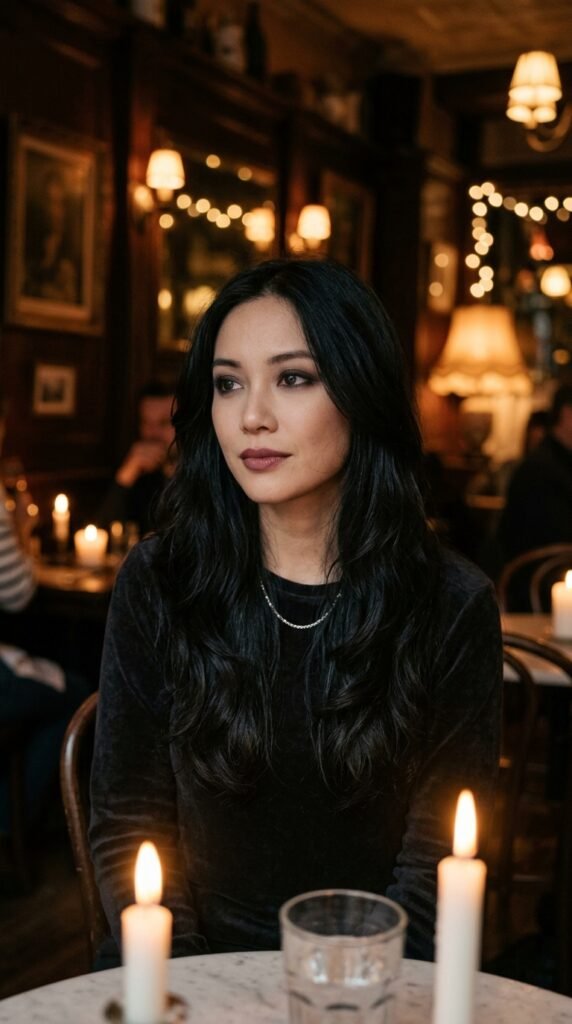
Romantic goth hairstyles are having a moment, and long layers are the backbone. Think soft, moody, and glossy, not crunchy or heavy.
The formula: long length, soft blended layers from the cheekbone down, and a high-shine finish. Dark hair reflects light beautifully when the cut line is clean.
- Keep layers soft and blended, never chunky
- Add a slight bend with a large-barrel iron
- Finish with a shine serum on the ends
- Skip heavy texturizing sprays that dull the surface
The goal is a dark, glossy curtain of hair. Movement, yes. Frizz, no.
Glitchy Glam Hair, Softened for Real Life
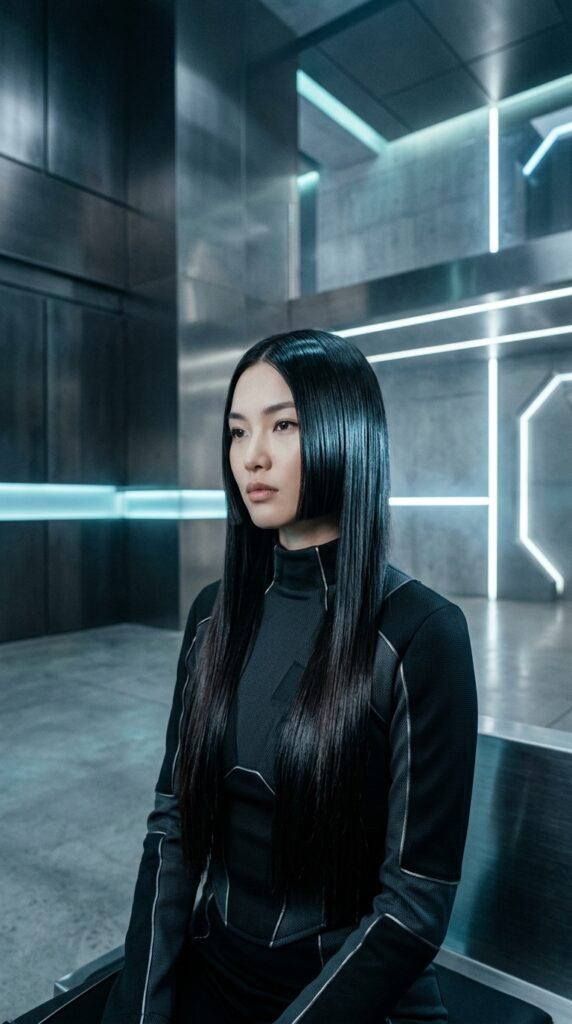
Glitchy glam hair is that slightly surreal, high-shine, slightly off-kilter look you keep seeing online. It’s fun. It’s also very wearable if you soften the edges.
The core idea is one deliberate break in the pattern. A single blunt sliced layer. A sharp face-framing piece. A hard line where you’d expect softness.
- Pick one disruption, not five
- Keep the rest of the cut smooth and simple
- Commit to high shine so the contrast reads as intentional
- Style the break forward or to one side
One interesting detail plus glossy hair beats a head full of competing ideas every single time.
The Vampire Haircut, Softened for Daytime
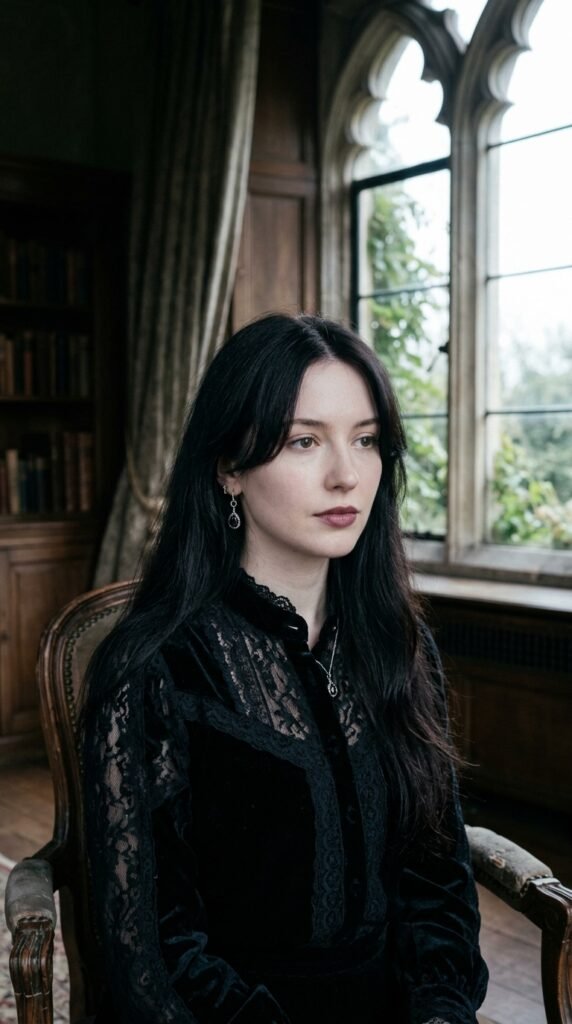
The vampire haircut gets a bad reputation for being too dramatic. In reality, it’s just long hair with a middle part, soft face-framing layers, and a lot of shine.
It suits almost everyone. The center part draws the eye down the face, and the long layers keep the length from looking heavy.
Ask for face-framing pieces that start just below the cheekbone and blend into the length. Keep the ends blunt and healthy.
Skip the blood-red undertones if you want it subtle. A deep espresso or soft black gives you the same mood with way more wearability at the office.
Hime Cut Layers, Done Modern
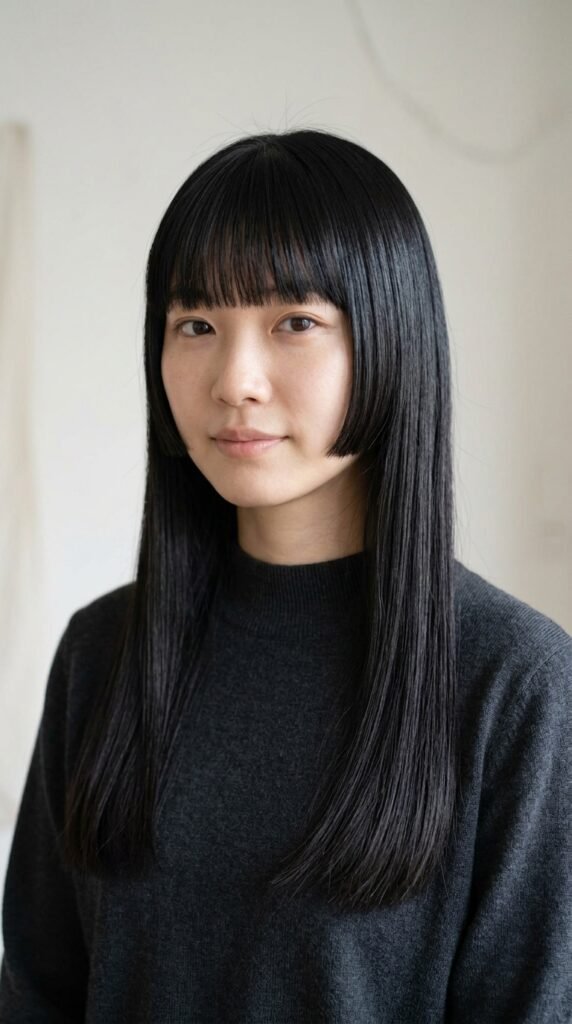
The hime cut is one of those shapes that looks severe in photos and surprisingly flattering in person. It’s a blunt cheek-length piece on each side with the rest left long.
Done modern, the side pieces are slightly thinner and blended a touch softer than the traditional version. You still get the contrast, but it doesn’t feel costume-y.
- Best on straight, healthy hair
- Needs regular trims to keep the blunt line crisp
- Requires a smooth blowout or flat iron
- Pair with a middle part for the classic look
It’s the boldest pick on this list, and honestly, it’s the one people compliment most.
How to Ask Your Stylist for Polished Layers

Most disappointing haircuts come from a communication gap, not a skill gap. Here’s how to close it in under two minutes.
- Bring two photos: one of the cut, one of the finish
- Say “blended” and “soft” instead of “layered”
- Point to where you want the shortest layer to start
- Ask them to keep weight at the perimeter
- Confirm they won’t thin the ends
- Ask how it will look without styling
That last question is the big one. If the answer is “you’ll need to style it daily,” decide right then whether you’re okay with that.
Layer Placement: Where Your Shine Lives
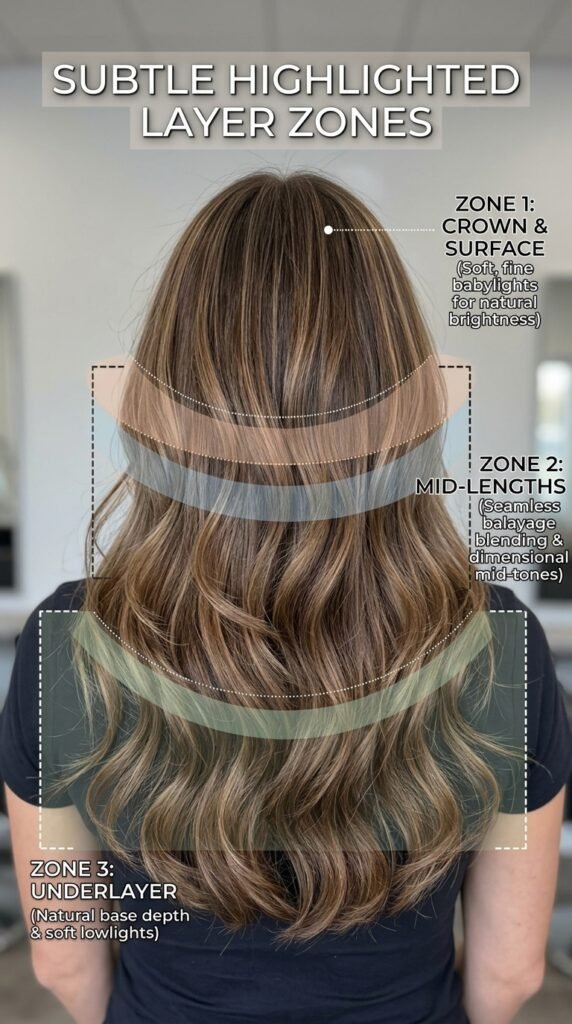
Where your layers sit changes everything about how your hair reads. It’s the most underrated decision in the chair.
- Cheekbone: softens the face, great for rounder shapes
- Jawline: adds edge, works well with a lob hybrid
- Collarbone: the most universally flattering placement
- Mid-back: pure movement, almost no visible shape change
If you want shine, keep the top layers long and the interior layers minimal. Every extra layer breaks up the reflective surface a little more.
Fewer, better-placed layers always beat a head full of short ones.
Matching Length to Your Hair Texture
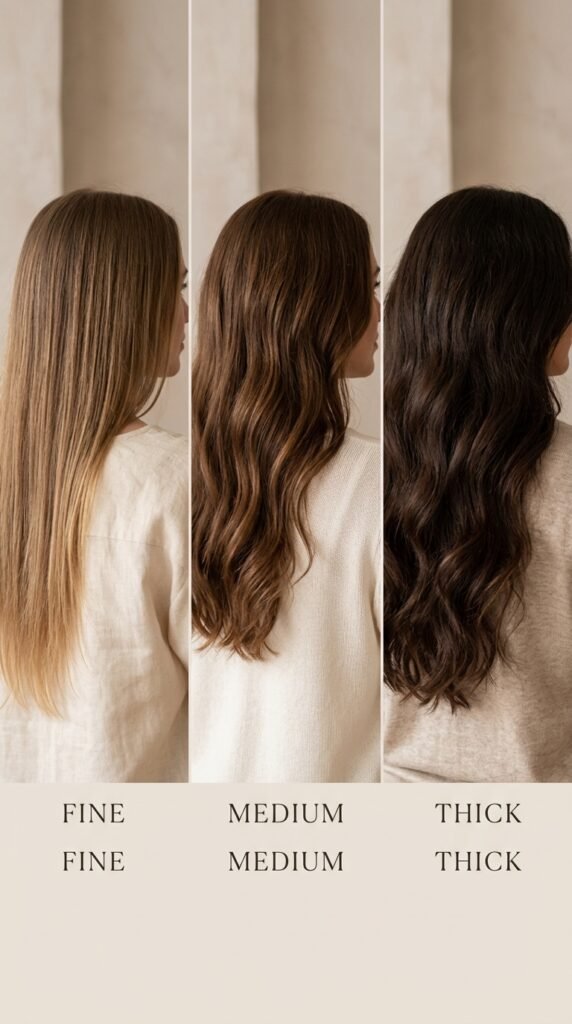
Your texture decides what your layers can handle. Ignoring this is how people end up with hair that never looks the same twice.
- Fine hair: go longer with sparse layers, avoid thinning shears
- Medium hair: you can handle most placements, stay blended
- Thick hair: you need layers, or the weight drags everything down
- Curly hair: cut dry, layer sparingly, keep the shape round
Fine hair with heavy layers looks stringy by noon. Thick hair with no layers looks like a curtain. Both are fixable, but only if you name your texture upfront.
Curtain Layers and Soft Movement
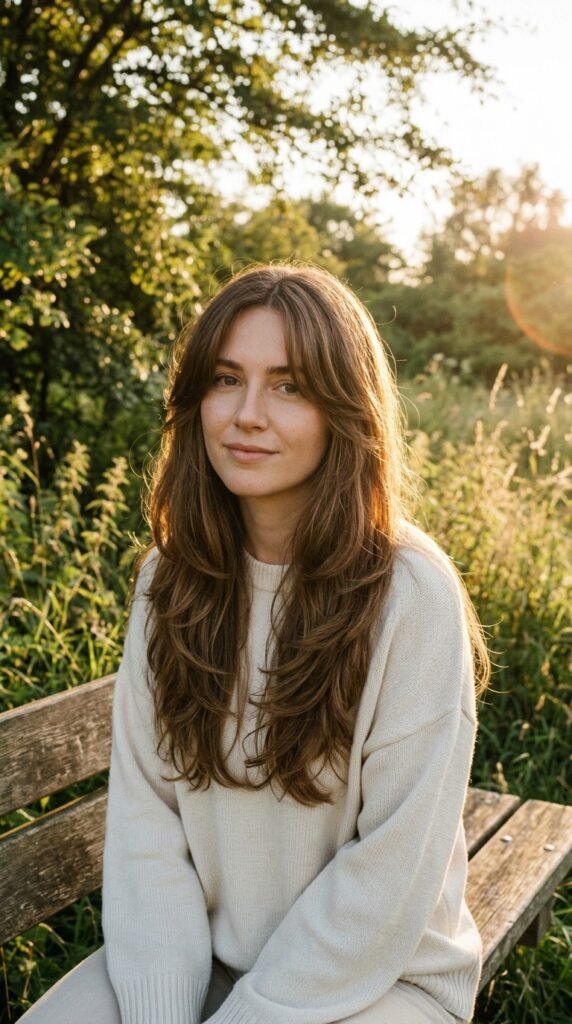
Curtain layers are the softer cousin of face-framing pieces. They arc away from the face like a curtain being pulled open, and they photograph beautifully.
Ask for pieces that start at the cheek and sweep back into the length. The transition should be nearly invisible.
- Blow dry with a round brush, rolling away from the face
- Set the front pieces with a velcro roller for five minutes
- Break the set with your fingers, not a brush
- Finish with a light shine mist
This is the lowest-effort way to look like you tried, and it works on almost every length.
Blunt Ends vs. Tapered Ends
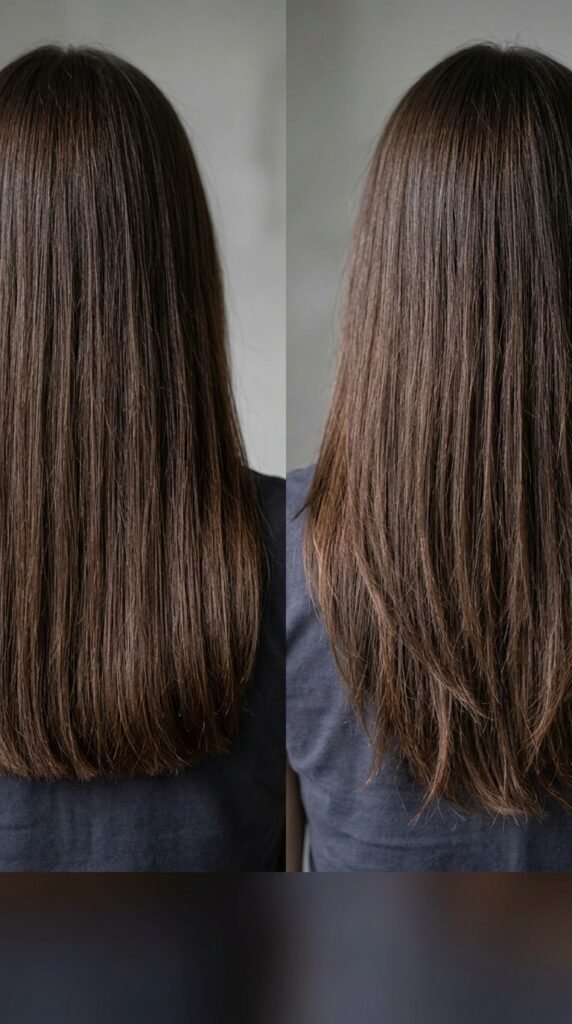
This one decision affects your shine more than any product you’ll ever buy.
Blunt ends reflect light in a wide, clean sheet. That’s the mirror effect you see on old money hair and glossy magazine covers. Tapered ends reflect less but feel lighter and more natural.
- Choose blunt if you want maximum shine and thickness
- Choose tapered if your hair is heavy and needs movement
- Choose a slight point if you want both, which is most people
My stylist calls the middle ground a “soft blunt.” It’s the safest bet for long hair.
Your At-Home Shine Routine That Actually Works
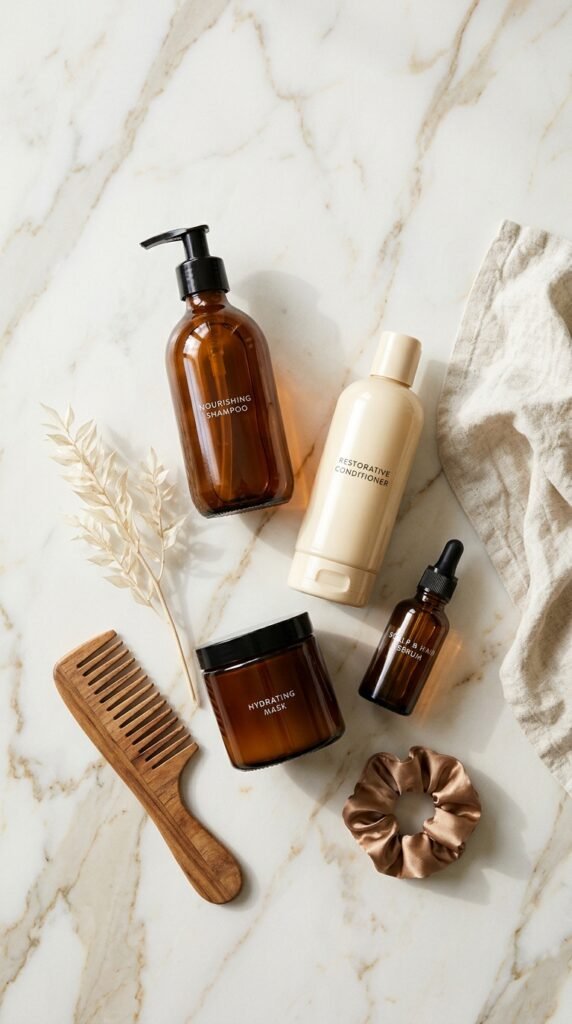
You don’t need twelve products. You need the right four, used in the right order.
- Shampoo the scalp only, let it rinse through the ends
- Condition the mid-lengths and ends, leave it on for two minutes
- Squeeze out water before applying leave-in
- Add a heat protectant, then a light oil on the ends
- Blow dry downward to smooth the cuticle
The downward blow dry is the step people skip, and it’s the one that creates most of the shine. Rough drying in every direction lifts the cuticle and leaves hair looking cloudy.
Heat Styling Without Killing the Gloss
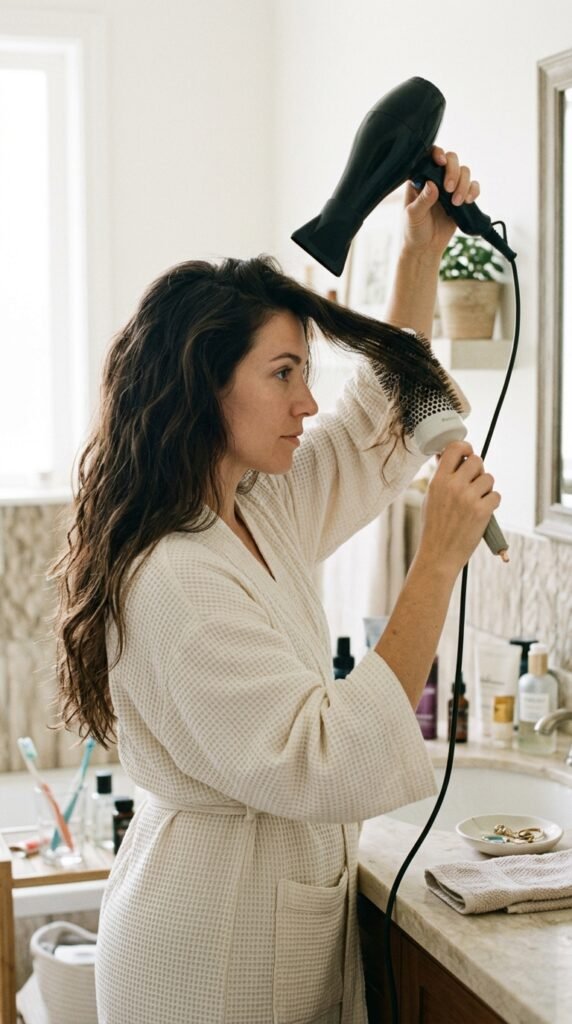
Heat is not the enemy. Unprotected heat and too much of it is.
- Always use a heat protectant, even for a quick pass
- Keep irons under 350 degrees on fine hair
- Take clean sections, don’t rush the same strand twice
- Let hair cool completely before touching it
That last one matters more than people realize. Hair sets as it cools. If you run your fingers through it while it’s still hot, the style drops within the hour.
One smooth pass always beats three rushed ones.
Gloss Treatments and Toners
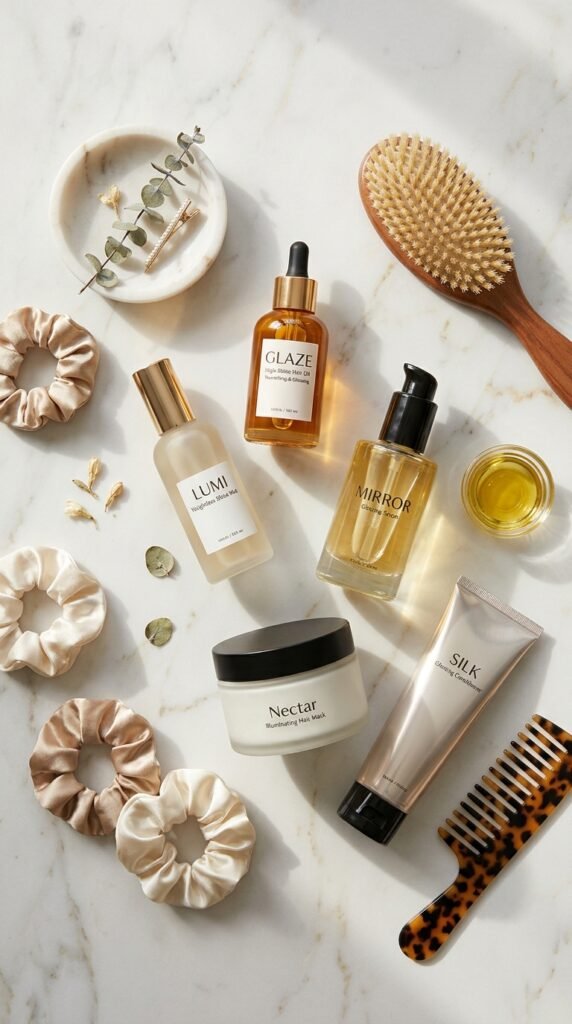
If your hair is healthy but still looks dull, you probably need a gloss, not a haircut. Gloss treatments fill the cuticle and add a layer of reflection in about twenty minutes.
They’re the fastest way to fake shine on long layers. Clear gloss works on everyone. Tinted gloss cancels brass and adds depth.
- Every 4 to 6 weeks for maximum effect
- At-home glosses work fine between appointments
- Skip heavy purple shampoo, it can dry out ends
This is the single most underrated step for reflective hair. Do it once and you’ll notice immediately.
The Brush and Comb Matter More Than You Think
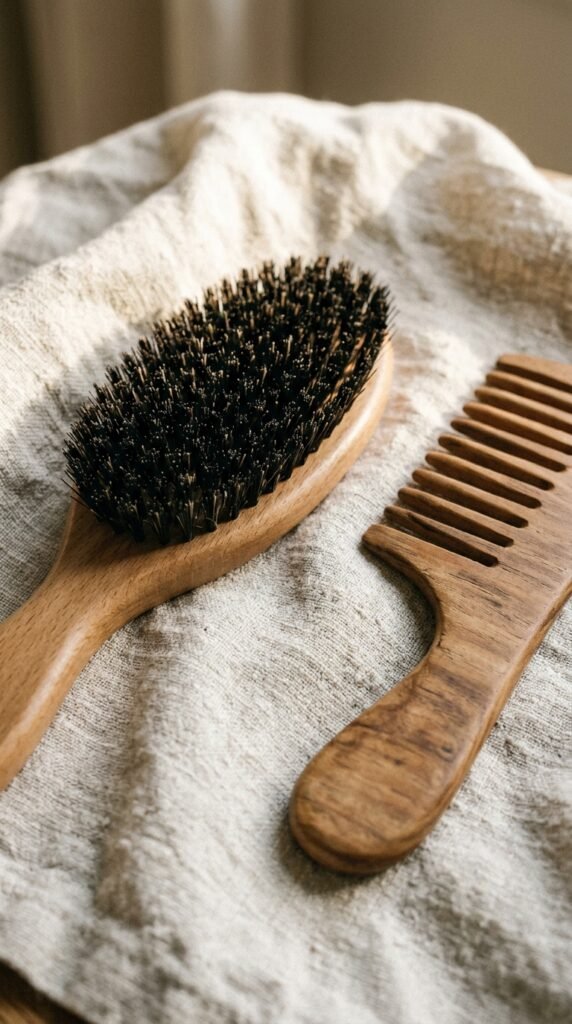
You can do everything right and still have dull hair if you’re brushing it wrong.
Boar bristle brushes distribute your natural oils down the strand, which is free shine. Plastic bristles create static and frizz. Wide-tooth combs are for wet hair, full stop.
- Detangle in the shower with conditioner, not after
- Never brush wet hair from the root down
- Work from the ends up, in small sections
- Brush before bed to spread oils
Small habit, big difference, and it costs you nothing.
Sleep Habits for Shinier Long Hair
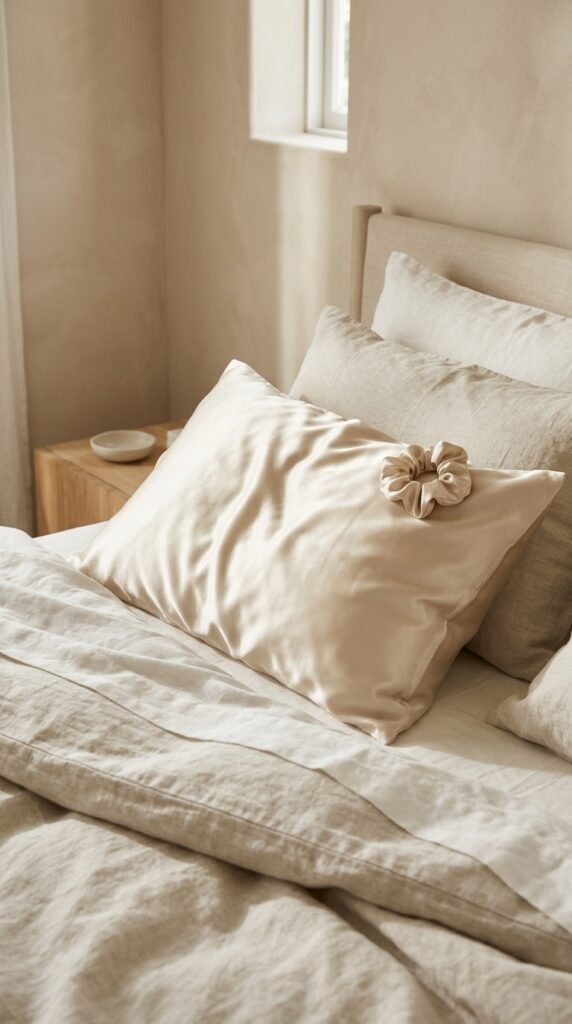
You spend a third of your life on your pillow. It shows in your hair.
Cotton pillowcases grab and rough up the cuticle all night. Silk or satin lets hair slide. A loose braid or a silk scrunchie keeps long layers from tangling into knots.
- Switch to a silk pillowcase
- Loosely braid long hair before bed
- Use a silk scrunchie, never a tight elastic
- Sleep with hair off your face and neck
Do this for two weeks and you’ll notice less frizz and smoother ends. It’s the cheapest upgrade on this list.
Products That Make Layers Reflect Light
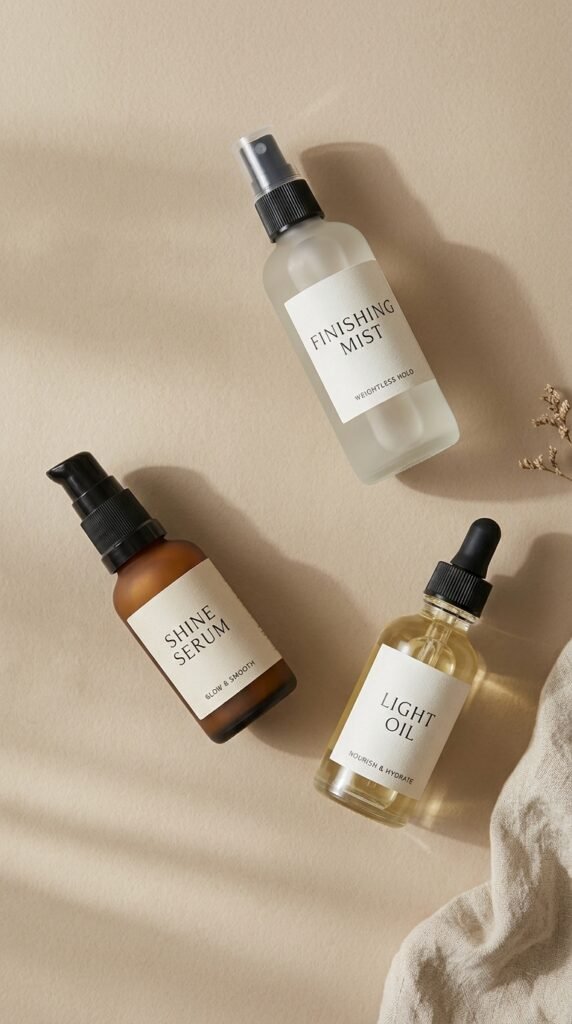
Shine products work best in thin layers. Anything heavy weighs down your layers and makes them look flat.
- Lightweight oil: ends only, one pump maximum
- Shine serum: mid-lengths to ends, on damp hair
- Finishing mist: a fine veil over the whole head
- Leave-in conditioner: the base of your routine
Apply to damp hair, not dry. Oils spread more evenly and absorb better that way.
If your hair looks greasy by lunch, you used too much. Halve it next time.
Low-Effort Styling for Busy Mornings

Polished doesn’t mean high maintenance. Some of the best long-hair days take five minutes.
- Claw clip twist: gathers long layers and hides less-than-fresh ends
- Sleek low bun: instant old money hair with a middle part
- Half-up with a silk scrunchie: shows off your layers
- Braided crown: great on day-three hair
Add a light oil to the ends and smooth flyaways with a tiny bit of serum on your fingertips.
The cut does most of the work here. Good layers look intentional even in a claw clip.
Common Layer Mistakes to Avoid
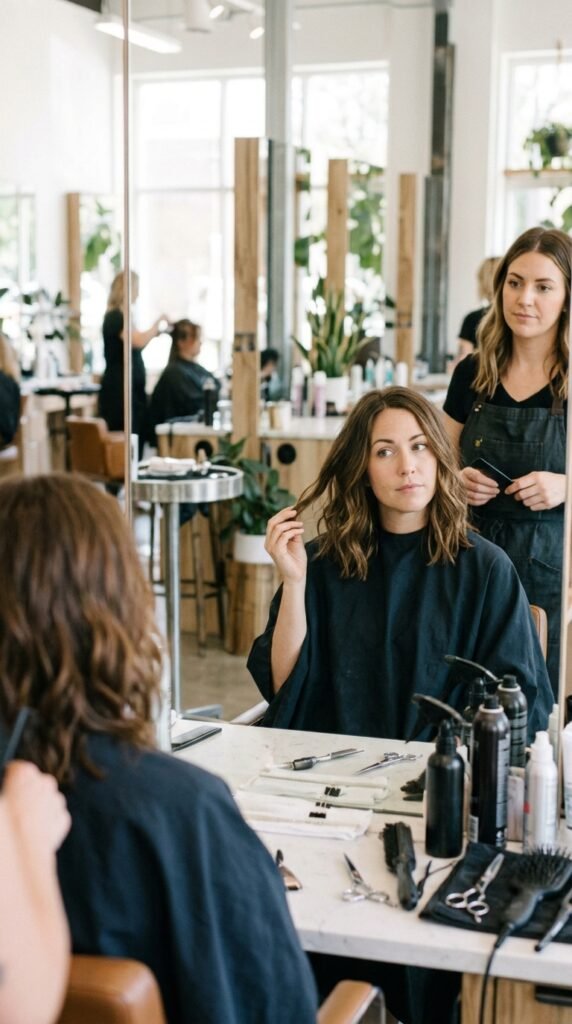
I’ve made most of these myself, so learn from my expensive lessons.
- Too many short layers: creates a shelf and kills shine
- Thinning the ends: makes long hair look stringy
- Layering fine hair heavily: removes the weight that keeps it looking full
- Cutting layers too high: months of awkward growing out
- Skipping the perimeter trim: no amount of layering fixes split ends
The pattern is simple. Fewer layers, better placed, with healthy ends. That’s it.
Your Trimming Schedule
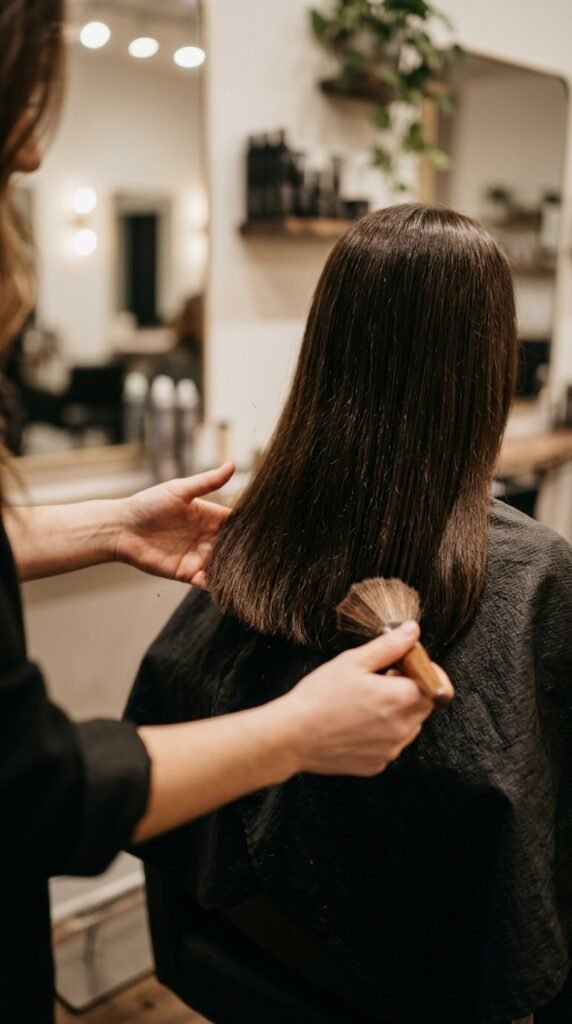
Long layers only look polished if the ends stay clean. Once they split, light scatters and the whole cut looks tired.
- Fine hair: every 8 to 10 weeks
- Medium hair: every 10 to 12 weeks
- Thick or curly hair: every 12 to 16 weeks
- Heat or color damage: every 6 to 8 weeks
You don’t need a full cut every time. Ask for a dusting to keep the length and clean up the perimeter only.
Consistency beats dramatic chops every time.
Matching Layers to Your Hair Color

Color and layers work together. Where light hits, shine shows.
Highlights placed around face-framing pieces make your layers pop instantly. Balayage through the mid-lengths makes movement visible without looking striped.
- Keep the brightest pieces where your layers start
- Avoid heavy highlights at the ends, they show damage first
- Darker roots with lighter framing pieces look expensive
- A clear gloss amplifies everything, regardless of color
If you’re between colors, add the gloss first. It’s cheaper and you’ll see the cut look instantly better.
Quick Fixes for Dull Days

Even good hair has off days. Here’s what I do when mine looks flat and lifeless.
- Mist the ends with water and re-blow dry them smooth
- Add one drop of light oil, rub it between your palms first
- Flip your part to the opposite side for instant lift
- Tuck one side behind your ear to show off your framing layers
- Smooth flyaways with a tiny bit of serum on a toothbrush
Two minutes, real difference. You don’t need to restyle the whole head.
Fresh ends, a flipped part, and a little shine oil fix about ninety percent of bad hair days.
One Last Thing Before You Book
Polished long layers aren’t complicated. Keep the weight at the bottom, blend the framing pieces, protect your ends, and commit to a gloss every few weeks. That’s the whole formula.
Bring two photos to your appointment, point to where you want the shortest layer to start, and ask the magic question: how will this look without styling?
If you want to go bolder, try the hime cut or a vampire haircut. If you want subtle, go old money hair or a quiet luxury bob hybrid. Either way, healthy reflective hair does all the heavy lifting.
Save this post to Pinterest so you have it ready at your next appointment — and tell me in the comments which of these cuts you’re trying first.