27 Polished Long Haircut Layers Emphasizing Healthy Reflective Hair Shine
Long hair is a commitment, and I mean that in the best way. But here’s what I keep hearing from you: it’s not about length anymore. It’s about how the hair moves, how it catches the light, and how put-together it looks on a random Tuesday.
That’s where polished layers come in. Not choppy, not dated, not five different lengths fighting each other. Just clean, intentional layers that make healthy hair look like it’s glowing from the inside.
So I rounded up the layered cuts I keep seeing on my feed and in real life for 2026, plus the small habits that keep the shine going between salon visits.
Grab a coffee. This one is quick, practical, and honestly a little fun.
Why Polished Layers Are Everywhere in 2026

The whole 2026 hairstyles mood is calm, expensive-looking, and low effort on purpose. Nobody wants hair that screams “I spent two hours on this.”
Polished layers do the heavy lifting. They give long hair shape and movement without thinning out the ends or making it look stringy.
- Quiet luxury: soft, blended layers that look natural
- Old money hair: full, healthy, brushed-out shine
- Modern edge: one bold layer that changes everything
Pick your lane and build from there.
What “Healthy Reflective Shine” Really Means
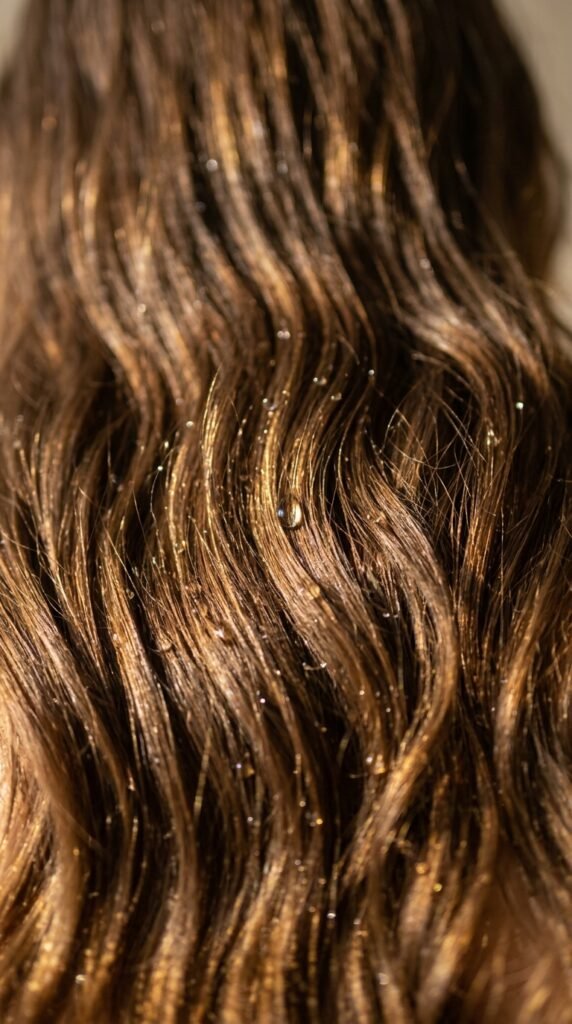
Shine isn’t a product you spray on at the end. It’s what happens when the outer layer of your hair is smooth and flat enough to bounce light back at you.
Damaged, rough strands scatter light. Healthy ones reflect it. That’s the whole difference between dull and glossy.
- Smooth cuticle equals mirror finish
- Moisture inside equals bounce, not frizz
- Regular trims equal clean, blunt-ish ends
So every tip below works on both the cut and the condition. Both matter.
The Quiet Luxury Bob, Grown Into Layers

The quiet luxury bob was everywhere last year. Now a lot of us are growing it out, and this is the smartest way to do it.
Instead of one blunt line, your stylist blends the bob shape into longer layers. You keep that polished, chin-to-collarbone structure at the front and let the back flow.
- Keeps the expensive shape you loved
- Avoids the awkward grow-out phase
- Looks intentional at every length
Ask for invisible layers through the mid-lengths and a soft, face-framing front.
Old Money Hair: Long Layers, Zero Fuss
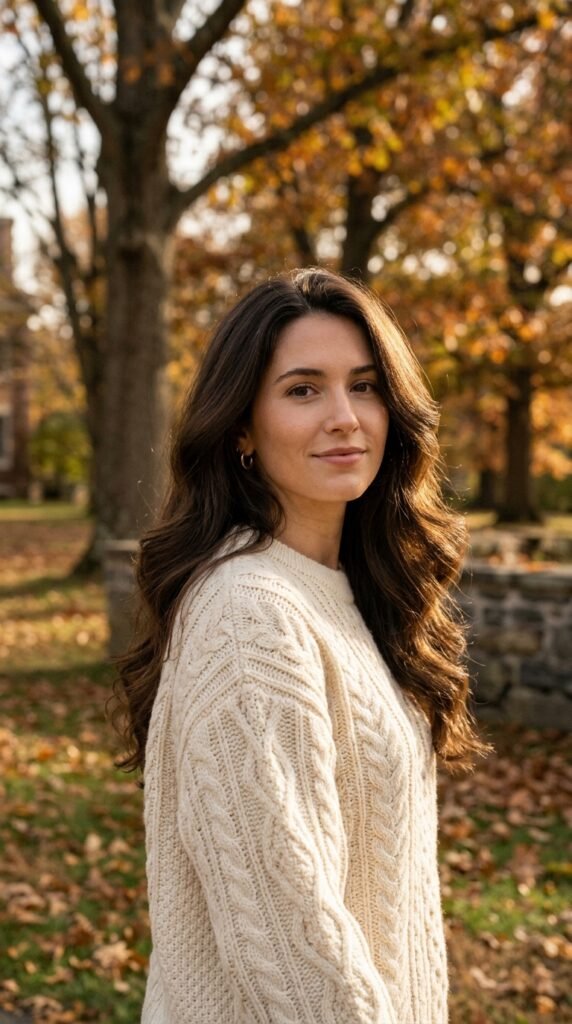
Old money hair is my favorite reference for long layers because it’s so simple to copy. Think healthy, full, slightly bouncy hair that looks like it’s been brushed a hundred times.
The cut is barely visible. That’s the point. Layers sit deep in the hair so the surface stays smooth and shiny.
- Long, soft layers starting below the chin
- No short face-framing pieces if you want it sleek
- Blunt, thick ends rather than tapered ones
Style it with a round brush and call it a day.
The Asymmetrical Lob for Instant Polish
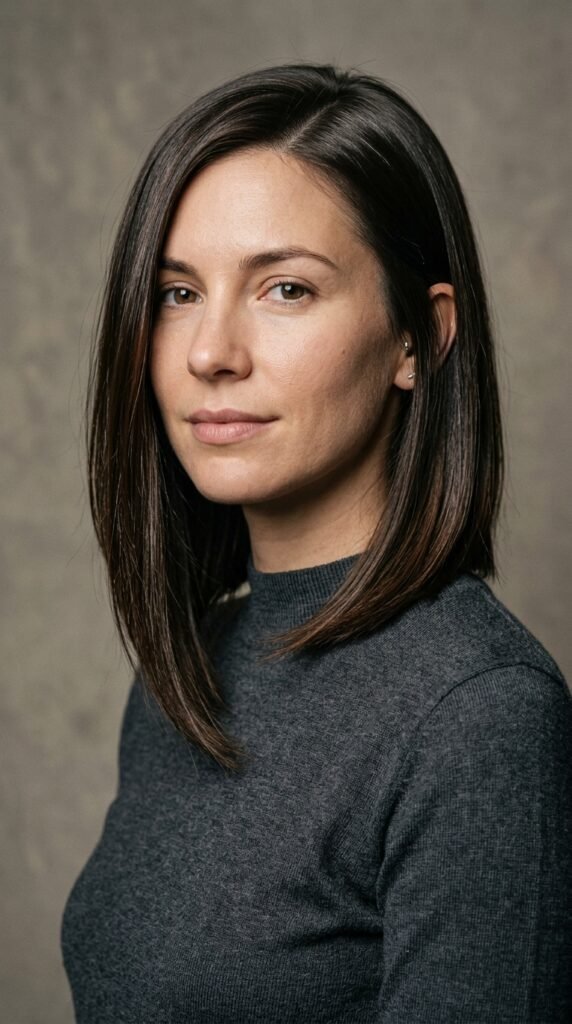
If you want shine with a little drama, the asymmetrical lob is the move. It’s angled, a touch longer on one side, and it reads instantly styled.
It’s also one of the easiest ways to fake thicker hair, because the diagonal line tricks the eye.
- Great on straight, wavy, and fine hair
- Adds interest without a bold color
- Grows out gracefully into long layers
Ask for a smooth graduation, not a choppy one. Smooth equals shiny here.
Hime Cut: The Bold Blunt Layer You’ve Seen Everywhere
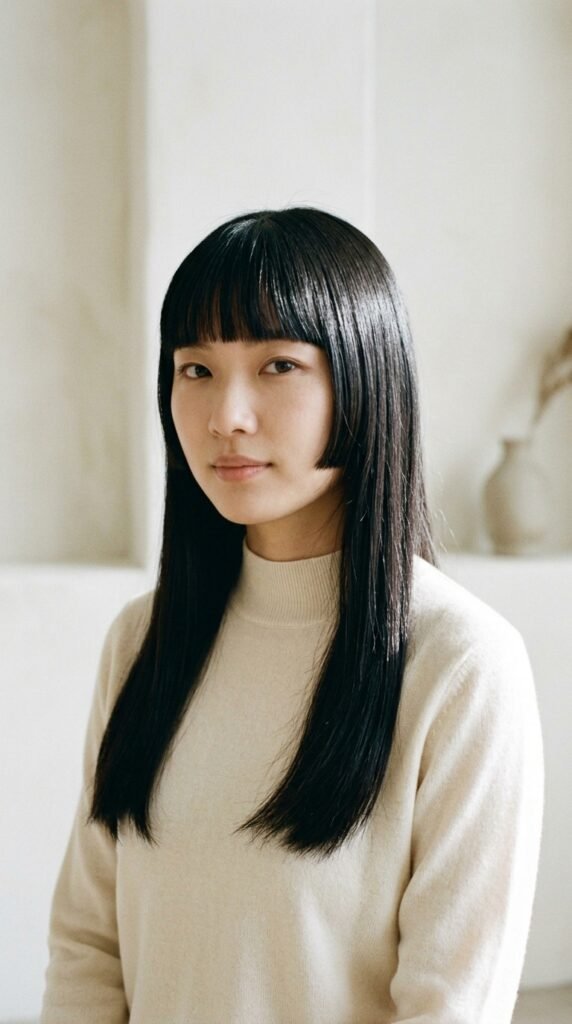
The hime cut is a Japanese style with two blunt side pieces at cheek or jaw length and the rest of the hair left long and straight.
It’s striking, a little ethereal, and it looks fantastic on very glossy hair. Think of it as a built-in accessory.
- Sharp side pieces, smooth long back
- Best on straight or lightly wavy hair
- Needs regular trims to stay crisp
If you want a hairstyle people remember, this is it.
Vampire Haircut Meets Long Layers

The vampire haircut is exactly what it sounds like: dramatic, glossy, a little moody. Deep side part, long layers, and hair that looks like it belongs in a candlelit room.
It works beautifully on long hair because the layers let it move while the surface stays sleek.
- Deep side part for instant drama
- Long layers that start at the jaw
- High shine, low frizz, always
It’s elegant first and edgy second, which is why it sticks around.
Romantic Goth Hairstyles With a Shiny Finish
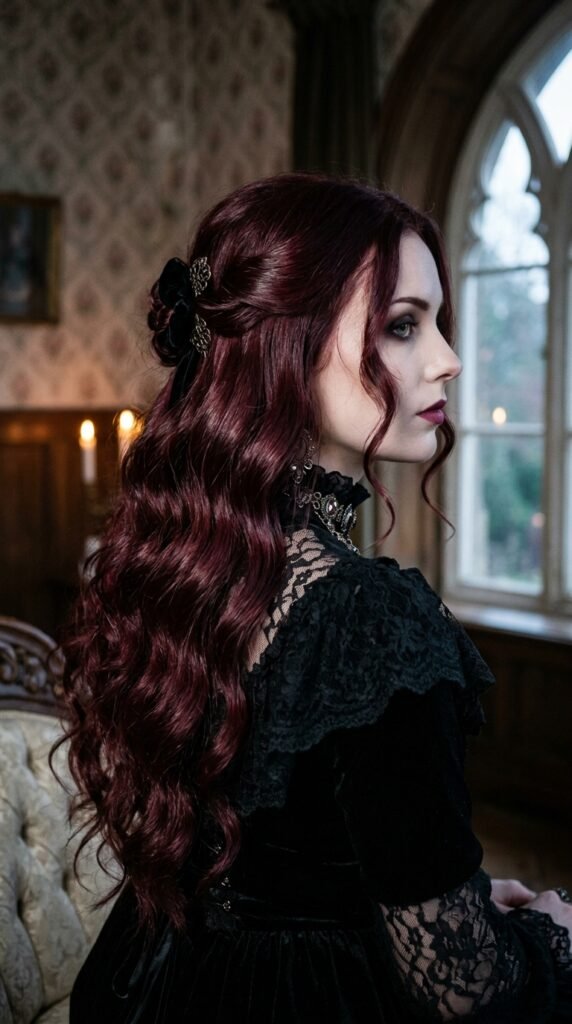
Romantic goth hairstyles are softer than classic goth. Think flowing waves, deep tones, and a finish that looks almost wet.
Long layers are the perfect base. They give you volume at the crown and movement through the ends without turning into a cloud of frizz.
- Soft, undone waves over sleek roots
- Deep brown, black cherry, or cool espresso
- A shine serum pressed into the ends only
Keep the cut simple so the color and texture do the talking.
Glitchy Glam Hair for a Modern Edge
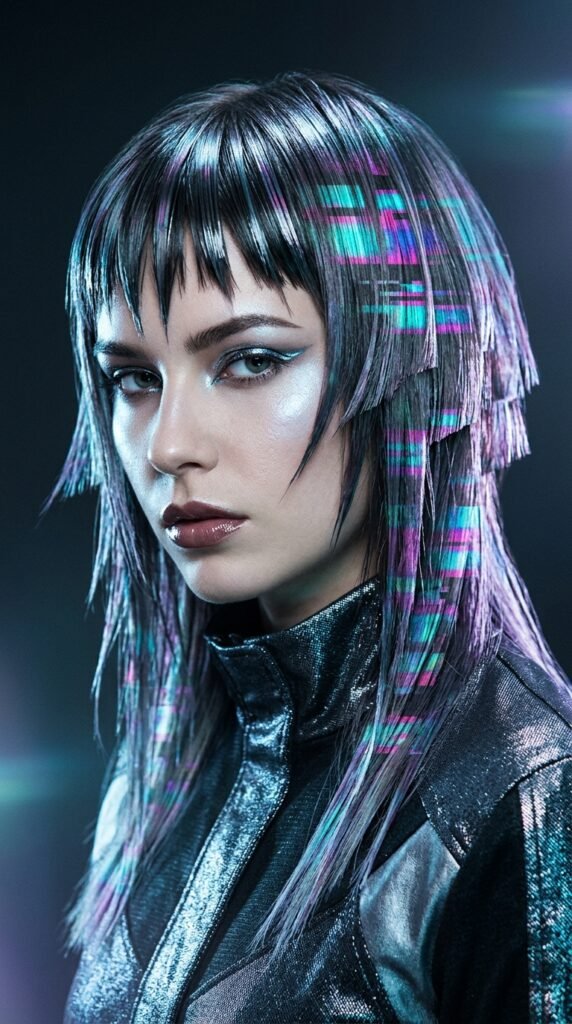
Glitchy glam hair is the fun one. It plays with asymmetry, sharp lines, and unexpected texture, but the finish stays glossy and expensive.
The trick is balance. If the shape is bold, the shine has to be impeccable, or it just looks messy instead of cool.
- One sharp asymmetric layer, not five
- Sleek roots, textured ends
- Gloss or shine spray as the final step
It’s a great option if you’re bored but not ready for a big chop.
Face-Framing Layers That Flatter Everyone

Face-framing layers are the small change with the biggest payoff. They soften your features and draw light right where you want it.
The key is blending. Bad face-framing looks like two random chunks. Good face-framing disappears into the rest of the hair.
- Start below the cheekbone for a soft look
- Start at the jaw for a stronger shape
- Always ask for a smooth blend, never a hard line
Bonus: they make grown-out bangs look intentional.
How to Ask Your Stylist for Polished Layers
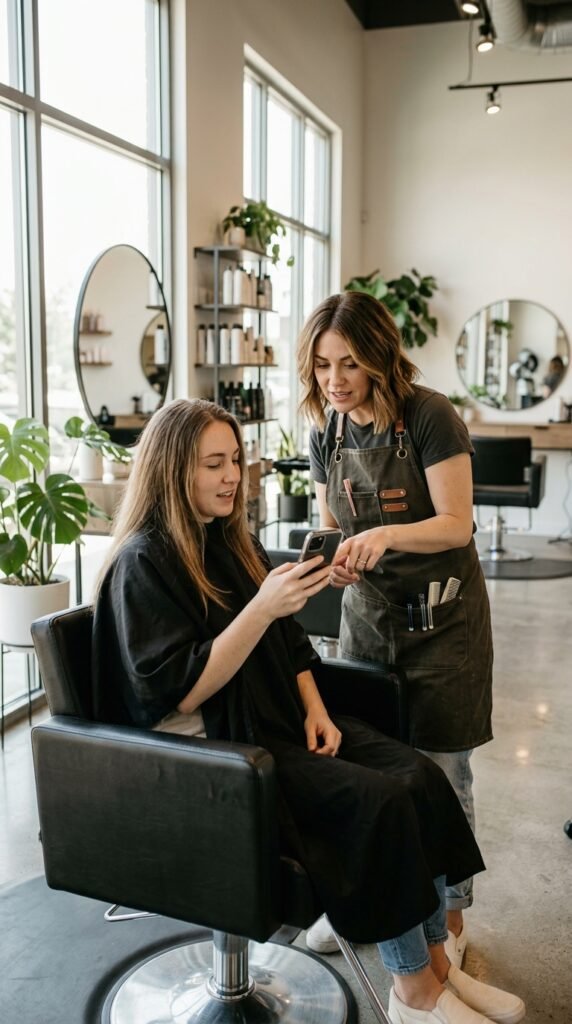
The consultation decides everything. Here’s how I’d walk in.
- Show two or three photos, not ten. Pick a shape you love.
- Say the words “blended and smooth.” Choppy is a different look.
- Point to where you want the shortest layer to start.
- Mention your routine. Air dry or blow dry changes the cut.
- Ask for thick, healthy ends, not thinned-out ones.
Then let them do their job. A good stylist will adjust for your texture and hairline.
Match the Cut to Your Hair Texture
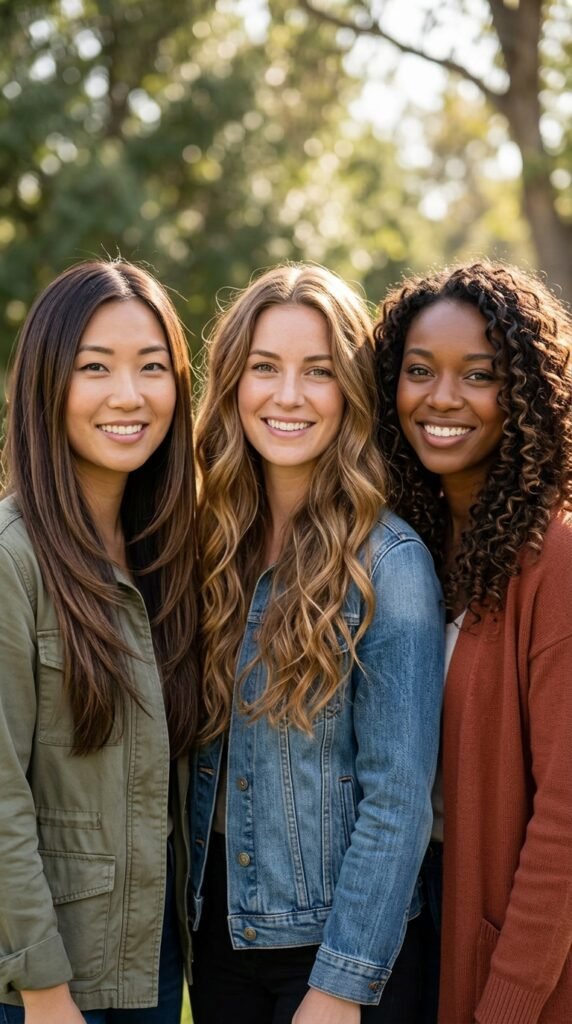
Layers behave differently on every texture. Here’s the quick version.
- Fine hair: fewer layers, longer and blended, plus a blunt perimeter for fullness
- Thick hair: more layers for movement, but ask for texture, not thinning
- Wavy hair: layers cut dry or with your natural wave, so they fall where you want
- Curly hair: rounded layers, cut curl by curl, no razors
Shine comes easier when the cut works with your pattern instead of against it.
The Blow-Dry Trick That Creates Mirror Shine
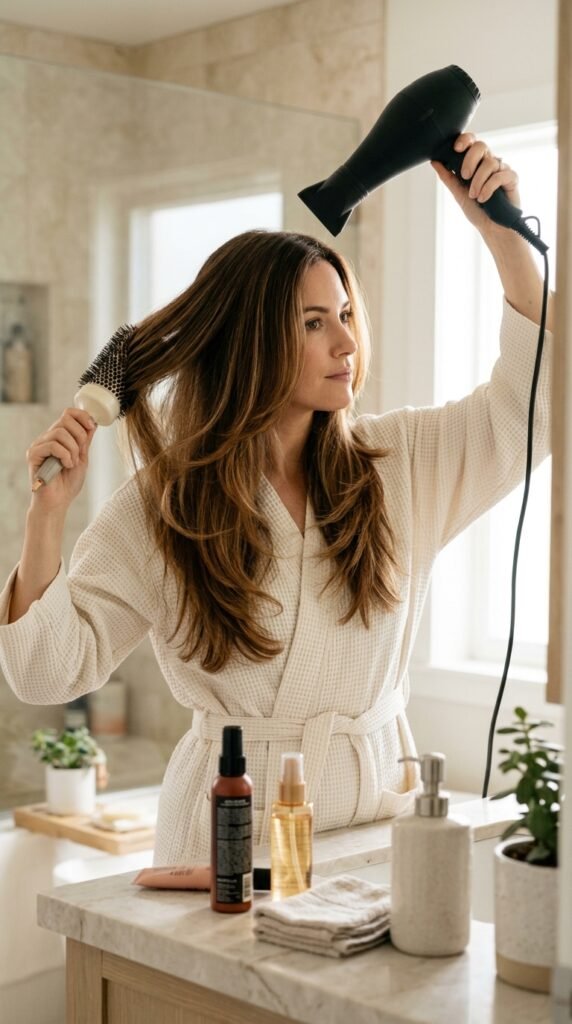
Shine is made in the drying, not the styling. Here’s my simple routine.
- Towel dry gently, then apply a light heat protectant.
- Rough dry until hair is about 80 percent dry.
- Section it off. Clip the top half up.
- Round brush each section downward, following the cuticle.
- Finish with a cool shot to seal the surface.
That last cold blast of air is the secret. It flattens the cuticle and locks in the shine.
Your Wash Routine Is Half the Shine
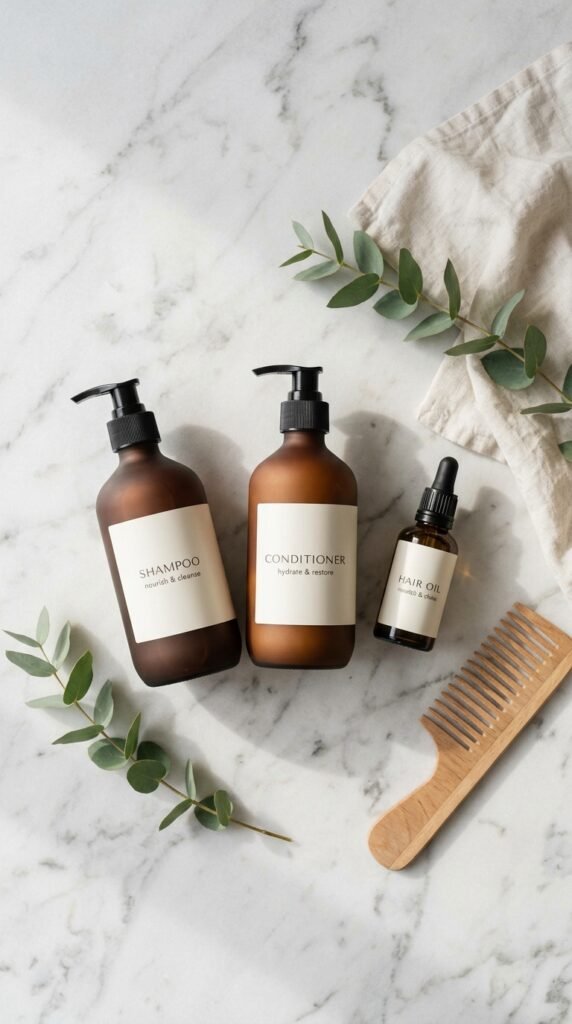
You can’t out-style dull, dry hair. The wash day basics matter more than any product.
- Shampoo the scalp only, let the suds rinse through the ends
- Conditioner from mid-length to ends, never the roots
- Rinse with cool water for a smoother finish
- Skip the daily wash if your scalp allows it
Once a week, use a clarifying wash if you use a lot of product. Buildup is the number one shine killer, and most people never notice it.
Gloss Treatments Worth Booking
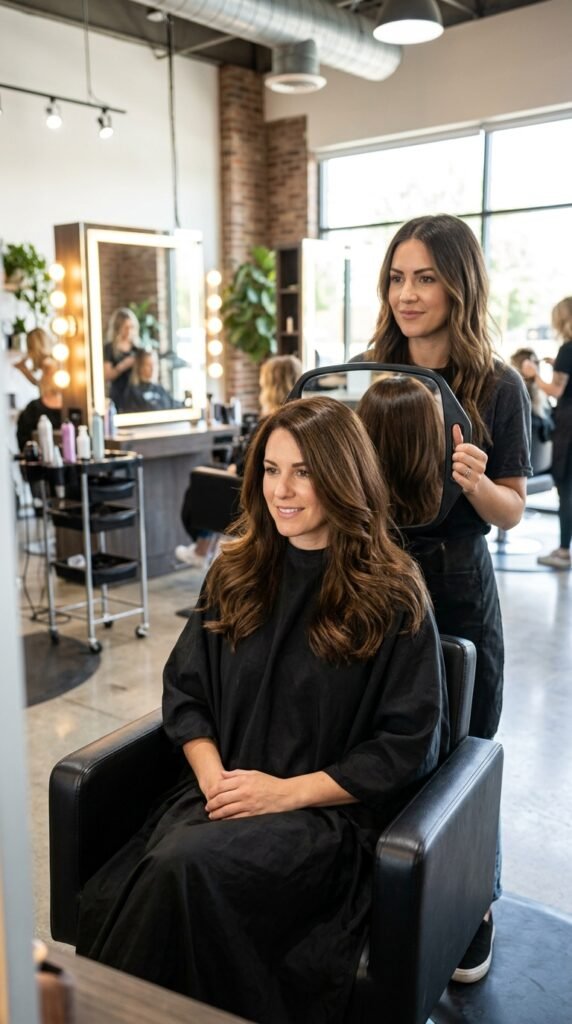
A gloss is the closest thing to an instant hair upgrade. It coats the strand, smooths the cuticle, and makes light bounce right off.
It’s not a color change, more like a filter for your hair. It also fades gently, so there’s no harsh grow-out.
- Clear gloss for pure shine
- Tinted gloss for a subtle tone refresh
- Every 6 to 8 weeks to maintain the effect
Pair it with your trim appointment and you’re set for months.
Heat Styling Without Frying Your Ends
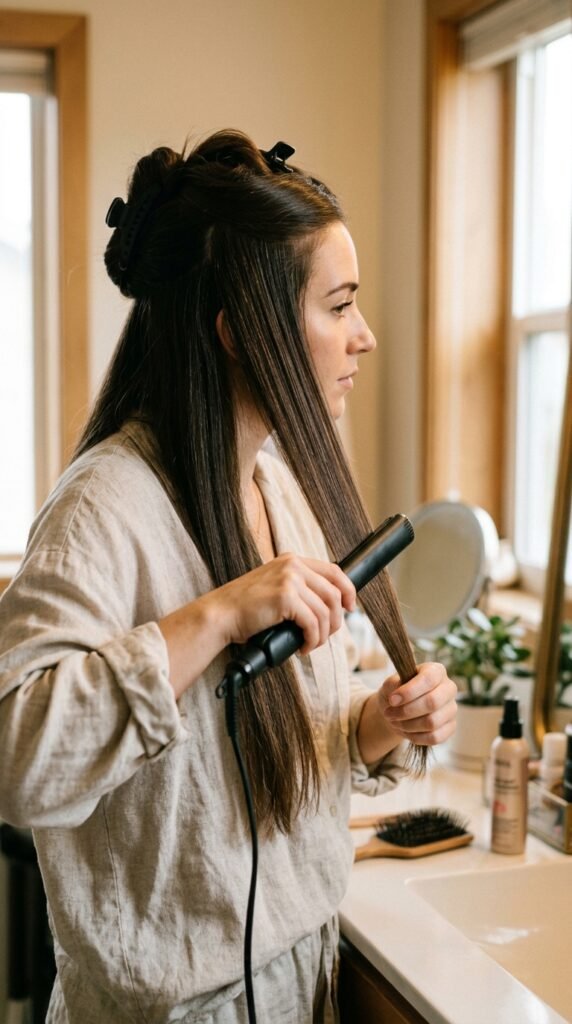
You don’t have to give up hot tools. You just have to be smart about them.
- Always use heat protectant, no exceptions
- Keep irons under 380 degrees on fine hair
- One clean pass beats three lazy ones
- Let hair cool completely before you touch it
And give your hair a few heat-free days each week. That alone makes a visible difference in shine within a month. Your ends will tell you the truth.
Shine Products That Don’t Look Greasy
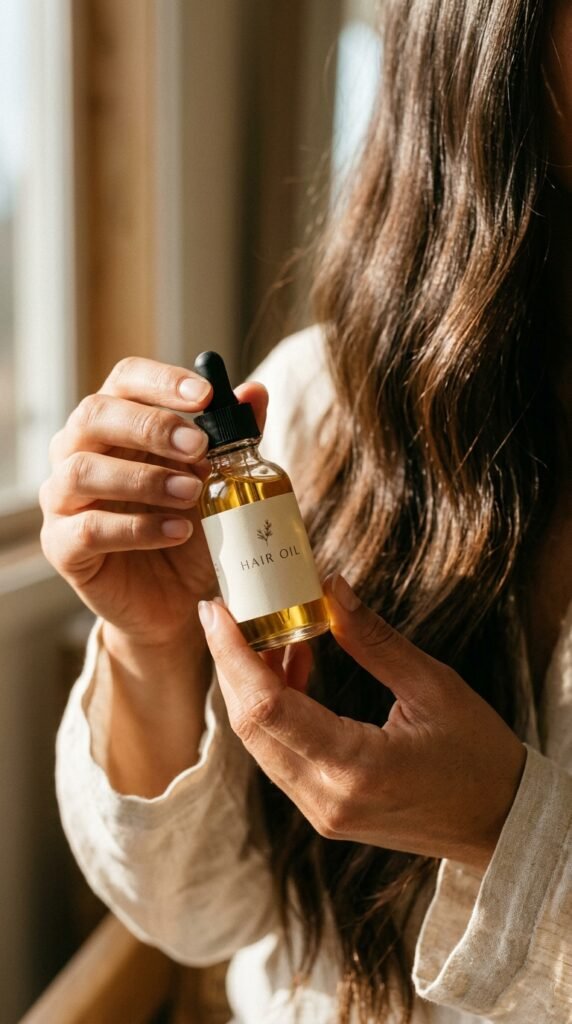
Shine products fail when you use too much or put them in the wrong place. Here’s how I use mine.
- Lightweight oil: one drop, pressed into damp ends
- Shine spray: misted over dry hair, 10 inches away
- Serum: on dry ends only, never near the roots
Start with less than you think you need. You can always add a drop, but you can’t take it back. Fine hair should stay away from heavy creams.
Overnight Habits for Healthier Ends

You spend eight hours a night grinding your hair against a pillow. That’s a lot of damage for free.
- Swap to a silk or satin pillowcase
- Loosely braid or twist long hair before bed
- Use a soft scrunchie, never a tight elastic
- Apply a tiny bit of oil to your ends
None of this takes more than two minutes, and it quietly protects the shiniest part of your hair while you sleep. Honestly the easiest upgrade on this whole list.
How Often to Trim Long Layers
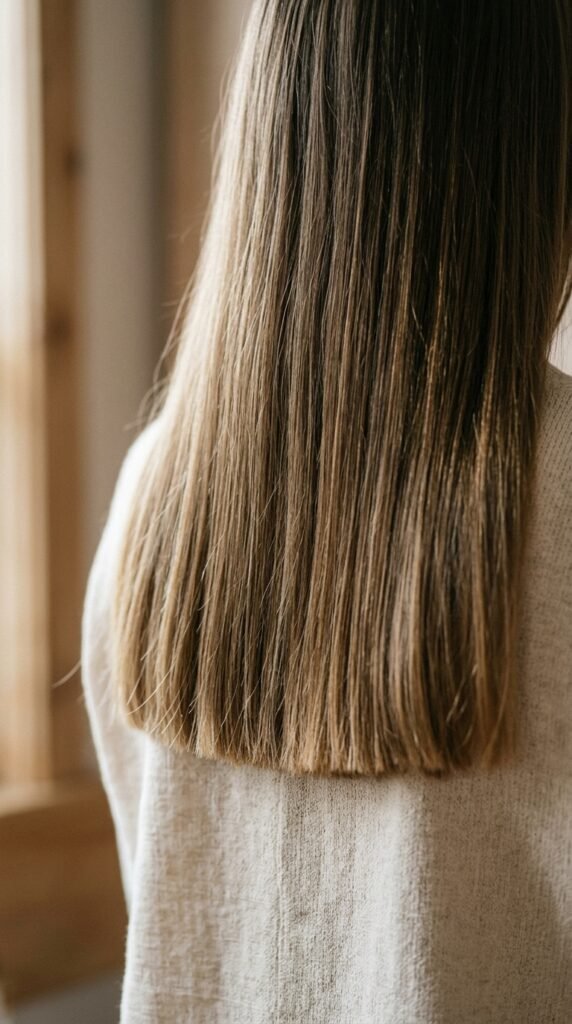
Split ends don’t heal. They travel up. So your layers will look dull and fuzzy no matter how much oil you use if you’re overdue for a trim.
Most people with long layered hair do best every 10 to 12 weeks. If your hair is fine or color-treated, aim closer to 8.
- Trim means removing 1/4 to 1/2 inch
- You keep the length, you lose the damage
- Ask for the shape refreshed, not just the ends
Consistency is what makes layers look expensive instead of grown out.
Color Choices That Make Layers Pop

Layers are only half the story. Color is what makes them visible.
One flat shade makes even great layers look invisible. A little dimension and suddenly the shape shows up.
- Soft face-framing highlights to spotlight the front
- Lowlights for depth on darker hair
- Gloss in between appointments to keep it reflective
Keep it subtle. High contrast can date fast, but dimension in the same color family always looks luxe.
Five-Minute Styling for Polished Layers
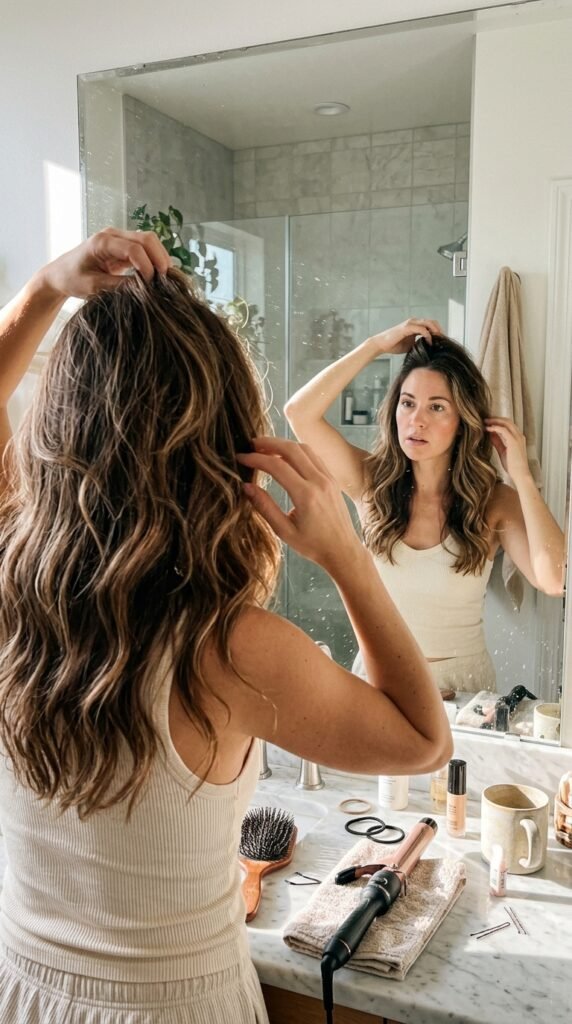
Some days you don’t have twenty minutes. That’s fine. Try this.
- Spray in a leave-in and rough dry your roots.
- Wrap the mid-lengths around a round brush and hit with heat.
- Twist the front pieces away from your face and pin for a minute.
- Shake out, add one drop of oil, done.
That twist trick gives you face-framing bend without any real effort. It’s my go-to when I’m running late but still want to look put together.
Easy Updos That Show Off Your Layers
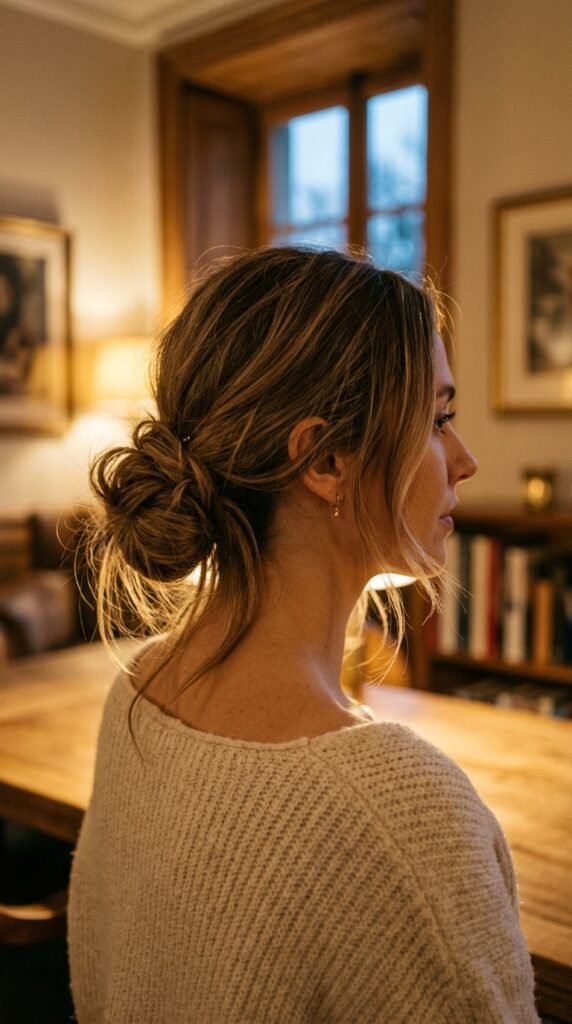
Long layers make updos look better. Those shorter pieces around your face are what turn a plain bun into something pretty.
- Low messy bun with two soft pieces out front
- Half-up twist secured with a clip
- Loose braid pulled wide for volume
Keep the surface smooth and the ends textured. Spray a little shine mist on top and nobody knows it took four minutes.
Layer Mistakes That Kill Your Shine

Let’s talk about what to avoid, because some layer jobs make hair look worse, not better.
- Over-thinning: ends go wispy and dull instantly
- Too many layers: the surface gets rough and loses shine
- Short choppy layers on fine hair: hello, triangle head
- Razor cutting on curls: frizz for months
If your hair looks frizzy right after a cut, it wasn’t you. It was the technique. Say something, because it can be fixed.
One Last Thing Before You Go
Polished long layers aren’t about following every trend. They’re about picking the shape that works with your texture, then keeping your hair healthy enough to show it off.
Start with one change this week. A silk pillowcase. A trim. A gloss. Small moves add up faster than you think.
And if you try one of these cuts, tell me in the comments which one you’re leaning toward. I read every single one, and I love knowing what you actually pick.
Save this post to Pinterest so you can pull it up the next time you’re sitting in the salon chair with no idea what to say.