Space Buns Tutorial: Channel Your Inner Festival Queen
Is there any hairstyle more iconic, more playful, and more intrinsically linked to the carefree spirit of festival season than the space bun? These gravity-defying orbs of hair are more than just a quick updo; they are a statement. A declaration of fun, a nod to 90s nostalgia, and the ultimate crown for your inner festival queen.
Whether you’re heading to Coachella, a local summer fair, or just want to add a dose of whimsy to your everyday look, mastering the space bun is a non-negotiable skill. But achieving that perfect, effortless-looking pair of buns can sometimes feel like a cosmic challenge. Fear not! This comprehensive tutorial will guide you through every step, from prepping your hair to adding the final, magical touches. Get ready to launch your style into a new orbit.
What Exactly Are Space Buns?
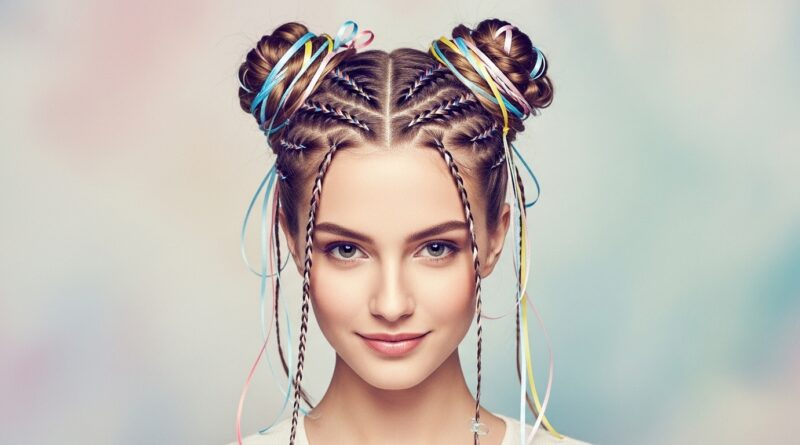
Before we dive into the how, let’s clarify the what. Space buns, sometimes called double buns or alien buns, are a hairstyle featuring two buns positioned on the top or sides of the head. They exploded into pop culture from the rave and festival scene of the 90s, championed by icons like Gwen Stefani and the Spice Girls, and they’ve made a triumphant return with a modern, boho-chic twist.
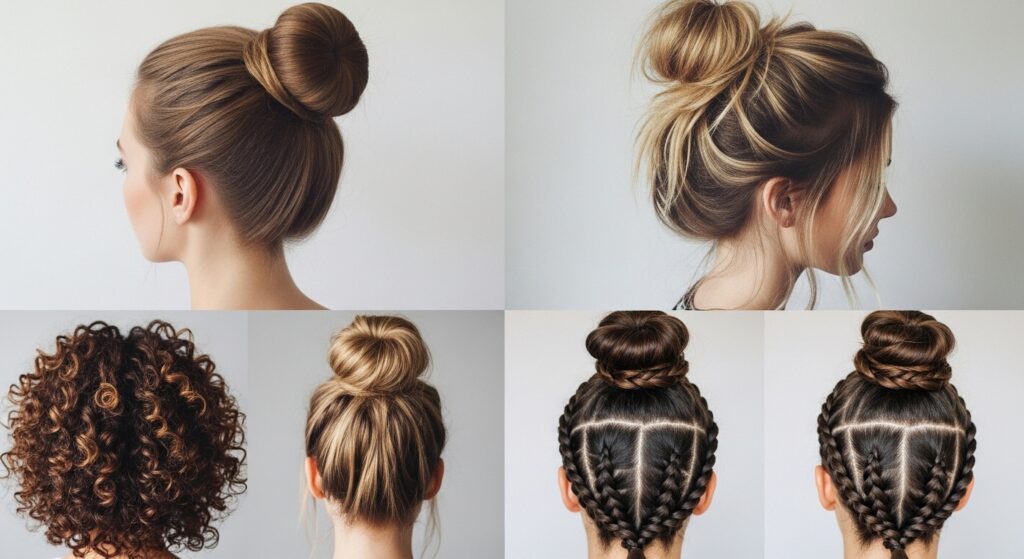
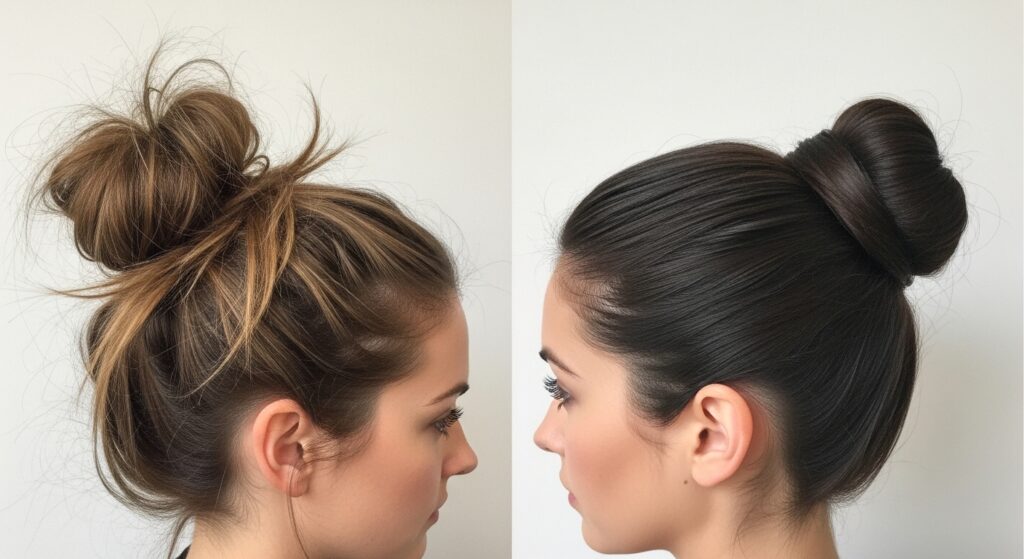
The beauty of space buns lies in their versatility. They can be neat and sleek for a more polished anime-inspired look, or messy and textured for that “I just danced for five hours and still look amazing” festival vibe. They work on almost every hair type and length, especially with the clever tricks we’ll share. This isn’t just a hairstyle; it’s an attitude.
Gathering Your Galactic Toolkit
Every great artist needs their tools, and creating the perfect space bun is an art form. You don’t need a salon’s worth of equipment, but a few key items will make the process infinitely smoother and the result far more stellar.
The Essentials:
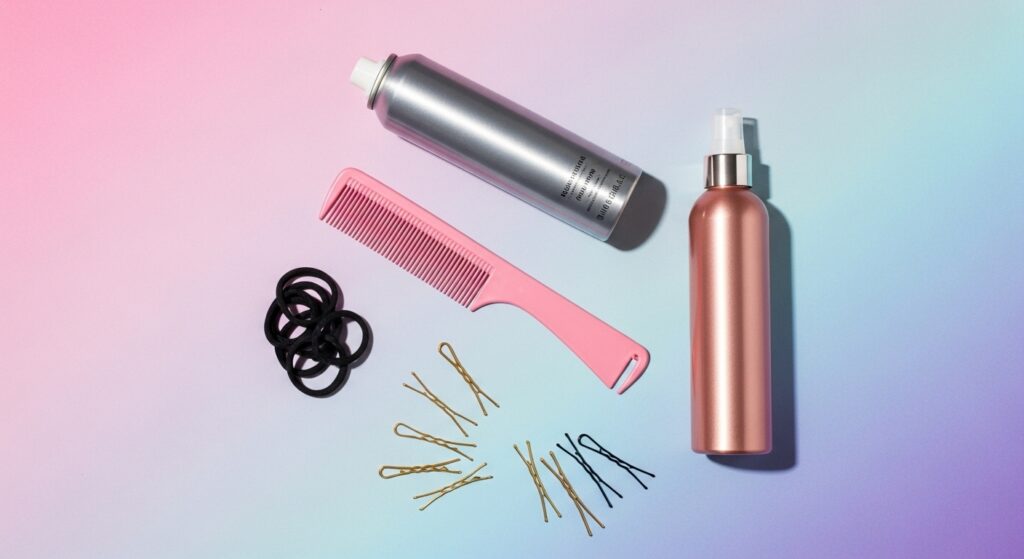
A fine-tooth comb: For creating clean parts and taming flyaways.
Hair ties (that match your hair color): These are the foundation of your buns. Clear or elastic ties that blend in are ideal.
Bobby pins (also color-matched): Your secret weapon for securing loose ends and reinforcing the structure.
Texturizing spray or dry shampoo: This is absolutely crucial for creating grip and volume. Second-day hair is perfect for this style, so if your hair is freshly washed, texturizing spray is a must.
Strong-hold hairspray: To lock in your masterpiece against wind, dancing, and general festival chaos.
The Optional (But Highly Recommended) Extras:
Hair elastics with decorations: Think pearls, charms, or colorful threads to wrap around your buns.
Hair glitter or gems: Because why not shine a little brighter?
Edge control gel or a small toothbrush: For smoothing down your baby hairs into stylish swirls.
Hair extensions: If you have shorter or finer hair, clip-in extensions can add the length and volume needed for truly impressive buns.
The Foundation: Prepping Your Hair for Liftoff
The secret to space buns that last from the first act to the final encore is all in the preparation. Starting with sleek, slippery hair is a recipe for frustration. You need texture, grip, and a little bit of grit.
If you can, style your hair on the second or even third day after washing. The natural oils will have built up, providing a perfect base. If you have just washed your hair, don’t panic. Generously apply a texturizing spray or dry shampoo from root to tip. Don’t just spray the top layer—lift sections and spray underneath for all-over texture.
Another pro tip is to lightly backcomb or tease the crown area of each section before you start forming the buns. This isn’t about creating 80s-level volume, but about giving the hair something to grip onto, which will prevent the buns from sliding down throughout the day. A little volume at the root makes the entire style look more modern and intentional.

The Step-by-Step Launch Sequence: Creating Perfect Space Buns
Now for the main event! Follow these steps, and you’ll have a pair of picture-perfect space buns in no time.
Step 1: The Part
Start with a center part for a symmetrical, classic look. Use the end of your comb to create a clean, straight line from your forehead to the nape of your neck. For a more off-beat, edgy vibe, try a deep side part. The part you choose sets the entire tone for the hairstyle.
Step 2: Create Two Ponytails
Divide your hair into two equal sections. Gather the hair on one side into a high ponytail. The placement is key. For a true “space” bun, the ponytail should be positioned high on the crown of your head, almost level with the top of your ears. Secure it tightly with a hair tie. Repeat on the other side. Make sure the two ponytails are level with each other. A quick check in a second mirror can save you from a lopsided look!
Step 3: The Teasing Technique
This is where the magic happens. Take your ponytail and gently backcomb it from the middle to the ends. You’re not trying to create a giant rat’s nest; you’re just building a textured, voluminous base that will be easier to wrap into a full bun. The more you tease, the messier and bigger the bun will be.
Step 4: Form the Bun
Now, wrap the teased hair around the base of the ponytail. Don’t just twist it tightly into a knot. Instead, drape the hair around the base and start coiling it loosely. As you coil, use your other hand to hold the shape. The goal is to create a circular, doughnut-like shape.
Step 5: Secure the Universe (and Your Bun)
While holding the bun in place with one hand, use your other hand to secure it with bobby pins. Slide the pins through the bun and into the base of the ponytail, crisscrossing them for maximum hold. Tuck the very end of your ponytail underneath the bun and pin it securely. Don’t be shy with the pins! A few well-placed pins are invisible and will keep your bun intact through a mosh pit.
Step 6: Repeat and Admire
Repeat the entire process on the other side. Once both buns are secure, take a step back and assess. Gently pull a few face-framing pieces loose to soften the look. Finally, mist the entire style with a strong-hold hairspray to tame any remaining flyaways and lock everything in place.

Troubleshooting: Conquering Common Space Bun Challenges
Not every hair type cooperates on the first try. Here are solutions to the most common galactic problems.
Problem: “My hair is too short or too thin!”
Solution: This is where hair donuts or sock buns become your best friend. Simply place a bun form over your ponytail and distribute your hair evenly around it, securing the ends underneath with pins. You can also create mini space buns, which are just as cute! For fine hair, the texturizing spray and teasing steps are non-negotiable. They create the illusion of thickness and provide essential grip.
Problem: “My buns are lopsided or different sizes!”
Solution: Precision is key. Use a comb to ensure your part is perfectly straight and measure the height of your ponytails using your ears or eyebrows as a guide. Before you start coiling, split each ponytail into two smaller sections, create two smaller buns right next to each other, and pin them together for a fuller, more controlled look.
Problem: “The style feels too childish or costume-y!”
Solution: The finish is everything. A sleek, tight bun can feel costumey. Instead, lean into the mess. After you’ve pinned your bun, gently pull at the edges to create a softer, more undone texture. Leave out more face-framing pieces, and even some pieces at the nape of your neck. The goal is “effortless,” not “perfect.”
Next-Level Nebula: Styling Variations to Make It Your Own
Once you’ve mastered the classic space bun, the galaxy is your oyster. Here are some ways to level up your look and truly channel your unique festival queen energy.
The Braided Bun: Before gathering your hair into a ponytail, create a Dutch or French braid along your hairline, incorporating it into the ponytail. Then, wrap the braid around the base of the bun for a intricate, boho detail.
The Half-Up, Half-Down: For a subtler look, only take the top half of your hair to create smaller, cuter buns, leaving the rest of your hair down in loose waves or curls.
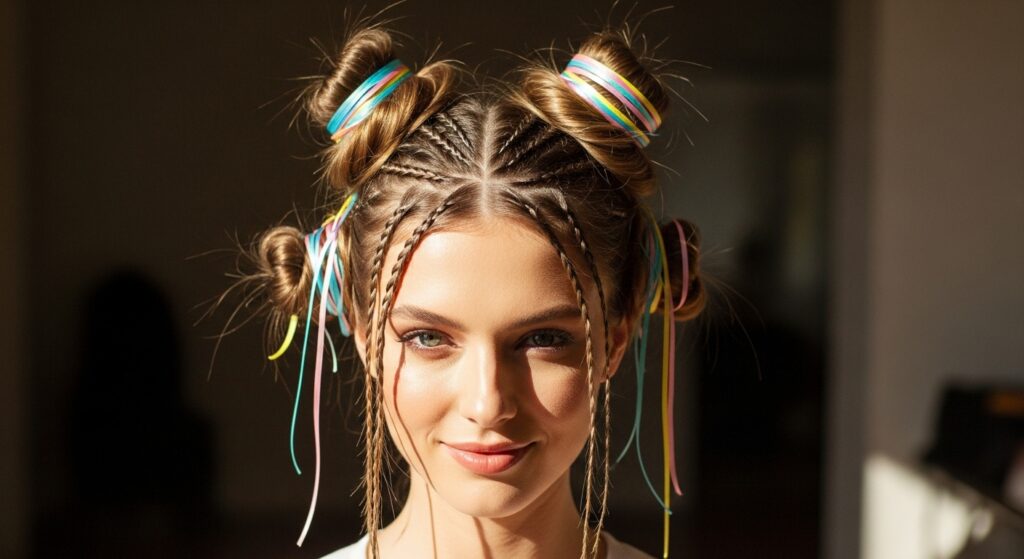
The Accessorized Orbit: Wrap a colorful ribbon or a chain of pearls around the base of your buns. Use hair cuffs on the ponytail section before you coil it. The possibilities for adornment are endless.
Glitter & Gems: Apply hair glitter to the lengths of your hair before styling for an all-over sparkle, or use cosmetic-grade glitter glue to press small gems onto the buns themselves.
Your Festival Crown Awaits
Space buns are more than a passing trend; they are a celebration of individuality, fun, and unapologetic style. They are the perfect fusion of nostalgic cool and modern boho flair, designed to make you feel confident and ready to conquer any festival field or sunny day adventure.
With this tutorial, you now hold the blueprint. You have the knowledge to prep, create, troubleshoot, and customize your own signature space buns. So grab your texturizing spray, embrace the mess, and get ready to turn heads. Your throne as festival queen is waiting, and it comes with two perfectly coiled buns.