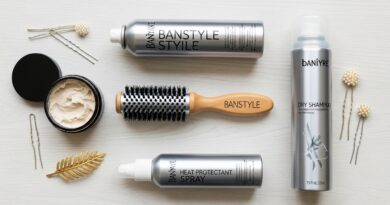
Energize 15 Punk Spike Gels Sculpting Edges Rebelliously
Okay, let’s be real. We’ve all been there. You see an amazing punk or edgy hairstyle on your feed, full of attitude and sharp, sculpted spikes. You think, “I could never make that last more than five minutes.” I get it. The fear of crunchy, flaky gel that feels like a helmet is so real.
But what if I told you that modern styling products have changed the game completely? We’re not talking about the goopy, white gels from the 90s. The new wave of sculpting gels and edge control products are here to give you that rebellious, defined look without the awful feel.
This is your no-stress guide to getting those iconic punk spikes and sharp edges. We’re breaking down the 15 best gels and how to use them, so you can finally rock that bold look with confidence. It’s easier than you think, and I promise, your hair will still feel like hair.
Why Modern Sculpting Gels Are a Game Changer
Remember when using gel meant hard, crispy hair that cracked in the wind? Those days are over. The new formulas are lightweight, pliable, and often infused with nourishing ingredients.
They provide serious hold without the stiffness. You can run your fingers through your hair and reshape it throughout the day. This is perfect for creating everything from subtle texture to full-on dramatic spikes for your next concert or night out.
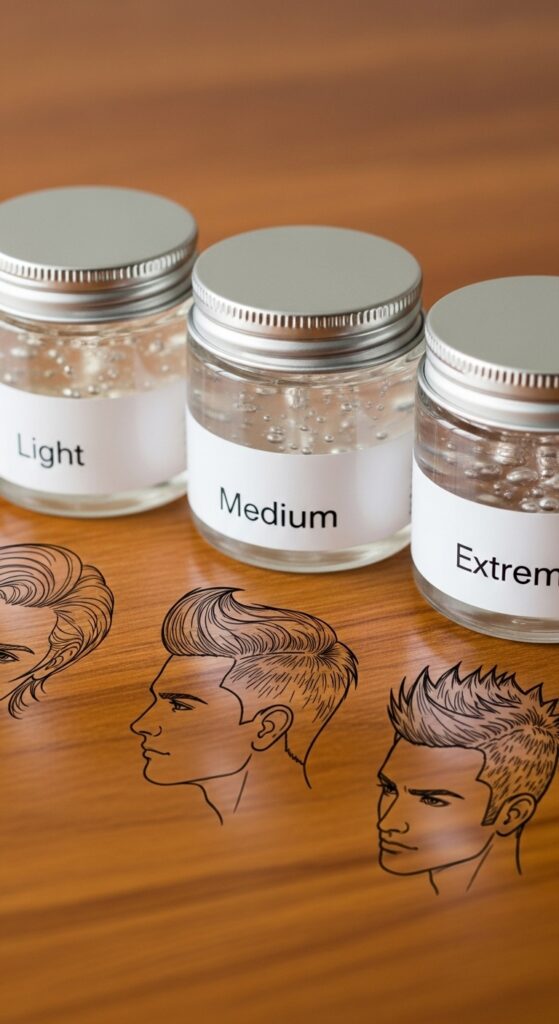
Understanding Hold Levels: Light, Medium, and Extreme
Not all gels are created equal. Picking the right hold level is the first step to success. A light-hold gel is great for adding piecey texture to shorter cuts like an asymmetrical lob or a vampire haircut.
Medium hold is your everyday workhorse for defined waves and casual spikes. Save the extreme-hold, “glue-like” gels for when you need your masterpiece to survive a mosh pit. Knowing this difference saves you from hair disasters.
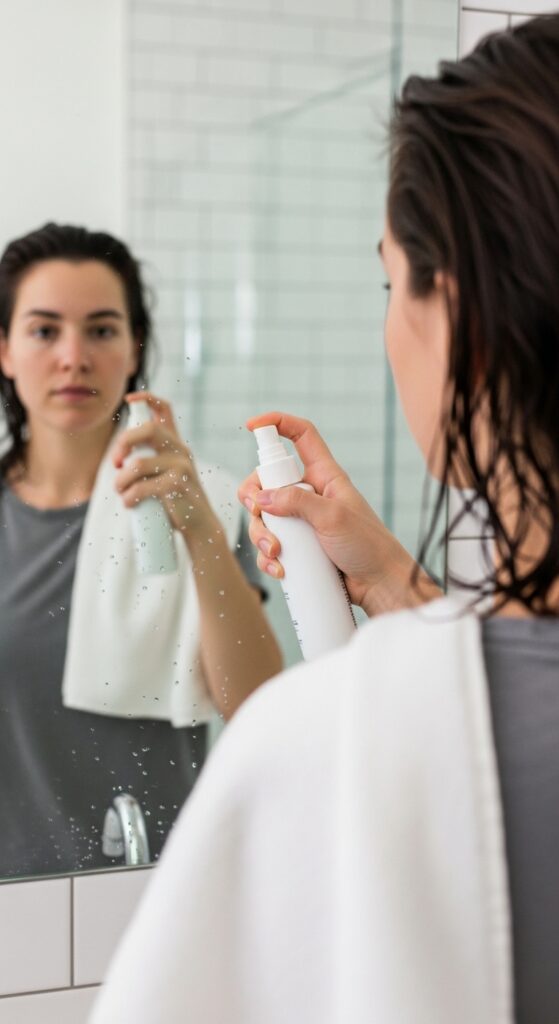
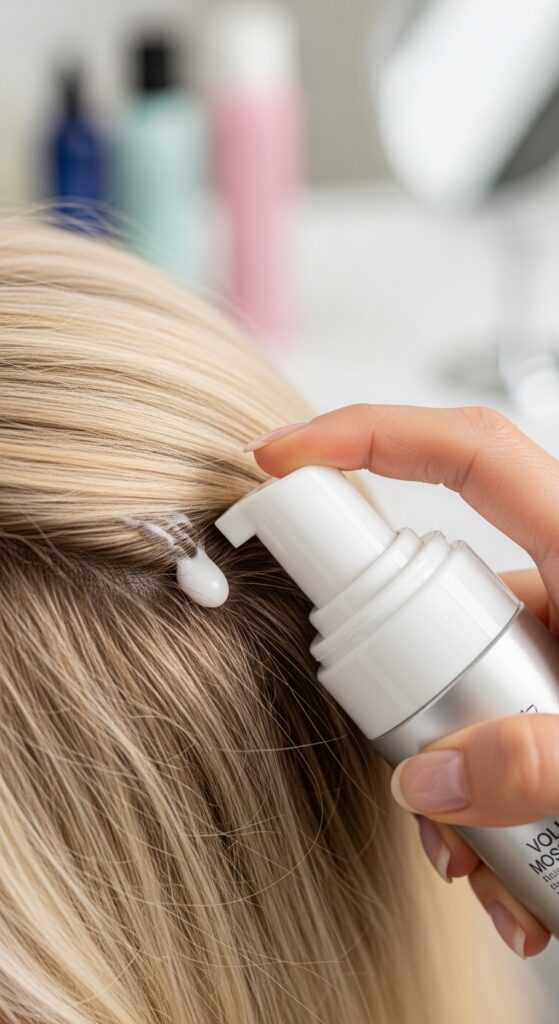
Prepping Your Hair: The Essential First Step
You can’t build a skyscraper on a shaky foundation. For the best results, always start with towel-dried hair. It should be damp, not soaking wet.
- For fine hair: Use a light volumizing mousse at the roots first.
- For thick or curly hair: A small amount of curl cream can help define before you sculpt.
- For all hair types: A heat protectant is a must if you plan to use a blow dryer or flat iron to assist.
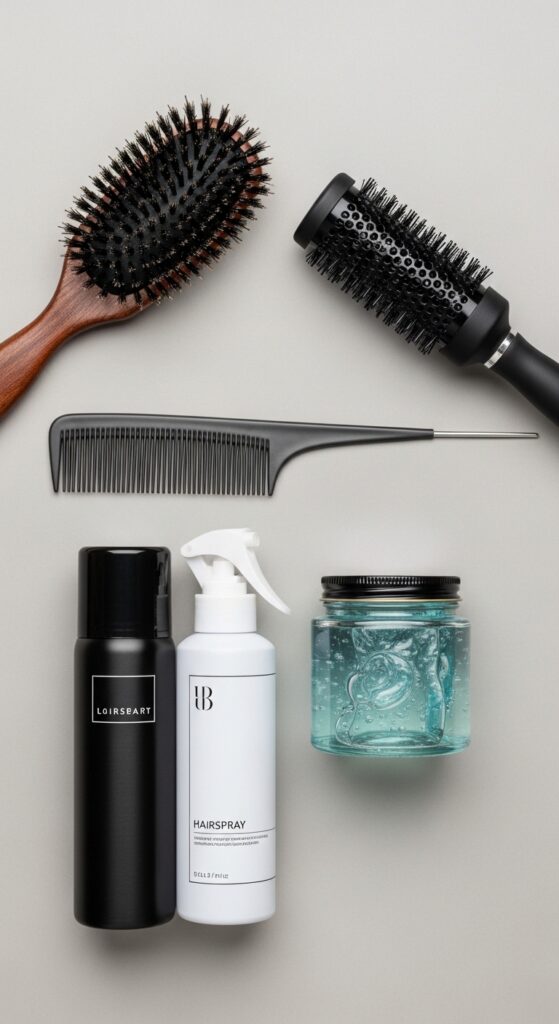
Toolkit Essentials Beyond the Gel
Your gel is the star, but the supporting cast matters. A fine-tooth comb is non-negotiable for creating sharp parts and sleek edges. A strong-hold hairspray is your final sealant.
Don’t forget a good boar bristle brush for smoothing, and a small, round brush for directing sections when blow-drying. Having these tools ready makes the whole process smooth and fast.
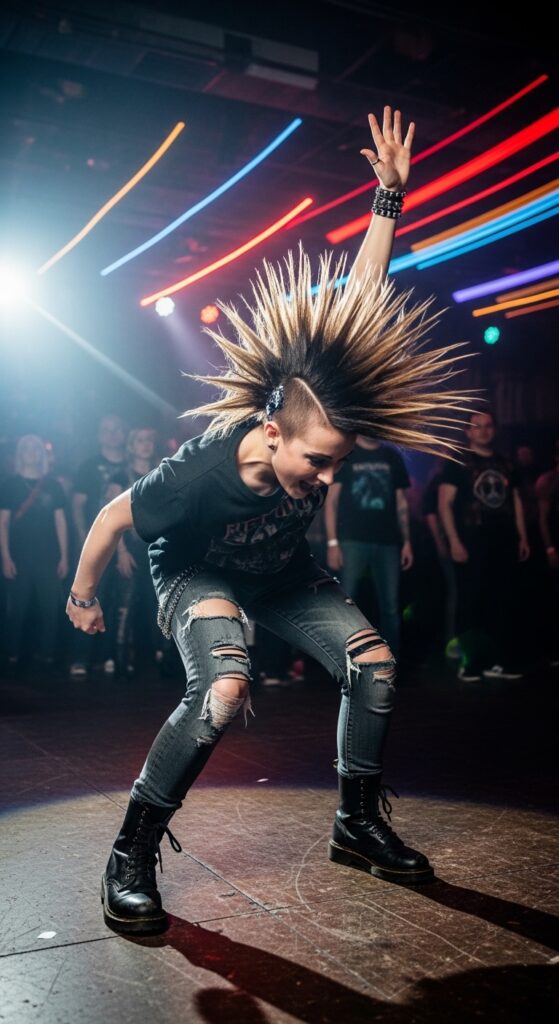
Classic Liberty Spikes: The Step-by-Step
- Apply an extreme-hold gel to sections of damp hair, from root to tip.
- Using your fingers or a comb, pull a section straight up from your head.
- Mold it into a sharp point, holding it in place for 10 seconds.
- Repeat all over, then let air dry or use a diffuser on cool. Finish with a blast of hairspray.

Sculpting Subtle, Piecey Texture
Not ready for full spikes? This look is for you. It’s a great way to add an edge to 2026 hairstyles that are more minimalist. Use a light or medium-hold gel rubbed between your palms.
Then, gently scrunch and pinch random sections of your hair, focusing on the ends. This creates a separated, “lived-in” texture that looks cool without trying too hard. It works amazingly on shorter bobs.
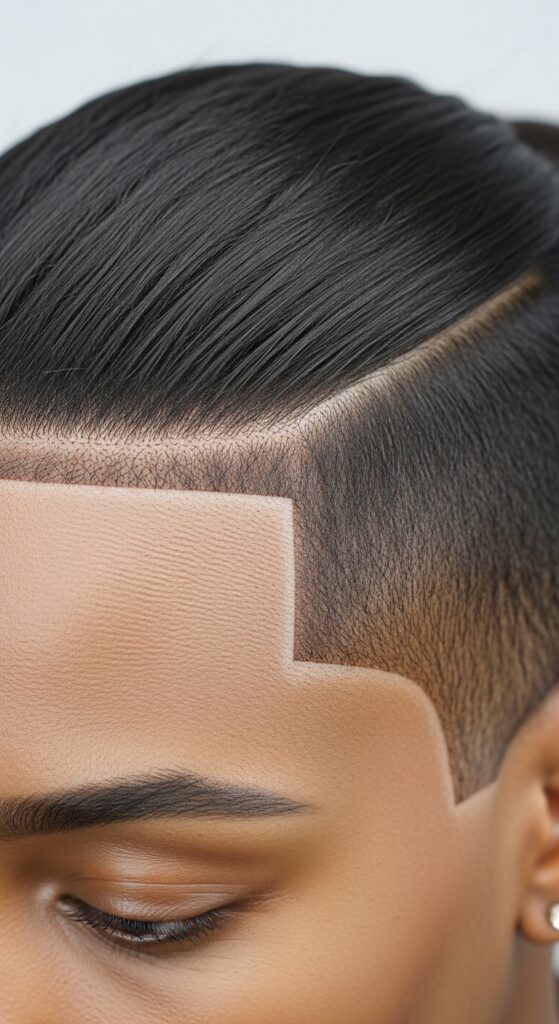
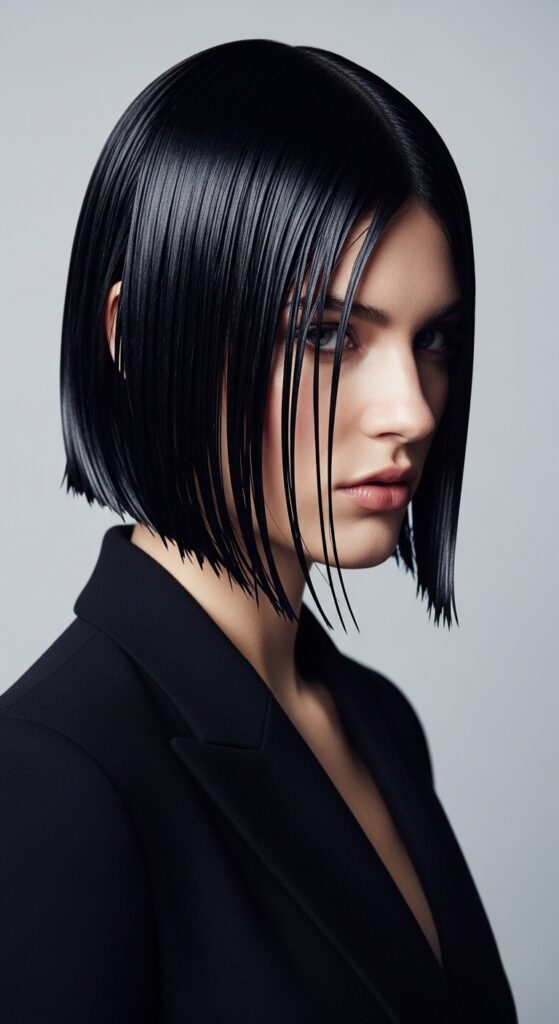
Mastering the Sleek Side Part & Edges
This is where edge control or a strong-hold pomade shines. For a slick look, apply product to your hairline and use a fine-tooth comb to lay edges flat. For a deep side part, comb all your hair to one side first.
Then, apply gel along the part line and comb it through to create a sharp, clean line. This technique pairs surprisingly well with old money hair aesthetics for a modern twist.
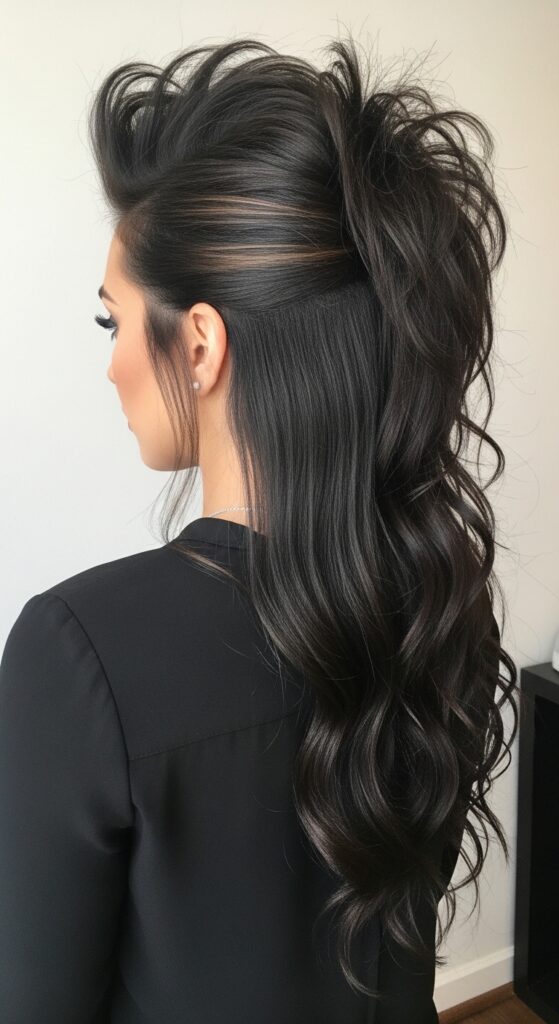
Creating a Messy, “Bed-Head” Mohawk
This is a more wearable, everyday punk style. Apply gel or a strong paste to the roots of the hair along the center of your head. Use your fingers to push and tease the hair upward, but don’t make it perfect.
The goal is controlled chaos. Let some pieces fall loosely. This style looks fantastic with undercuts or very short sides, adding instant height and attitude.

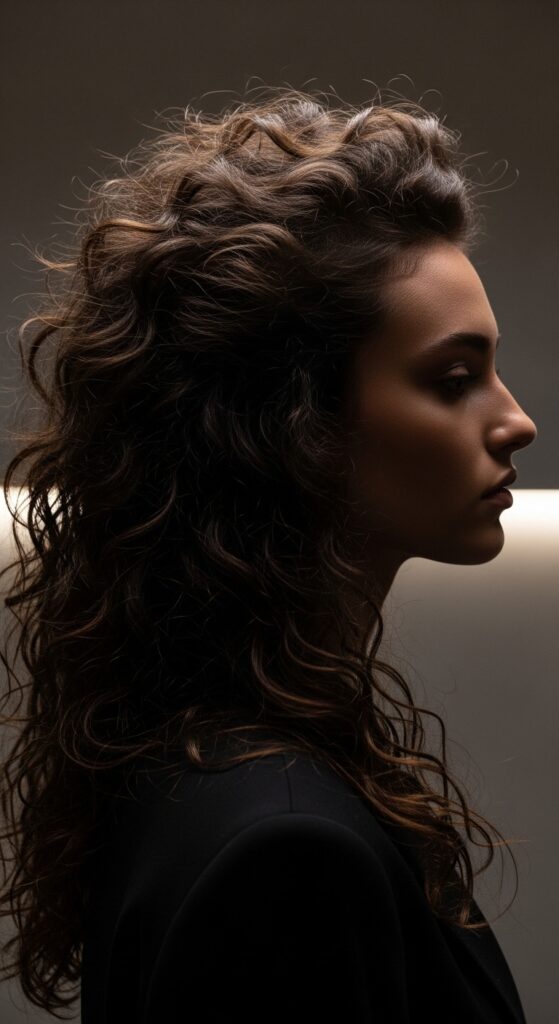
Punk Meets Romance: Soft Spikes with Curls
This is a beautiful mash-up for romantic goth hairstyles. Start by creating soft curls or waves all over. Then, take small sections near the crown or face.
Apply a tiny bit of gel just to the ends and twist them into soft, delicate spikes that peek out from the curls. It’s rebellious and beautiful at the same time.
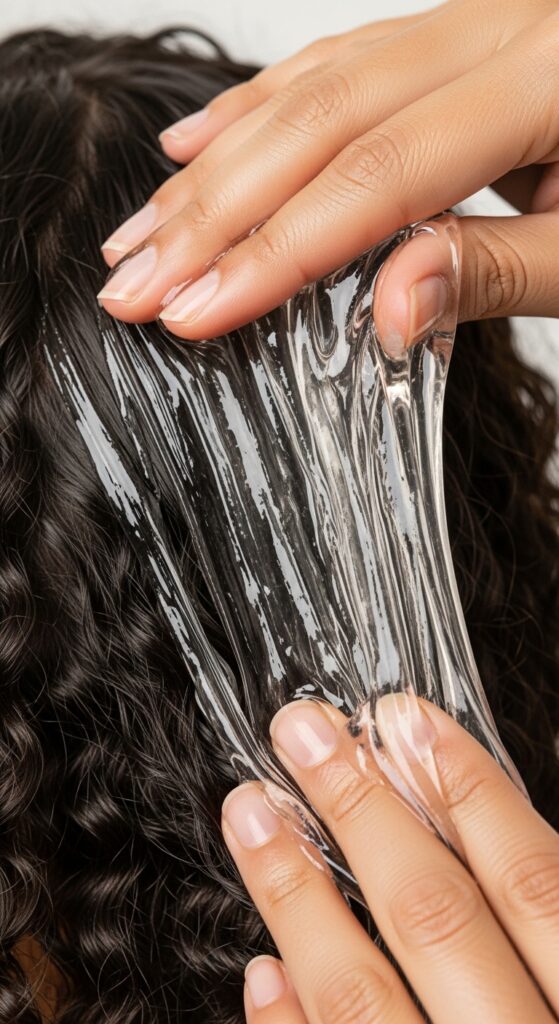
The Wet Look: High-Shine Rebellion
This glossy, saturated look is major. Apply a generous amount of high-shine gel or pomade to soaking wet hair. Comb it through thoroughly for an ultra-sleek look, or use your hands for a more piecey, textured wet look.
Let it air dry naturally to set the shine. This is a bold statement that works on everything from long hair to a quiet luxury bob for a stark contrast.
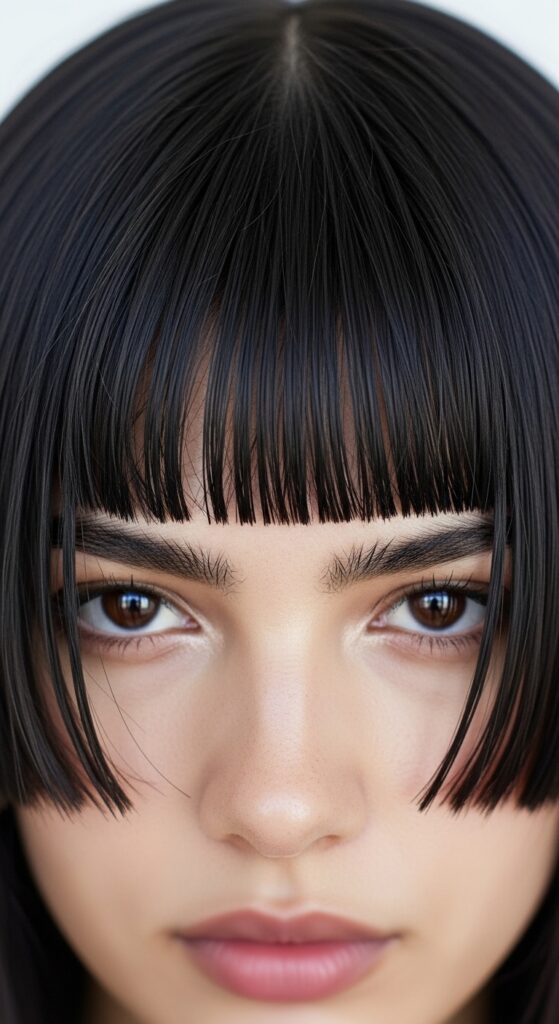
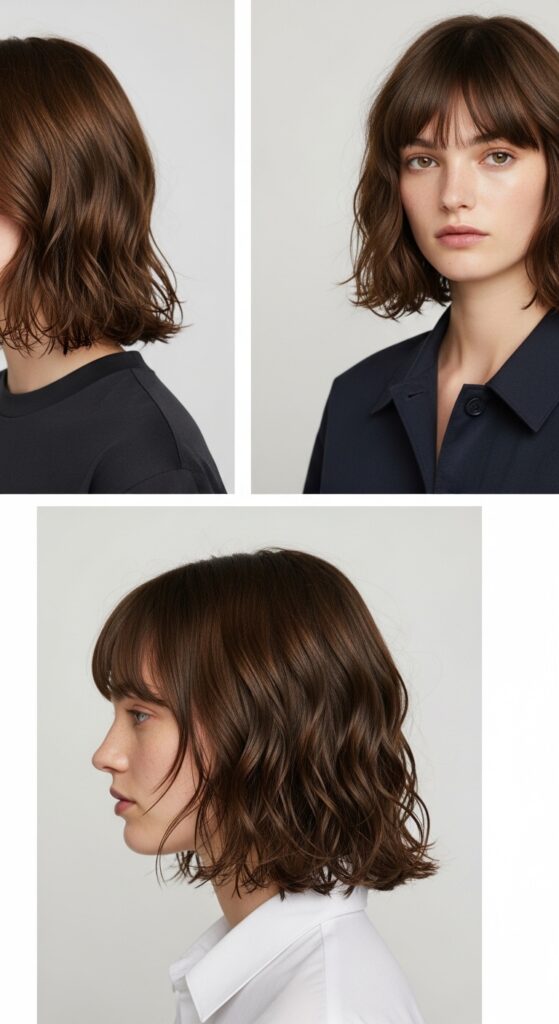
Defining Bangs and Face-Framing Pieces
Don’t neglect your bangs! Gels are perfect for styling statement bangs like those on a hime cut or heavy curtain bangs. Apply a small amount to your fingertips.
Twist or separate the bang sections to give them direction and hold. You can create sharp points, soft curves, or a piecey texture that stays put all day.
How to Make Your Style Last All Day (and Night)
Longevity is key. First, ensure your hair is properly prepped. Second, don’t be shy with the product—you often need more than you think. Third, let the style set completely.
If you can, air dry. Finally, that final seal with a strong-hold hairspray from a few feet away is non-negotiable. Tuck a travel-size gel in your bag for touch-ups.
Avoiding the Dreaded Flakes and Crunch
The number one rule? Don’t mix water-based and oil-based products. This causes the white, flaky residue. If you’re using a water-based gel, use water-based creams beforehand.
To avoid crunch, look for gels labeled “flexible hold,” “pliable,” or “no-crunch.” You can also soften a style by gently scrunching your hair with a tiny bit of hair oil on your palms once it’s fully dry.
Best Gels for Fine, Thin Hair
Fine hair needs a lift without getting weighed down. Look for gels that also offer volume. Mousse-gel hybrids are fantastic. Apply at the roots for lift before sculpting.
Powder-based texturizing gels can also add incredible grip and body. Avoid heavy pomades or thick waxes, as they will make fine hair look flat and greasy.
Best Gels for Thick, Curly, or Coily Hair
Thick hair needs commanding hold. You’ll want a true extreme-hold gel. Look for ones with moisturizing ingredients like shea butter or coconut oil to avoid dryness.
Applying the gel in sections is crucial to ensure every strand is coated. Don’t fight your curl pattern—use the gel to enhance and define your natural texture into sculpted shapes.
Color-Treated Hair? What You Need to Know
If you’ve invested in a vibrant color, protect it. Always choose alcohol-free gels, as alcohol is extremely drying and will fade your color faster. Many brands now make color-safe styling products.
Also, be mindful that very strong gels might be harder to wash out, requiring more shampoo, which can also strip color. A clarifying shampoo once a week can help remove buildup without daily damage.
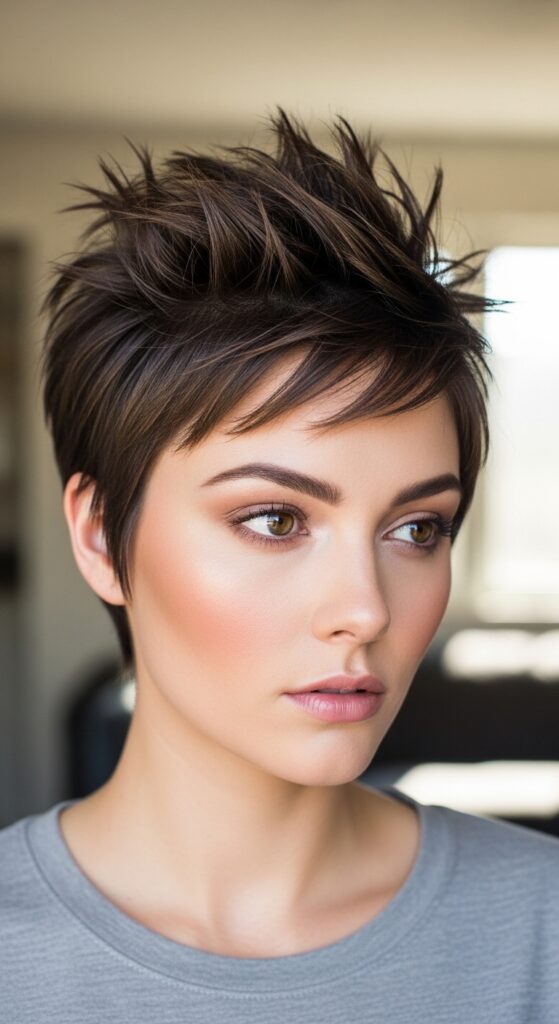
Edgy Styles for Short Hair (Pixies, Undercuts)
Short hair is a perfect canvas for punk sculpting. With a pixie cut, you can create dramatic height and direction. For undercuts, focus on styling the top section.
Use a paste or clay for a matte, textured finish that you can reshape all day. You can create anything from a disheveled, spiky look to a sleek, side-swept style with sharp lines.
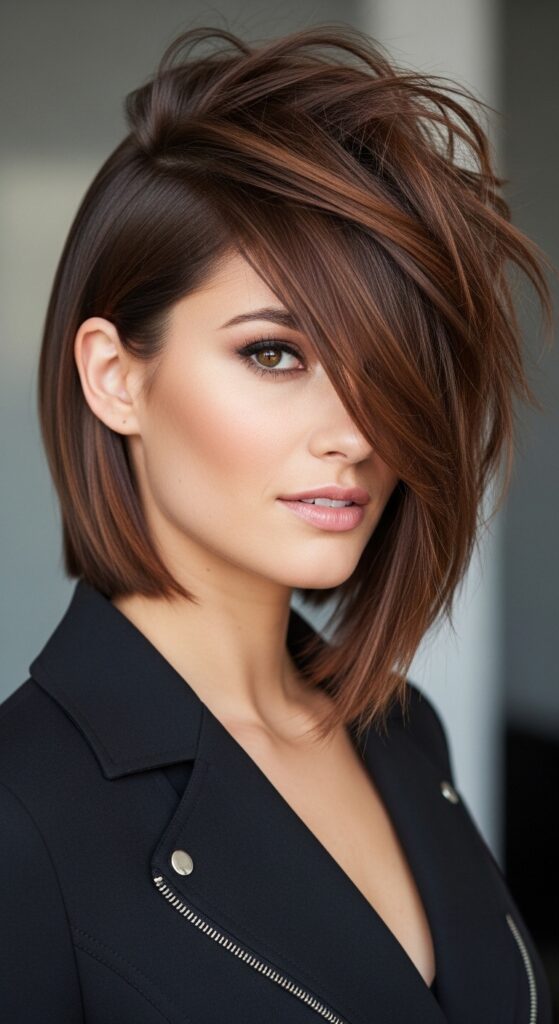
Edgy Styles for Medium-Length Hair (Lobs, Bobs)
The asymmetrical lob is a dream for this. Use gel to exaggerate the asymmetry—slick one side back and spike out the other. On a classic bob, add piecey texture to the ends or create a sharp, side-swept fringe.
Medium length gives you enough hair to play with shape and direction without being overwhelming. It’s the perfect balance.
Edgy Styles for Long Hair
Long hair doesn’t have to be boring. Create a partial mohawk by spiking just the top section and leaving the rest down. Or, create intricate braids and then use gel to spike out the tail ends.
For a glitchy glam hair vibe, combine sleek, gel-smoothed sections with wildly textured or spiked sections. The contrast is everything.
Combining Punk Edge with Other 2026 Trends
Punk is blending with everything. Think quiet luxury bob but with sharply gelled, piecey ends. Or, a vampire haircut with wet-look gel for extra drama.
Glitchy glam hair is all about intentional “errors”—like a perfectly sleek style with one random, spiked section. Don’t be afraid to mix aesthetics for something uniquely you.
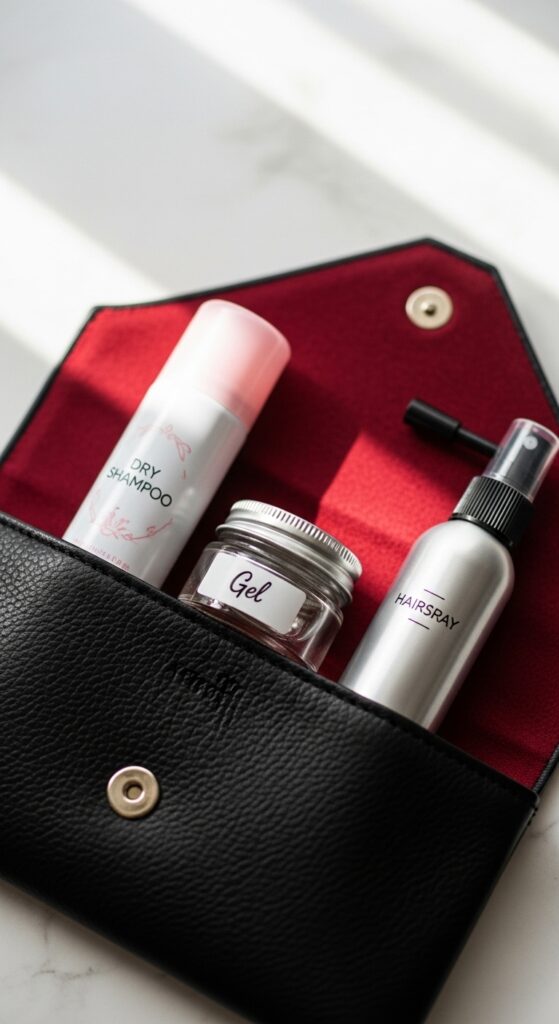
Quick Fixes for Mid-Day Style Slumps
Your spikes are falling? No panic. Dampen your hands slightly (not dripping) and rub a tiny, tiny bit of the original product between them. Gently reshape the drooping section and hold for a moment.
For flattened roots, carry a travel-size dry shampoo or texturizing powder to add grip back instantly, then restyle with your fingers.
How to Wash It All Out Properly
Removing strong gel is a two-step process. First, use a gentle clarifying shampoo to break down the product. Really massage it into your scalp and hair.
Second, follow with a deeply hydrating conditioner or hair mask. Those strong-hold products can be drying, so replenishing moisture is crucial. Your hair will thank you.
So there you have it—your total guide to getting those fierce, sculpted styles without the fear. It’s all about using the right modern products and knowing a few simple techniques. Remember, hair is meant to be fun and expressive.
Your personal style should make you feel powerful and confident. Whether you’re going for full rebellion or just a touch of edge, these tips will help you get there. Now, go play and see what kind of amazing looks you can create.
Save this post to Pinterest to keep all these tips handy! Which look are you most excited to try first? Tell me in the comments below—I read every single one!