
Glam 20 Invisible Tape Extensions Layering Lengths Naturally Seamless
The Real Reason I Switched to Tape-Ins (And Haven’t Looked Back)
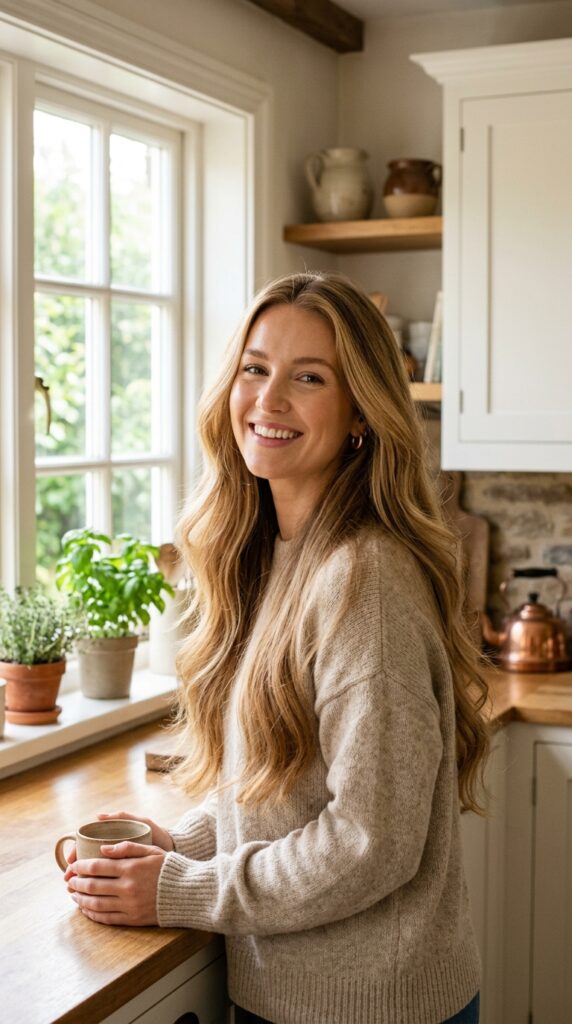
I used to think extensions were high-maintenance magic for the rich and famous. Then I tried Glam 20’s invisible tape-ins, and I realized I was massively overcomplicating things. If you’ve been scrolling through Pinterest for 2026 hairstyles and wondering how to get that effortlessly voluminous look without sitting in a salon chair for six hours, this is your sign.
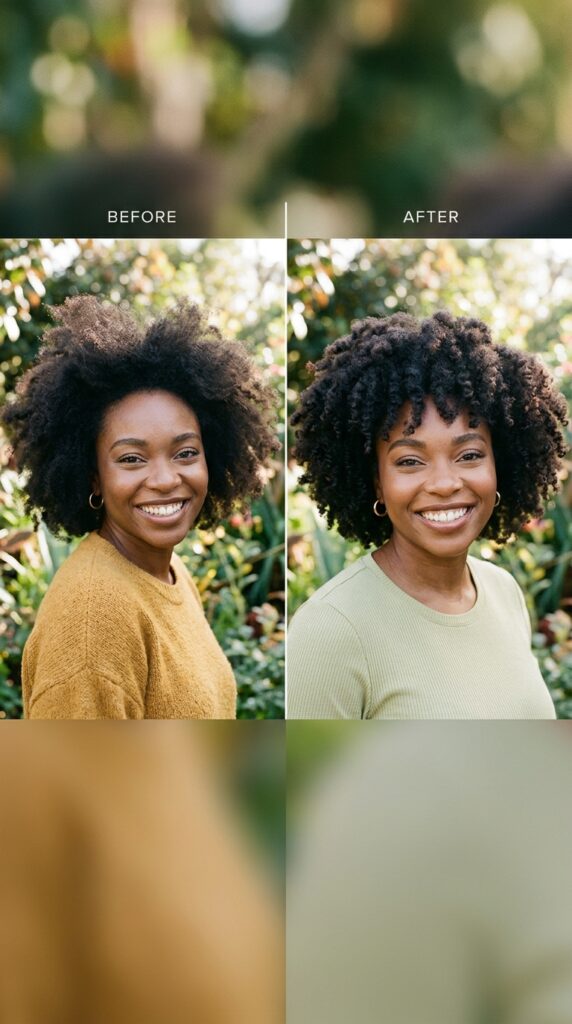
These extensions lay flat against your head. No bumps, no bulges. They move with your hair like they’re actually yours. And the best part? They blend with natural layers so seamlessly that even your hairdresser might have to look twice. I’m serious. I wore mine to brunch last week and my friend asked me what new shampoo I was using.
What Makes Invisible Tape Extensions Different
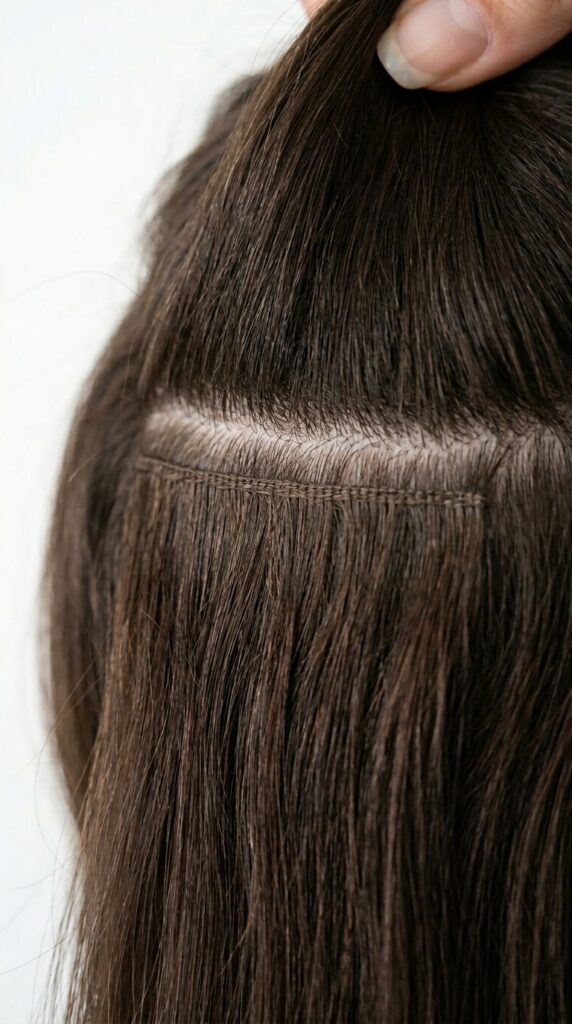
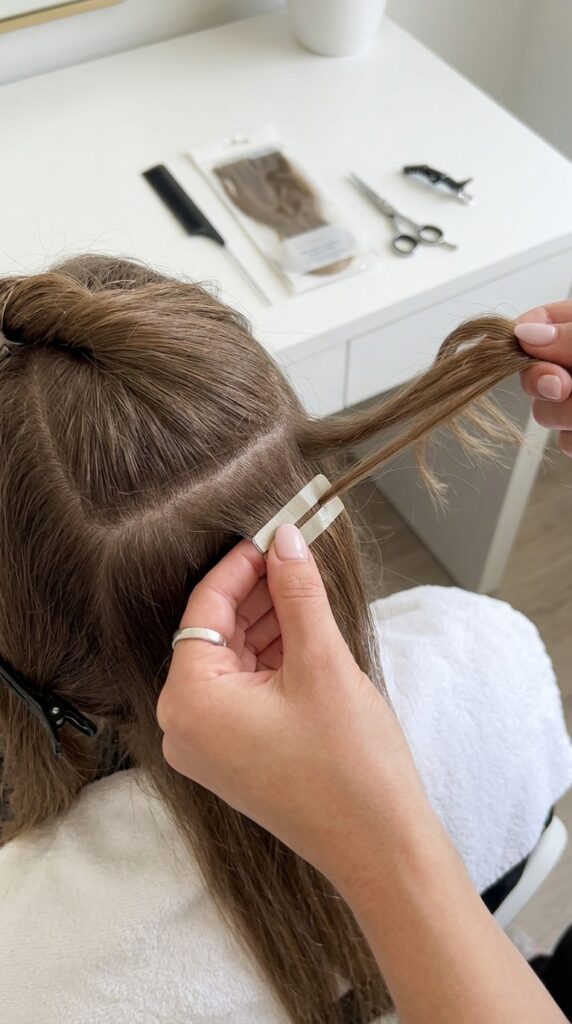
Standard clip-ins can feel bulky, and bonded extensions can be damaging. Tape-ins are the sweet spot. They’re thin, flexible wefts that stick to your natural hair with a medical-grade adhesive. No heat, no glue, no fuss.
With Glam 20, the tape is nearly invisible. It’s less than a millimeter thick. You can wear your hair in a high pony, a low bun, or even a half-up style without anyone spotting the tape line. That’s the kind of quiet confidence that gives off major old money hair energy, if I’m being honest.
Why Layering Matters More Than Length
Here’s a mistake I made early on. I ordered extensions that were all one length. They looked like a helmet. Not cute. When you’re shopping for extensions for 2026 hairstyles, look for sets that mimic the natural layers of your hair. That’s where Glam 20 shines.
They offer pre-layered wefts, which means the tape is already cut at different lengths. You install the shortest ones near your face and the longest ones in the back. The result is a cascade of volume that moves with you, not against you. It’s like having a built-in blowout.

How to Get That “Quiet Luxury Bob” With Tape-Ins
The quiet luxury bob is having a moment for 2026. It’s sleek, chin-length, and undeniably polished. But if your natural hair is fine, a bob can sometimes look a little flat. Tape-ins can change that without adding obvious bulk.
Ask your stylist to cut the extensions to the exact same length as your bob. Then, install just two or three wefts at the crown. It adds density, not length. The result is that thick, expensive-looking hair you see on fashion week models. It’s subtle, but it’s everything.

Romantic Goth Hairstyles? Yes, Tape-Ins Work for That Too
If you’re into romantic goth hairstyles, you probably love dark colors and dramatic layers. Tape-ins can handle both. Glam 20 offers a huge range of shades, including jet black, deep burgundy, and even dark violet. You can add subtle pops of color without committing to a full dye job.
I have a friend who wears black tape-ins with a few deep red wefts at the bottom. She keeps her hair long with face-framing layers. It gives her that ethereal, slightly spooky vibe that’s so popular right now. And because tape-ins are reusable, she swaps out the colored wefts whenever she wants a change.

Glitchy Glam Hair: The Trend You Didn’t Know You Needed
Have you seen glitchy glam hair on TikTok? It’s that digital-print effect with streaks of metallic silver, neon blue, or holographic pink woven into dark hair. It looks high-tech, but it’s actually super simple to pull off with tape-ins.
You just buy a few single wefts in the glitchy color you want. Install them underneath your top layer. The tape lies flat, so the color peeks through only when you move. It’s a fun, wearable way to try a trend before fully committing. Trust me, you’ll get so many compliments at the coffee shop.

The Asymmetrical Lob: A Perfect Match for Tape-Ins
The asymmetrical lob is all about contrast. One side is longer, the other is shorter. It’s edgy and modern, but it can be tricky with extensions because you need precise layers. Tape-ins make it easy. You can order the wefts cut to match the exact asymmetry of your cut.
When I did my own asymmetrical lob with Glam 20, I installed longer wefts on the longer side and shorter wefts on the shorter side. The tape was completely hidden because the hair sat naturally. It looked like I had grown my hair out intentionally. No one believed it was extensions.

For the Vampire Haircut Lovers: Extra Long Layers
The vampire haircut is trending for 2026. Think heavy, sharp layers, very long hair, and a center part that frames the face like a cape. It’s dramatic, romantic, and requires serious length. If your natural hair isn’t there yet, tape-ins are your secret weapon.
Go for 22-inch wefts in a dark brown or black shade. Place them starting at the crown and work your way down. Ask your stylist to razor-cut the ends to create that wispy, vampire-like texture. You’ll get the look without waiting years for your hair to grow. It’s kind of magical.

Hime Cut Meets Modern Tape-Ins
The hime cut (Japanese princess cut) features blunt, cheekbone-length bangs with long hair in the back. It’s bold, structured, and very anime-inspired. Tape-ins can help you achieve the volume in the back without making the bangs look flat.
Use short tape wefts at the front to add thickness to the blunt bangs. Then use longer wefts in the back for dramatic length. Because the tape is invisible, the transition between the bangs and the long hair looks seamless. It’s a great way to modernize a classic style.

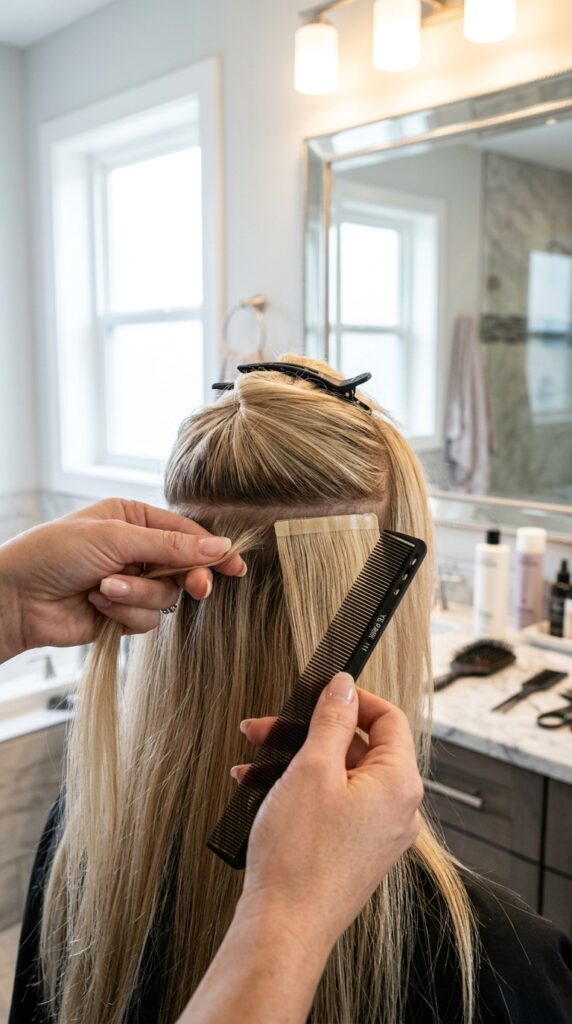
How to Blend Tape-Ins With Your Natural Layers
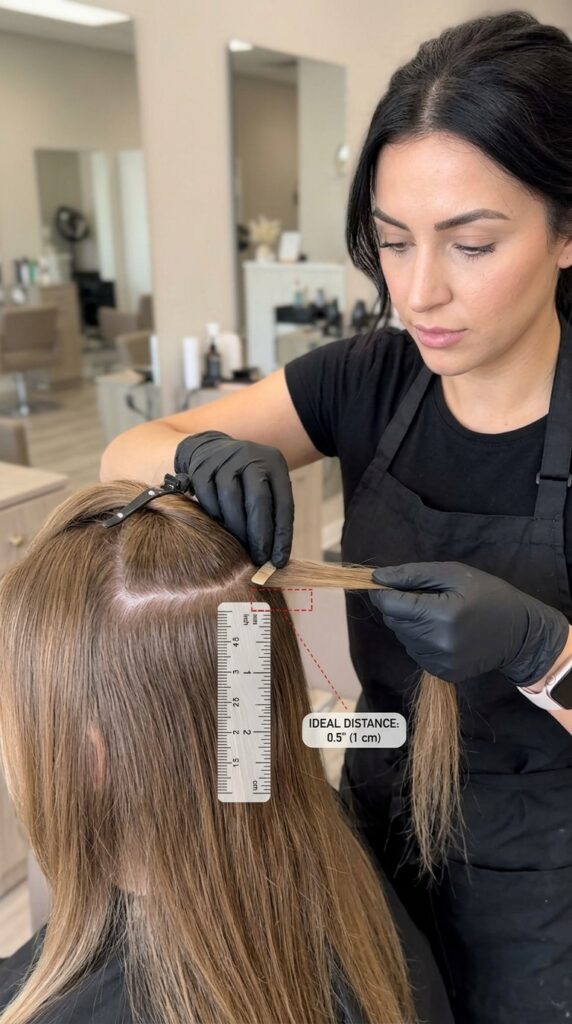
This is the most common question I get. Blending is everything. Start by washing and drying your natural hair so it has some texture. Then, section your hair horizontally. Place the first weft about an inch below your crown. The key is to not put them too close to your scalp.
Once all wefts are in, take a curling iron and create loose waves all over. The bends in the curls hide the tape lines. It sounds simple, but it really works. I do this every time and my hair looks like it was born that way.
Maintenance: Less Than You Think
I used to think extensions meant weekly salon visits. Not with Glam 20. You can get 6–8 weeks of wear before a move-up appointment. That’s about the same as a regular trim. And the tape doesn’t slip, even if you exercise or sleep on it.
Just be gentle when brushing. Use a loop brush near the tape lines. Avoid oil-based products near the sticky part. That’s pretty much it. I spend maybe two extra minutes a day on my extensions. Totally worth it for hair that looks this good.

Can You Swim or Shower With Tape-Ins?
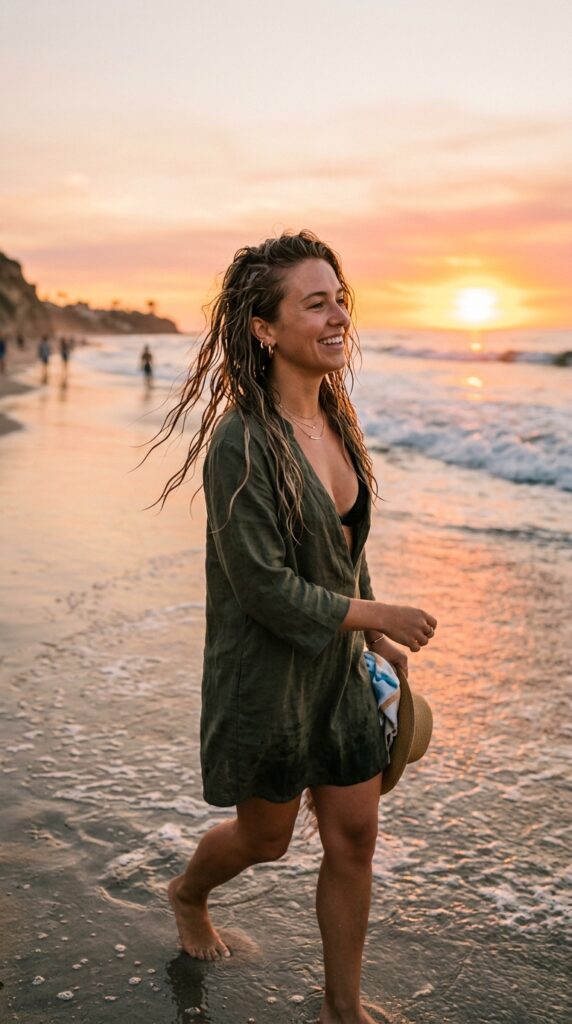
Yes, absolutely. The adhesive is waterproof. I’ve worn mine to the beach, to hot yoga, and through countless rainstorms. Just don’t scrub the tape area vigorously. Let shampoo run over it gently. Pat dry, don’t rub.
If you swim in a pool or ocean, rinse your hair with fresh water right after. Salt and chlorine can dry out the hair, but the tape itself will be fine. I keep a spray bottle of water in my beach bag for exactly this reason. Easy peasy.
Installing Them at Home: Step-by-Step
If you’re a DIY person, you can install Glam 20 tape-ins at home. You just need a clean section of dry hair. Peel the backing off the weft. Sandwich your natural hair between two wefts (tape-to-tape). Press firmly for 10 seconds. Done.
Start at the bottom of your head and work upward. Use a mirror to check the back. Don’t worry if it’s not perfect the first time. I messed up my first set and had to redo three wefts. Now it takes me 20 minutes. Practice makes perfect.
Removing Them Safely (No Damage)
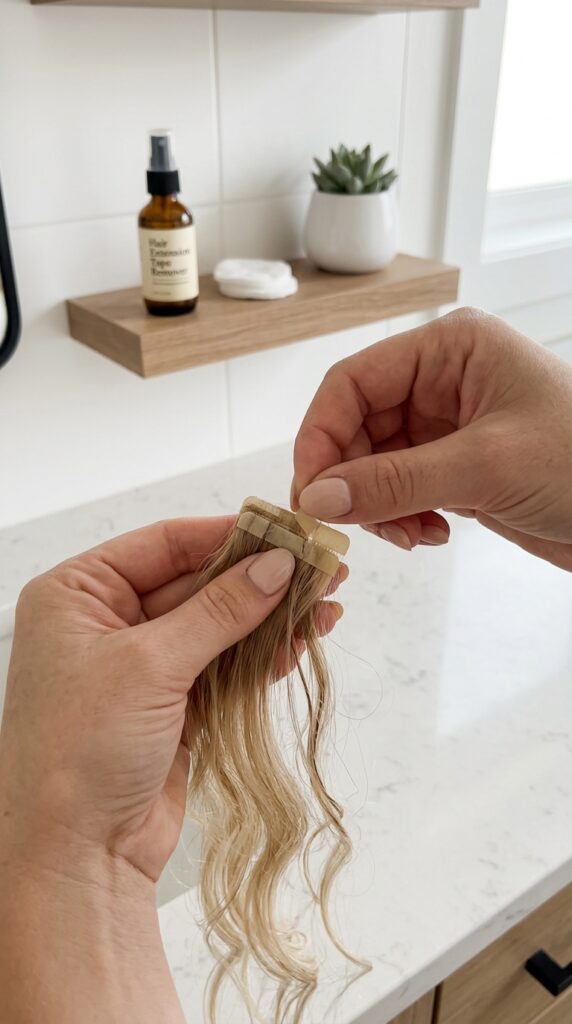
When it’s time to remove them, never rip them out. Use a special removal spray or a little bit of oil-based makeup remover along the tape line. Let it sit for a minute. The tape will slide apart on its own.
Once they’re out, you can wash the adhesive off the wefts with a little rubbing alcohol. They’re reusable for up to a year if you take care of them. I’ve reused the same set three times now. They look as good as the day I bought them.
Which Color Should You Choose?
Glam 20 has a color chart online with about 30 shades. For the most natural blend, match the wefts to the lightest part of your natural hair. If you have highlights, go a shade lighter. If you have dark roots, go a shade darker.
I always recommend buying a test weft first. Tape it to a small section of your hair and see how it looks in natural light. This little step saves you from ordering the wrong color and waiting for a return. I learned that the hard way.

Why “2026 Hairstyles” Are All About Texture
Looking at the trends, 2026 is less about perfect blunt cuts and more about lived-in texture. The quiet luxury bob with soft waves, the glitchy glam hair with peekaboo color, even the romantic goth hairstyles with heavy layers. Texture is queen.
Tape-ins are perfect for this because they add volume without stiffness. You can curl, flat iron, or braid them just like your natural hair. They move. They bounce. They don’t look like a helmet. It’s hair that looks like you, only better.

The “No One Will Know” Test
I’ve done the test. I wore my Glam 20 tape-ins to a wedding, a work meeting, and a gym class. Not one person asked if they were extensions. My best friend—who knows I wear them—said, “They look really good today.” That’s the highest compliment.
The secret is the thin tape and the layering. My hair is naturally fine, so I need volume. The tape-ins give me that thick, bouncy look without looking fake. If you’re scared of extensions looking obvious, start with just one or two wefts. You’ll get the confidence boost instantly.

How to Style for a Big Event
For a date night or a party, I always curl my tape-in hair with a 1.25-inch curling iron. I wrap the hair away from my face. Then I brush out the curls with a wide-tooth comb. The result is these soft, voluminous waves that last all night.
If you’re doing an updo, like a messy bun or a sleek ponytail, just make sure the tape wefts are spaced evenly. If they’re too close together, they can cause a lump. Space them an inch apart. I promise it makes a difference.

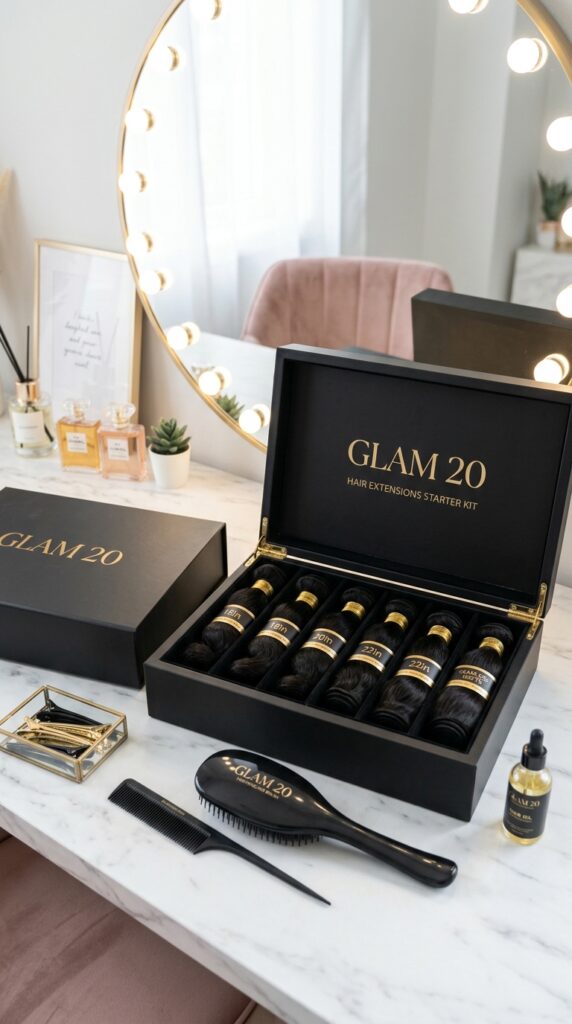
Budget-Friendly Tip: Buy the Starter Kit
Glam 20 has a starter kit that includes the wefts, removal spray, and a storage case. It’s around $150, which is way cheaper than salon visits. And since the wefts are reusable, that initial cost pays off after a few months.
I wish someone had told me to buy the starter kit instead of piecing things together. It saves you time and money. Plus, the storage case keeps the tape clean between uses. A small investment for hair that looks like a million bucks.
Common Mistakes to Avoid (I Made Them All)
First mistake: putting the tape too close to the scalp. Leave at least a half-inch gap so your natural hair can breathe. Second mistake: using heavy conditioner on the tape area. It loosens the adhesive. Keep conditioner on your ends only.
Third mistake: sleeping with wet hair. Wet tape is weaker. Dry your hair fully before bed. I used to skip this and woke up with tangles. Now I blow-dry quickly. It takes five extra minutes and saves me from pulling out wefts in the morning.
My Honest Verdict After 6 Months
I’ve been wearing Glam 20 tape-ins for half a year. My hair has grown longer and thicker underneath because the tape doesn’t cause damage. I’ve saved money on salon blowouts because my hair looks good even when it’s air-dried. It’s been a win-win.
If you’re on the fence, I say try one set. Start with a few wefts in a shade close to your natural color. You can always add more. The confidence you get from having fuller, longer hair is real. It’s not just vanity. It’s feeling like the best version of you.
Wrapping It Up With Some Real Talk
Here’s the thing. You don’t need to be born with supermodel hair to have supermodel hair. Invisible tape extensions are a tool, just like a good lipstick or a great pair of jeans. They help you feel put-together without a ton of effort. And Glam 20 makes that process genuinely easy.
I hope this guide helped you see that layering lengths naturally is totally doable. Whether you’re going for a quiet luxury bob, a vampire haircut, or just a little extra bounce, tape-ins can get you there. The key is to start small, match your color well, and be gentle with removal. That’s it.
Save this post to Pinterest so you have all the tips in one place. And I’d love to hear from you—what’s the hairstyle you’re most excited to try in 2026? Drop a comment below and let’s chat about layers, lengths, and everything in between.