Luxurious Silk Press Tutorial For Natural Curly And Coily Hair
Hey friend, it’s Hailey. If you’ve been dreaming about that glass-smooth, mirror-shiny hair you keep seeing on your feed — the kind that looks expensive without even trying — a silk press is probably on your mind.
The problem? Most tutorials skip the parts that actually matter. They rush the blowout, crank the iron way too high, and then wonder why the hair snaps back into a puff by dinner.
So today I’m walking you through my full silk press routine for natural curly and coily hair. Real steps, real temperatures, real products. Nothing fancy you can’t find at Target.
By the end you’ll know how to get that old money hair finish at home, plus how to wear it with 2026 hairstyles like the quiet luxury bob, asymmetrical lob, hime cut, and even romantic goth hairstyles. Let’s get into it.
What a Silk Press Really Is
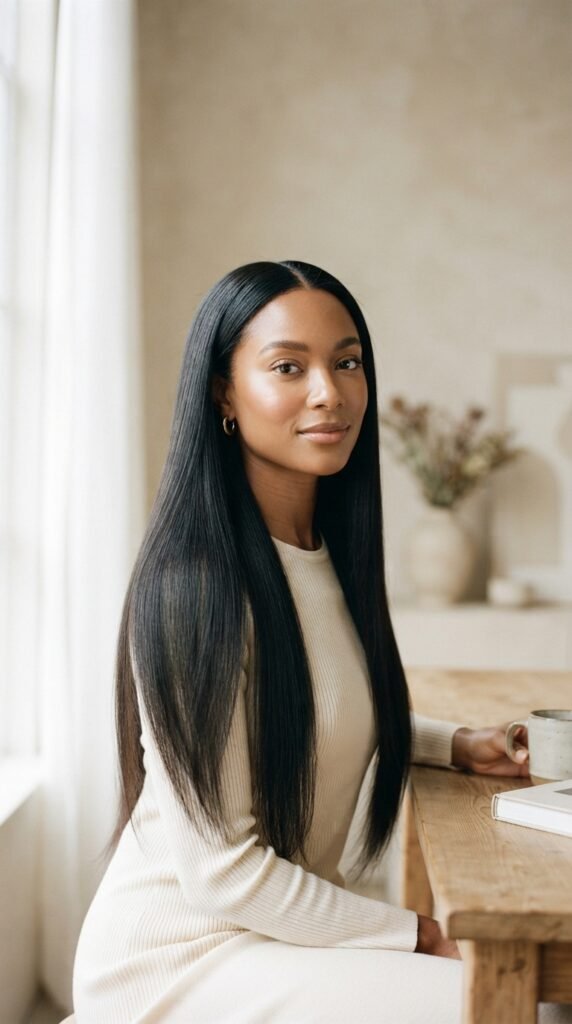
A silk press is a temporary straightening method. No chemicals, no permanent change to your curl pattern. You cleanse, condition, blow dry, and press with a flat iron at controlled heat.
The goal is silk — not straw. Hair that swings, shines, and still has body and bounce. When it’s done right, your curls come right back after the next wash.
Think of it as a visit, not a move. Your natural texture is still living underneath, waiting for you.
Silk Press vs. Relaxer vs. Flat Iron
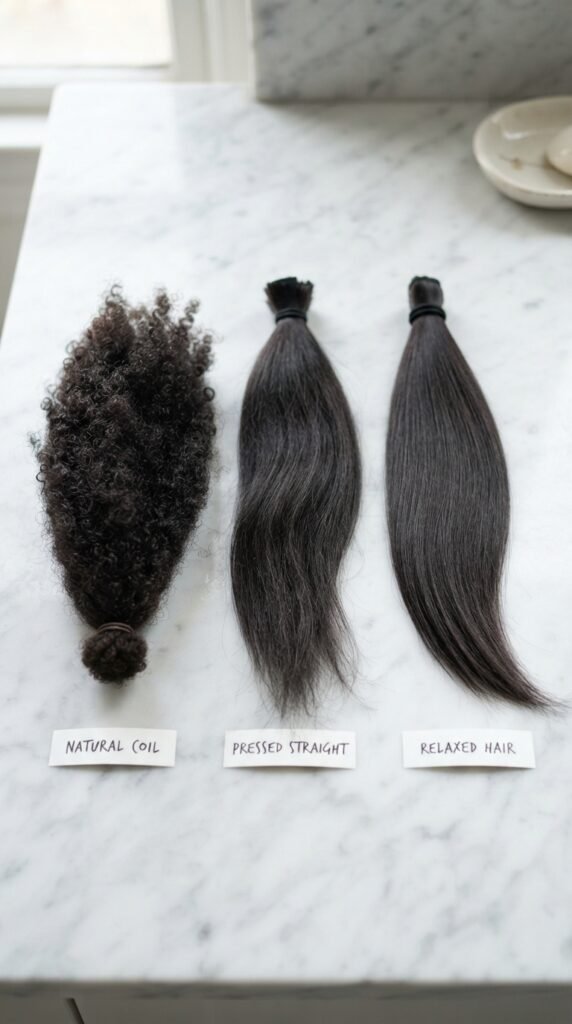
These three get mixed up all the time, so let’s clear it up fast.
- Silk press: temporary, heat-based, curls return after washing.
- Relaxer: permanent chemical straightening that changes your curl pattern for good.
- Flat iron only: usually done on dry, unstretched hair with no blowout first. Faster, but often less smooth.
The silk press is the gentlest of the three when you use heat protection and moderate temps. That’s why it stays popular year after year.
Who This Routine Works Best For
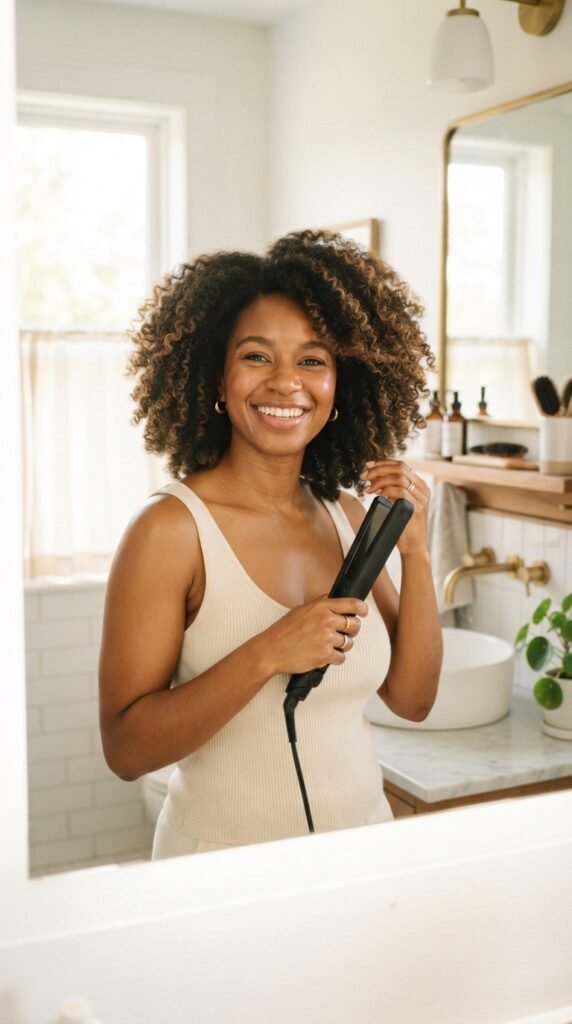
This works on type 3A all the way to 4C. The steps stay the same — only your heat settings and section sizes change.
It’s great if you want a sleek look for a wedding, a job interview, a holiday dinner, or just because you miss seeing your length.
It’s less great if your hair is currently severely damaged, mid-bleach, or breaking. In that case, give yourself a few weeks of deep conditioning first. Trust me, your future silk press will thank you.
Tools You Actually Need
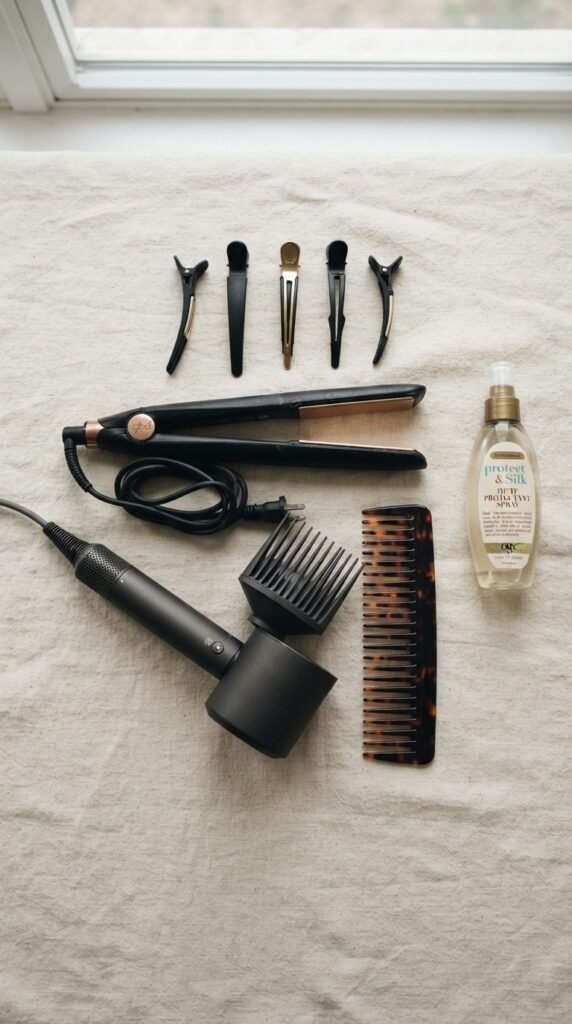
You don’t need a salon cart. You need the right few things.
- A quality flat iron with adjustable temperature (this is the one place to splurge)
- A blow dryer with a comb attachment or concentrator nozzle
- Wide-tooth comb and a fine-tooth comb
- Six to eight sectioning clips
- A heat protectant spray or serum
- A satin scarf or bonnet
If your flat iron only has one setting, borrow one or upgrade. Variable heat is not optional for natural hair.
Products Worth Buying
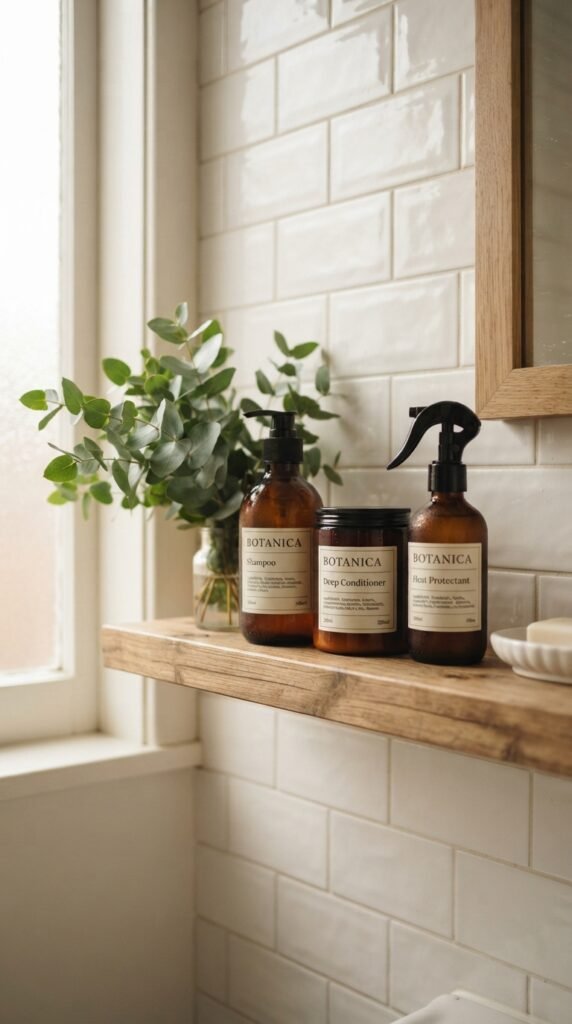
Keep it simple. You want moisture, slip, and protection — not fifteen products fighting each other.
- Clarifying shampoo: removes buildup that makes hair look dull.
- Moisturizing shampoo: follows the clarify, so hair isn’t stripped.
- Deep conditioner: the star of the whole routine.
- Leave-in conditioner: light layer, not heavy.
- Heat protectant: spray or serum, rated for high heat.
- Lightweight oil: for shine at the very end.
Skip heavy butters and creams before pressing. They sizzle and weigh hair down.
Step 1: Clarify Without Stripping

Start with a clean canvas. Buildup is the number one reason a silk press falls flat or looks greasy by day two.
- Wash with clarifying shampoo once, focusing on the scalp.
- Follow with a moisturizing shampoo to restore softness.
- Rinse with lukewarm water, never hot.
Hot water roughs up the cuticle and steals shine. Lukewarm keeps things smooth and calm.
If your scalp feels tight after washing, you went too harsh. Add a little conditioner to the scalp before moving on.
Step 2: Deep Condition Like You Mean It

This step decides whether your silk press feels like silk or like hay. Do not skip it.
- Apply deep conditioner in sections, root to tip.
- Cover with a plastic cap.
- Sit under a hooded dryer for 20 to 30 minutes, or use a warm towel wrap.
- Rinse with cool water to seal the cuticle.
Cool water at the end is a small trick with a big payoff. It locks in smoothness before you ever touch a flat iron.
Step 3: Detangle Gently, Section by Section
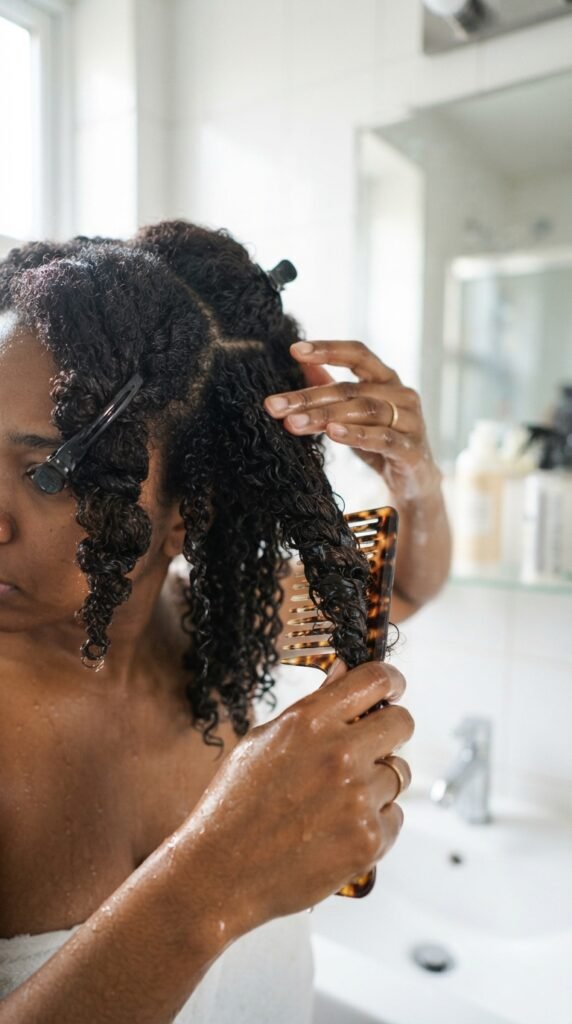
Never detangle from the top down. That’s how you create tangles and snap strands.
- Divide hair into four sections.
- Apply leave-in conditioner to each section.
- Start at the ends and work upward with a wide-tooth comb.
- Clip each finished section out of the way.
Be patient here. Five extra minutes of gentle detangling saves you from broken pieces that stick out of a sleek style.
Step 4: Layer Your Heat Protectant
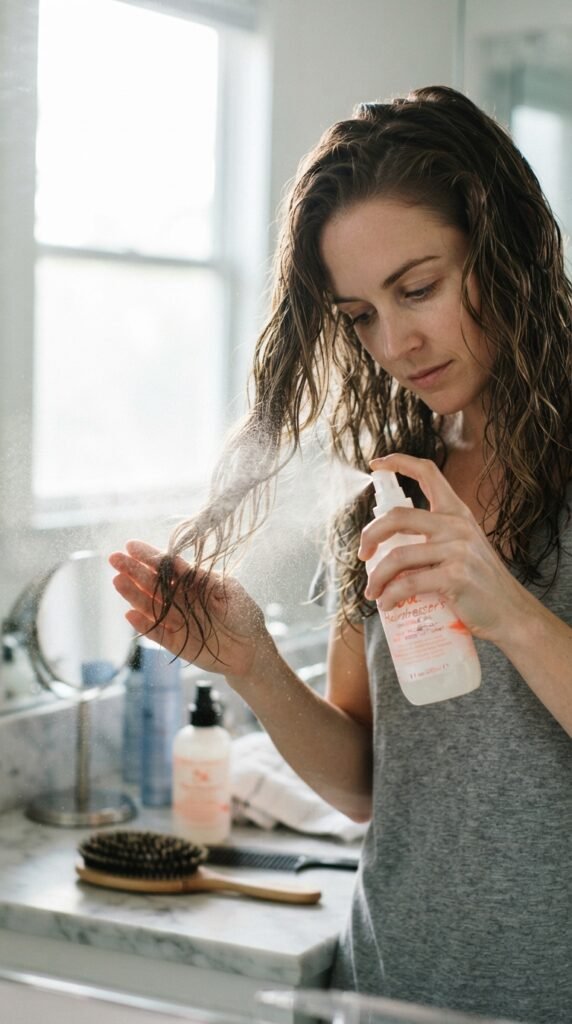
Heat protectant is not a suggestion. It’s the insurance policy for your curl pattern.
Here’s my layering order:
- Leave-in conditioner on damp hair
- Heat protectant spray, section by section
- A tiny drop of lightweight serum on the ends only
Wait a minute or two between layers so nothing stays wet and heavy. Wet hair plus a hot iron equals steam damage, and that’s what makes hair feel crunchy later.
Step 5: Blow Out and Stretch First

The blowout does most of the work. If your hair isn’t stretched well, the flat iron has to work twice as hard.
- Work in small sections, about two inches wide.
- Point the dryer downward, following the hair shaft.
- Keep the dryer moving. Never park it in one spot.
- Get hair about 95 percent dry, then let it air finish.
Downward airflow smooths the cuticle. That’s the secret behind that mirror-like finish.
Step 6: Sectioning That Saves Your Arms
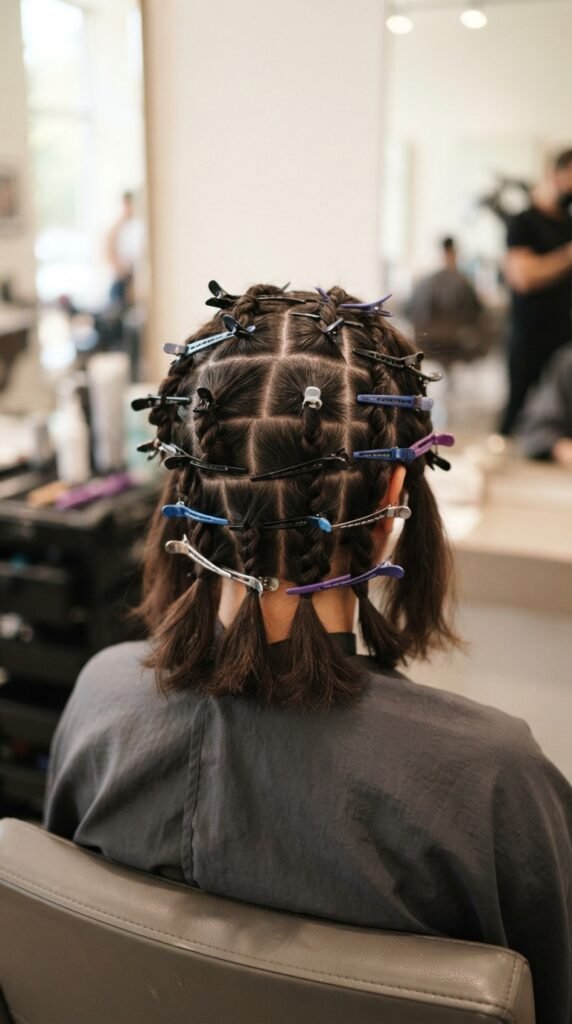
Your arms will give out before your hair does if you don’t section properly. This part is strategy, not vanity.
- Four big sections first: two front, two back.
- Then split each into half-inch to one-inch subsections.
- Clip everything you’re not actively pressing.
Smaller sections mean fewer passes. Fewer passes mean less heat. Less heat means healthier hair that bounces back after washing.
Step 7: The Two-Pass Press Method
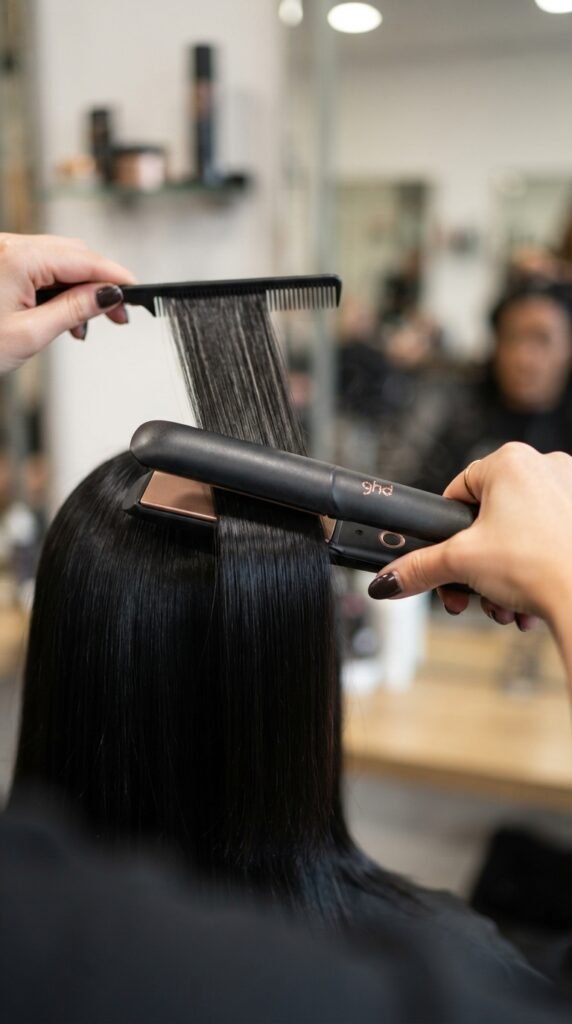
This is where most people overdo it. Two passes. That’s it.
- Clamp near the roots and glide slowly to the ends.
- Repeat once on the same section.
- Move on. Don’t chase perfection with a third and fourth pass.
Slow, steady movement beats fast, repeated passes every single time. Speed creates friction, and friction creates damage.
If a section still isn’t smooth after two passes, your heat is too low, not too high.
Temperature Cheat Sheet by Hair Type
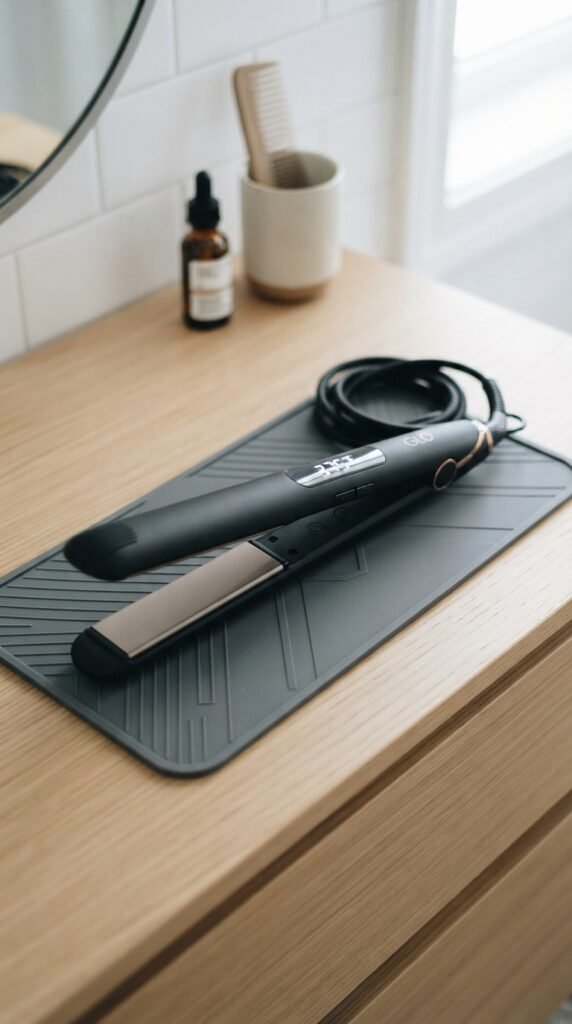
Here’s a simple starting point. Adjust based on how your hair feels.
- Fine or 3A to 3B: 300 to 330 degrees
- Medium 3C to 4A: 330 to 375 degrees
- Thick 4B to 4C: 375 to 400 degrees
Fine hair scorches fast. Coarse hair needs more heat to smooth the cuticle. Start lower than you think and work up only if you need to.
If you see smoke or hear sizzling, stop immediately. That’s not a good sign.
How to Get That Old Money Shine

Old money hair isn’t about the cut. It’s about the finish. Quiet, glossy, healthy-looking, zero crunch.
Three things create that look:
- Proper moisture before heat, never after
- A cool shot at the end of each section to seal the cuticle
- A single drop of lightweight oil on the ends
That’s it. Skip the heavy grease. Shine comes from smooth cuticles, not product buildup. A little restraint reads far more luxurious than a lot of shine spray.
Adding Bend and Movement
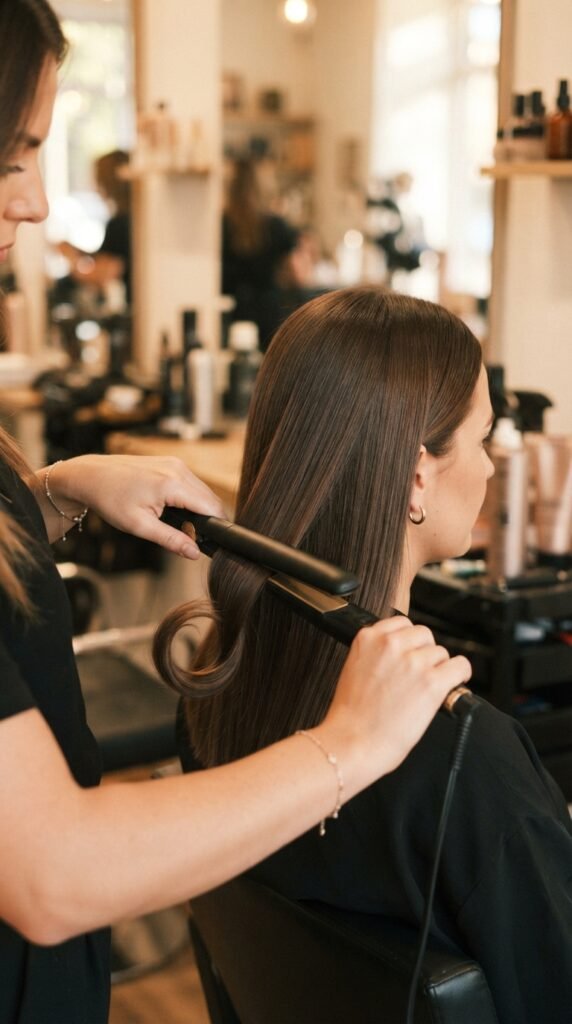
Pin-straight is fine, but a slight bend makes hair look lived-in and expensive. This is the difference between “I pressed my hair” and “this is just my hair.”
- Take the finished section.
- Clamp the iron near the mid-length.
- Rotate your wrist a half turn as you glide down.
You’re creating a soft C shape, not a curl. One gentle bend per section is plenty.
This is also what makes bobs and lobs look so good. Movement is the whole point.
The Quiet Luxury Bob

The quiet luxury bob is one of my favorite looks for a silk press base. It’s blunt, chin to collarbone length, and dead smooth.
To wear it:
- Ask for a blunt cut with minimal layers
- Press with a slight inward bend at the ends
- Part it in the middle or a deep side
Keep the finish matte-glossy, not wet-looking. Pair with simple gold hoops and you’re done. It’s the easiest way to look like you have your life together, even on a Tuesday.
The Asymmetrical Lob

The asymmetrical lob is a little edgier cousin of the bob. One side sits longer than the other, usually with a sharp angle.
It works beautifully on pressed hair because the contrast shows more when hair is smooth.
- Ask for a deep side part with a graduated angle
- Keep the shorter side above the jaw
- Let the longer side graze the shoulder
This cut flatters almost every face shape. It draws the eye upward and adds instant interest without needing a single accessory.
The Hime Cut
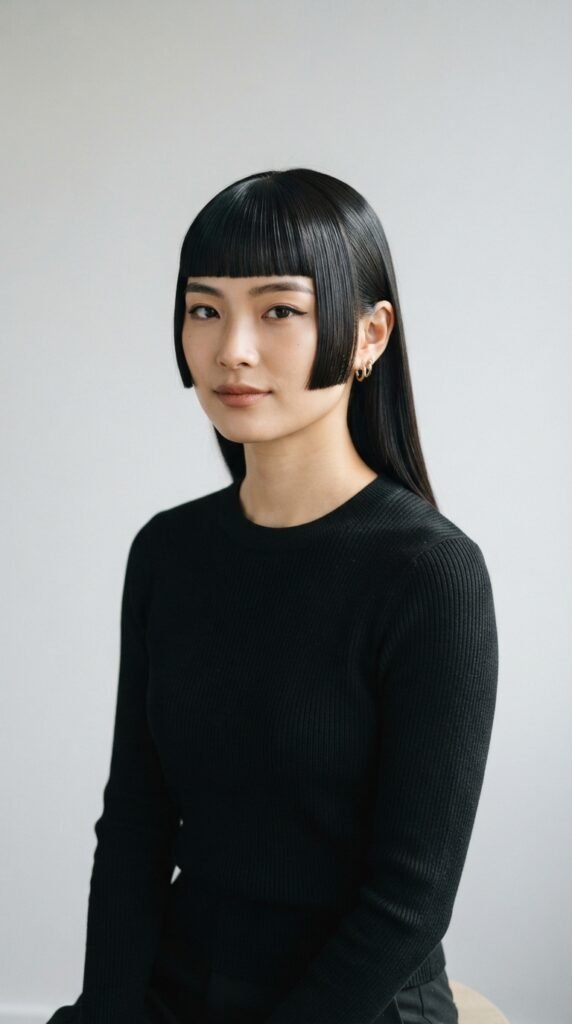
The hime cut is having a real moment. It’s a traditional Japanese style: blunt side pieces framing the face, with longer straight hair in the back.
On a silk press, it looks incredible. The blunt edges need smooth hair to read properly.
- Side pieces cut blunt, around cheekbone to jaw length
- Back hair kept long and pressed straight
- Minimal layers, maximum smoothness
It’s striking and a little dramatic, in the best way. Definitely one of the standout 2026 hairstyles if you want something memorable.
Romantic Goth Hairstyles

Romantic goth hairstyles lean moody, soft, and a little Victorian. A silk press is the perfect base because the texture stays sleek and dramatic.
Try these:
- Sleek center part with two small face-framing pieces
- Half-up style with a velvet ribbon
- Low polished bun with loose tendrils at the temples
Keep the finish glossy but not greasy. Deep burgundy or jet black tones look especially good with this mood. Add a lace choker and you’re set.
The Vampire Haircut

The vampire haircut is sharp, layered, and a little severe — in a good way. Think strong cheekbone framing and lots of movement.
It pairs perfectly with a silk press because the layers really show when hair is smooth.
- Long, face-framing layers starting at the cheekbone
- Heavy thinning at the ends for a tapered look
- Deep side part for drama
Wear it sleek for a polished edge, or add bend at the ends for a softer, more romantic feel. Either way, it turns heads.
Glitchy Glam Hair

Glitchy glam hair is exactly what it sounds like. Polished, but with one deliberate imperfection. Sleek hair with a sharp disjointed piece. Clean lines, slightly off.
To get the look:
- Silk press your hair smooth
- Create a deep side part
- Slick one small section across the forehead at an odd angle
- Leave the rest glossy and flat
It’s fun, modern, and very 2026. Just don’t fight it — the imperfect piece is the whole point.
2026 Hairstyles to Pair With It
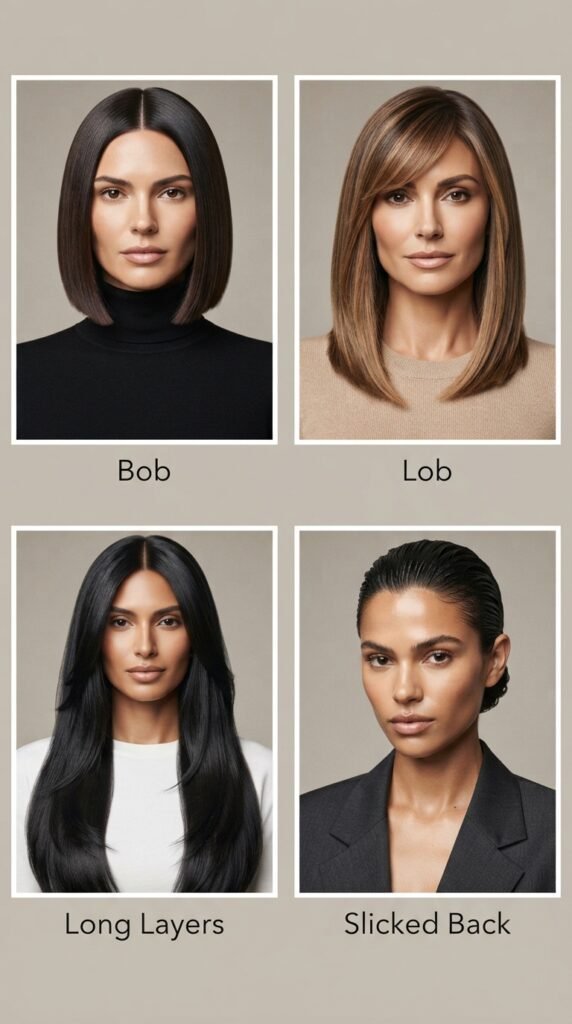
Once your silk press is done, the styling options open up fast. Here are my favorites for the year ahead:
- Sleek middle part with tucked-back sides
- Low polished ponytail with a wrapped base
- Half-up half-down with a claw clip
- Deep side part with soft face-framing bend
All of these work with a quiet luxury bob, an asymmetrical lob, or long layers. Mix and match depending on your mood and the occasion.
How to Make It Last Longer

A silk press can last one week, sometimes two if you protect it. Longevity is all about moisture control.
- Wrap hair every single night, no exceptions
- Use a silk or satin pillowcase
- Avoid steam, saunas, and long hot showers
- Keep hands out of your hair
Moisture is the enemy here. Even a little sweat at the gym can cause reversion, so plan your workouts around wash day if you can. A dry shampoo mist at the roots can stretch things a couple extra days.
Humidity Defense and Refresh Days

Humidity will try to ruin your week. Here’s how to fight back.
- Keep an anti-humidity spray in your bag
- Avoid touching your hair outdoors
- Skip water-based products on dry hair
- Wrap hair before stepping into rain or mist
On refresh days, don’t re-press everything. Just touch up the front sections and the ends with a quick pass on low heat. Over-pressing is the fastest way to lose your curls for good.
Mistakes That Undo All Your Work
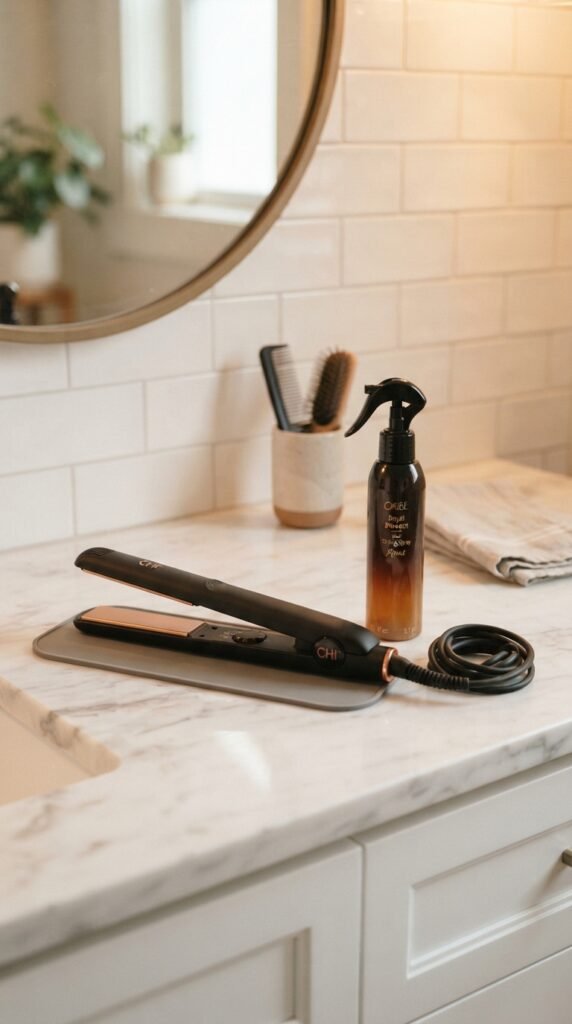
I’ve made every one of these. Learn from me.
- Pressing dirty hair — it burns and smells
- Skipping the blowout and ironing wet or damp hair
- Using heavy butters before heat
- Cranking the iron past 400 degrees
- Doing four or five passes on the same section
- Forgetting heat protectant
Every single one of these leads to the same result: dry, brittle hair that snaps back into a puff within hours. Slow down and do fewer passes with better prep.
Damage Control and Recovery
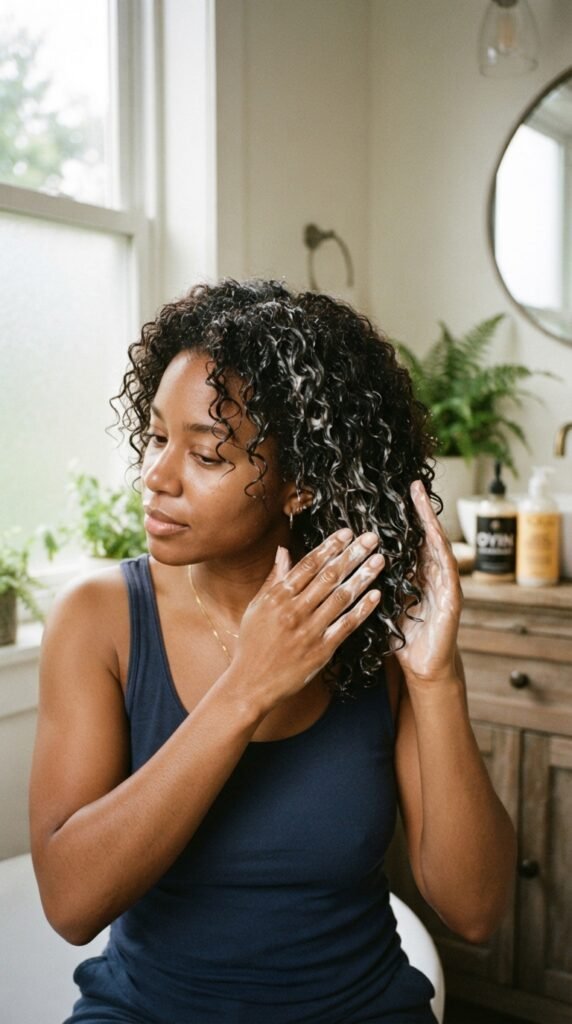
If your hair feels crunchy, stringy, or won’t hold a curl anymore, it needs a break.
- Stop all heat for at least four to six weeks.
- Deep condition once a week.
- Do a protein treatment only if hair is stretchy, not brittle.
- Trim split ends — they don’t repair themselves.
- Wear protective styles while you recover.
Give your curls time. Natural hair is resilient, and it comes back stronger than you’d expect when you let it rest.
Silk Press on Transitioning Hair
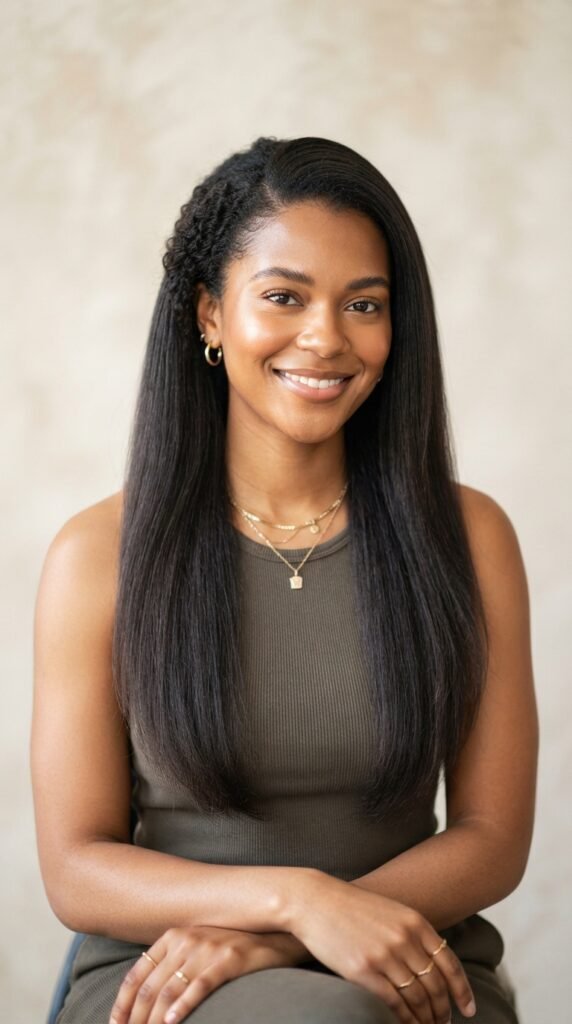
Growing out a relaxer? You can still silk press. You just have to be extra careful at the line of demarcation, where the two textures meet.
- Use lower heat near that transition line
- Keep sections small so you don’t tug
- Add extra heat protectant there
- Trim a little each time you press
That weak point breaks first, so treat it gently. With patience, your natural length will catch up faster than you think.
Salon vs. At-Home: Honest Talk
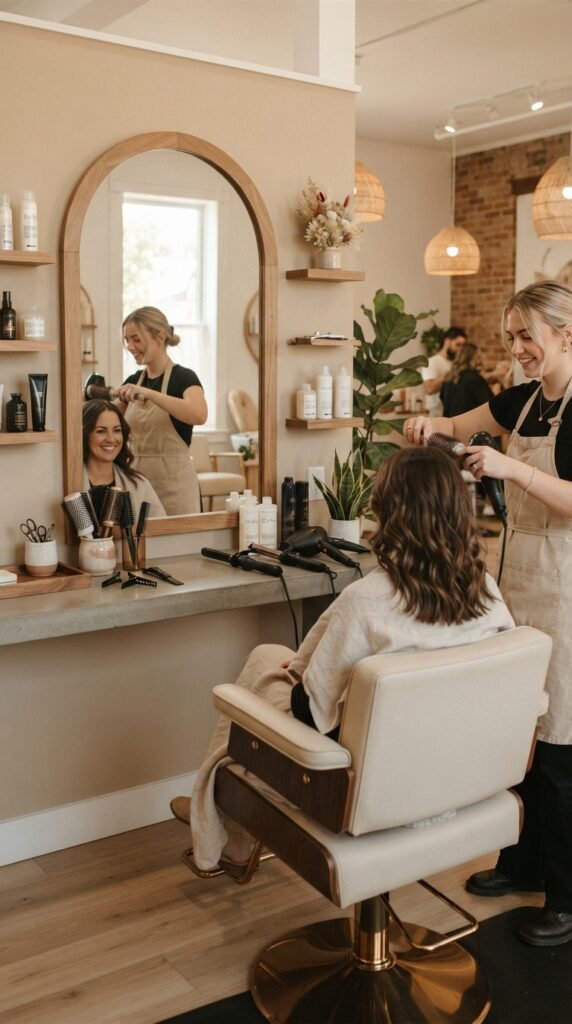
Should you pay for it or do it yourself? Honest answer: both have a place.
- Salon: great for special events, first-timers, or if you have very thick hair.
- At home: cheaper, more convenient, and honestly easy once you practice twice.
Costs range widely depending on where you live, so ask about heat settings and products before you book. A good stylist will tell you exactly what they’re using and why. If they won’t, that’s your sign to keep looking.
A Few Last Notes From Me
A silk press is one of the most satisfying things you can do for natural hair. It’s a chance to see your length, switch up your look, and feel a little fancy without any permanent commitment.
The whole secret is patience. Clean hair, deep moisture, a proper blowout, moderate heat, and two passes. That’s the entire formula.
Try the quiet luxury bob one month and the hime cut the next. Play with romantic goth hairstyles for date night and glitchy glam hair for a night out. Your curls will be right there waiting after every wash.
Save this post to Pinterest so you can find it on your next wash day. And tell me in the comments: which style are you trying first, the asymmetrical lob or the vampire haircut? I read every single one.