Masterclass In Achieving Voluminous Blowouts That Last All Week
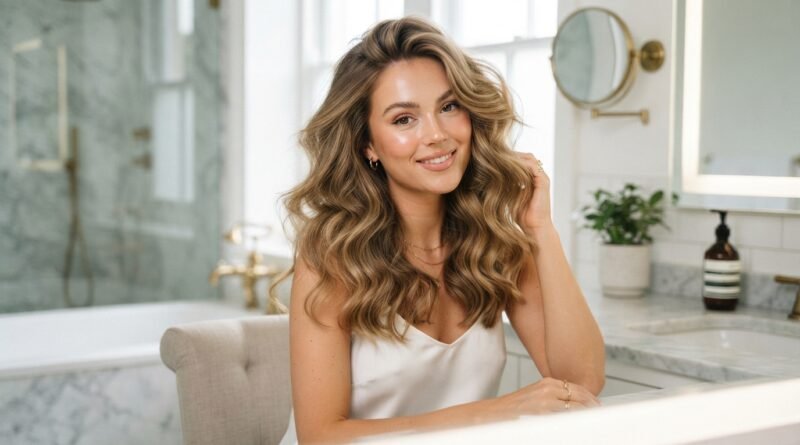
I used to think a voluminous blowout was a special-occasion thing. You know the kind. You pay for it, take four hundred selfies, and then watch it collapse by dinner. Not anymore.
After years of trial, error, and way too many frizzy mornings, I finally cracked the code. Real volume that survives workouts, sleep, and rainy Tuesdays. It comes down to a few small habits, not a cabinet full of expensive products.
Today I’m handing you my whole playbook. Wash day setup, drying technique, the roller trick, and how to stretch it all the way to day five. Plus how to make it look like 2026 hairstyles instead of 2014.
Grab a coffee. Ten minutes from now, you’ll know exactly what to do.
Why Voluminous Blowouts Fade So Fast

Volume isn’t about having thick hair. It’s about lifting the root, cooling it in place, and then keeping water away from it for as long as possible.
Most blowouts collapse for the same three reasons:
- Hair was still damp at the root when you stopped drying
- Products were too heavy or too generous
- Nothing was done to protect the shape overnight
Fix those three things and a blowout can easily last five to seven days. That’s the whole game. Everything else is just details.
The Haircut That Makes Volume Easy in 2026
Here’s the truth nobody tells you. Some haircuts basically blow themselves out. Others fight you every single morning.
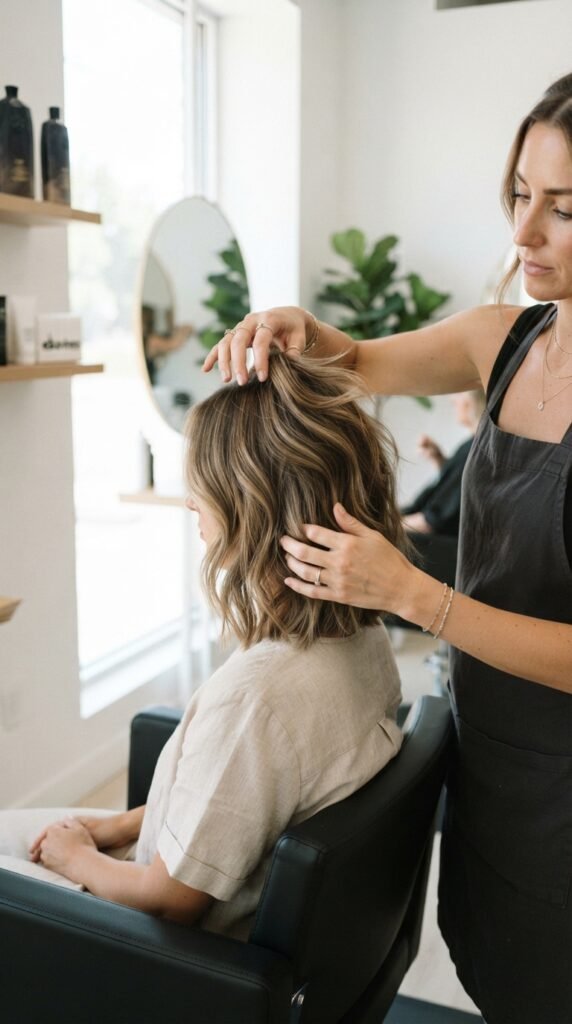
If volume is your goal this year, ask for:
- Long layers starting at the cheekbone, never at the crown
- A slightly shorter face-frame to create lift around the face
- Soft, blended ends so the shape stays round instead of pointy
My stylist took ten minutes off my drying time just by adding invisible layers. Worth every penny.
Wash Day: The Two-Shampoo Rule
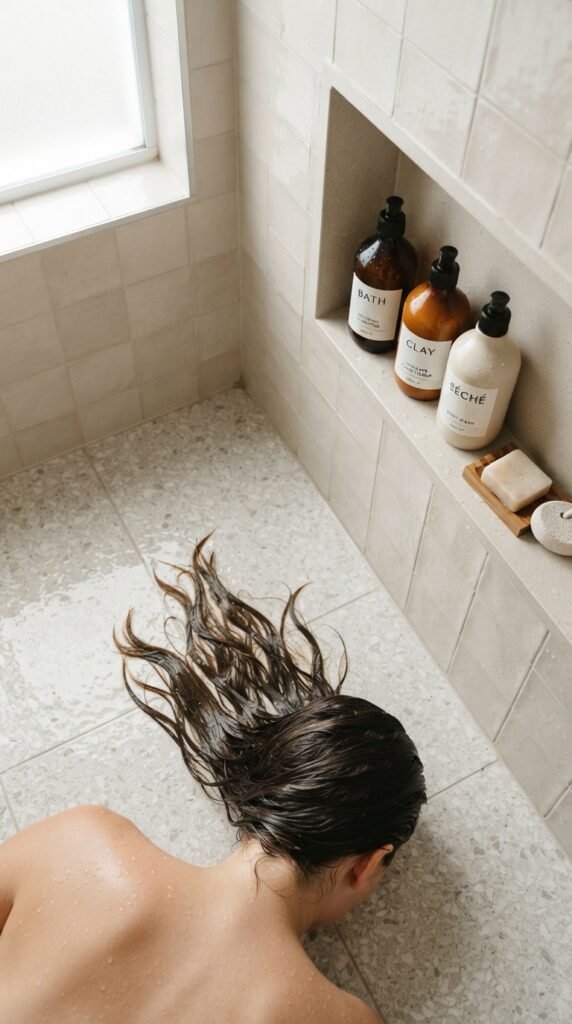
Start with a clean canvas. Product buildup is the number one reason roots fall flat by day two.
- First wash removes oil and leftover styling products. Use a clarifying or volumizing shampoo.
- Second wash actually treats your scalp. Massage for a full minute.
Rinse with cool water. It closes the cuticle, which means more shine and less frizz later. Ten extra seconds, real payoff.
Conditioner Placement Matters More Than Brand
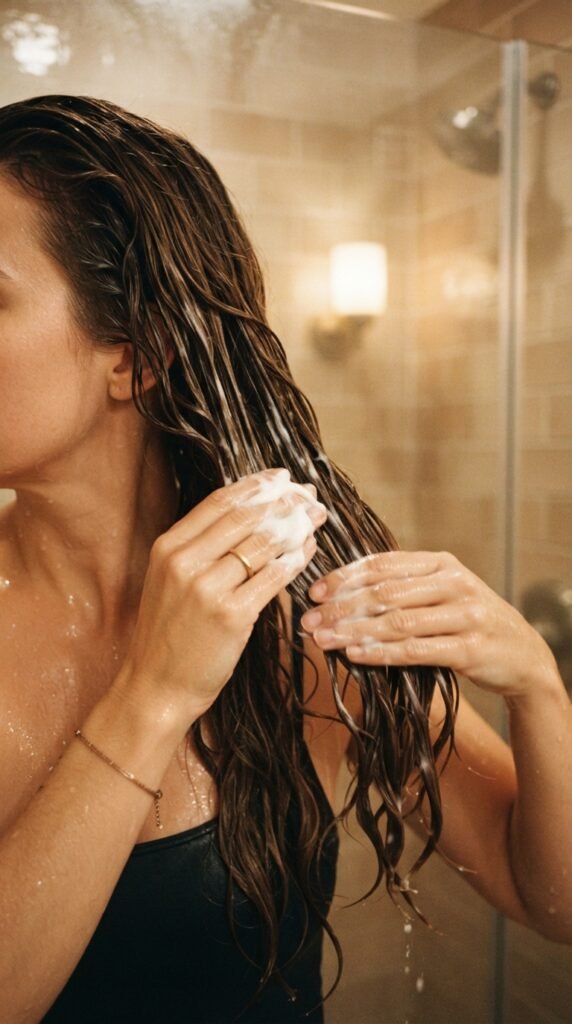
This one changed everything for me. Conditioner near your roots is basically volume repellent.
Apply from your ears down. That’s it. Your scalp makes its own moisture, and the top of your head doesn’t need help.
For fine hair, use a lightweight formula and rinse longer than feels necessary. For thick or curly hair, a heavier mask on the ends is fine.
Then squeeze gently with a microfiber towel. Never rub. Rubbing roughs up the cuticle and creates the exact frizz we’re trying to avoid.
Your Product Lineup (Keep It to Four)
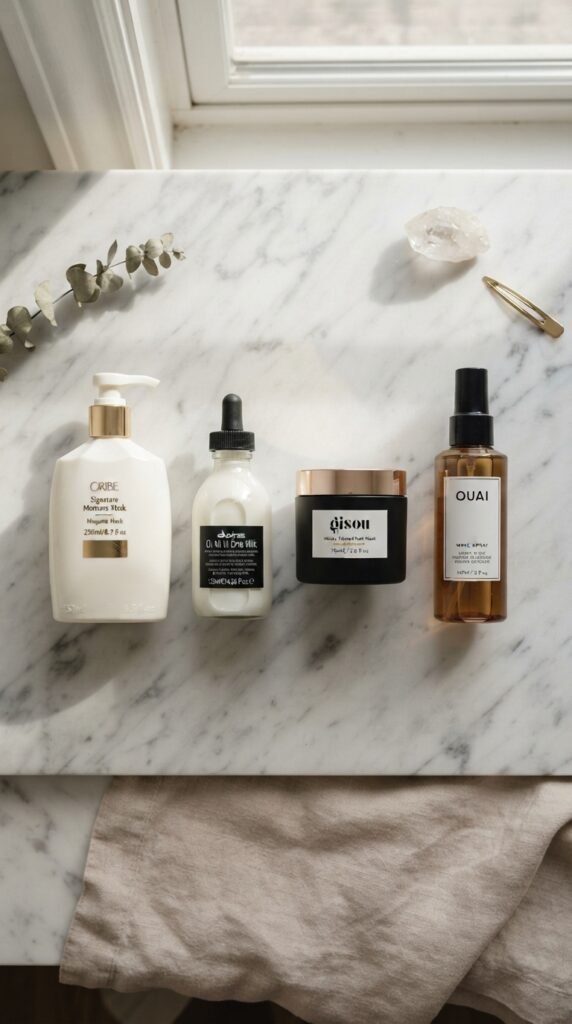
More products does not mean more volume. Usually it means the opposite. Here’s my short list.
- Root lift spray or mousse, applied only at the scalp
- Lightweight heat protectant through the mid-lengths and ends
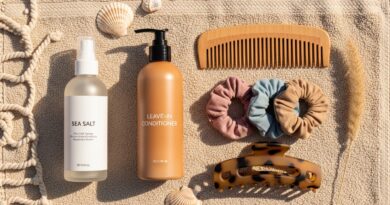
- Texture or salt spray for grip on days two and three
- Dry shampoo that doesn’t leave a white cast
That’s the whole kit. If a product feels heavy on your hand, it will feel heavy on your hair. Trust that instinct.
Rough Dry Until Hair Is 80 Percent Dry
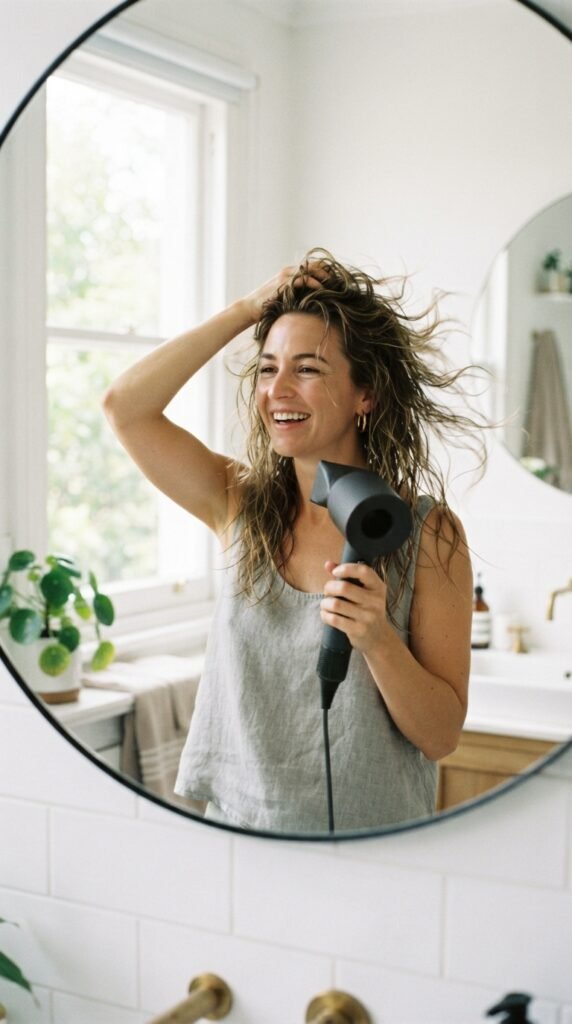
This step feels pointless and it is actually the most important one. Rough drying builds the foundation.
Flip your head upside down. Point the dryer down the hair shaft, moving constantly. No brush yet.
Keep going until hair feels almost dry. Around 80 percent. If you start brushing soaking wet hair, you’ll be there forever and the roots will set flat.
Bonus: rough drying in the opposite direction of how your hair naturally falls gives you lift you can’t get any other way.
Sectioning: The Four-Clip Method
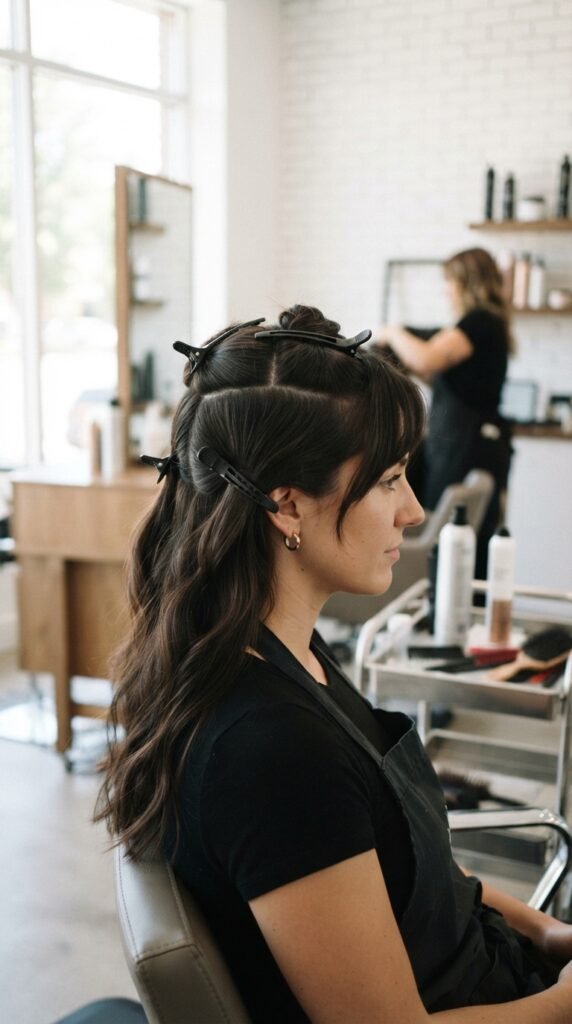
I resisted sectioning for years because it looked fussy. Then I tried it once and never went back.
- Clip the top crown section up and out of the way first
- Split the rest into left side, right side, and back
- Work the bottom back section first, then sides, then crown last
Why crown last? Because that’s where you want the most lift, and you want the freshest, coolest hair there. It sets better when you finish with it.
Root Lift Technique That Actually Works
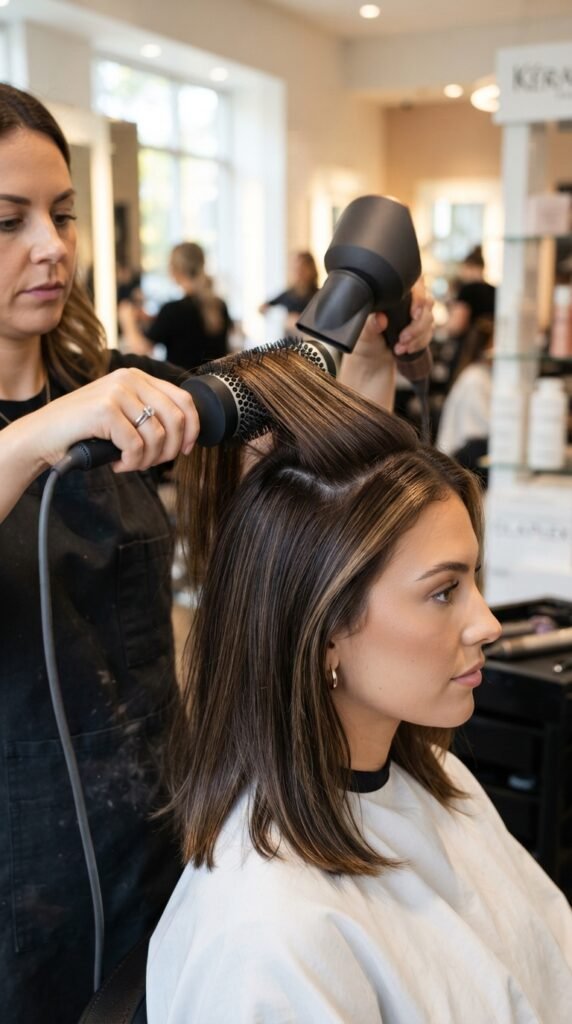
Here’s the move. Place the round brush under the hair at the root, then pull up and slightly back, away from your face.
Point the dryer at the base of the brush, not the ends. Heat hits the root, which is exactly what you want.
- Hold for three to five seconds
- Keep tension the whole time. Slack equals flat
- Move in small sections, roughly two inches wide
Yes, it takes longer. No, there is no shortcut that looks this good.
The Cool Shot Trick Nobody Uses Enough
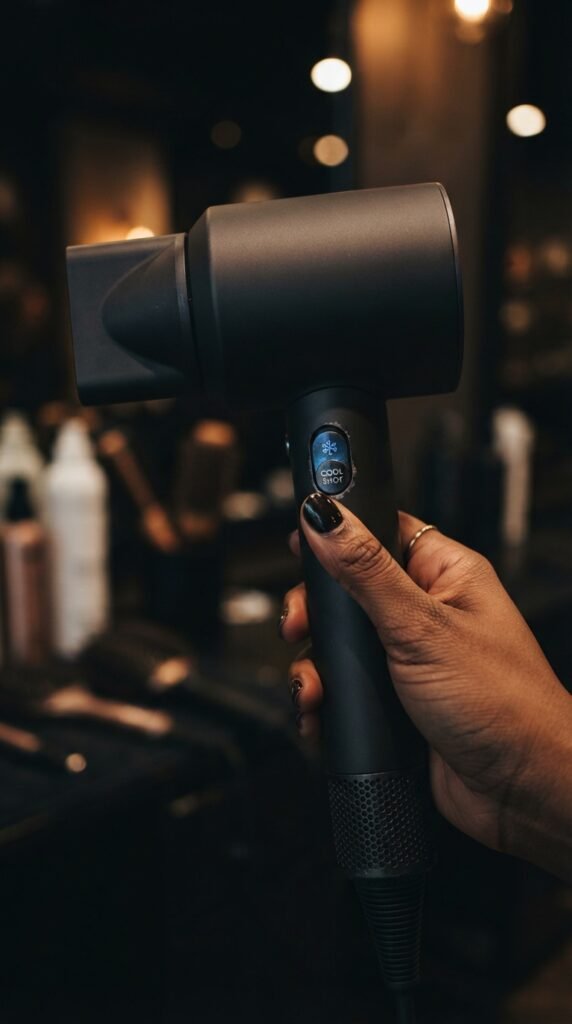
Heat shapes hair. Cold sets it. If you skip the cool shot, you’re basically asking your volume to leave in an hour.
After each section is dry and round, hit it with cool air for five seconds before you release the brush. That’s it.
This is the single biggest difference between a blowout that lasts two days and one that lasts six. I’m not exaggerating and I wish someone had told me sooner.
Finishing Without Flattening
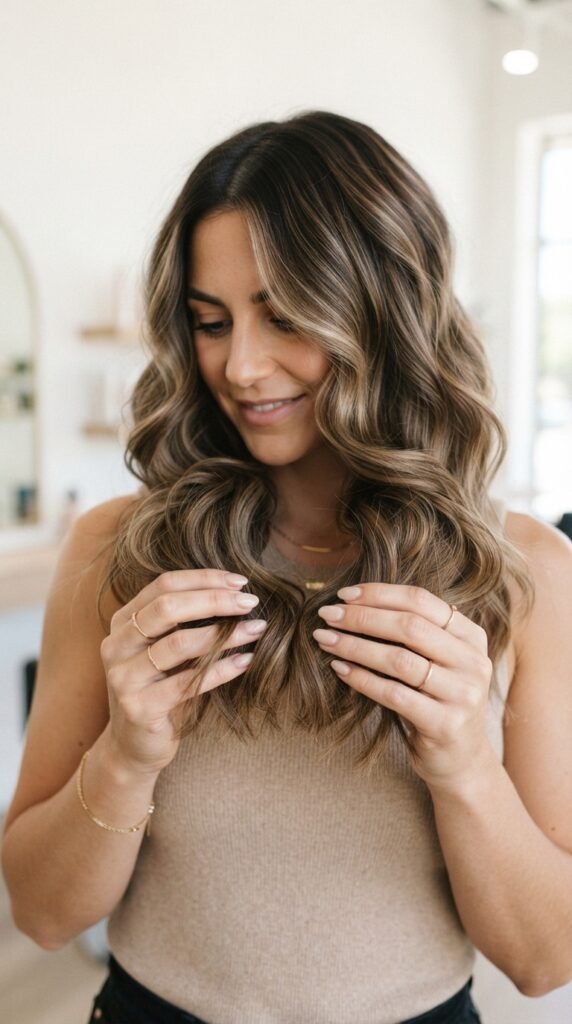
You made it. Now do not touch your roots.
Instead:
- Flip your head over once and shake gently with your fingers
- Scrunch the ends with a tiny drop of lightweight oil
- Mist a flexible hold hairspray from about ten inches away
Skip the heavy serum at the crown. Skip running a brush through the top. Let the shape live. It’ll look more expensive that way, and it’ll hold longer too.
Velcro Rollers: My Secret Weapon

Old school and undefeated. Velcro rollers give you that rounded, polished lift that dryers alone can’t quite create.
While hair is still slightly warm, roll the crown sections up and away from your face. Leave them in while you do your makeup. Fifteen minutes is plenty.
Take them out by rolling downward, not pulling straight out. Then a light mist of hairspray.
If you want that smooth, expensive-looking shape, this step delivers it for about three dollars.
Overnight Protection That Saves Day Five

What you do at night determines how many days your blowout survives. This part is easy.
- Flip your head upside down and gather hair into a loose, high “pineapple” bun
- Use a silk scrunchie or a claw clip, never a tight elastic
- Sleep on a satin or silk pillowcase to cut friction
Never sleep with damp hair. Ever. That’s how you get flat roots and a weird crease in the morning. Make sure it’s fully dry before your head hits the pillow.
Day 2 Refresh in Under Five Minutes

Day two hair is honestly the best hair. It has grip, it has shape, and it needs almost nothing.
- Flip your head over and shake it out with your fingers
- Spritz a little dry shampoo at the roots, then wait one minute
- Blast the roots with cool air for twenty seconds
That’s the whole refresh. The cool air reactivates the set. The dry shampoo absorbs oil without making it look powdery if you don’t brush it through too aggressively.
Day 3: Dry Shampoo Done Right
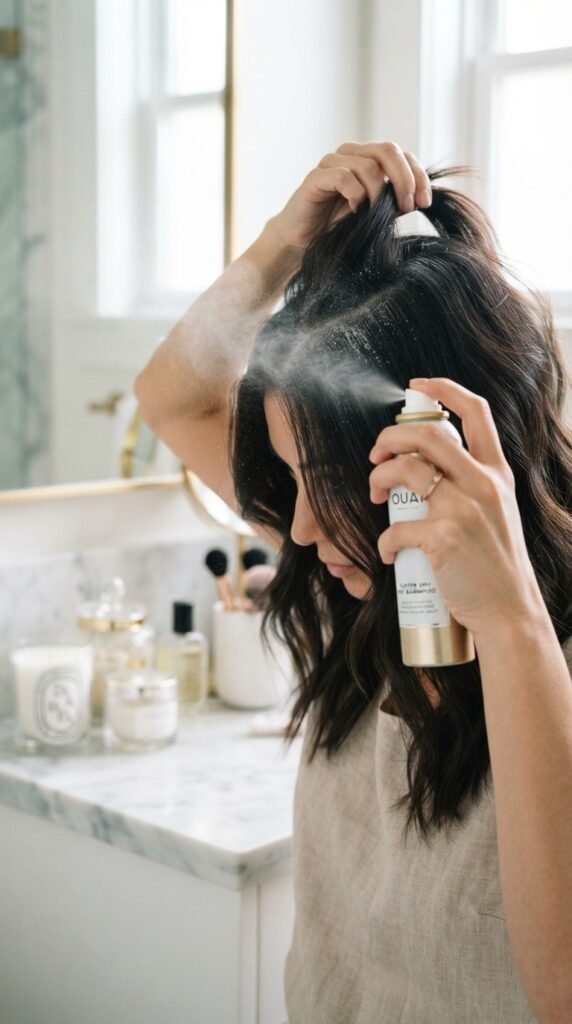
Most people hate dry shampoo because they use it wrong. It’s not a spray-and-go product. It’s a spray-and-wait product.
Spray at the roots in short bursts, about six inches away. Then wait sixty to ninety seconds. Then massage it in with your fingertips and flip your head upside down.
A few notes:
- Use it at night for the best results in the morning
- Pick a tinted version if you have dark hair
- Focus on the hairline and part, not the whole head
Day 4: The Half-Up Save

By day four, the ends are usually fine and the roots are tired. So work with that instead of fighting it.
Pull the top half back into a small claw clip or a low ponytail, leaving the bottom loose and wavy. You suddenly look intentional.
This is also the perfect moment to try an asymmetrical lob look, since it shows off the shorter pieces around your face without needing them to be perfect. Messy reads as chic here, which is a gift.
Finish with a bit of texture spray on the ends.
Day 5: Sleek Pony and the Big Pivot

Day five is not a failure. Day five is when you switch teams.
When volume gets fuzzy, go sleek. A smooth middle part with a low, glossy ponytail looks incredibly polished and takes four minutes.
Smooth the top with a soft brush and a tiny bit of lightweight oil, then wrap a small section of hair around the elastic to hide it. Instant quiet luxury. Nobody will know this is your fifth day. They will just think you’re mysterious.
Old Money Hair: Volume With Restraint

Old money hair is my favorite trend because it’s basically just a great blowout with good manners.
The rules are simple:
- Volume at the crown, smooth through the mid-lengths
- Ends turned under or barely flipped, never aggressively curled
- Shine over texture
Think of it as a blowout that skipped the party and went straight to the country club. It works for work, weddings, and literally any photo.
Quiet Luxury Bob and Asymmetrical Lob

The quiet luxury bob lives and dies by its blowout. A blunt collarbone-length cut with a rounded interior needs that soft bend at the ends to look expensive.
Same with an asymmetrical lob. Longer in front, shorter in back means you can push volume to one side for a really clean, intentional shape.
For both cuts, blow dry with the round brush pointing down and slightly inward. Then a light mist of shine spray. Done.
Romantic Goth Hairstyles and the Vampire Haircut

If your vibe is darker and more dramatic, the blowout is still your best friend. It just gets a little moodier.
For romantic goth hairstyles, blow dry with a center part and bring all the volume to the crown instead of the sides. Then set the face-framing pieces with a round brush turned inward.
The vampire haircut, meaning that strong layered shape with a defined widow’s peak, looks incredible with a soft, messy blowout rather than a sleek one. Texture spray is key. It softens the sharpness while keeping the drama.
Hime Cut and Glitchy Glam Hair

Two more trends worth playing with this year. Both are surprisingly easy to build on a blowout.
The hime cut, with its blunt side pieces and long back, actually needs volume at the crown to avoid looking flat and heavy. Blow dry the back smooth and lift the top with velcro rollers.
Glitchy glam hair is basically intentional imperfection. Crunchy texture, asymmetric volume, a little frizz that’s clearly on purpose. Blow dry normally, then scrunch in texture spray and pull a few pieces forward. It looks harder than it is.
Tools Worth Owning (and What to Skip)
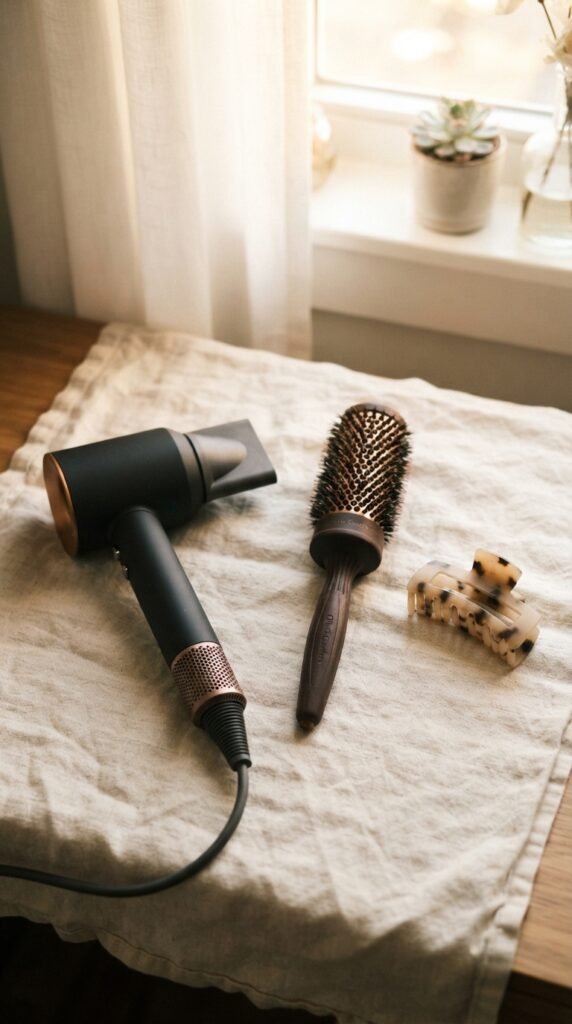
You don’t need a salon’s worth of gear. You need four things that work.
- A dryer with a concentrator nozzle. Non-negotiable.
- A round brush with boar bristles. Grab tension and smooth at the same time.
- A couple of claw clips and velcro rollers. Cheap, effective.
- A microfiber towel. Less friction than a regular one.
Skip the expensive rotating brush tools if you’re building volume. They’re great for smoothing, less great for lift.
Humid Days, Frizz, and Heat Protection

Humidity will find you. But you can make it very hard for humidity to win.
Always use heat protectant before any tool touches your hair. That’s not just about damage, it also helps seal the cuticle so moisture stays out.
On humid days:
- Finish with a light anti-humectant spray or a tiny bit of oil
- Avoid touching your hair once you’re outside
- Choose a slightly more set shape, since it’ll soften as the day goes
Five Mistakes That Kill Your Blowout
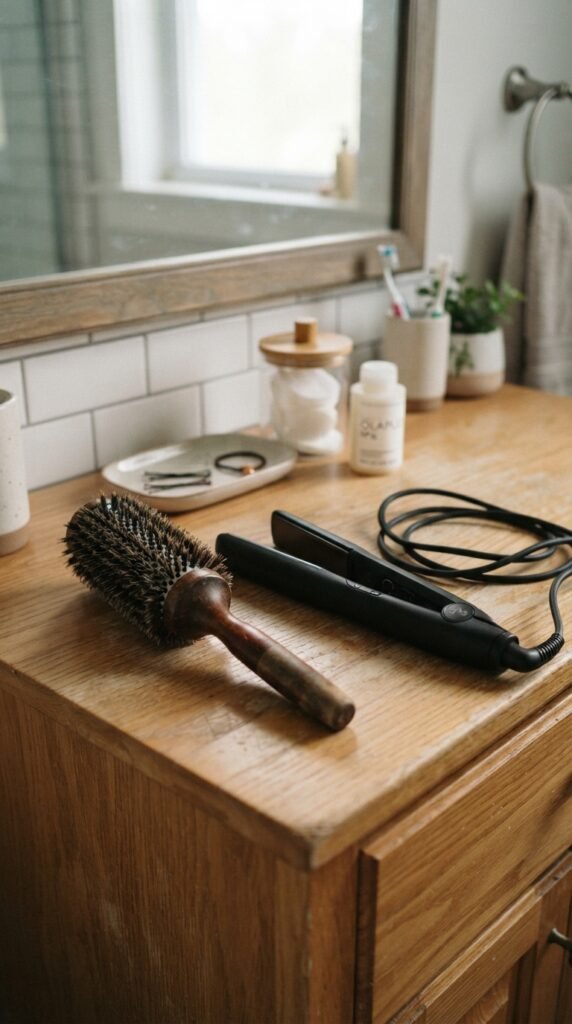
Let’s do the quick fix list. These are the ones I see most.
- Starting to brush while hair is soaking wet
- Applying product at the roots when it belongs mid-shaft
- Skipping the cool shot
- Touching your hair constantly throughout the day
- Sleeping on damp hair or a cotton pillowcase
Fix even two of these and you’ll notice a difference within a week. Promise.
Your Whole Week, Wrapped Up
Day one is the big blowout. Day two is fluffed and effortless. Day three is dry shampoo and texture. Day four is a half-up moment. Day five goes sleek.
That’s a full week of hair from one wash day. Not bad for about forty minutes of work.
The real secret isn’t a product or a tool. It’s consistency and a little patience at the root. Do the boring steps and your hair will look like you paid someone.
And that’s the whole thing. No magic, no $400 dryer required. Just good prep, real technique, and a few small habits that add up fast.
Start with the cool shot and the overnight pineapple. Those two alone will change your week, and everything else gets easier from there.
Honestly, once you get your wash day rhythm down, you’ll wonder why you ever spent money on blowouts you had to schedule three weeks in advance. Your hair is about to look expensive. Let’s go.
Save this post to Pinterest so you have the whole routine ready next wash day. And tell me in the comments: how many days does your blowout usually last, and which step do you always skip? I read every single one, and I’ll help you troubleshoot.