Simple Steps for a Salon Quality Silk Press at Home
Okay, real talk: a salon-quality silk press at home feels like a total cheat code, but it’s actually super doable once you get the steps down. I spent years watching my stylist religiously, taking notes like it was a college lecture, and testing every trick on my own mane. Turns out, the secret isn’t one magic tool — it’s the order you do things and how patient you are with each section. In this post, I’m walking you through my exact routine for smooth, shiny, straight hair that lasts. No mysterious salon magic, just simple steps that honestly work. You’ll save money, avoid overpriced appointments, and finally get that at-home blowout that makes people think you stopped at your favorite chair yesterday. Let’s do this, friend.
Why You’ll Love Doing It At Home

There’s something amazing about having total control over your hair morning. You can go as sleek or as bouncy as you want, and you don’t have to sit under those hot dryers for an hour.
Plus, once you nail this routine, it’s yours forever. You’ll also know exactly what’s on your hair — no mystery products hiding in the styling bowl. That’s a huge win for keeping your strands healthy and strong.
Gather Your Go-To Tools
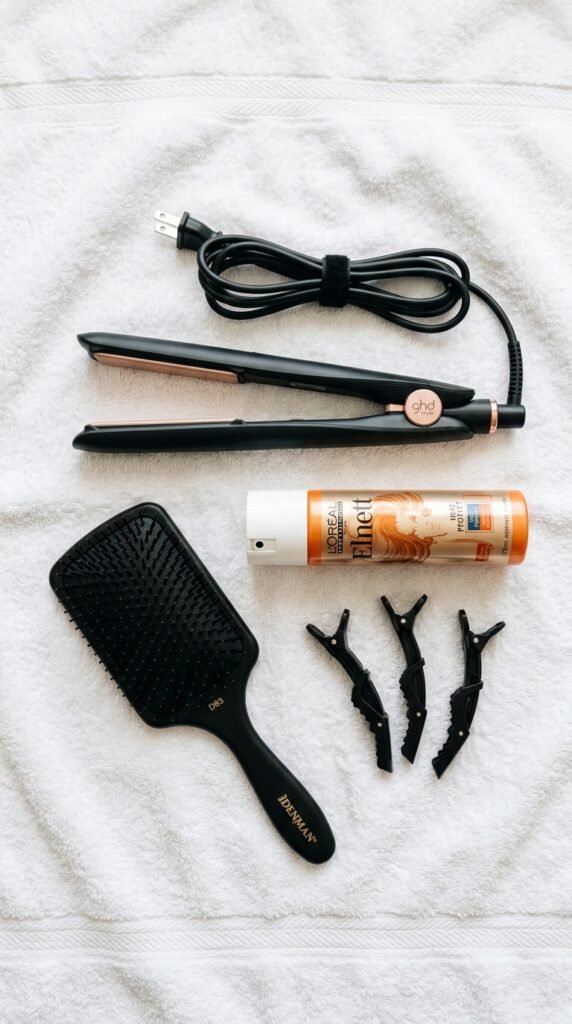
Before you even start washing, get your team together. You want a quality flat iron with adjustable temperature, a wide-tooth comb, clips to section, and a microfiber towel.
- Flat iron — I recommend one with smooth ceramic plates.
- Paddle brush for blow drying.
- Heat protectant spray or cream.
- Hair ties or clips that won’t snag.
Having everything within arm’s reach makes the whole process feel way easier and way less stressful.
Wash With A Cleansing Shampoo First

Your silk press will only look as good as the hair you start with. Product buildup, old oils, and hard water minerals can leave a rough film that prevents that glossy finish.
Use a clarifying shampoo once every few weeks to truly reset your strands. Follow up with a gentle moisturizing shampoo to keep the lengths happy. I always repeat the second shampoo twice — it gives the best slip for later.
Deep Condition Like Your Ends Depend On It
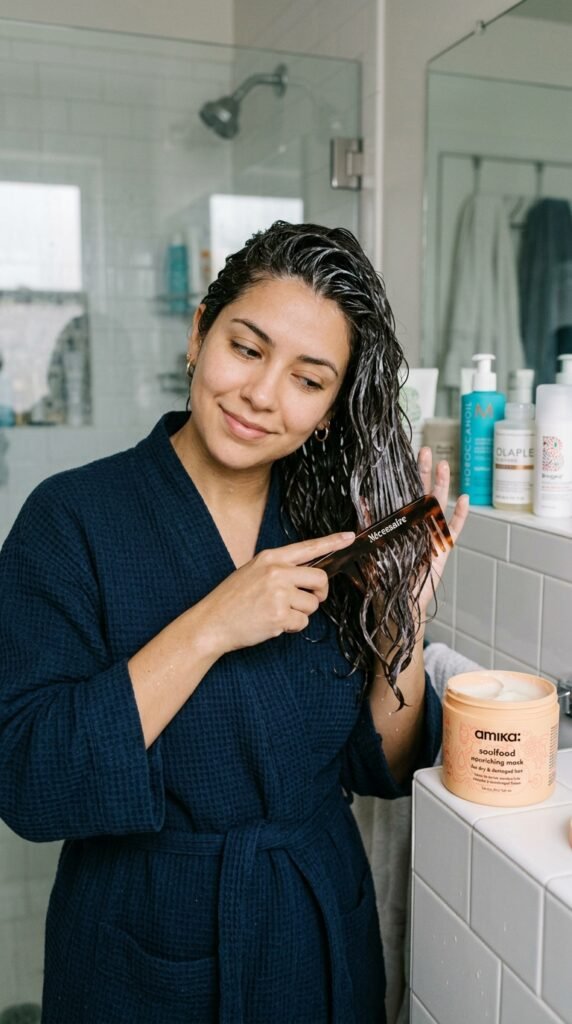
This is where the real magic happens. A deep conditioning mask fills in the gaps for thirsty hair, making it smoother and far less prone to frizz on press day.
- Apply your mask generously on damp hair.
- Comb it through with a wide-tooth comb.
- Leave it on for 5-10 minutes under a shower cap.
Then rinse with cool water to seal those cuticles and set the stage for a true quiet luxury shine.
The Towel Drying Hack That Prevents Frizz

Never rub your wet hair with a regular towel. That rough friction causes raised cuticles, which leads to frizzy puff instead of a smooth silk press. Just think about it — your future self wants zero extra bumps.
Instead, gently squeeze out the water with a microfiber towel, then scrunch upward. Dry your hair until it’s damp, not dripping, before you move to the blow dryer stage. That tiny change makes such a huge difference.
Blow Dry With A Paddle Brush – No Round Brush Stress
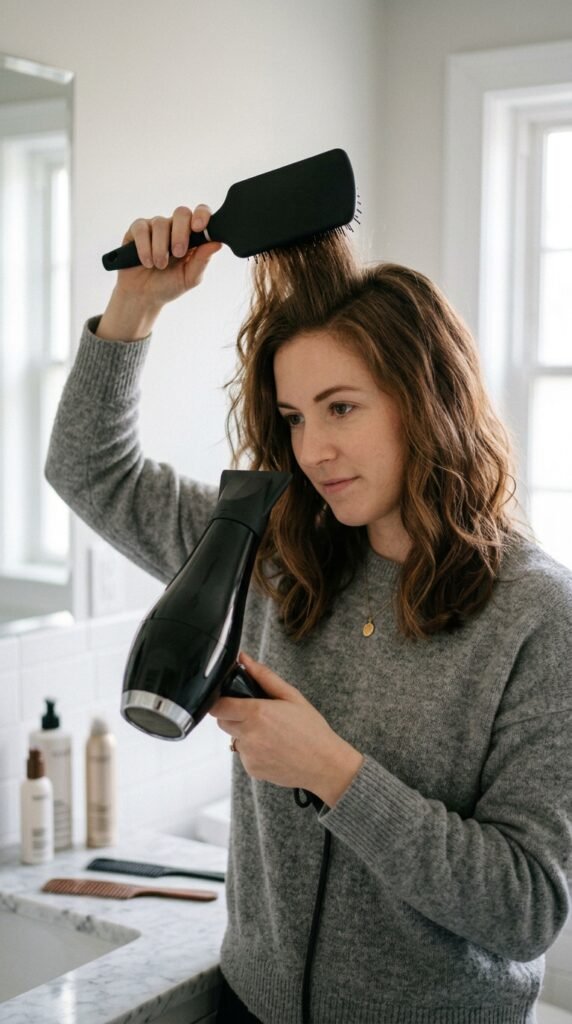
I used to think a round brush had top-secret salon secrets, but for a straight silk press, a paddle brush is actually your best friend. It helps stretch the hair and prevents those accidental bends and creases.
Start by rough drying the roots until about 80% dry, then finish with the paddle brush pulling the hair slowly from root to tip. Always point the nozzle downward. This is the moment to set the foundation for any 2026 hairstyle you want to try later.
Don’t Skip Your Heat Protectant
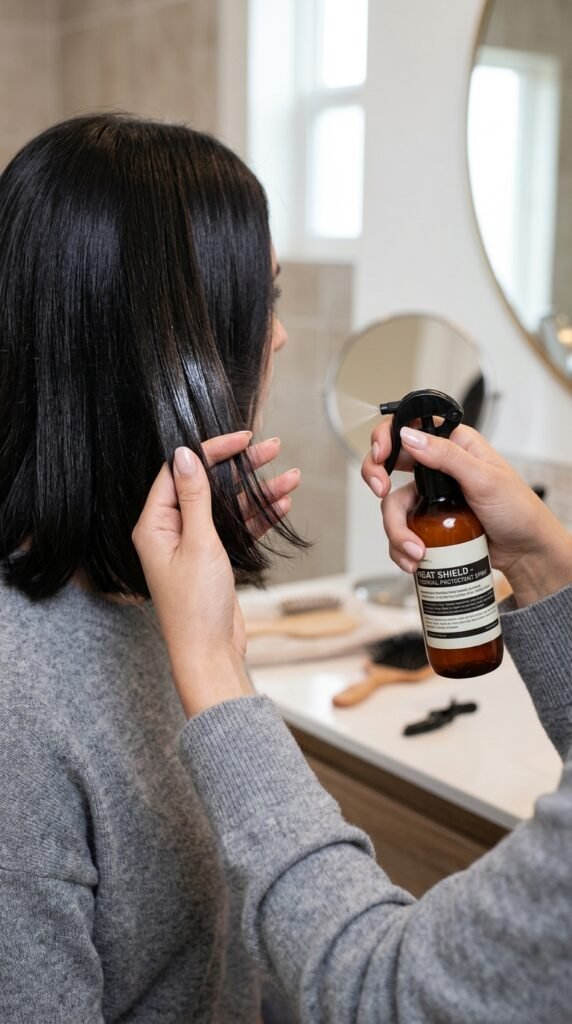
Okay, this is your non-negotiable. Heat protectant acts as a shield, keeping your hair from becoming brittle or drier than the desert. Double-sided protection from both the blow dryer and flat iron.
I like a light mist formula. For a safer press, distribute it evenly through sectioned hair and let it dry completely before you ever touch the hot plates. This alone makes the difference between hair that glides and hair that snaps.
Split Your Hair Into Four Easy Sections
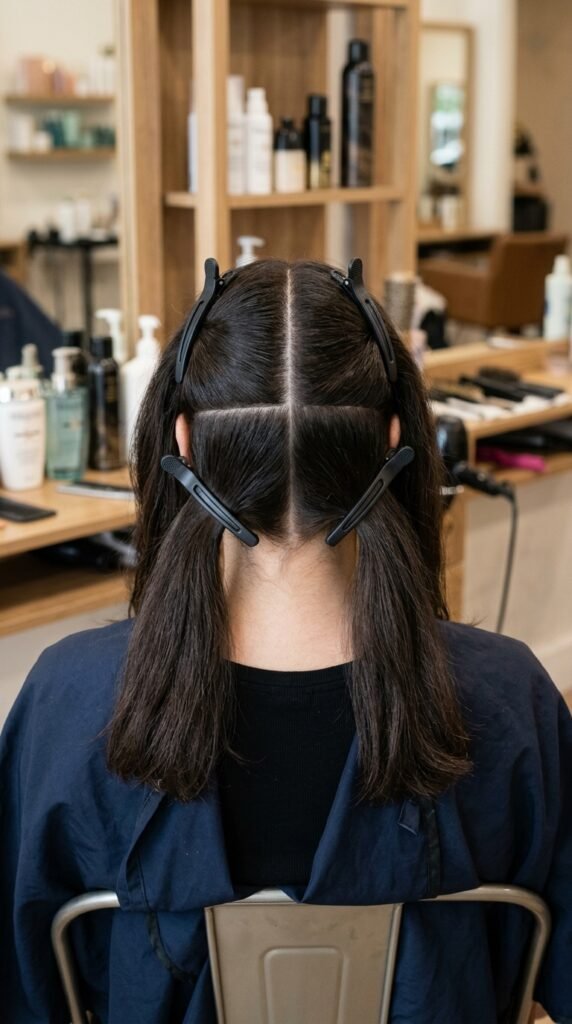
Now this part is honestly non-negotiable for a salon-level finish. Work with four sections that are totally separate — two in front and two in the back. Keep the rest pinned up.
- Clip the top half high so it’s out of the way.
- When you press the bottom layer first, you’re preventing steam from weirdly folding pieces you already straightened.
The more organized you are, the less rushing and struggling you’ll do later.
The Perfect Flat Iron Temp for Your Hair Type
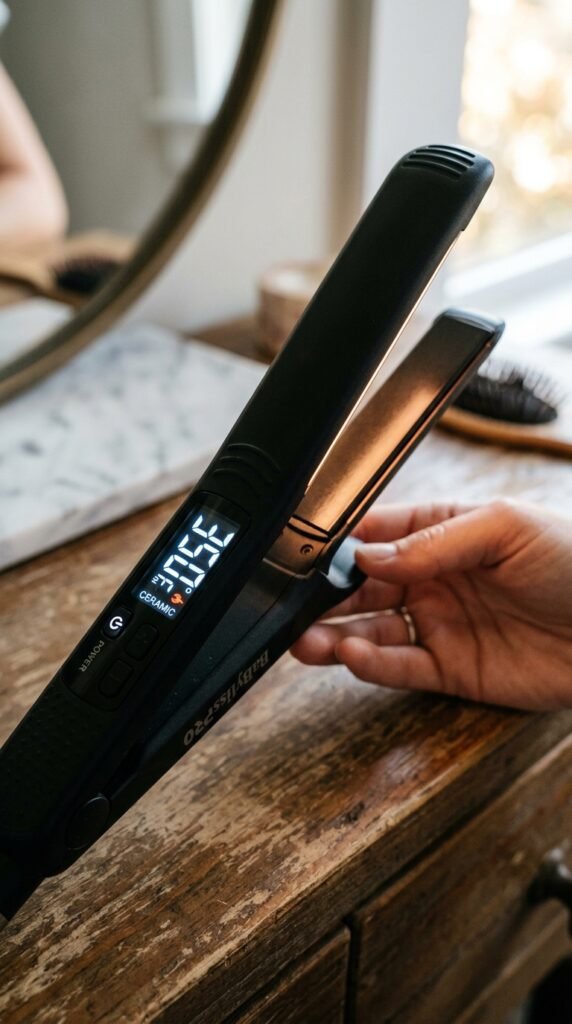
Do not guess the temperature, girl. Here’s a simple cheat sheet to prevent damage while still beating frizz.
- Fine or damaged hair: 300-320°F
- Normal hair: 330-350°F
- Coarse or thick hair: 360-390°F
If your hair is color-treated, always lean lower. Keep in mind that a silk press doesn’t need extreme heat. It’s more about pressing small, even sections with the right motion. More heat doesn’t equal sleeker — it just means more broken hair.
Press Small Slices For That Glassy Finish
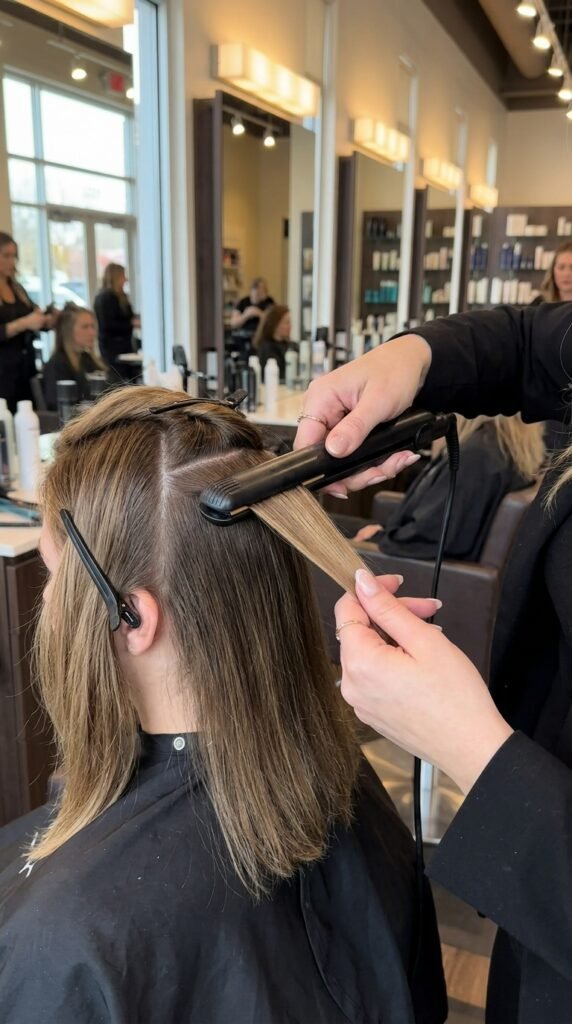
Even when you have your four sections, you need to go even smaller. I’m talking about 1 inch or less slices on each section. Working with big chunks makes the heat inconsistent, leaving waves and bends in all the wrong places.
Take down your section, unclip a small slice from the bottom, and press it clean. Remember to maintain gentle tension from the root down. You want that almost liquid-glass shine that makes people think you have old money hair magic going on.
Stretch The Root First For Big But Sleek Volume
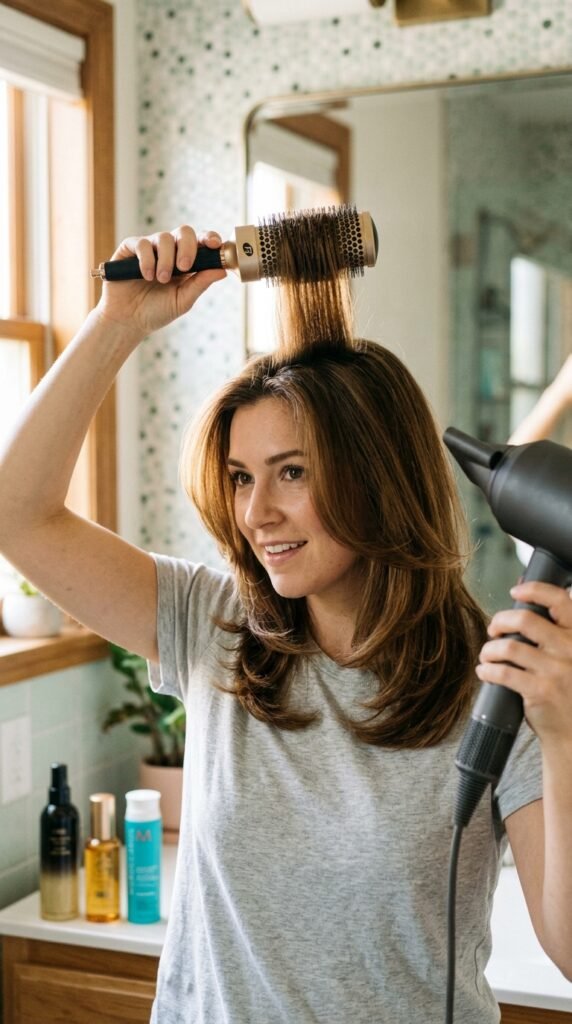
Okay, here’s a secret to keep your roots from looking flat. After sliding the flat iron through, lift the part at the root with your finger for two seconds and let it cool slightly in that lifted position.
That gives volume without sacrificing sleekness. For a quiet luxury bob or a simple old money blowout, that root bounce automatically makes the whole style feel more expensive. And it looks totally natural, not crunchy or weird at all.
One Pass Is Enough – Trust The Process
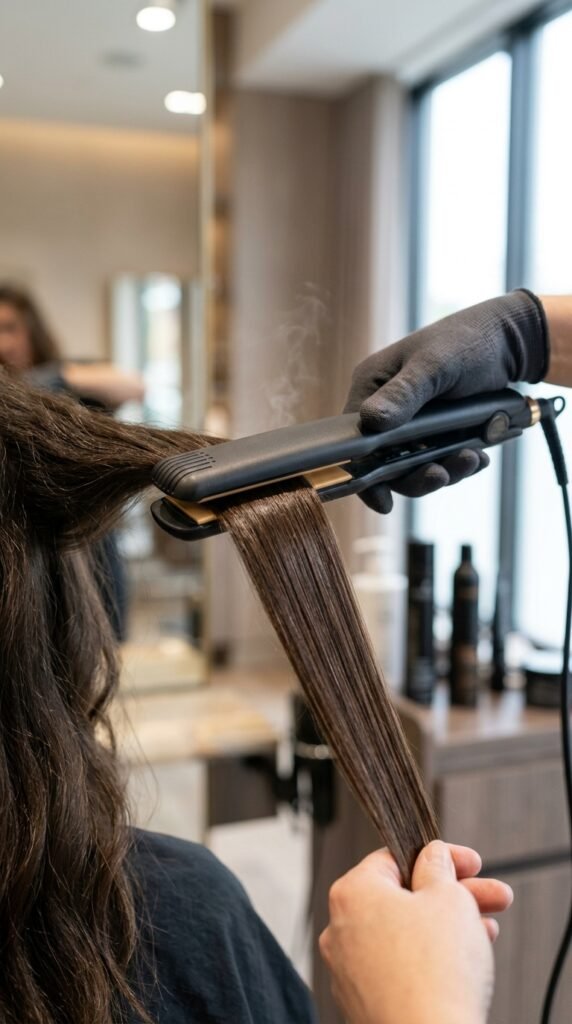
This is the mistake most people make when they try to do a silk press at home. They slide the iron over and over again until it starts to make that sizzling noise. That’s damage city, friend.
Instead, do one slow, firm pass per slice. If the hair snaps slightly back after the first pass, don’t go crazy. Wait until every single section is pressed, then do that one weird piece again very lightly. Less is way more here.
Let The Hair Cool Down Completely Before Moving

I know you’re tempted to run your fingers through everything, but stay strong. This part is crucial. After you press each section, let the hair lay flat in its own direction for a solid minute before you style it.
Even when you finish, blast the section with the cool shot from your blow dryer on a low setting. Cooling sets that straight shape, which is exactly what makes you look like you just walked out of a posh upscale salon. This little pause also works great if you’re chasing a sharp asymmetrical lob — that sleek bob needs a clean line.
Finish With A Light Shine Mist Or Oil
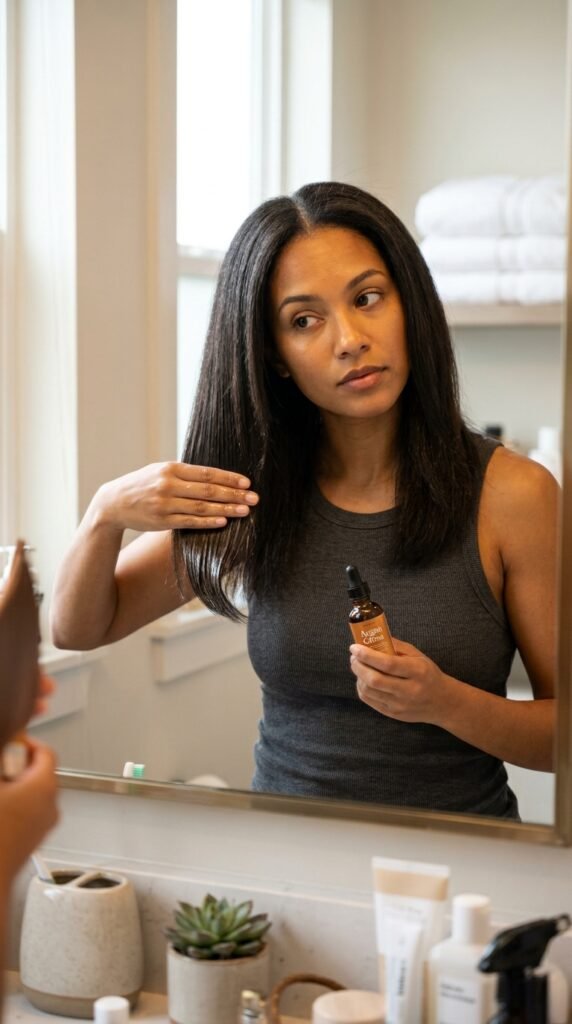
Time for the cherry on top. A light, silicone-based shine spray or a few drops of hair oil can elevate your look from decent to wow. Focus on the mid-lengths and ends, not the roots — you don’t want greasy scalp.
Use your hands to smooth everything down and gently press the hair between your palms. This flattens any microscopic flyaways while adding that healthy, glassy glow that fits the old money hair and quiet luxury aesthetic.
Tame Flyaways With A Toothbrush And Hairspray
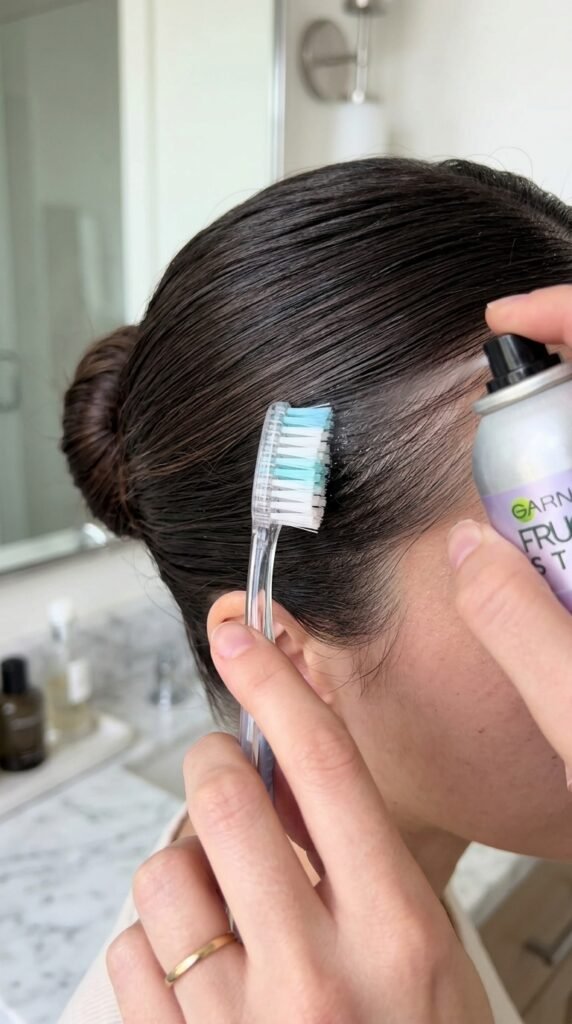
You know those tiny little hairs at your part that just will not behave? I got you. Take an old clean toothbrush and spray a little hairspray directly on the bristles, then gently smooth those edges and any new growth.
- That trick saves me so much time.
- It won’t stiffen your entire head, just that top layer.
You can also use a drop of pomade against your palm for the same result. Just be very light to avoid anything looking separated or wet.
How To Keep That Silk Press Sleek On Humidity Days

Here’s the thing about humidity: it’s your hair’s biggest enemy. But there’s a pro trick you can use before you even step outside. Apply a small amount of moisturizing serum that contains silicones to help repel moisture in the air.
Avoid water-based products at this stage, friend. Water triggers rebirth of frizz and takes you right back to puffy land. If you live in a super humid city — same here — consider a humidity-blocking spray on top of everything. That extra layer locks in your beautifully smooth hard work.
Wrap It Up At Night – Your Silk Press Will Thank You

To make your silk press last for days, protect it while you sleep. I keep it simple: place your hair on the pillow how you want it to sit, then gently wrap the whole thing in a silk or satin scarf.
- Move everything forward toward your forehead.
- Secure the lose knot at the top of your head.
You’ll wake up with hair that’s still flat and sleek, no pineapple needed. Believe me, this one nightly habit changes everything.
Quick Refresh Tips For Day Two, Three, Four
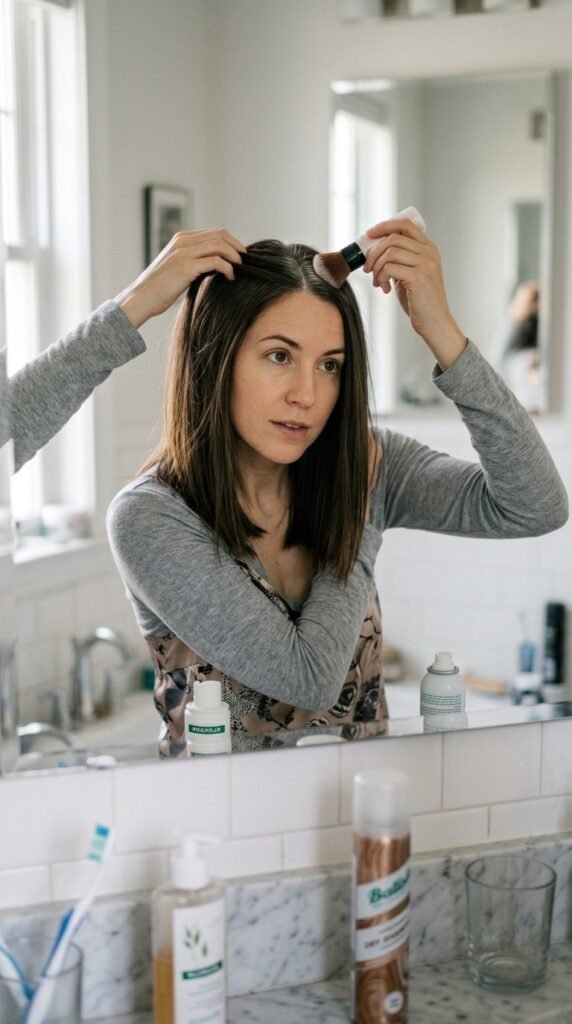
Silk presses don’t exactly last forever, but with easy fixes, you can keep the vibe alive. The trick is refreshing only the parts that show a bit of wave or oil.
- Spritz a little dry shampoo at your roots.
- Scrub it in with your fingers to absorb extra oil.
- If some sections begin to curl, use your flat iron on a low setting only for those pieces.
That way, you’re not washing your hair again and starting all over from zero. It’s honestly perfect for those lazy but good days.
Try The Hottest 2026 Hairstyles With Your Silk Press

Once your hair is perfectly straight, you can turn that slick foundation into so many trendy looks. For 2026, we’re seeing the quiet luxury bob everywhere, and this straight pressed finish makes it look ultra chic. You could also rock an asymmetrical lob — the sharpness really comes alive when there’s zero frizz.
Feeling bolder? Try the romantic goth hairstyles with dark dressed pieces and a center part, or go edgy with a vampire haircut that shows off those sharp lengths and details. And don’t forget the hime cut if you want straight, face-framing layers with textural fringe. A perfect silk press means you can experiment freely without any stress.
Mistakes That Mess Up Your Silk Press (and how to fix)
Let’s quickly review the most common at-home errors — and exactly how to pivot away from them.
- Starting on too-high heat over dried hair. Fix this by lowering the temperature and moving slower.
- Rushing to press a section that still has heat protectant wet inside. Your hair won’t press clean until it’s fully dry.
- Not sectioning enough. Tangled overlapping strands create creases — always separate slowly.
If a spiral starts to form at your ends due to age or product, just hit that piece again lightly after everything cools. Save your gorgeous progress.
Alright, friend, I hope you’re feeling ready to take on a salon quality silk press right in your own bathroom. Just remember, the real secret is patience with your sections and heat control, not super expensive tools. Give yourself the time to work through the routine once or twice, and it will quickly become second nature. When you’re done, you’ll feel like the best version of yourself with hair that looks rich, shiny, and done — without even leaving the house.
Save this post to Pinterest so you can easily find this whole routine next time you wash day comes up. And seriously, tell me in the comments — what’s your biggest silk press struggle? Is it frizz in the winter, or keeping it straight at night? I read every single comment and I’d love to help you troubleshoot.