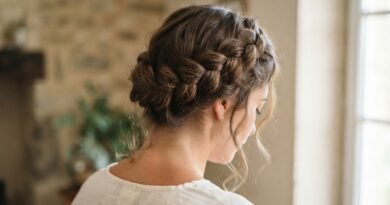
27 Polished Long Haircut Layers Emphasizing Healthy Reflective Hair Shine
Let’s talk about long hair that actually looks finished. Not just long — polished. The kind where you turn your head and light slides across your layers like a mirror.
I spent the last few months collecting the cuts my readers keep sending me, and there’s a clear theme: 27 polished long haircut layers, all built around one thing. Healthy, reflective shine. No heavy styling tricks required.
So here’s what I’m giving you. Twenty-seven layer ideas you can screenshot and bring straight to your stylist, plus the small habits that keep the shine going between appointments.
Grab a coffee. This one’s easy to skim and quick to use.
1. Why Polished Long Layers Own 2026
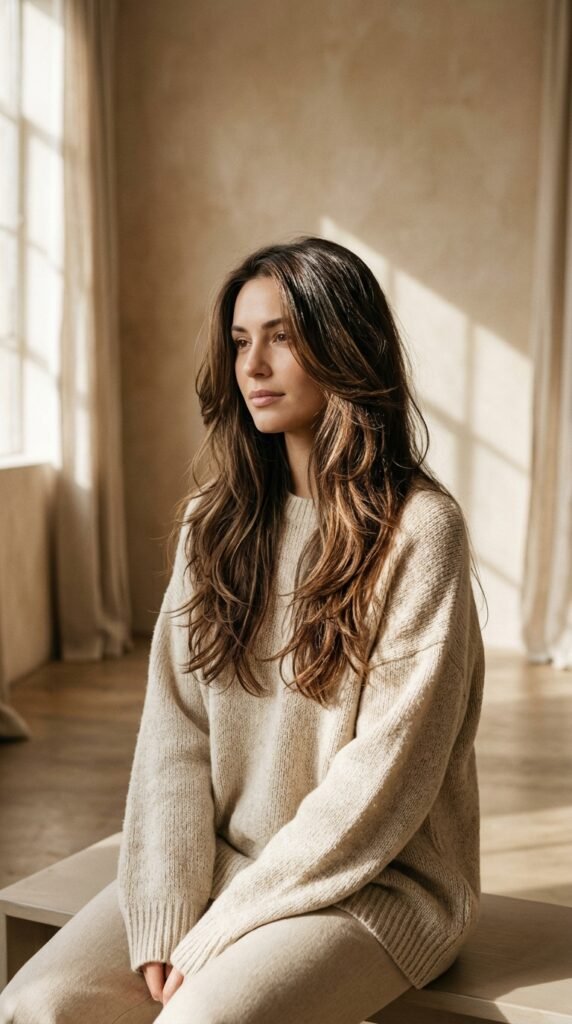
Long hair is having a moment, but not the flat, heavy kind. The 2026 hairstyles everyone keeps saving are layered, bouncy, and shiny — hair that moves when you walk and catches light when you turn.
The secret is polish. Layers create movement, but shine is what makes them look expensive. Every cut below is built around one idea: healthy hair reflects light, and light is the whole look.
Pick one idea, screenshot it, and bring it to your stylist. That’s genuinely all it takes.
2. Shine Starts at the Cut, Not the Product
Here’s what took me years to learn. You can’t style your way to shiny hair if the cut is working against you. Blunt, heavy ends drag the whole shape down and block light from bouncing.
A good layered cut removes just enough weight to let each section swing. That movement is what creates the reflective effect — it’s physics, not magic.
- Layers should start below the chin for long hair
- Ends should look clean, not thinned out
- Weight removal belongs in the middle, not the tips
3. Ask for Dusting, Not a Chop
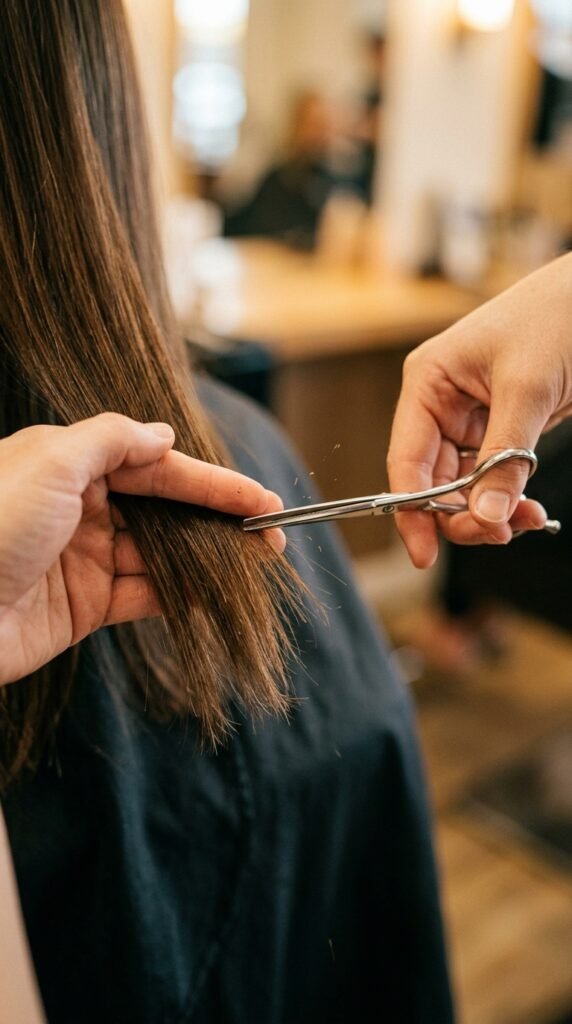
Dusting is the quiet hero of shiny long hair. It’s a tiny trim — a quarter inch or less — that removes split, dull ends without touching your length.
Ask for it every six to eight weeks. Those see-through, fuzzy ends you’re noticing? They scatter light instead of reflecting it. Once they’re gone, your whole head looks brighter.
If your stylist isn’t sure what you mean, say “micro trim on the ends only.” Works every time.
4. Face-Framing Layers for Every Face Shape

Face-framing layers are the difference between “long hair” and “long hair that suits you.” They start around your cheekbone or jaw and taper down, drawing light toward your face.
- Round faces: start layers at the chin and go longer
- Square faces: soft, curved layers around the jaw
- Oval faces: almost anything works — go for movement
- Heart shapes: layers from the cheekbone down
Keep the shortest piece no shorter than your chin. Anything above that starts looking choppy instead of polished.
5. The Old Money Hair Standard
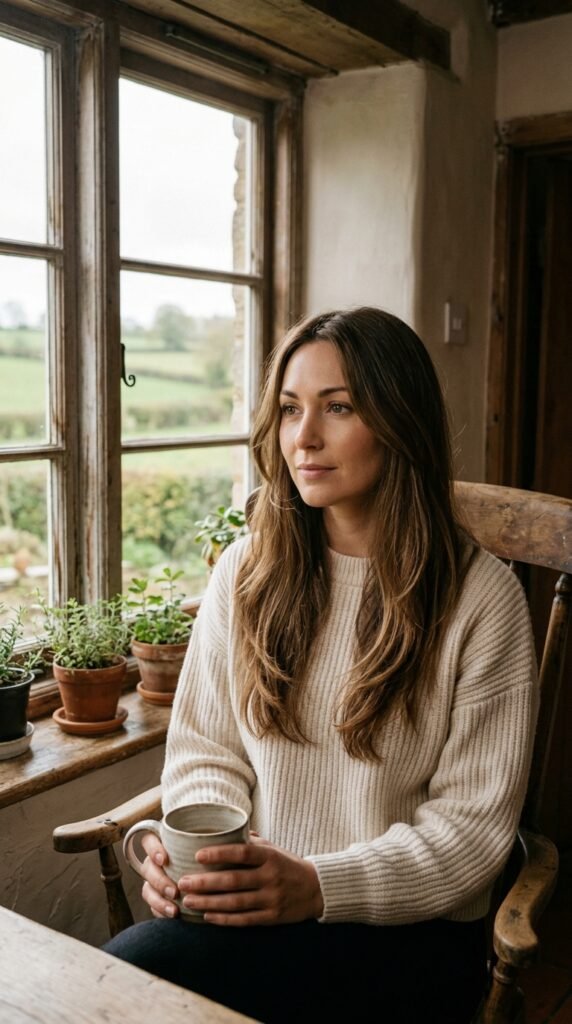
Old money hair is less about the cut and more about the finish. It’s long, it’s healthy, it’s quietly glossy, and it never looks like you tried too hard.
The layers here are soft and blended — nothing sharp, nothing dramatic. Think smooth swoops that fall into place, with a slight bend at the ends.
Pair it with a middle part and a simple blowout. That’s it. The whole look is “I’ve always had good hair,” and honestly, a good cut plus shine does most of that work for you.
6. Growing Out a Quiet Luxury Bob

If you had a quiet luxury bob last year and you’re growing it out, this is your in-between stage. Instead of one blunt line, your stylist blends the old bob length into longer layers.
That keeps the shape intentional while your hair gains length. No awkward mullet phase, no random chunk sitting on your shoulder.
- Keep the front pieces longer than you think
- Blend the old perimeter into the new length
- Refresh every eight weeks until it’s caught up
7. Long Layers With an Asymmetrical Lob Edge
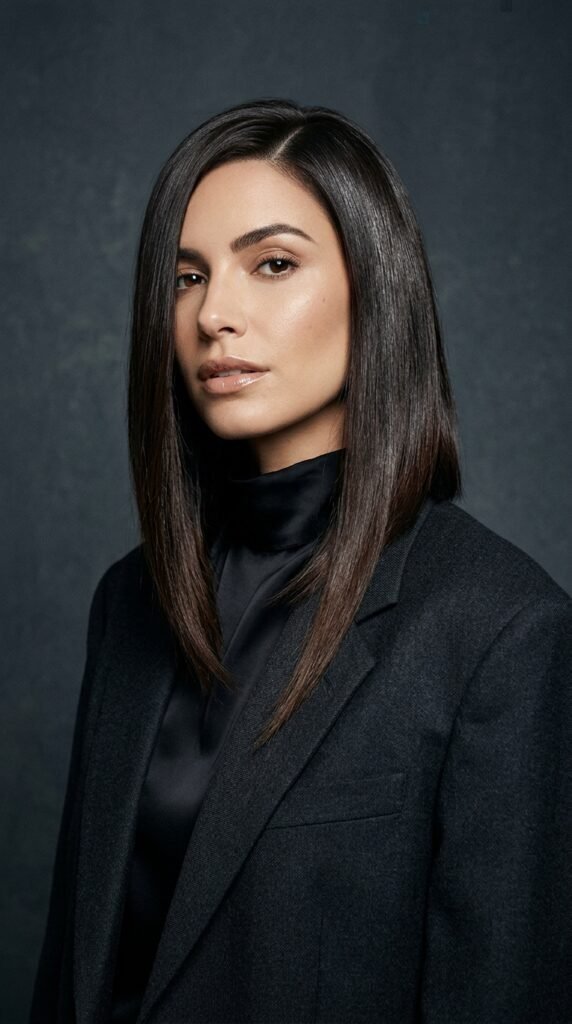
You don’t have to pick between long and an asymmetrical lob. Ask for long layers with a slight side imbalance — one side a touch longer than the other.
It’s subtle, but it makes the whole cut look styled even when it’s air-dried. The asymmetry catches light at different angles, which is exactly why it looks so shiny.
Keep the difference to an inch or two. More than that and you’re in haircut territory instead of polish territory.
8. Romantic Goth Hairstyles With Soft Layers

Romantic goth hairstyles are having a real moment, and long layers make them wearable. The idea is dark, soft, and glossy — not spiky or harsh.
Ask for long layers with a gentle bend, then finish with a shine serum on damp ends. Dark hair shows reflection better than any other color, so a gloss treatment pays off double here.
- Long, blended layers below the collarbone
- Soft curtain bangs or a middle part
- Gloss treatment every six to eight weeks
9. The Vampire Haircut, Grown Long
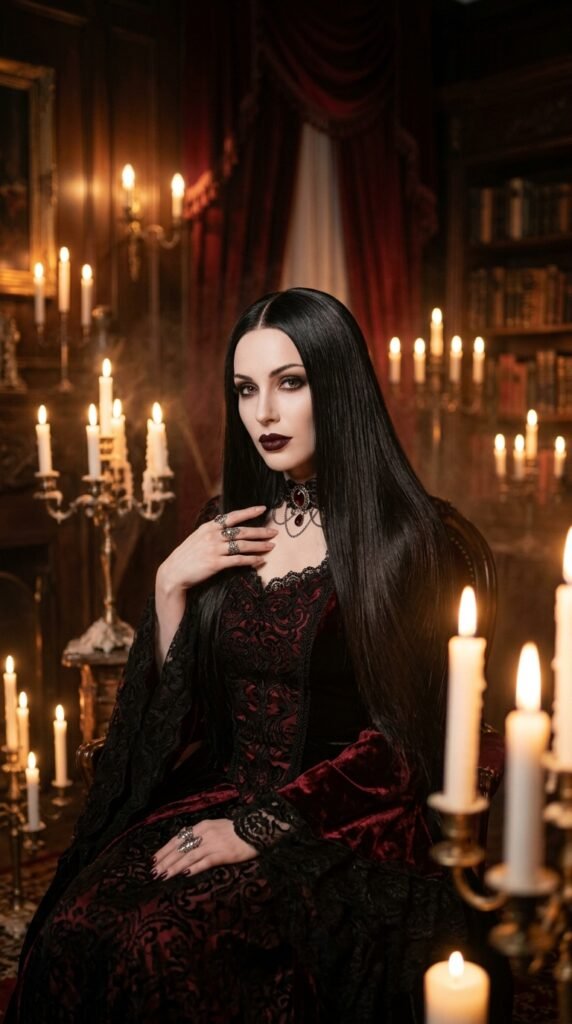
The vampire haircut is basically a sleek, face-framing cut with sharp edges and a lot of shine. Think long, smooth, slightly dramatic — the kind of hair that looks like it belongs in a candlelit room.
On long hair, it means clean face-framing pieces and smooth, heavy layers that stay close to the head instead of fluffing out. Keep it polished, not messy.
Finish with a light oil on the ends only. You want the shine without the greasy look.
10. Hime Cut Layers for a Clean Finish
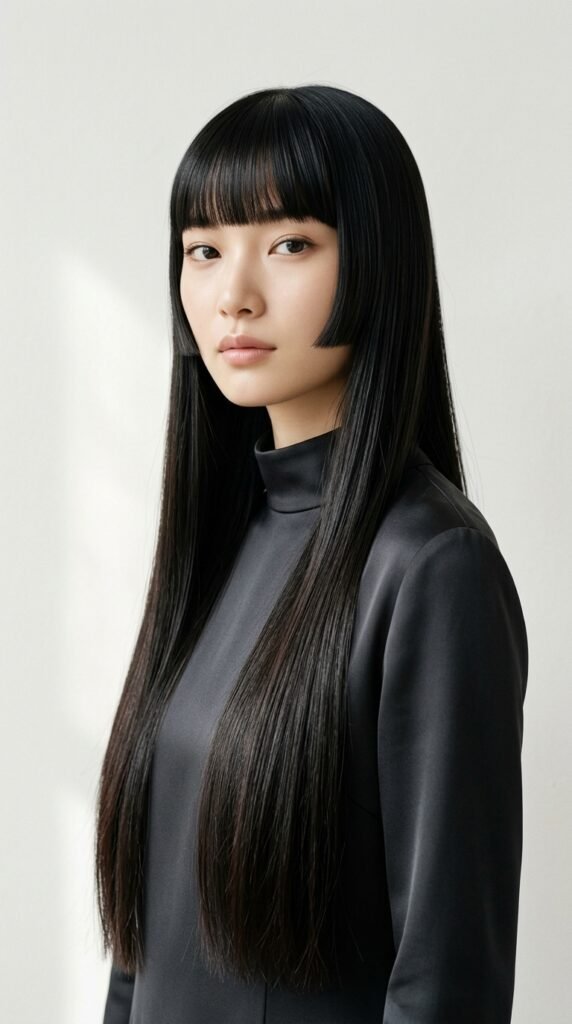
The hime cut is one of those styles that looks complicated and isn’t. It’s long hair with two blunt side pieces at cheek or jaw length, plus a straight back section.
For a softer, more modern take, add a few long layers in the back so it doesn’t look too flat. You keep the sharp side pieces and gain movement.
Fair warning: this cut lives and dies by shine. Blunt lines look dull fast if your ends are dry, so stay on top of your trims.
11. Glitchy Glam Hair, Long Edition
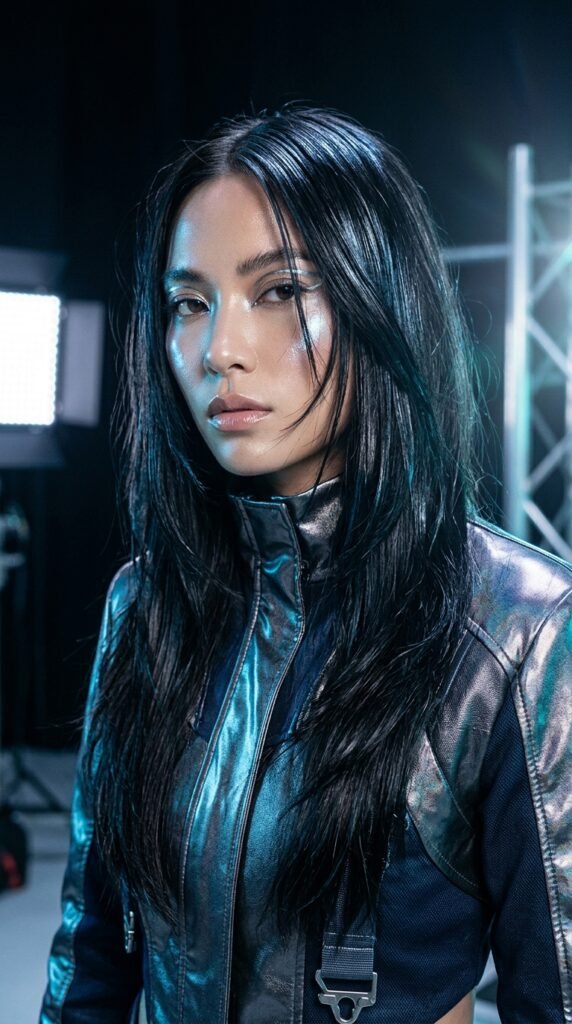
Glitchy glam hair is that slightly imperfect, high-shine look — like the texture is a little off on purpose, but the finish is flawless. It’s fun and it photographs beautifully.
On long hair, keep the layers soft but add a little irregularity. A few mismatched lengths around the face give that “glitch” feel without going messy.
Then go hard on shine. Serum, gloss spray, whatever you have. The contrast between imperfect shape and perfect finish is the entire point.
12. Butterfly Layers That Still Look Polished
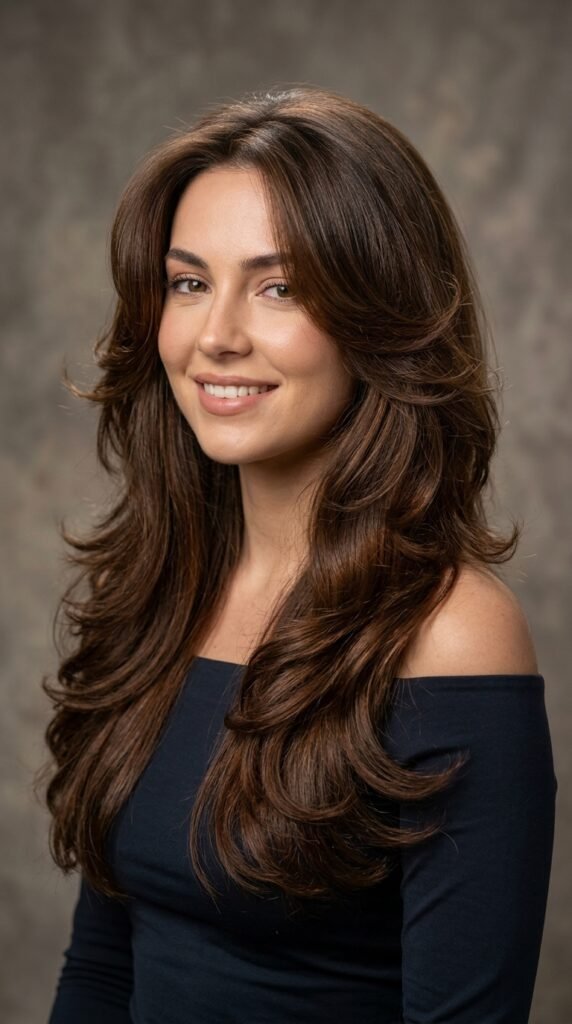
Butterfly layers give you that rounded, bouncy shape with shorter layers around the face and longer ones underneath. It’s romantic and it moves beautifully.
The risk is volume overload. Ask your stylist to thin the layers just enough that they fall instead of fluffing. You want swing, not a cloud.
Round-brush the front sections toward your face and you’re done in ten minutes.
13. Curtain Bangs Meet Long Layers

Curtain bangs plus long layers is the combination that suits basically everyone. The bangs soften the face, the layers add movement, and the whole thing looks effortless.
Keep the bangs on the longer side so you can tuck them when you don’t feel like styling. Ask for them to blend into the layers at your cheekbone.
- Bangs end around cheekbone length
- Layers start at the same point for a blend
- Skip heavy product — you want them to float
14. The Layer Length Cheat Sheet
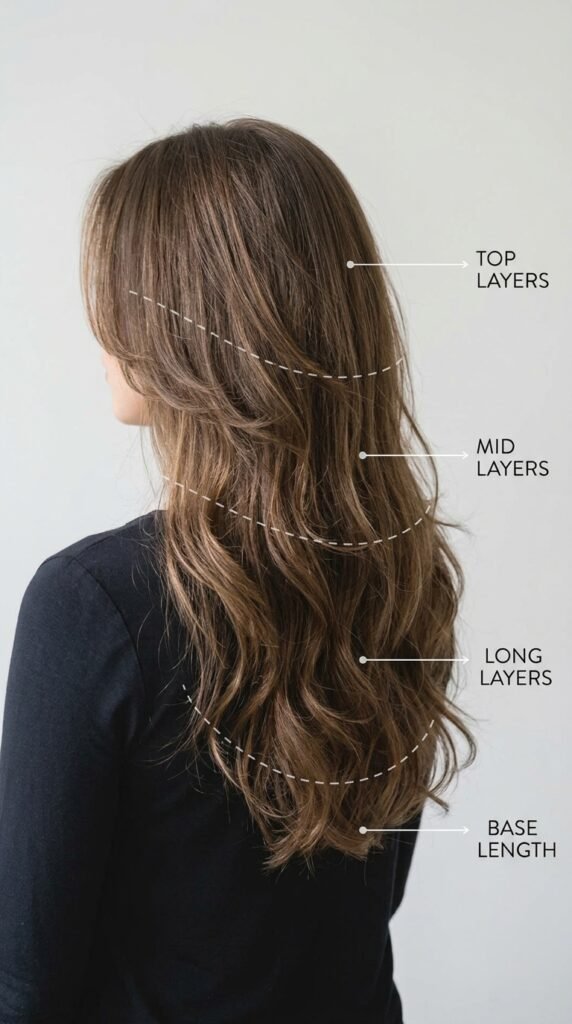
Here’s the fast version. Layer placement changes everything, so screenshot this before your appointment.
- Chin length: strong framing, best on oval faces
- Collarbone length: the safest, most universal start
- Shoulder length: adds movement, works on everyone
- Mid-back: blends and removes weight
- Ends: leave them mostly solid for shine
If you’re not sure, go with collarbone-length layers. They’re the least likely to go wrong.
15. How to Ask Your Stylist, Word for Word
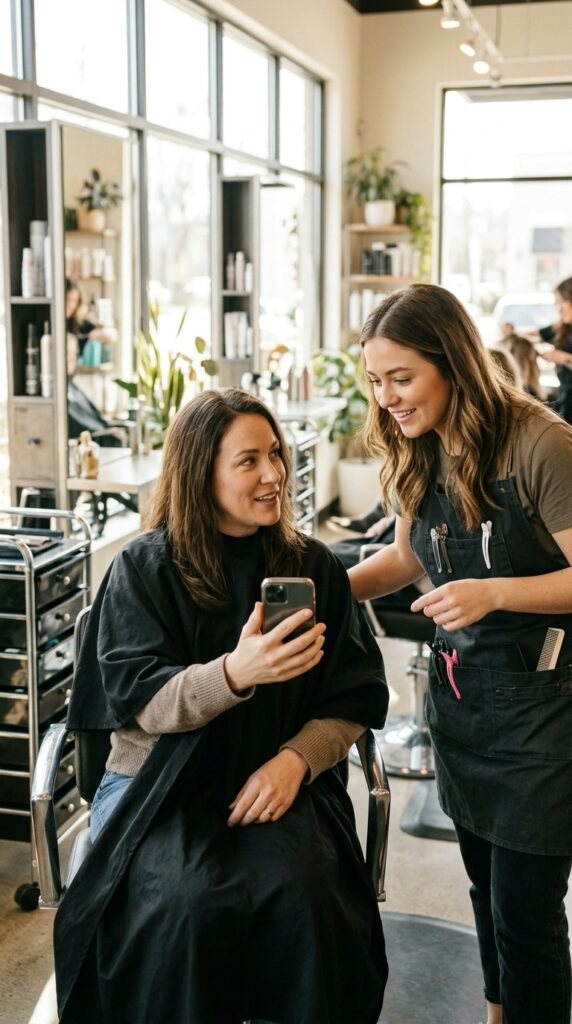
Stylists are not mind readers, and “just layers” means a hundred different things. Here’s what I actually say now.
- “Long layers starting at the collarbone, blended, no thinning at the ends”
- “Keep my length — micro trim only”
- “Face-framing pieces that start at my cheekbone”
- “I want it to look healthy and shiny, not choppy”
Bring two photos: one of the shape and one of the finish. That combination gets you exactly what you pictured.
16. The Blowout That Builds Shine
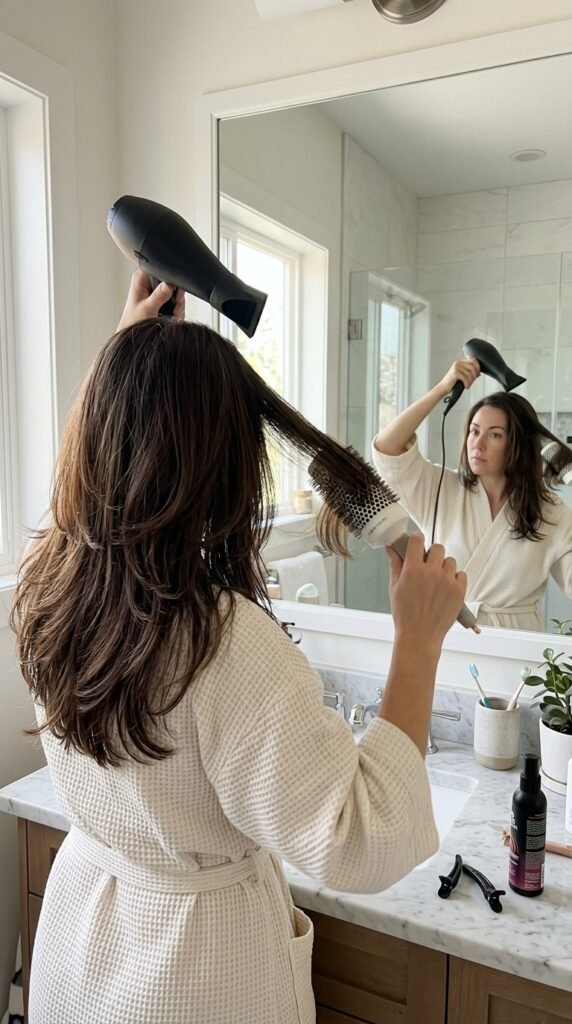
Shine isn’t a spray you add at the end. It’s built while your hair dries. The direction matters more than the tool.
- Rough dry to about 80 percent
- Section your hair into four parts
- Point the nozzle down the hair shaft
- Finish each section with a cold shot
That downward airflow smooths the cuticle, and the cold shot locks it in. Smooth cuticle equals reflective hair. It really is that simple.
17. Rinse Cold, Dry Gentle

Two habits, thirty seconds each, and a real difference in shine.
Rinse cold at the end of your shower. It closes the cuticle and makes hair look glossier immediately. Not ice cold — just cool enough to feel it.
Stop rubbing with a towel. Squeeze the water out instead. Rough drying lifts the cuticle and creates frizz, which is the opposite of what you want.
Use a microfiber towel or an old cotton t-shirt. Both are gentler than terry cloth.
18. Gloss Treatments Worth Your Money
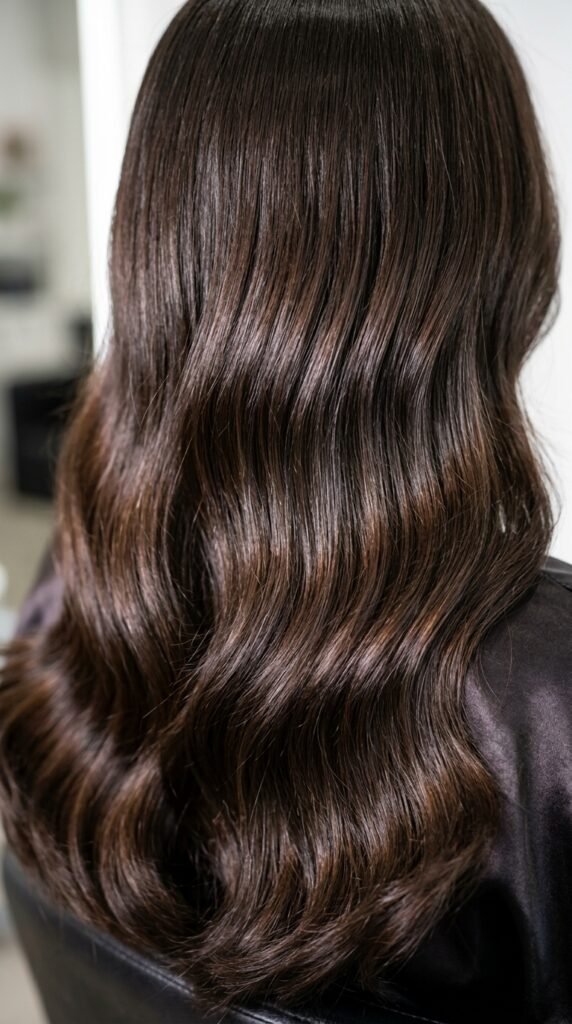
A gloss is the fastest route to reflective hair. It coats the strand, smooths the cuticle, and adds a layer of shine that lasts weeks.
You can do it in a salon or at home. Salon glosses tend to last four to six weeks. Drugstore clear glosses are cheaper and give you a solid two weeks.
- Best for dull, flat, or over-processed hair
- Also great right before photos or events
- Skip it if your hair is already very fine and easily weighed down
19. Heat Protection Without the Weight
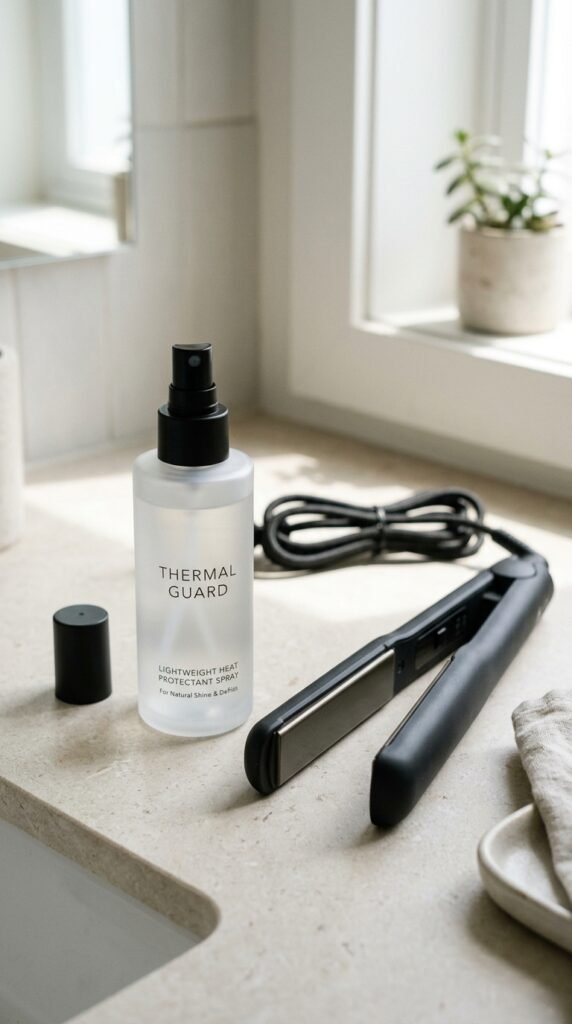
You can’t have shiny hair if you’re frying it. But heavy protectants weigh long layers down and kill the movement you just paid for.
Look for a fine mist or a lightweight cream. Spray it on damp hair from mid-length to ends, not at the root.
And keep the temperature honest. Medium heat with a few passes beats high heat with one. Your ends will stay smooth a lot longer.
20. Overnight Habits for Smooth Hair

Most of the frizz you wake up with is friction. Cotton pillowcases grab the hair and rough up the cuticle while you sleep.
- Switch to a silk or satin pillowcase
- Loose braid or a soft top bun for long layers
- A silk scrunchie instead of a tight elastic
- Light oil on the ends before bed
None of this takes extra time. It just stops you from undoing your own shine overnight.
21. Shampoo and Conditioner Rules for Shiny Hair
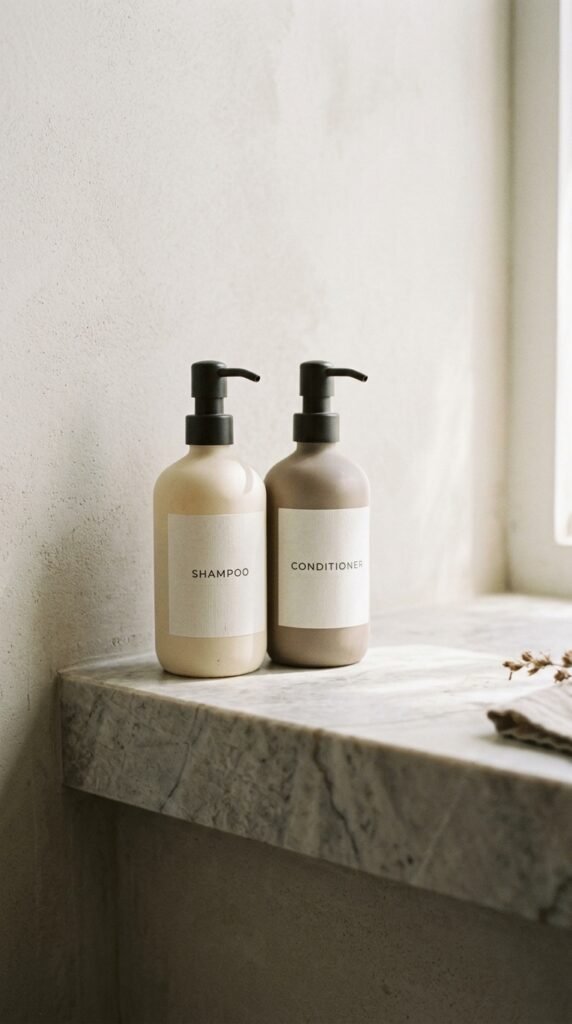
Keep it boring and your hair will look better. Shampoo your scalp, not your ends. Conditioner goes on the ends, not your scalp.
Wash every two to three days if you can. Daily washing strips the natural oils that give long hair its healthy sheen.
Once a week, use a hydrating mask for ten minutes. That one habit does more for shine than any styling product on the shelf.
22. Long Layers for Fine Hair

Fine hair needs fewer layers, not more. Too many and it looks stringy instead of shiny.
Ask for long, blended layers starting at the collarbone, with weight removed from the middle rather than the ends. Keep the perimeter mostly solid so it looks full.
- Skip heavy oils and thick serums
- Use a light shine mist instead
- Blow-dry upside down for root lift
23. Long Layers for Thick Hair
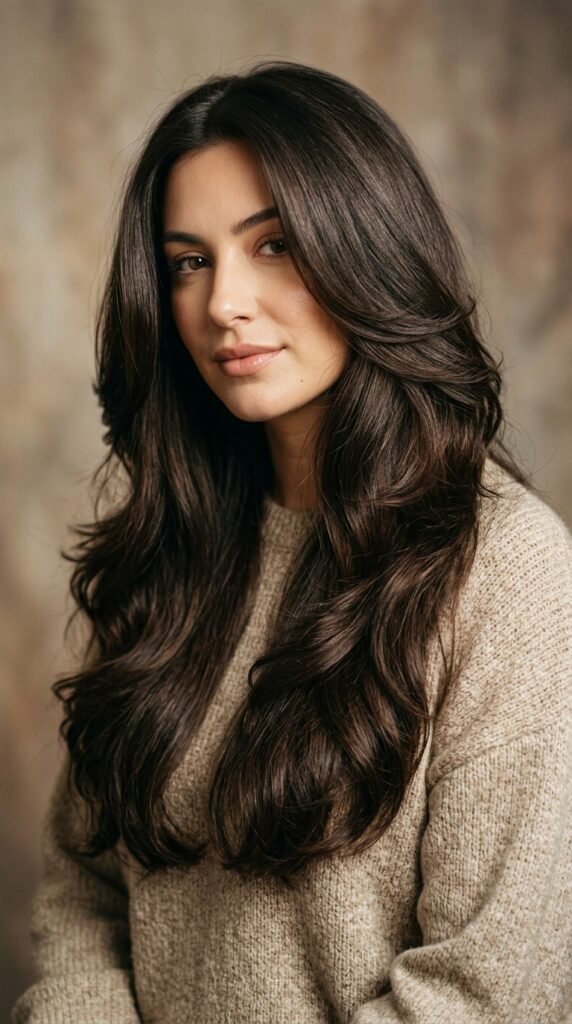
Thick hair is the lucky one here. You can carry deeper layers, and the result looks expensive with almost no effort.
Ask for layers starting higher, around the jaw or chin, and plenty of weight removal inside the shape. Your hair should swing, not sit.
For shine, a heavier oil on the ends actually works in your favor. Thick hair can handle product that fine hair can’t.
24. Long Layers for Curly and Wavy Hair
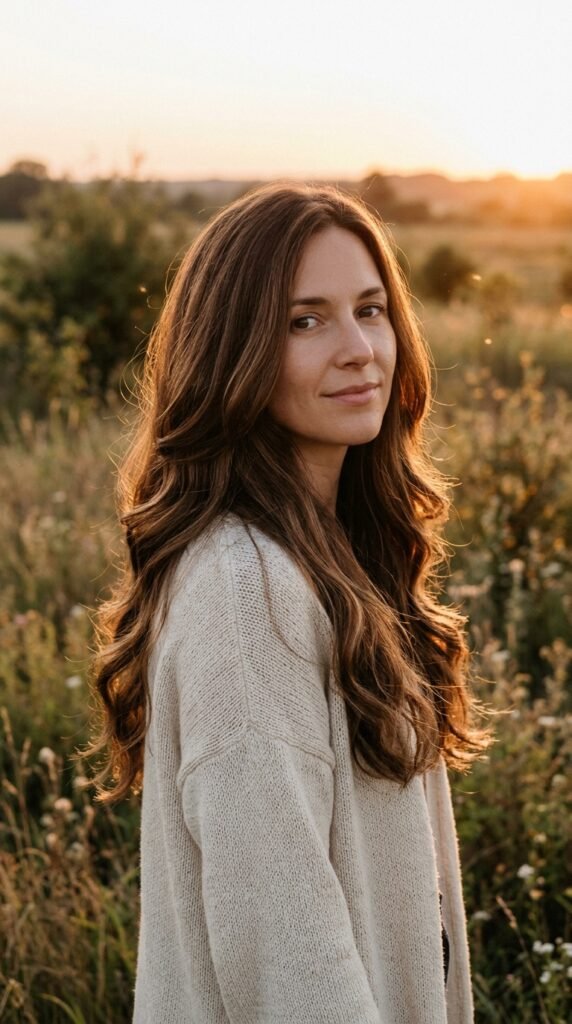
Curly and wavy hair has the best natural shine on this list, but only when it’s cut dry. Layers carved on wet hair shrink up and go wrong.
- Always ask for a dry cut
- Layers should follow your curl pattern
- Strong, blended shapes beat choppy ones
- No thinning shears on the ends
For shine, use a leave-in on soaking-wet hair and skip touching it while it dries. Frizz is the enemy of reflection.
25. Accessories That Keep It Polished
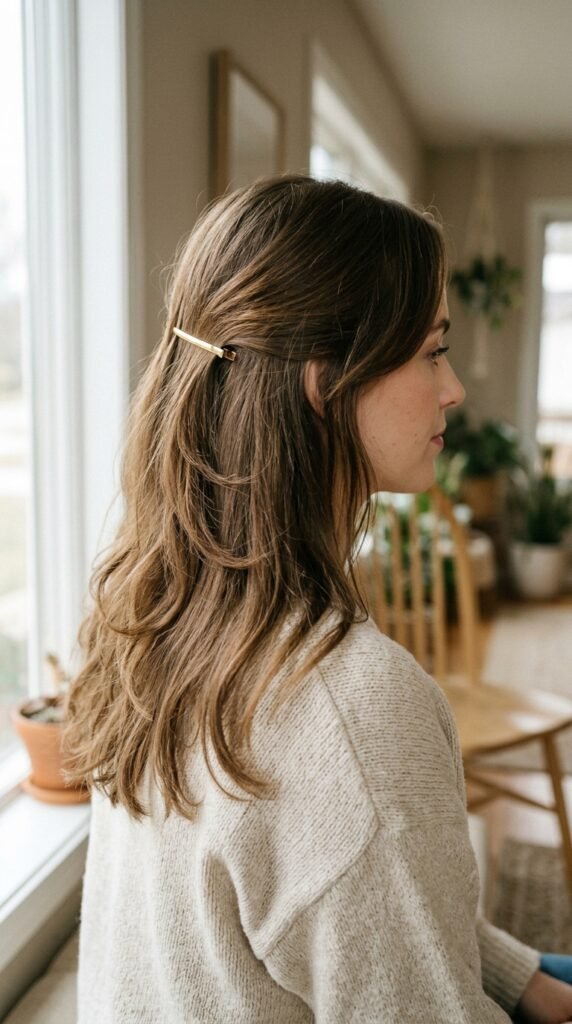
Long layers look even better when you style one small piece out of the way. It reads intentional instead of undone.
- A simple gold clip at one temple
- A low satin scrunchie at the nape
- A silk scarf tied in a loose half-up
- A clean middle part with tucked-back front layers
Choose one detail, not three. Quiet beats busy every time.
26. Five-Minute Shine Touch-Ups

No time for a full blowout? You don’t need one. You need five minutes and the right order.
- Spray a little water on your ends
- Add one drop of oil, rub it between your palms first
- Smooth down the front sections
- Blast the ends with cool air for ten seconds
The cool air is the step people skip. It’s the reason your hair looks flat after a touch-up instead of bright and reflective.
27. Layer Mistakes That Kill Shine

These are the ones I see most often, so let’s just avoid them.
- Thinning shears used on the ends — instant frizz
- Too many short layers on fine hair
- A blunt chop instead of a micro trim
- Heavy product on dry hair, which dulls the finish
- Waiting too long between trims
Your cut should make your hair easier to manage. If it’s harder, something went wrong, and it’s usually one of the five above.
A Little Goodbye Note
If you take one thing from all of this, make it the shine rule. A polished long cut is really just a healthy cut in good lighting, and your hair does the rest.
Start with the trim, get a gloss, and switch your pillowcase. Those three changes will do more than a bathroom full of products ever will.
And bring a photo to your stylist. It’s the smallest thing that makes the biggest difference.
Save this post to Pinterest so you have it ready at your next appointment — and tell me in the comments which of these 27 you’re trying first. I read every single one.