Braids 17 Diamond Dust Glitters Sprinkling Protective Shine Magical
Okay, let’s be real. We’ve all seen those impossibly perfect braids on Pinterest that look like they were woven by fairies. You know the ones—sparkling, intricate, and totally intimidating. I used to scroll past them thinking, “That’s not for me. I could never.”
But what if I told you that look—that magical, protective, glimmering braid—is actually one of the most achievable, low-maintenance styles out there right now? It’s true. It’s less about intricate skill and more about a simple sprinkle of magic dust.
I’m talking about the Diamond Dust Braid. It’s my current obsession, and it perfectly blends several of 2026’s biggest hair trends. It has the timeless feel of old money hair, a touch of romantic goth, and that glitchy glam sparkle everyone’s after. It’s protective, it’s shiny, and it’s absolutely magical. Let me show you exactly how to get it, step by simple step.
What Is The Diamond Dust Braid?
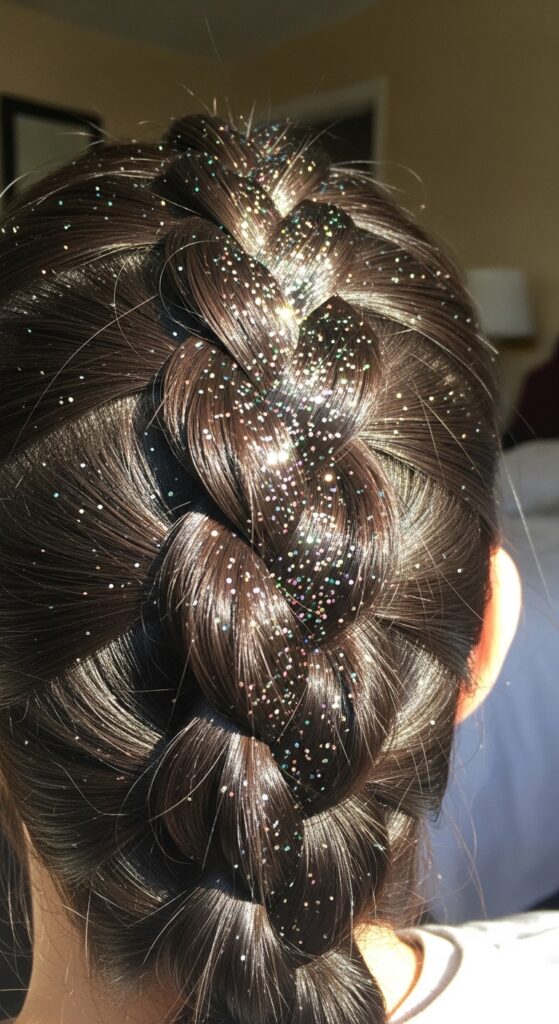
Think of this as your classic, trusty braid—French, Dutch, or even a simple three-strander—but kissed with a layer of ethereal sparkle. The “diamond dust” refers to ultra-fine, iridescent glitters or a shimmering hair gloss applied strategically.
This isn’t club glitter. It’s a subtle, luminous shine that catches the light in soft, magical ways. It transforms an everyday protective style into something special, blending elegance with a hint of fantasy. It’s perfect if you love the vibe of romantic goth hairstyles or the polished gleam of quiet luxury hair but want a playful twist.
Why This Look is Everywhere for 2026
Hairstyles for 2026 are all about duality: timeless yet trendy, elegant yet edgy. The Diamond Dust Braid nails this. It takes the classic, growing-in-popularity hime cut or a soft asymmetrical lob and adds a moment of fantasy.
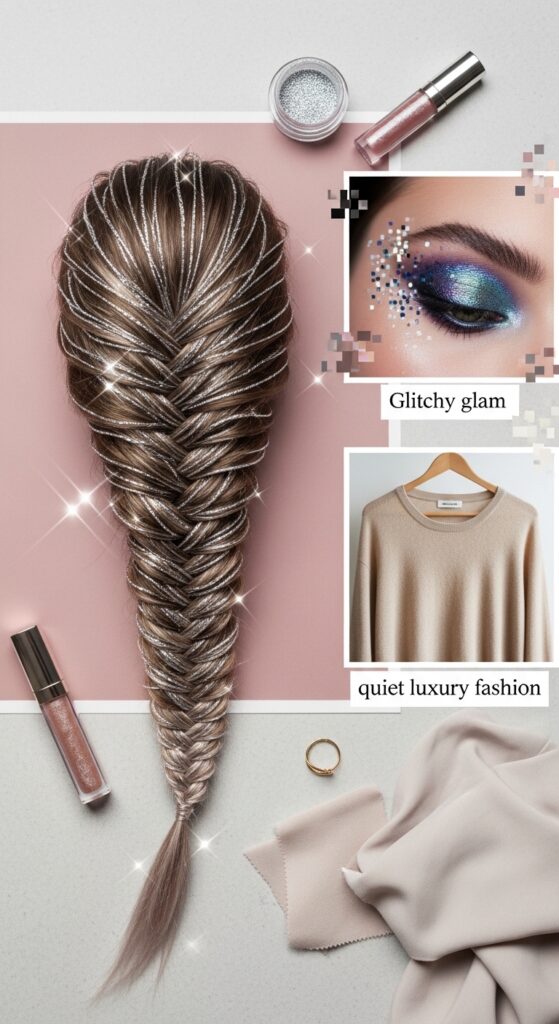
It also aligns with the “glitchy glam” trend—beauty that looks digitally tweaked. A sparkling braid feels like a real-life filter. Plus, as we lean into more protective styles, adding shine and sparkle keeps them looking fresh and intentional, not just like we’re hiding a bad hair day.
The Secret: It’s All About The “Dust”
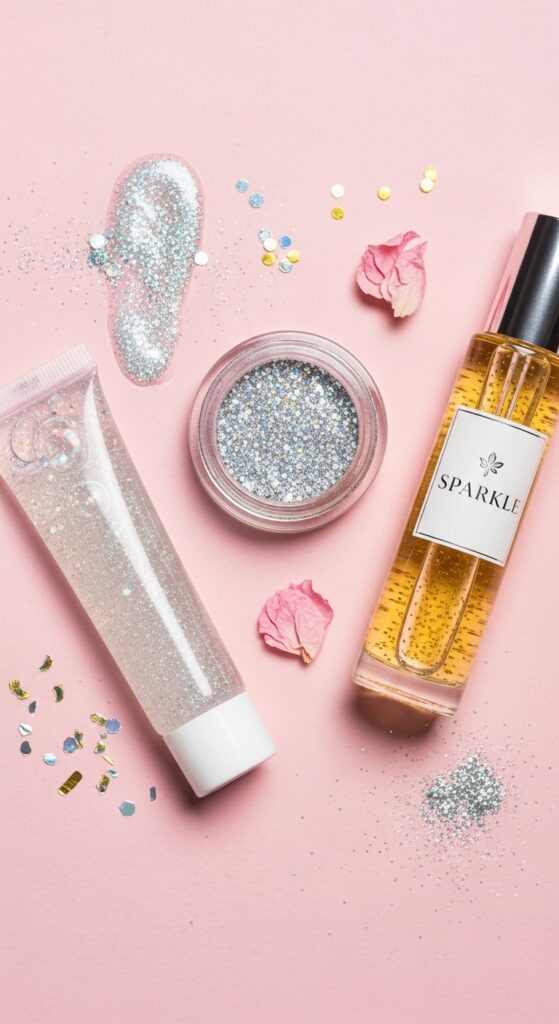
The key is in the product. You want something that gives a dispersed, dusty sparkle, not chunky glitter. Look for hair glitters labeled “fine” or “iridescent,” or use a shimmering hair gloss or oil.
- Hair Glitter Gels: Great for hold and sparkle in one.
- Loose Fine Glitter: Applied with a light hand and hairspray.
- Shimmering Hair Oil: My favorite for a healthy, dewy shine with micro-sparkle.
Gathering Your Simple Toolkit
You don’t need much! Here’s your quick list: A comb, hair ties (clear or matching your color), a strong-hold hairspray, your chosen “diamond dust” product, and a small makeup brush (for precise glitter application).
That’s it. The magic is in the technique, not the tools. If your hair is slippery, a texturizing spray can help. The goal is to create a braid that’s secure but not too tight, with some softness for the glitter to cling to.
Step 1: Start With The Right Base
Always begin on day-old hair or use a dry shampoo. Freshly washed hair can be too silky. For maximum grip and volume, I like to add a light texturizing spray at the roots. If you’re going for a vampire haircut vibe—deep side part, face-framing pieces—set those pieces aside now.
Decide where you want your braid. A side braid feels romantic. A center braid feels more regal, almost like a nod to the hime cut’s structured elegance. A low braid at the nape is effortlessly chic.

Step 2: Braiding Basics for Hold
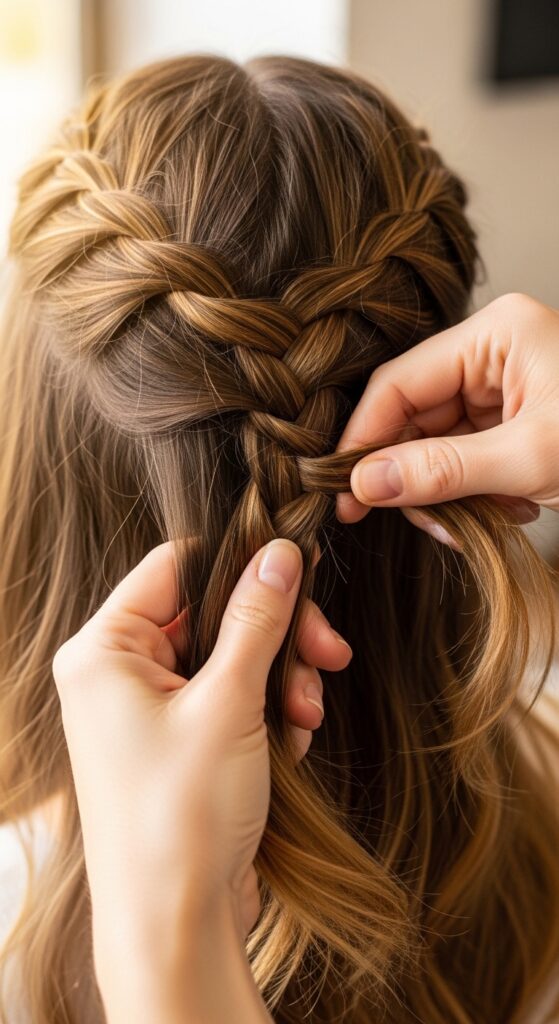
You can do any braid you like! A Dutch braid (where you cross sections under) pops out more and offers a great shelf for glitter. A French braid is classic. Keep the tension even but gentle. We’re not going for a super-slick look.
Leave a little looseness. This style looks better when it’s a bit soft and lived-in. As you braid, try to keep the surface sections smooth—this will be your canvas for the dust later.
Step 3: Securing Your Canvas
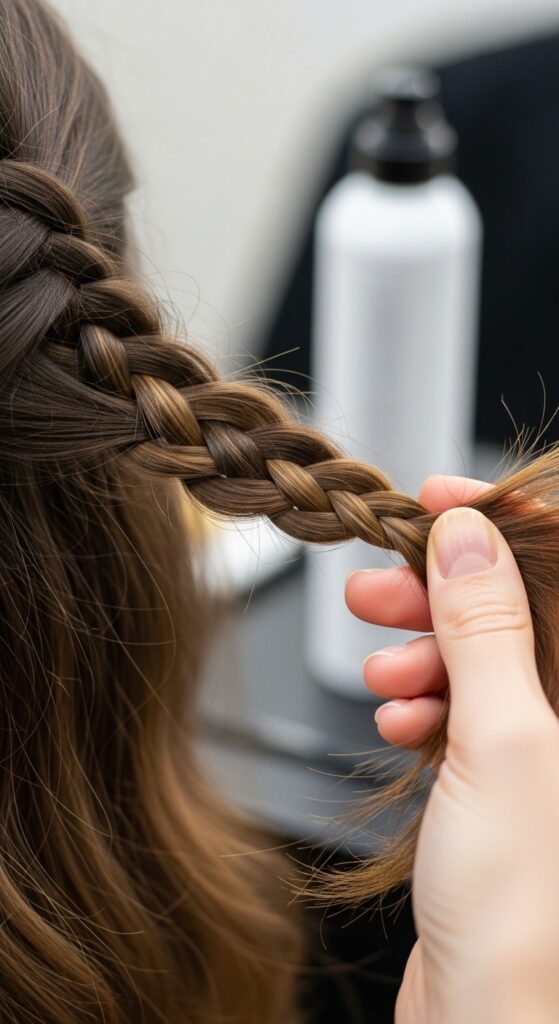
Once your braid is complete, secure the end with a clear elastic. Gently tug on the outer loops of the braid to widen it and create more surface area. This “pancaking” step is crucial—it makes the braid look fuller and gives the glitter more places to sit.
Lightly mist the entire braid with a light-hold hairspray. This gives the glitter something to adhere to. Let it get just slightly tacky to the touch before moving on.
Step 4: Applying The Magical Dust
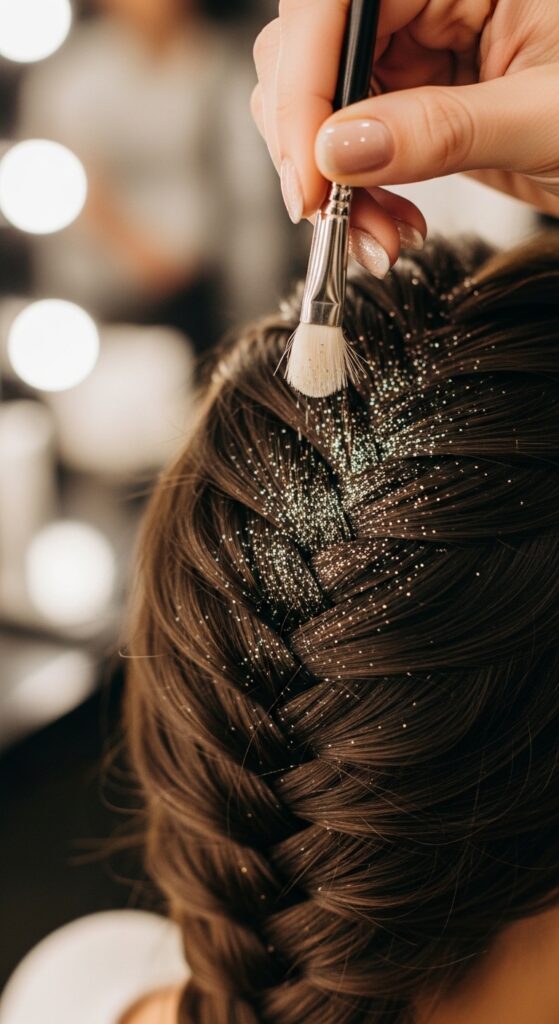
This is the fun part! If using a glitter gel, run a thin line along the crest of the braid. If using loose glitter with a brush, tap it lightly over the high points. Less is more—you can always add.
Think “sprinkling,” not “painting.” Focus on the areas that naturally catch the light: the top curve of the braid and a few random strands below. The goal is a celestial sprinkle, not a solid stripe.
Step 5: Locking The Sparkle In Place
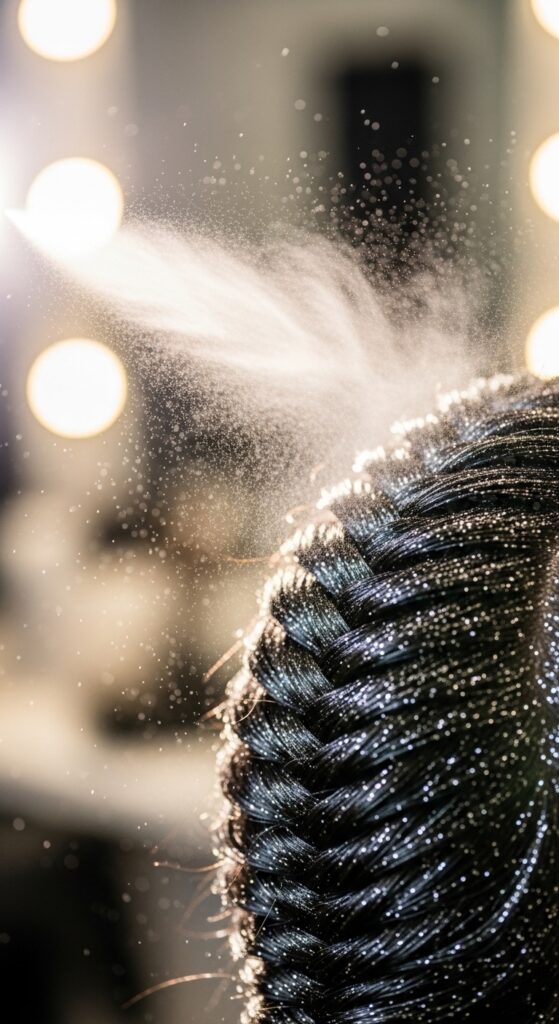
Hold a can of strong-hold hairspray about 10 inches away and give the glittered braid one final, light mist. This seals the deal and prevents any fallout during your day. Let it dry completely before touching.
For extra security with loose glitter, you can spray, then dust, then spray again lightly. This creates a sealed, glazed effect that lasts through the night.
Adapting It For Short Hair (Lobs & Bobs)
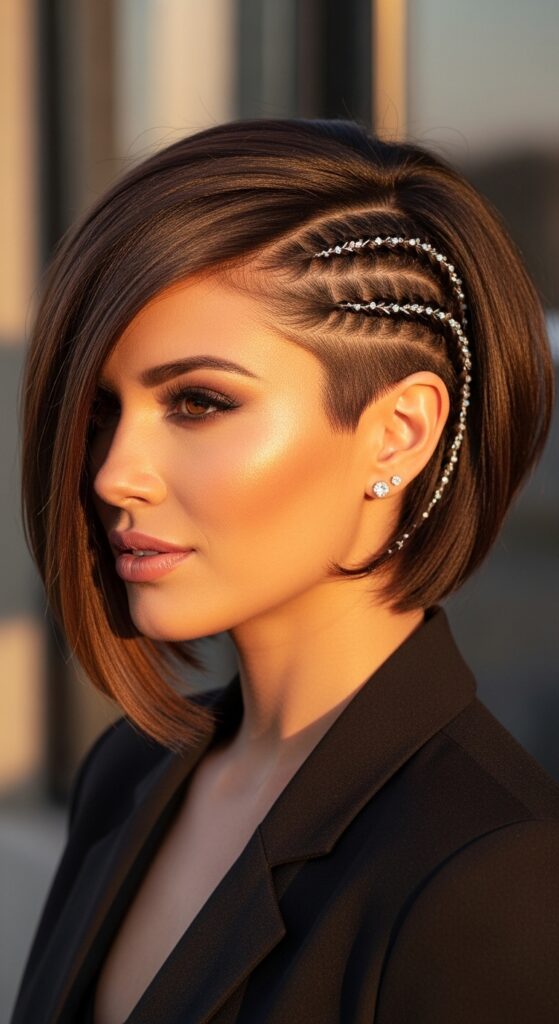
Got an asymmetrical lob or a quiet luxury bob? No problem! Create a small, delicate braid along your part or as a face-framer. You can also do a mini braid at the end of a ponytail.
The diamond dust technique works beautifully on shorter pieces. Apply a shimmering gloss to your ends or dust a tiny amount of glitter just on a small, accent braid. It’s subtle and stunning.
Creating The “Romantic Goth” Vibe
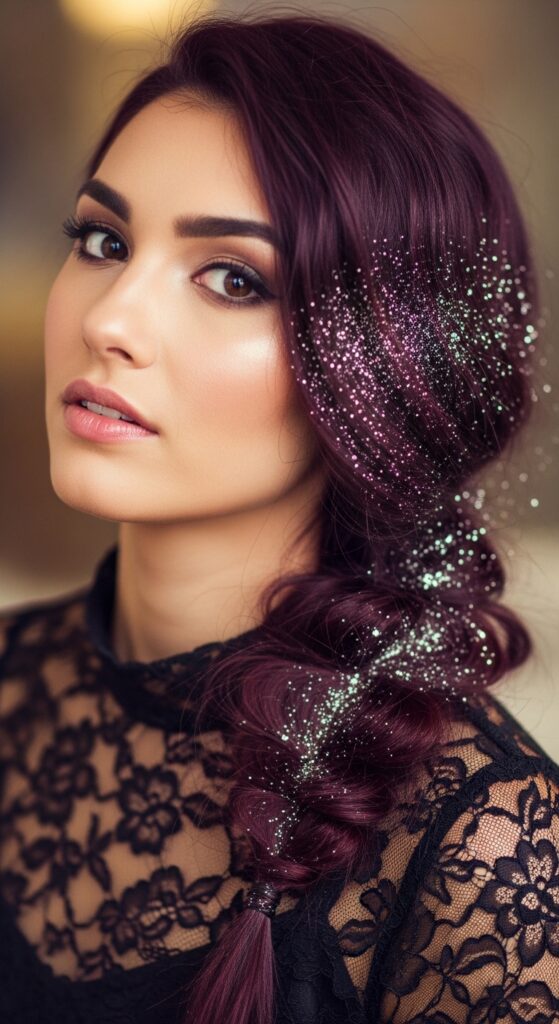
This look is perfect for romantic goth hairstyles. Start with deeper, richer hair colors. Think dark chocolate, burgundy, or black. Do a deep side part and a loose, messy braid.
Use a silver or blue-toned iridescent glitter for that moonlit, mystical feel. Pull out a few wispy face-framing pieces. It’s elegant, moody, and perfect for a date night or concert.
Achieving The “Quiet Luxury” Shine
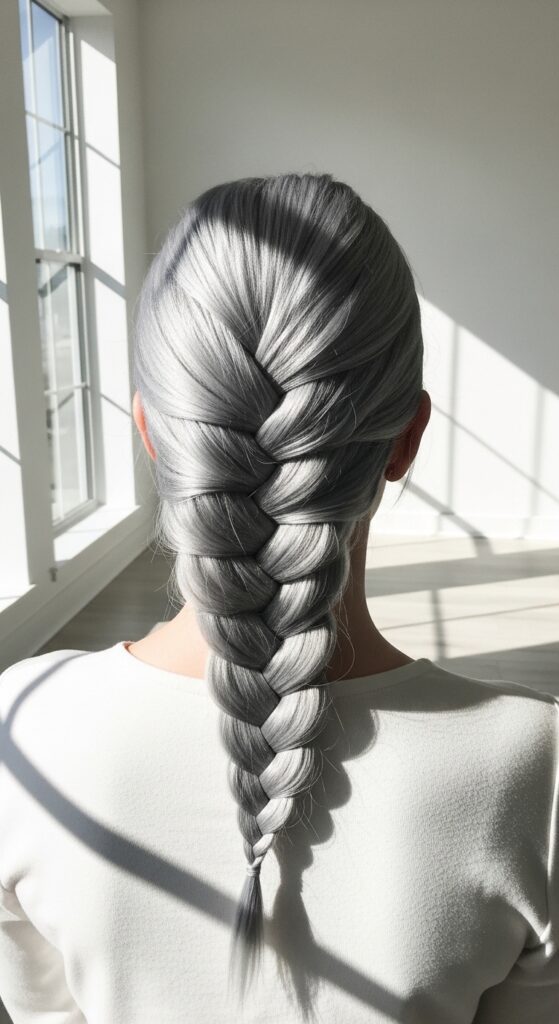
For that old money hair, quiet luxury feel, skip the chunky glitter. Opt for a clear, shimmering hair gloss instead. Apply it generously over a sleek, low braid or a polished ponytail with a braided element.
The result is an incredible, healthy-looking shine that whispers wealth and care. It’s all about impeccable, glossy finish—the kind of shine that looks expensive and effortless.
Making it Edgy: The Glitchy Glam Approach
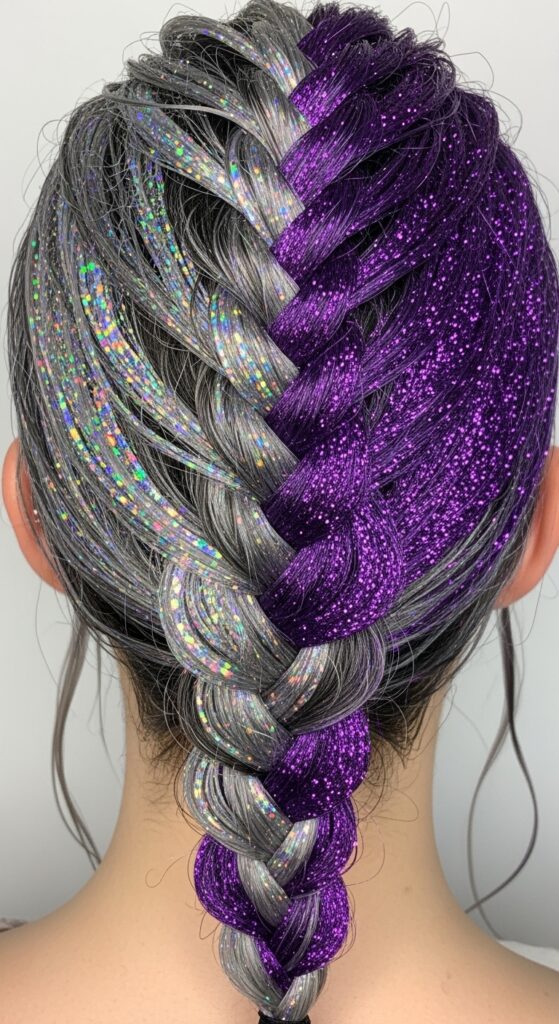
Glitchy glam hair is about intentional imperfection. For this, get creative! Maybe only dust glitter on the middle section of your braid, or use two different glitter colors that clash in a cool way.
Pair your sparkling braid with wet-look strands in the front or an unexpected accessory. It’s about looking like a digital art piece come to life.
Pairing With The Vampire Haircut
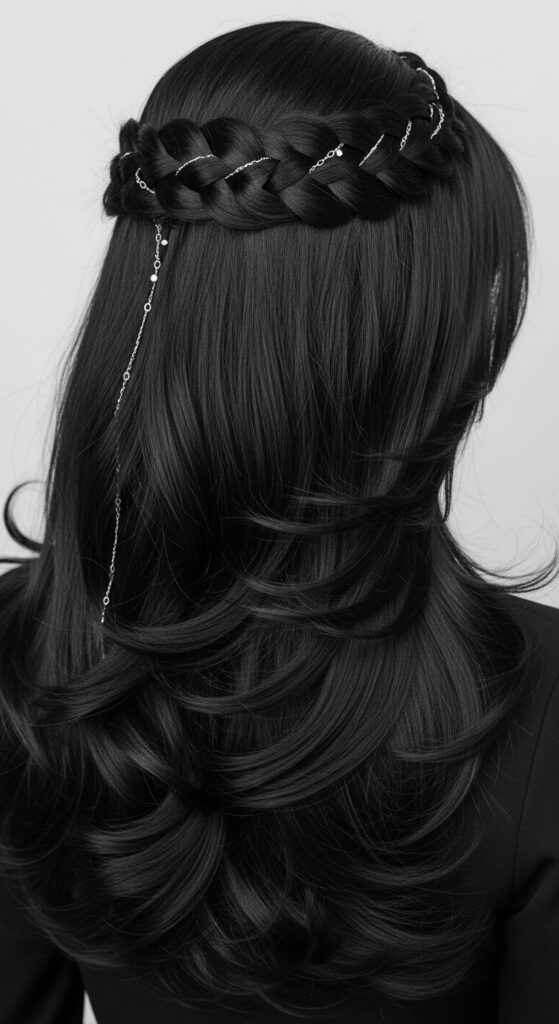
The vampire haircut—with its sharp layers and dramatic framing—is a perfect match. Create a diamond dust braid with the top section of your hair, letting the wild, layered ends flow free.
Concentrate the glitter on the braided crown. This contrasts the structured, sparkly top with the untamed, flowing bottom for a look that’s both fierce and magical.
Incorporating The Hime Cut Structure
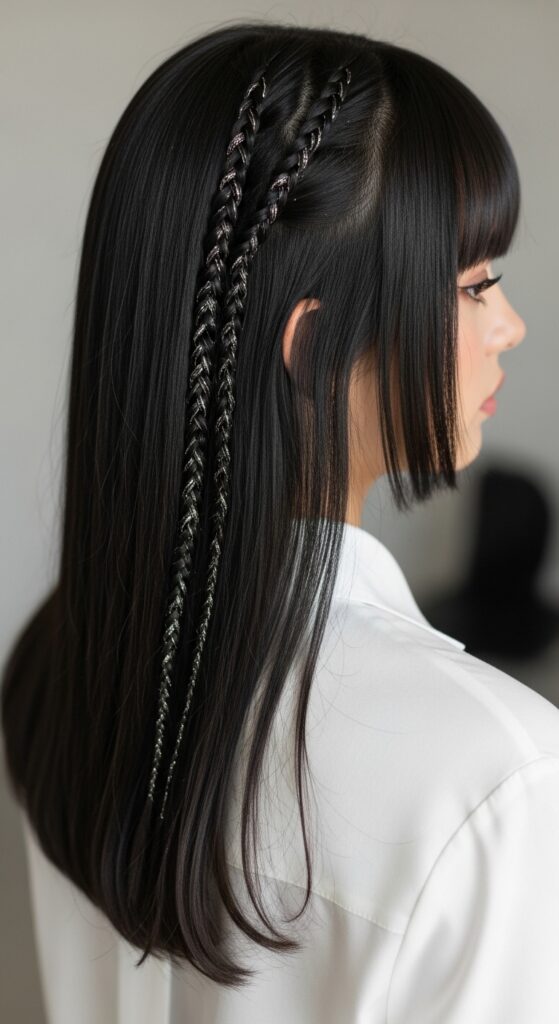
The Japanese hime cut is defined by its straight, face-framing front strands and blunt back. Use the diamond dust on two small, thin braids made from those front “hime” sections.
Braid them back and secure them behind your head, letting the rest of your hair flow. It’s a beautiful way to add a magical, princess-like detail to this very structured cut.
Day-to-Night Transformation in Minutes
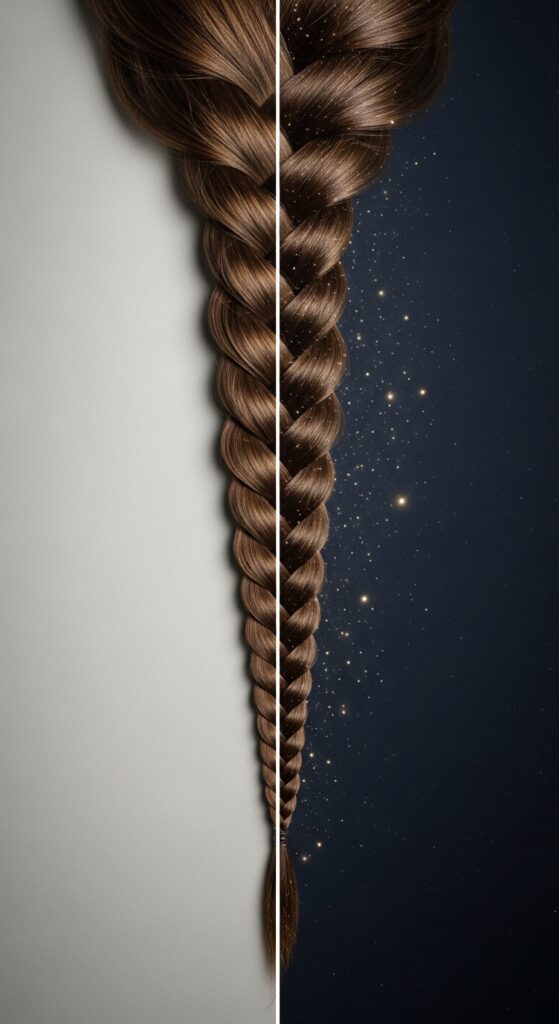
This is my favorite trick. Run errands all day with a simple, clean braid. When it’s time for dinner or drinks, quickly pancake the braid to loosen it, mist with hairspray, and add your diamond dust.
In two minutes flat, you’ve gone from casual to captivating. It’s the ultimate quick-change artist of hairstyles.
Protective Styling With a Major Glow-Up
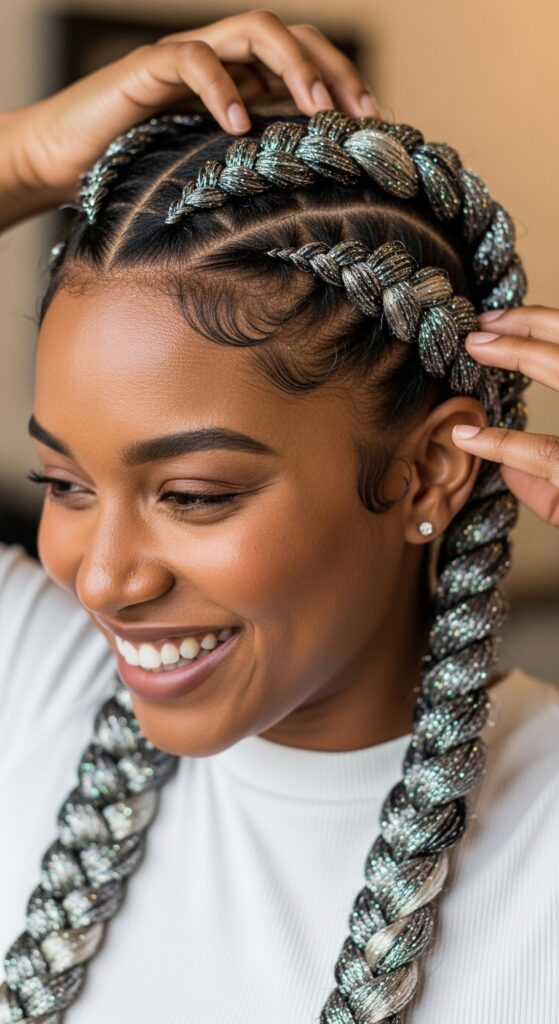
Braids are amazing protective styles. They keep your ends tucked and minimize manipulation. Adding diamond dust is the ultimate glow-up for that protective style.
It makes you feel styled and done, which motivates you to keep the braid in longer, giving your hair a real break. It’s a win-win for beauty and hair health.
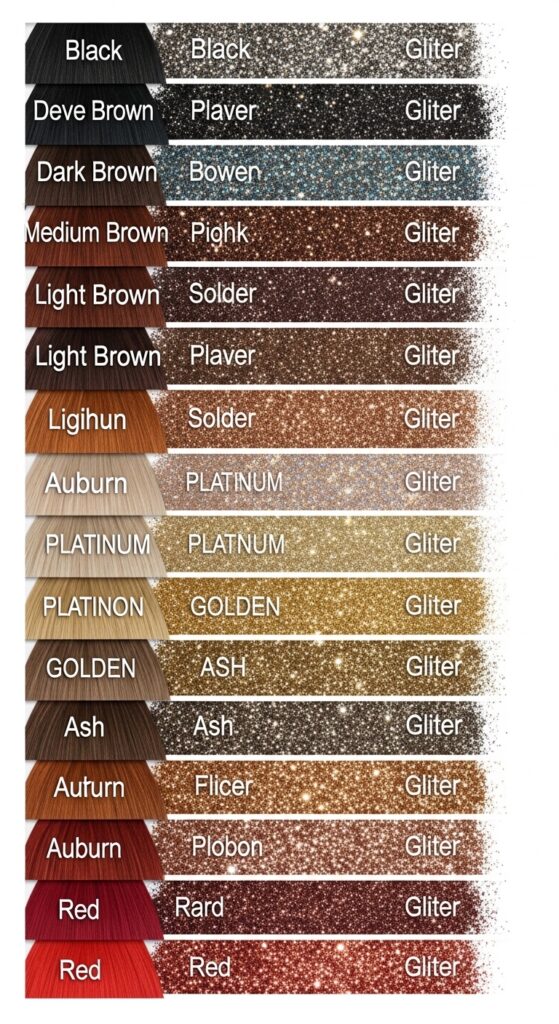
Choosing Your Glitter Color
- Blondes: Try a peach-gold or soft silver dust.
- Brunettes: Iridescent blues, purples, or classic gold look stunning.
- Black Hair: Silver, holographic, or red-toned glitters pop magically.
- Reds & Burgundies: Gold or green-shift glitter creates a gorgeous contrast.
Avoiding Glitter Fallout & Mess
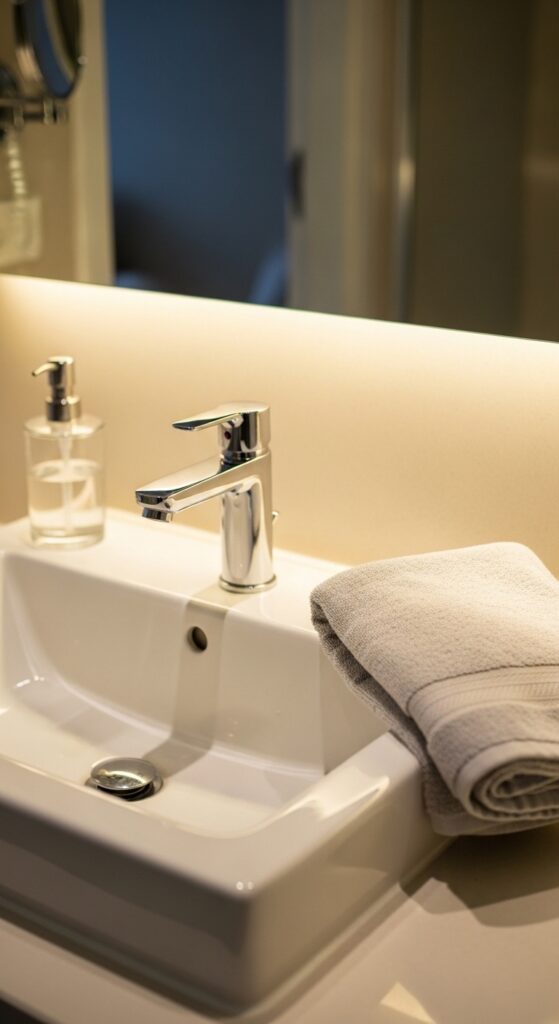
The fear is real, but preventable. The key is the hairspray tacky base and the sealing mist. Do your application over a sink or a towel. Tap off excess glitter before the final spray.
Using a hair gloss or gel-based glitter significantly reduces fallout compared to loose powder. You’ll be surprised how little mess there is when done right.
Removing The Glitter Easily
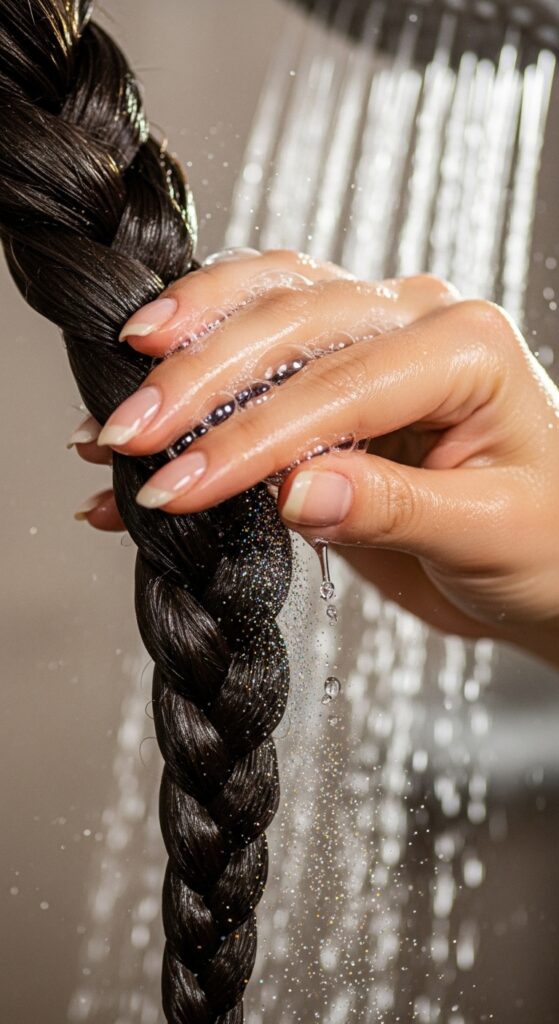
Don’t stress about wash day! Most fine glitters wash out with one shampoo. For stubborn bits, use conditioner first to slide them out. You can also use a wide-tooth comb in the shower under running water.
If you used a glitter gel or gloss, it comes out like any other styling product. Your drain will be fine—these particles are tiny.
My Favorite Budget-Friendly Products
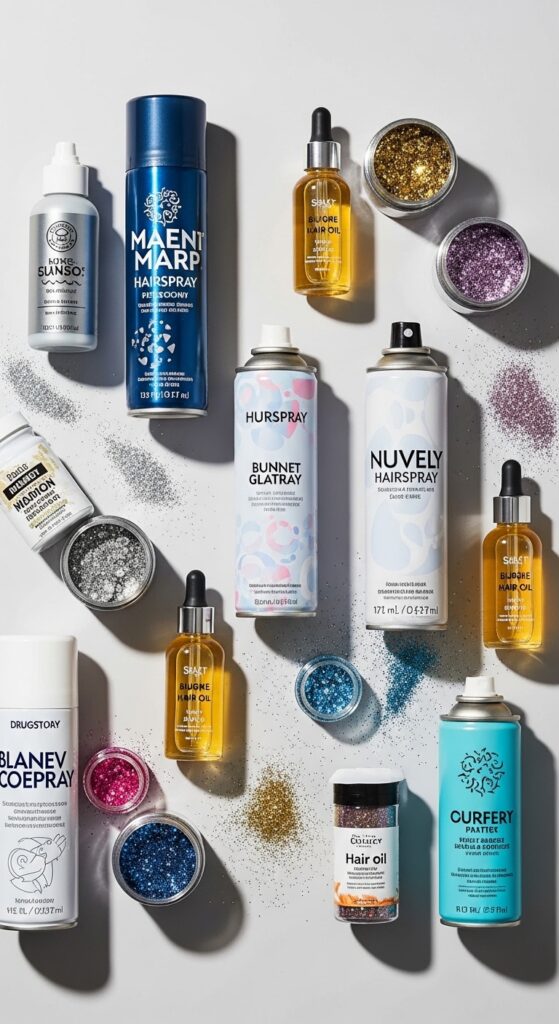
You don’t need to splurge. My go-tos are: a strong-hold drugstore hairspray, a fine cosmetic-grade glitter from a craft store (check it’s skin-safe), and a shimmering hair oil from the beauty supply.
The tool is your technique. A $3 glitter can last for dozens of styles. This is high-impact, low-cost beauty at its best.
Your Final Checklist Before You Start
- Day-old or texturized hair.
- Braid chosen and completed loosely.
- Braid “pancaked” for fullness.
- Light hairspray applied (let get tacky).
- Glitter applied to high points.
- Final seal with hairspray.
Go Forth and Sparkle
So, there you have it. The magical, protective, shine-boosting braid of your—and 2026’s—dreams, broken down into totally doable steps. It looks complicated, but I promise it’s not. It’s just about adding a little sprinkle of confidence and sparkle to something you already know how to do.
The best part? This style is yours to play with. Make it quiet luxury, make it romantic goth, make it glitchy glam. It’s a trend that bends to your personal vibe. So grab that glitter and give it a try this weekend.
I truly believe the best beauty trends are the ones that make you feel a little more magical without being a huge hassle. This braid is exactly that. It’s a small ritual that turns an ordinary style into a moment of sparkle and self-expression.
Whether you’re dressing up for a special night or just want to make your Tuesday grocery run feel special, this look has your back. It’s proof that a little dust can create a whole lot of magic.
Save this post to Pinterest to keep this guide handy for your next hair adventure! And I’d love to know—which vibe are you trying first: the romantic goth or the quiet luxury shine? Tell me in the comments!